• Skip to secondary menu
  • Skip to main content
  • Skip to primary sidebar
  • Skip to footer
  • The Pressure Canning Cookbook
  • Blog
    • Subscribe
    • Welcome!
  • Perfectly Preserved Podcast
  • About
    • ADW Manifesto
    • Work With Me
      • Read
  • Shop
    • My Account
    • Cart
    • Checkout

The Domestic Wildflower

Handmade Food & Craft Tutorials for Beginners

  • Courses
    • Free Canning Basics
    • Everything Canning Course
    • Steam Canning Workshop
    • Free Homemade Cocktail Mixers
    • Wildflower Mixology
    • Crochet Basket Workshop
  • Can & Preserve
    • Never Canned?
    • Steam Canner Equipment Bundle
    • Shrubs Course
  • Sew
  • Cook
  • Craft
    • Crochet Step-by-Step Guides
      • Crochet Basket
      • Giant Yarn Throw
      • Thick & Thin Throw
  • Living
    • Creativity Challenge
    • Clean
    • Kids
  • Rentals

Blog

Elderberry Juice Recipe

September 26, 2019 by Jenny Gomes 1 Comment

This recipe for elderberry juice does not have any added sugar. Instead I add a little honey and cranberry juice. Elderberry juice is a great alternative to elderberry tincture or capsules or gummies, which are great but juice is awesome for when you want to sip rather than snack your elderberry goodness. Read on for the easy elderberry juice recipe with step by step canning instructions for canning, elderberry juicing, and no added sugar!


This post contains affiliate links.

Elderberries are classically made into heavily sweetened syrup and jellies, which are delicious, a beautiful purple color, but full of sugar. Their flavor is tasty but so tart, it’s hard to find a way to consume it without adding something to make it palatable. This recipe is my answer to this problem.

Elderberry Juice Recipe

You Will Need

8 cups elderberry juice (methods of juicing explained below)

1 bag/about 2 cups cranberries OR 2 cups cranberry juice (ok if berries are frozen from Thanksgiving)

1/4-3/4 cup honey, to taste

1/2 cup apple cider vinegar

1/4-1/2 teaspoon ground ginger, optional

cinnamon stick, optional

Juicing Elderberries

You can juice fresh elderberries a few ways. You can use the traditional steamer for juicing elderberries where the berries go in the top compartment, the water is in the very bottom, and the juice flows to the middle and down a tube into your preserving pan. They are cool pots that do one job- steam & juice- and if you have lots of juice-y fruits and plan on making lots of juice and you have the room to store it, I’d recommend them. Be sure to not let the bottom run dry.

If you don’t have a juicer steamer, you can line a pasta pot (the colander part) with cheese cloth and load it with the elderberries and cranberries if using. Make a large parcel of berries by wrapping a string around the bundle of berries and tying a knot, like a giant tea bag.

You’ll add enough water to go 1/2 – 3/4 of the way up the sides of the berries and you’ll be making a diluted juice this way. This is neither positive nor negative- it is just juice with added water. This may be helpful if you don’t have a ton of elderberries, or if you want to make a lot of jars, or both. I prefer this method personally because I share my juicer steamer with my mom and sister and sometimes it is handy to just use the pasta pot.

Juicing Elderberries | How to Juice Elderberries

Wild elderberries are going to vary dramatically in terms of how much juice they yield and tartness, so you may have to add more honey, cranberry, or water to get a palatable result with either juicing method.

Begin juicing with either the juicer steamer or the pasta pot and cheese cloth method and when the berries seem deflated, steamed limp, and don’t release much if any juice when pressed with a spoon, they are juiced.

Ready to start canning? Do you need a canning equipment list before you begin?

Elderberry Juice Recipe: After Juicing Elderberries

Prepare your water bath canning pot or your steam canner. Fill the water bath canning pot with water, add 5 pint (2 measuring cups total each) jars, and bring to a boil OR fill the steam canner to fill line and turn on low with the 5 pint jars nearby on a towel-covered counter top. 

Measure out the juice you steamed into the preserving pan. If you are adding cranberry juice, add it here. If you steamed the berries together, add 10 cups of elderberry-cran juice to the pan.

If you steamed only elderberries, add just 8 cups of elderberry juice to the pan and add in the 2 cups storebought cranberry juice.

Add the optional cinnamon stick if desired, and turn heat to medium.

Add the apple cider vinegar and ginger if desired.

Add honey, stirring to dissolve and tasting at quarter cup intervals. Be sensitive to the idea that maybe what you need is a cup of water, not necessarily honey, if the taste of the elderberry is strong.

Elderberries have a strong taste, and in comparison, I think chokecherries have a strong, bitter taste. That said, sometimes you just need the elderberry juice to be diluted a bit with cranberry or water rather than simply sweetened. I’ve tried the same with chokecherries and haven’t been successful; chokecherries are too bitter without loads of white sugar to be palatable.

Ladle into jars one at a time, apply lids and rings, and either submerge into the boiling water of the boiling water bath with a jar lifter  OR set gently on the rack of the steam canner. 

Process for 10 minutes PLUS 5 minutes for every 1000 ft above sea level. Remove from heat, rest jars carefully on towel covered countertop. Label cooled jars and store for up to 1 year. 

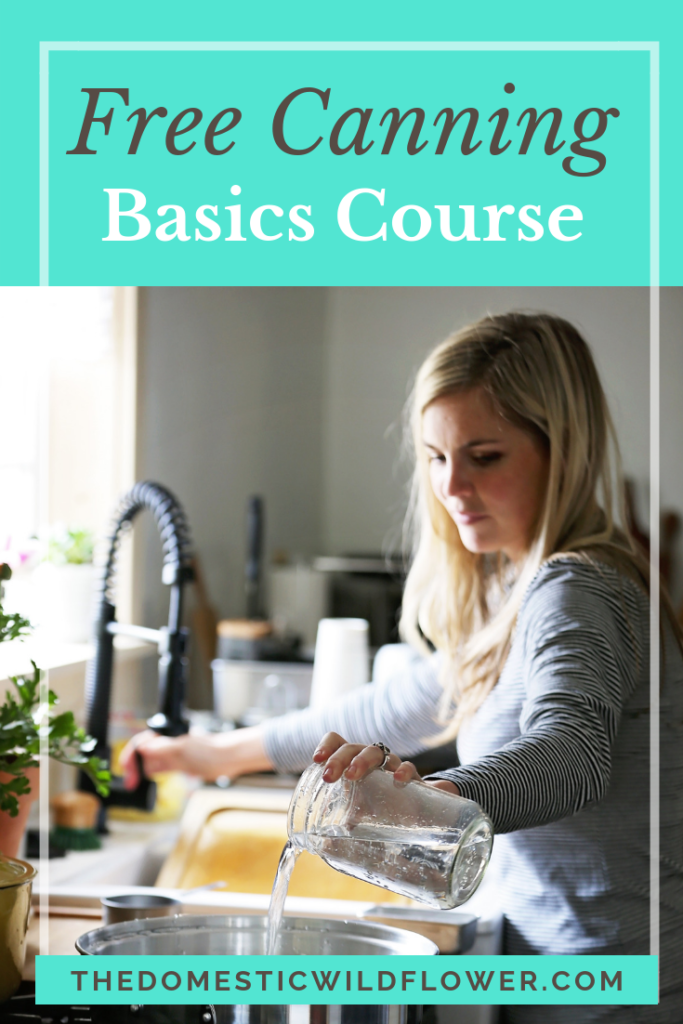
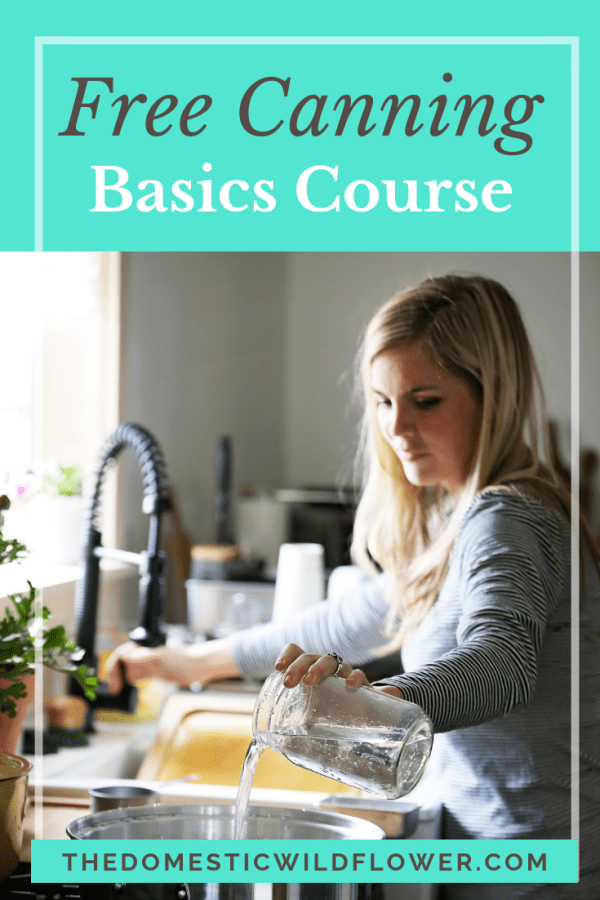
Want to try this recipe, but not sure about the canning part? Join my completely free Canning Basics Email Course! I’ll send you super simple lessons to your inbox to get you started on the right foot.

If you love Elderberry, be sure to check out the Elderberry Gummies Recipe!

Healthy Elderberry Gummies Recipe

Filed Under: Can

Easy Sourdough Starter

September 20, 2019 by Jenny Gomes Leave a Comment

This post will teach you how to make your own sourdough starter simply and easily at home. You can use your sourdough starter to make sourdough bread and sourdough pancakes, and you can keep your sourdough starter for years.

This post contains affiliate links.

Sourdough is a fermented food, did you know that? It’s a delicious and easy way to include the health benefits of fermentation into your diet and sourdough starter is the first step to making sourdough bread at home.

Sourdough starter is simple to make and I’ll share my best tips for success.

How to Make Easy Sourdough Starter

2 Cups All Purpose Flour – I’ve been liking the King Arthur White Whole Wheat for the added protein

2 1/4 teaspoons Active Dry Yeast – I like this kind because it comes in a glass jar that’s easily recycled and the lid closes really tightly for in between uses!

16 ounces (2 cups) warm water, 70-80 degrees F (Not hot enough to take a bath in, a warm room temperature)

Combine the ingredients in a glass bowl (see note about bowl below). Mixture may be lumpy and that’s ok. Cover with a thin kitchen towel, rubber band in place, and let sit for 2-3 days.

Stir daily and notice the bubbles and fermentation happening as soon as a few hours after combining. Sourdough will smell sour and will have many bubbles, and will more than double in size the first day.

If you notice any pink growth, discard and start over.

Note this bowl is likely the one the starter will live in for years. It will also double (or more!) in size so it must have a capacity of about 8 cups. Also choose a bowl that has a wider surface area rather than a tall and skinny shape. A mason jar is not the best choice; I chose this jar because it has a lid I can use when the starter is resting in the fridge and it is easy to rubber band a cloth around when it’s warming and growing on the counter.

Pro Tips for Successful Sourdough Starter

Use wooden utensils (or plastic) as metal reacts with the starter negatively. Do not use a metal spoon to make this or any easy sourdough starter.

Leave the starter in a warm place on the countertop when it is getting started. A cold countertop will slow or stop yeast growth.

Use a post-it note on the side of your jar or bowl telling you the day you need to return it to the fridge. I had trouble remembering until I started writing “put in fridge on Wednesday” on a note for myself.

To Store Easy Sourdough Starter

Covered in the refrigerator is a great place for the starter. Alternatively, a very cool place will suffice.

To Use Easy Sourdough Starter

Just measure out how much the recipe calls for, cover the jar back up, and return to the fridge. You’ll likely want to replenish the starter, however, as described below.

To Replenish Sourdough Starter After You’ve Used Some In a Recipe

If your recipe for bread or pancakes called for 1 cup of sourdough starter, add 1 cup flour and 1 cup warm water to the remaining starter and mix well. The same applies if the recipe called for 1 1/2 cups- replace with equal parts 1 1/2 flour and warm water. Leave sourdough in a warm place for about 6 hours, until mixture is bubbly, and return to refrigerator or other cool place.

You’ll Love My Recipe For Bread Machine Cinnamon Rolls

Bread Machine Cinnamon Roll Recipe | Super simple recipe that's perfect for making the night before!

Filed Under: Cook

Best Canning Recipes

September 19, 2019 by Jenny Gomes Leave a Comment

In this post I’ll share the best, easiest canning recipes with step by step instructions for water bath canning and steam canning.

This post contains affiliate links.

The best canning recipes are the ones that anyone can make, even a beginner.

The best canning recipes are delicious, giftable, made from readily available ingredients, and are EASY.

In 10 Easy Canning Recipes, I’m sharing my favorite, Best Canning Recipes.

It’s a printable PDF Ebook with step by step instructions for water bath canning and steam canning in every single recipe.

That way, you don’t have to flip back and forth to an instruction section just to figure out what to do, when!

This is the best easy applesauce recipe ever. This girl cans it in little convenience sized jars that are perfect for lunch boxes- genius! What a time saver! And applesauce is so healthy and delicious. Totally making this.

You’ll love the beautiful, easy to read PDF. You can access it on your phone, laptop, or print out out, too!

Get the 10 Easy Canning Recipes HERE today!

If you’re not ready for a collection of recipes, that’s perfect! I have something for you instead.

I love teaching beginners all about how easy canning is. If you’re new to canning, jump into the Free Canning Basics Course!

Free Canning Basics Course

Filed Under: Can

Elderberry Gummies Recipe

September 12, 2019 by Jenny Gomes 2 Comments

This post will teach you how to make elderberry gummies, and share a video tutorial to show you exactly how to make all kinds of gummies to which you can add any kind of healthful additive.

Healthy Elderberry Gummies Recipe

This post contains affiliate links.

Elderberries have long been reported to have immune boosting effects. This post won’t delve into those reported effects, nor will I explore the gut healing potential of using a high quality beef gelatin, nor the use of essential oils. I will be able to speak to the ease of making gummies– SO EASY- and how much my kids (and yours surely!) will love them.

I mixed my elderberry juice (you can juice your own or buy it) with cranberries (frozen from Thanksgiving) for vitamin C boost) and the taste was delightful.

The Homemade Healthy Gummy Mini Course

Jump in and watch STEP BY STEP as I make this exact recipe in video. I share in detail exactly HOW to make these nutritional powerhouses. It’s a free mini course and you’ll get access to 3 super helpful videos that show you

the equipment

the ingredients

and the process

of making healthy homemade gummies. Dive in here!

Elderberry Gummy Recipe

You Will Need

4 cups elderberry juice (explanation of juicing below)

2 cups cranberries (frozen is fine) (optional but added a great flavor and bonus vitamin C) OR 1 cup cranberry juice

2 tablespoons liquid Stevia OR 3 tablespoons honey to taste

1 cup beef gelatin (I love this brand because it is very high quality but you can also use this more common one too which is just as effective in terms of gel)

1/2 cup apple cider vinegar

Optional: Essential oil of your choice – I love Doterra OnGuard for this recipe. 8 drops was plenty.

Making Elderberry Gummies

Pour juice(s) into a pan. Add apple cider vinegar and Stevia. Bring to a very low simmer. While warming, add the essential oil.

When mixture is just about to simmer, whisk in carefully and quickly the beef gelatin. Whisk vigorously for 1 minute, until the gelatin has dissolved.

Pour or use the included eye dropper to dispense the hot liquid into the mold.

Cool in refrigerator. Cooling time depends on the mold. Smaller molds cool much faster.

When cool, pop out of molds and into an airtight container (I love BPA free wide mouth canning jars) and store in the refrigerator.

Helpful tips for making Elderberry Gummies

Place the silicone molds or ice cube trays on a cookie sheet before filling.

Use a casserole dish if you don’t have a silicone mold and score cold gummies with a knife. Or, use a cookie cutter to cut shapes from the gummies.

Here’s where you can get ALL the gummy molds and gummy making supplies from my Amazon Storefront.

Juicing Elderberries for Elderberry Gummies

You’ll need about 6 cups of berries, mostly removed from the stems but some may remain (mine are always on the smallest stems).

You can use an old fashioned juicer used for canning which is very effective. Place the berries (and cranberries if you’re using them) in the top compartment, fill with water in the bottom compartment, bring to a boil, and juice will flow into the middle and down the accompanying tube.

Curious about canning? I have a Free Canning Basics Course! Jump in and let’s learn; it’s so much easier than you think!

Or, you can line a pasta pot strainer with cheesecloth, fill the bottom of the pot with water (this might be 2-4 cups depending on the size of the pot), add the berries (and cranberries if you’re using them) to the cheesecloth, and simmer for about an hour. Strain and measure the juice. Proceed back up to the recipe to make the elderberry gummies.

Ready to make Elderberry Gummies?

Jump into the Free Mini Course and get exclusive access to recipes as they are added, 3 step by step videos, and more!

Healthy Homemade Gummies Recipes

Filed Under: Cook

Best Canning Recipes for Gifts

September 12, 2019 by Jenny Gomes 2 Comments

This post contains affiliate links.

Canning for gift giving, for the holidays, for Christmas, and for party favors is fun and easy if you give yourself a little lead time and choose the right recipes. Below are the easy canning recipes and beginner friendly resources for canning confidently when you’re canning for giving gifts. Get ready for the best canning recipes for gifts!

First, if you’re new to canning, you should sign up for the FREE Canning Basics Course. It’s an easy, email course where I send you bite-sized email lessons to your inbox to help you overcome the most common hurdles I see beginners face when learning how to can.

Free Canning Basics Course

The Best Canning Recipes for Gifts

All the below recipes are pretty in their jars, crowd pleasers, and easy for you to make in any quantity so you can make enough for a your three besties, your kid’s teachers, or the whole office.

Applesauce Canning Recipe

This post will share an easy homemade applesauce recipe that you can preserve in jars with the traditional water bath instructions OR the steam canning directions. I’ll also share my favorite jars for lunch box size portions of this healthy snack!

Jalapeño Pecan Jelly

Jalapeno Pecan Jelly Easy Canning Recipe is delicious, spicy and sweet, and quick to make. This recipe is from a 5th generation pecan farmer friend, Kristen, from Texas, and she’s been kind enough to share her family’s jalapeño pecan jelly canning recipe with us all. You won’t believe how FAST this jelly recipe is…it might even be faster than my raspberry jam recipe! Read on for the easy recipe!

Ranch Style Salsa Recipe

This salsa recipe is ranch-style because the onions, tomatoes, and peppers are roasted either under a broiler or on a grill until charred (blackened).

Spiced Pear Butter

Spiced pear butter is easy, grown up in taste, and flavored with maple syrup, whiskey if you please, and spices. It’s delicious in your lunch box, in between the layers of a cake (instead of frosting!), and more. Read on for this simple spiced pear butter recipe!

Maple Whiskey Peaches

This post will show you step by step how to can peaches in vanilla syrup with a splash of whiskey. The resulting preserve can be eaten out of the jar plain, are perfect on top of a cheesecake, waffles, or ice cream, or are a flavorful alternative to plain ol’ peaches in a pie or crisp. Read on for the tutorial!

Pickled Bread and Butter Jalapeños

These pickles are a blog reader favorite, for good reason! They are spicy and sweet and so giftable!

Lime Cherries Canning Recipe

This easy canning recipe calls for stevia instead of sugar, which makes it keto-friendly, paleo-friendly, and most importantly, family-friendly. It’s a great lunch box option when canned in half-pint jars and is fast and delicious.

Bonus: A Recipe that’s Not a Canning Recipe

1 Hour Homemade Coffee Liqueur

 This 1-hour homemade coffee liqueur recipe can be prepared and dispensed into bottles for gifting or enjoying yourself in an hour. It is a simple recipe that my mother has used for years and this coffee liqueur is delicious both hot or cold in a variety of mixed drinks. It also is easily doubled and is best made with friends. Read on for a delicious homemade coffee liqueur recipe that won’t have you tied up in the kitchen all afternoon!

Before you begin these canning recipes for gifts

Read this post below! You can preserve large quantities easily with these tips.

Canning for Party Favors

Canning for a party can be a cost-effective, fun, impressive way of thanking guests for coming to your event. Before you think, “I don’t have time to make 40 jars of jam” hear me out.

To complete your jars, add this:

You need these canning jar labels.

Round Canning Jar Labels | Love Into Jars

Filed Under: Can

  • « Go to Previous Page
  • Page 1
  • Interim pages omitted …
  • Page 16
  • Page 17
  • Page 18
  • Page 19
  • Page 20
  • Interim pages omitted …
  • Page 66
  • Go to Next Page »

Primary Sidebar

Categories

Follow me here, there, & everywhere!

  • Email
  • Facebook
  • Instagram
  • Pinterest
  • RSS
  • Twitter
  • YouTube

Search

Get The Pressure Canning Cookbook

Get 10 Free Recipes Now!

Best Chicken Coop

Footer

Get Started Pressure Canning

Shrubology Ebook

Shrubology: Refreshing Homemade Fruit and Vinegar Syrups for Cocktails
Make easy, no-cook fruit & vinegar syrups for cocktails & mocktails! This ebook shares crowd pleasing recipes and simple to understand ratios so you can make a shrub on your countertop any time- without a recipe. Dive into these Prohibition Era drinks today!

Copyright

Copyright 2019
The Domestic Wildflower
www.thedomesticwildflower.com.
All content created by Jennifer Gomes unless otherwise noted.

Copyright © 2025 · Lifestyle Pro on Genesis Framework · WordPress · Log in