• Skip to secondary menu
  • Skip to main content
  • Skip to primary sidebar
  • Skip to footer
  • The Pressure Canning Cookbook
  • Blog
    • Subscribe
    • Welcome!
  • Perfectly Preserved Podcast
  • About
    • ADW Manifesto
    • Work With Me
      • Read
  • Shop
    • My Account
    • Cart
    • Checkout

The Domestic Wildflower

Handmade Food & Craft Tutorials for Beginners

  • Courses
    • Free Canning Basics
    • Everything Canning Course
    • Steam Canning Workshop
    • Free Homemade Cocktail Mixers
    • Wildflower Mixology
    • Crochet Basket Workshop
  • Can & Preserve
    • Never Canned?
    • Steam Canner Equipment Bundle
    • Shrubs Course
  • Sew
  • Cook
  • Craft
    • Crochet Step-by-Step Guides
      • Crochet Basket
      • Giant Yarn Throw
      • Thick & Thin Throw
  • Living
    • Creativity Challenge
    • Clean
    • Kids
  • Rentals

Can

The Perfectly Preserved Podcast

January 10, 2023 by Jenny Gomes Leave a Comment

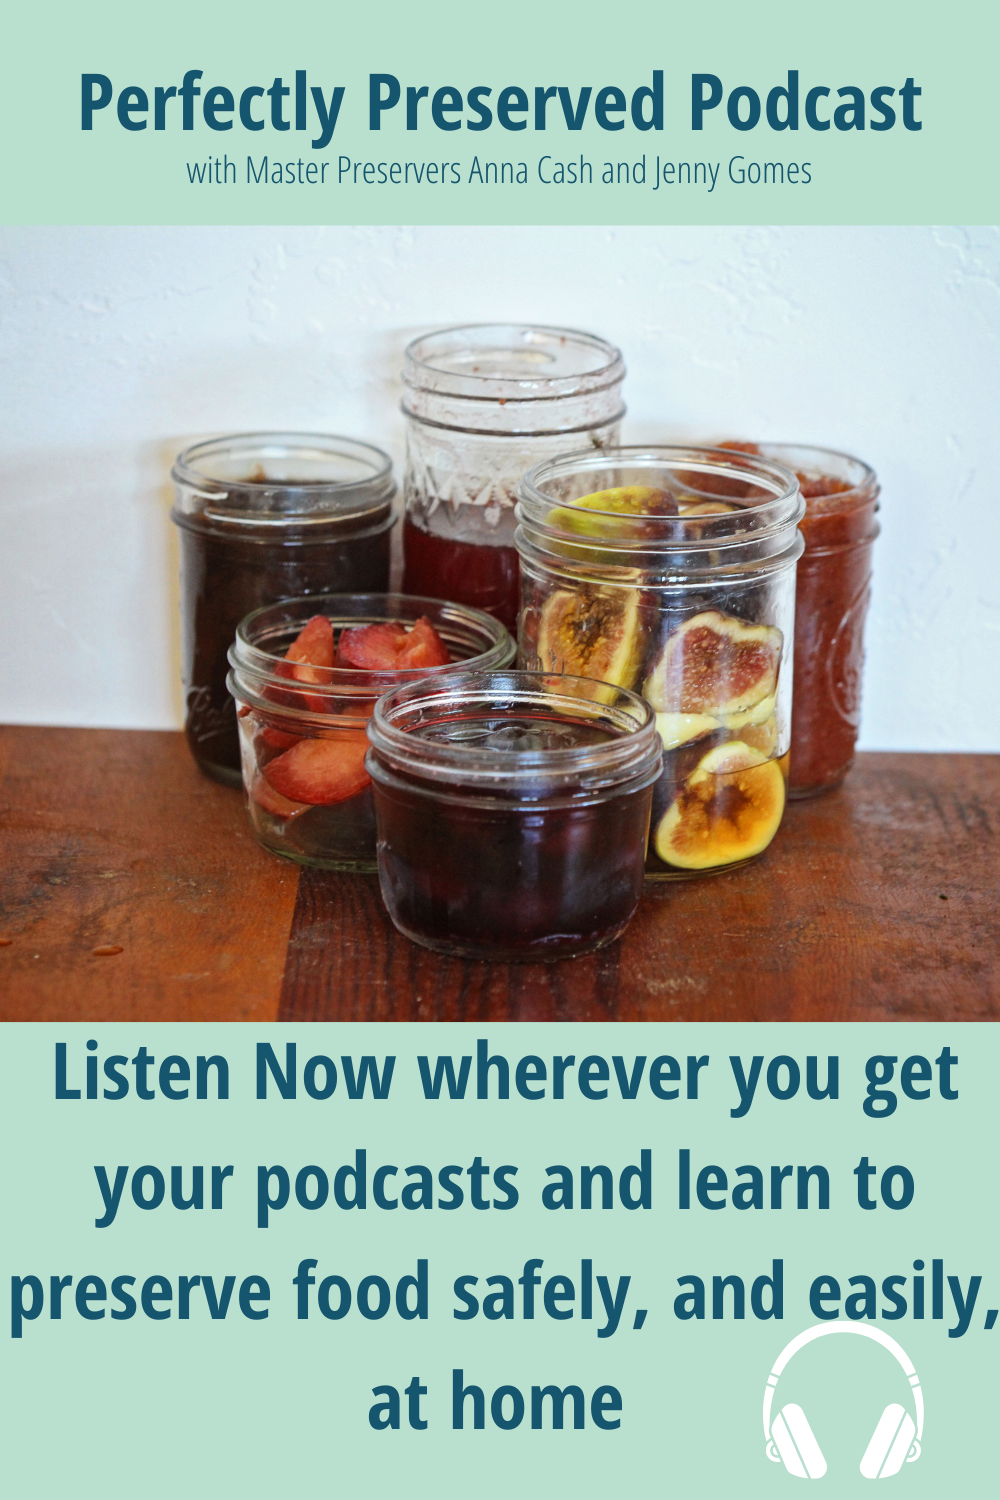
In September of 2022, I asked my friend Anna of Smart Home Canning to co-host a podcast with me. We dove in and our canning and preserving podcast, Perfectly Preserved, releases an educational podcast episode once a week (on Wednesdays!) available wherever you listen to podcasts, or on our websites (known as ‘shownotes’). 

Podcasts are radio style shows hosted on the internet. You can listen on Apple podcasts, on my blog from your smart phone, tablet, or desktop computer (click here), on Spotify, or anywhere you get your podcasts. You can click on any episode topic that interests you, share it with a friend, and best of all, subscribe so you never miss an episode. 

Hosting a podcast was really the last thing Anna nor I needed to add to our very busy plates. We met online as canning friends (or, dare I say, canning influencers!) and then she hosted me in Ogden, Utah when I traveled to take the Master Food Preserver course. We affirmed that we were canning friends in real life as well as online. We kept in touch of course and shared back and forth the things we wished we could tell the new and experienced canners out there about saving time, canning safety, and best practices. 

We knew we wanted Perfectly Preserved to be all information and very little chit chat. You know the podcasts where one host says, “How was your weekend?” and the other host shares for several minutes all the details of the weekend when you as the listener are just trying to wait for the diatribe to be over get to the reason you clicked on the podcast in the first place? We didn’t want that. Each episode of the Perfectly Preserved Podcast hits the ground running. We dive into the topic for the day, sharing what we know as Master Preservers, or with a guest who is an expert in their field. We love food preservation and we want to share that love with our listeners. 

If you have food preservation questions or want to be on the show as an expert guest please email perfectlypreservedpodcast@gmail.com

We love answering questions on the episodes. 

We want to keep creating this free, fun resource for the world, but we need your help to do it. If you listen, there’s several ways you can help. You can:

  • Leave a rating and a written review. The reviews don’t have to be long but a quick written review really helps our show get seen by new eyes and thus listened to by new ears. 
  • Share the podcast with a friend. Share on social media (tag @thedomesticwildflower and @smarthomecanning on Instagram so both Anna and I will see it and say thank you!), share it by texting it to a friend, suggest it to pals at the farmers’ market, or if you dare, send it to a relative who needs some tested technique instruction in their lives (we are looking at you, Botulism Beckys!)

Here are some of our most recent episodes!

  • Perfectly Preserved Podcast Episode 62 Is Honey Fermented Garlic Safe?
  • Perfectly Preserved Podcast Episode 61 A Closer Look at Pur Mason Canning Supplies
  • Perfectly Preserved Podcast Episode 60 Everything Apples: Preserving Fall’s Bounty
  • Perfectly Preserved Podcast Episode 59 All Things Salsa
  • Perfectly Preserved Podcast Episode 58 Need to Know Tips to Avoid Siphoning
  • Perfectly Preserved Podcast Episode 57 Safe Canning: Major and Minor Mistakes You Can’t Afford to Make
  • Perfectly Preserved Podcast Episode 56 The Perfectly Preserved Podcast Turns 1: Fan Favorites, Celebrations and Freebies
  • Perfectly Preserved Podcast Episode 55 Canning Hacks: Managing Overwhelm and Planning for a Successful Canning Season
  • Perfectly Preserved Podcast Episode 54 Jams, Jellies, Conserves, and More
  • Perfectly Preserved Podcast Episode 53 Listener Q& A: Canning Answers with Anna and Jenny

Filed Under: Can

Home Canning and Botulism

July 28, 2022 by Jenny Gomes Leave a Comment

This post will share what the botulism toxin is and how it is easily avoided by using safe home canning procedures.

C Botulinum grows its toxin ONLY in a no-oxygen (anaerobic) AND low acid environment. That means you’ll not get it on your leftover pizza in the fridge, nor in raw milk for example because those environments have oxygen present. Many #rebelcanning recipes create a perfect environment for the botulism toxin to grow because they add diary (can’t be heated hot enough in the home canning process to kill plus it turns out gross), or pasta/flour (there’s a canning-safe starch called ClearGel– use that!) or they use a canner that cannot, no matter what, get hot enough (Instant Pots or a water bath canner for low acid recipes) to kill the bot spore. It requires a heat of at least 240 F to be killed. A water bath canner can ONLY get as hot as boiling water, which is 212F (even a rapid boil is only this hot, same as a simmer!). Instant Pots have been tested extensively by cooperative extensions and they simply don’t get hot enough inside the jars. 

High acid water bath canning recipes WORK because the acid prevents the growth of the bot toxin (as well as molds). Acid is amazing! High acid recipes include jams, jellies, and pickles. There’s a free Acid and Canning chart you can download here!

You do NOT need to be afraid of getting sick with botulism because you’ll never can a low acid recipe in a lower temp process and you’ll never can dairy and pasta. Canning is simple and easy. The rules aren’t made to ruin your fun nor are they politicized. They are simple facts. When I was at the Master Preserver Course we watched this wonderful video about a woman who got botulism from her improperly canned green beans. I suggest you watch it. 

Fear not and use science as your touchstone! Learn more safe home canning techniques from me, a Master Food Preserver, in my Free Canning Basics Course.

Filed Under: Can

Canning Recipes To Build Beginner Skills

July 14, 2020 by Jenny Gomes Leave a Comment

If you’re new to canning and want to build your skills, this list of recipes is for you. Here’s what I suggest you can, in the order I think would build your skills the best, working from very fastest and easiest, to little bit longer and slightly more involved recipes. Think of it as a canning self study course. These are the canning recipes to build your beginner skills!

The FIRST canning recipe you should make is raspberry jam.

If raspberries aren’t available, make strawberry jam.

Raspberry jam is an ideal first canning recipe because it cooks up SO fast (DONE in about 20 minutes) and has naturally occurring pectin making it firm up so perfectly with no work on your part. It is a great choice as your very first (or 100th) recipe. It also requires no additional pectin.

The SECOND recipe you should try is a mixed berry jam 

OR a pickle like carrot pickles or dilly beans. Make jam if you have berries and work on those skills of quickly mashing and cooking OR make a pickle and relish (pun intended!) how easy it is to heat up the brine and pour it over the veggies you pack into jars- SO SIMPLE! These two types of recipes are just a tiny bit more difficult/time consuming than a plain raspberry jam.

The THIRD recipe you should make is pickled pearl onions 

OR a pitted cherry in a fruit cup.

These are a little bit more prep – pitting the cherries or peeling the onions- but it is super simple to prepare a brine or syrup and ladle it over the warm cherries or onions. These take a little time to prep but the cooking time is very little, making them ideal for the hottest days. You’ll have nutritious canned fruit or veggies in under an hour with these canning recipes.

FINALLY, make my Fast Tomato Sauce 

or Tomato Jam.

Tomatoes aren’t difficult but they take a bit more work (they need to be blended/pureed) and they require the addition of an acidifying ingredient to put them safely within the acid range of 4.6 or lower (which is greater acid). This isn’t difficult either; you’ll simply follow the recipe and add an acidifying ingredient as directed. They take a bit longer than a jam, but they are so versatile and wholesome (no added sugar in the Fast Tomato Sauce, and such great pantry staples!) that if I had to can just one thing for the rest of my life, it would be fast tomato sauce. 

Download the free Acid & Canning Chart to SEE where tomatoes are on the acid scale (they are much less acidic than you think!) and understand what swaps are safe and which are not when canning.

If you’re newer to canning, or need to brush up, I suggest you check out the Canning Jump Start Guide

Canning Jump Start Guide

The Canning Jump Start Guide contains:

·10 Easy Recipes

·Equipment checklists for both water bath and steam canning

·Stovetop guide

·Elevation adjustment guide

·Canning season planner

Pantry checklist

It’s a visual guide to help you dive in today! The best part? It’s only $5!

Filed Under: Can

4 Types of Sourdough Starter

July 1, 2020 by Jenny Gomes 3 Comments

This post will explain 4 different types of sourdough starter and how to create them easily yourself. Sourdough is a skill, not a recipe, though this post contains the 4 types of sourdough starter recipes for you to explore.

4 Types of Sourdough Starter

There’s a surge of people making sourdough starters right now, and this post will give the recipe for 4 different types of sourdough starter and tips for creating a healthy, delicious sourdough starter that you can successfully bake with and enjoy for years to come. 

Creating a sourdough starter will require the simplest of ingredients and tools (flour, water, perhaps milk and sugar, a jar or crock and a wooden spoon) but this is so very important to understand before you begin: Sourdough is a skill, not a recipe. It takes practice and patience, and even more so, a willingness to stick with it. 

These four sourdough starters I’ve likened to the characters of the show, Sex and the City.

I hope this metaphor helps you choose the right starter for you to create for your needs.

Carrie is classic, Samantha is strong, mature, and sassy, Miranda is more modern and forward thinking, and finally Charlotte is the sweet one of the bunch. 

For all sourdough starter recipes: 

Use:

Non chlorinated water. If the water that you use is chlorinated, simply fill a glass and let it sit overnight. This will allow the chlorine to dissipate. Chlorinated water is indeed one of the only killers of sourdough starter. 

A glass jar or ceramic crock and wooden spoon. Metal bowls or utensils will react with the good bugs in the sourdough in a negative way. I use a canning jar – a half gallon jar for my Carrie/Samantha starter (the one I bake with the most, and a quart jar for Miranda and Charlotte of which I use less often. More about these ladies in a minute. 

Patience. You shouldn’t expect to use a starter for the first 2 or even 3 weeks. There’s very little that will kill or hurt the starter, but it takes time to starve the bad bugs that cause the horrible smell and feed the good bugs into proliferation. 

Use the flour and water and milk and sugar that you NORMALLY have on hand. If you can afford and always have on hand boutique-milled organic flour, then by all means, make a starter with that. But if what you most often have is regular ol’ all purpose flour, then that’s what you should use. The benefits of consuming fermented foods such as sourdough are abundant, and thus you should not feel halted by the lack of expensive or out of reach ingredients. 

Note On Feeding Your Sourdough Starter: It can be confusing to decide how much to feed your starter. Using a canning jar with marks on the side that indicate the amount within is a helpful start. Say (on day 1 or 101) that there’s ½ cup of starter inside the jar. Dump (or use or share with a friend) half of this – that means you’ll get rid of ¼ cup of the starter. This is often called the “discard.” Then there’s ¼ cup starter left in the jar. Feed it ¼ cup flour and ¼ water (or milk if making a Charlotte-style milk starter). Those ¼ cup measures of flour and water combine to make ¼ cup-  which is confusing, because you’d think they’d add up to a ½ cup, right? The flour absorbs the water so you end up with just a ¼ cup (maybe a tiny bit more) added to your starter. 

You can of course feed your starter more- a lot more. You could feed a ¼ of starter 10 cups of water and 10 cups of flour if you wanted. I never feed more than 3 cups because it’s rare that I bake up more than that in a day. It’s frugal to keep a smaller amount of starter because you do have to feed it first daily and later every few days (not unlike a pet! A smaller dog eats a lot less than a larger one).

What if I need more starter than I have? I’ve done this lots of times, as I’m still learning the ropes myself, and chosen a recipe that calls for more starter than I have on hand. Here’s what you do if that happens: Feed the sourdough starter the amount you need (if you need 3 cups, feed 3 cups water and 3 cups flour) and give it several hours in a warm place to bubble and digest some of that flour. It depends on your starter but sometimes 4 hours can be enough; sometimes 6-12 is best.   

What to expect when starting any sourdough starter: 

It stinks. Seriously, sourdough starting stinks to the high heavens. I’m confident this is why people don’t succeed- they think that because it stinks, it must be “bad” and toss it. Be prepared to gag when feeding the first 2 weeks. For me, the whole wheat Miranda stinks the worst (even worse than Charlotte, which is hard to imagine!).  

Sourdough Starter Recipes

Remember: Sourdough is a skill, not a recipe. This will take practice and patience.

The Carrie: All Purpose (or other white) Flour and Water 

This is a classic sourdough. The Carrie Sourdough Starter can be made to be more mild (more like regular sliced bread from the grocery store with a few tricks including feeding twice a day and storing in a cooler location like a cool spot on the counter or in the fridge) or it can be transformed into Samantha (see below). I bake with Carrie often and makes a great loaf of Dutch Oven Sourdough. 

Combine 1 cup flour and 1 cup of water. Feed daily (as explained in detail above). 

The Samantha: Flour, Water, Time, and Hunger

The Samantha Sourdough Starter is mature, more complex, and has a stronger sourdough taste. 

You must start with a Carrie- that is, start with an established water and flour starter, and make her hungry. If normally you feed the starter every 24 hours, and wait 36-48 hours to feed. You’ll see a liquid (also known as hooch, as it is an alcohol) on top, likely, and that has a sour flavor. It may be dark, almost charcoal color, and that is fine. Stir that in to the starter before discarding. Repeat, baking with it as you like, and observe the flavor change. Continue to make the Carrie starter hungry, letting the liquid get dark (again, totally normal and okay) before feeding. In this way, you transform your regular sourdough into a more mature, sour Samantha. 

The Miranda: Whole Wheat Flour and Water 

Combine equal parts whole wheat flour and water. This starter took 3 weeks from start to when it started to smell sour in a good way (as opposed to a make-you-gag way). It stunk the most, and was the most finicky; it seemed to be flattest (least active) when the kitchen was cool or when I didn’t feed right at 24 hours. That said, now that she’s established, she seems to bounce back and bubble right back up after any unfavorable environmental conditions. I like to add the Miranda discard to my daily pancakes or to muffin recipes- because that’s such a small amount, I don’t tweak the recipe at all, the discard gets consumed, and I’m adding all that good protein and pre-digested whole grain to the pancakes and muffins. 

I personally bake with Miranda less often. Whole wheat is a bit trickier for a beginner and since I have other starters, the Miranda is fed ¼ or ½ a cup in my house. That’s because if I need more, I feed more, but most of the time, I’m feeding for maintenance. 

The Charlotte: Flour (likely white but you can try whole wheat flour!) Milk, and Sugar.

4 Types of Sourdough Starters

Combine 1 cup flour, 1 cup milk (whatever kind of milk you’re always going to have on hand) and 2 tablespoons sugar. 

This starter has a creamy taste and texture once mature, but for the first week, looked horrifyingly like a brain there in the mason jar and smelled terrible. It quickly transformed into the easiest starter in my lineup. It needs to be fed the least often (only every 3-5 days!), smells the least, and seems resilient to temperature changes. While a blog post in Old Farmer’s Almanac claims (erroneously, I think) that old fashioned starters were only water and flour, my great grandmother Nona and many others who had a reliable milk cow made this type of milk starter. Indeed, sometimes, a little milk might have been easier to come by than fresh water. It was this creamy but still sour starter that my dad kept my whole childhood, making pancakes many mornings a week, and stored the cupboard. 

When I started my sourdough journey, I was happy with my Carrie, but couldn’t figure out why it wasn’t creamy. When I finally read with fresh eyes Gail Jenner’s Sourdough Biscuits and Pioneer Pies, I realized that the starter I’d been used to had to be made with milk. This book has been a wonderful resource for sourdough recipes and care and I recommend it wholeheartedly. There’s a large section on sourdough baking that I think you’ll love.

It is my conclusion that if you always have milk in the house, and are not dairy intolerant, it is the Charlotte that is the easiest keeper, and as this has such a great texture baked into pancakes, muffins, waffles, doughnuts, and more, the Charlotte is the best starter to try.

If you are whole wheat in your house, make a whole wheat starter! Begin by baking (once it is smelling yummy) flatter baked goods like pancakes, crepes, waffles, and muffins to build your confidence and enjoyment. Then, work toward a loaf of bread as that’s a little harder to get height with whole wheat. It absolutely can be done of course, but start where the wins are most assured.

If you’re not sure, make a Carrie! It’s simple, very versatile, and will be very familiar in terms of smell (it smells a bit like the sourdough bread you’d get with a deli sandwich). If it’s a little tame for your tastes, follow the directions to make her into a Samantha.

If you are interested in learning how to bake sourdough from an expert, I can’t recommend Victoria of A Modern Homestead enough. She teaches an amazing video course where you’ll learn ALL things sourdough. She troubleshoots with you, teaches you about different grains, and you’ll rock all kinds of different recipes.

4 Types of Sourdough Starter

Victoria is a sourdough guru and I know you’ll love learning from her. I highly recommend you check out her course HERE.

The other resource for learning the skill of sourdough was Kelsey Hansen of Simple Life by Kels.   I learned a ton from her site, her cookbook, and her Instagram. I think you’ll love her too!

Filed Under: Can

Strawberry Rhubarb Jam Canning Recipe

June 30, 2020 by Jenny Gomes Leave a Comment

Strawberry Rhubarb Jam

Hello, summer! This strawberry rhubarb jam canning recipe is easy to make and is such a sunny-tasting treat.

Download the printable Strawberry Rhubarb Jam Canning Recipe here!

You can watch me make this and many other recipes on my IGTV channel here.

Strawberry Rhubarb Canning Recipe

You will need 

1 lb rhubarb chopped- about 4 cups

1 lb strawberries, washed and hulled

2 cups sugar

2 lemons, squeezed (fresh are fine)

2 boxes powdered or 2 packets liquid pectin

1. Combine strawberries and 1 cup of sugar, and layer on top the rhubarb and the second cup of sugar. Let sit for an hour or more, while you prepare you canner.

2. Prepare your water bath canning pot or your steam canner. Fill the water bath canning pot with water, add 5 pint (2 measuring cups total each) jars, and bring to a boil OR fill the steam canner to fill line and turn on low with the 5 pint jars nearby on a towel-covered counter top. 

3. Combine strawberries, rhubarb, and lemon juice and simmer together in a preserving pan (a heavy bottomed, wide pan) and stir occasionally for 15-20 minutes. 

4. Optional: Remove from heat and ladle into a food mill. Process jam through for a super smooth jam.

5. Return to a boil and whisk in pectin, a little at a time, quickly. Liquid pectin is especially easy if you chose to leave your jam whole-fruit.

6. Ladle into jars one at a time, apply lids and rings, and either submerge into the boiling water of the boiling water bath with a jar lifter  OR set gently on the rack of the steam canner. 

7. Process for 15 minutes PLUS 5 minutes for every 1000 ft above sea level. Remove from heat, rest jars carefully on towel covered countertop. Label cooled jars and store for up to 1 year. 

NOTE: I omitted the pectin and made a loose, soft jam that’s doubling as a pie fill. I plan on filling sourdough doughnuts with it for a sweet and sour treat.

Learn more at www.startcanning.com

Strawberry Rhubarb Canning Recipe

If you loved this strawberry rhubarb canning recipe, you’ll love this Canning Strawberries Recipe Book!

Canning Strawberries Recipe Book Cover

Filed Under: Can

  • Page 1
  • Page 2
  • Page 3
  • Interim pages omitted …
  • Page 21
  • Go to Next Page »

Primary Sidebar

Categories

Follow me here, there, & everywhere!

  • Email
  • Facebook
  • Instagram
  • Pinterest
  • RSS
  • Twitter
  • YouTube

Search

Get The Pressure Canning Cookbook

Get 10 Free Recipes Now!

Best Chicken Coop

Footer

Get Started Pressure Canning

Shrubology Ebook

Shrubology: Refreshing Homemade Fruit and Vinegar Syrups for Cocktails
Make easy, no-cook fruit & vinegar syrups for cocktails & mocktails! This ebook shares crowd pleasing recipes and simple to understand ratios so you can make a shrub on your countertop any time- without a recipe. Dive into these Prohibition Era drinks today!

Copyright

Copyright 2019
The Domestic Wildflower
www.thedomesticwildflower.com.
All content created by Jennifer Gomes unless otherwise noted.

Copyright © 2025 · Lifestyle Pro on Genesis Framework · WordPress · Log in