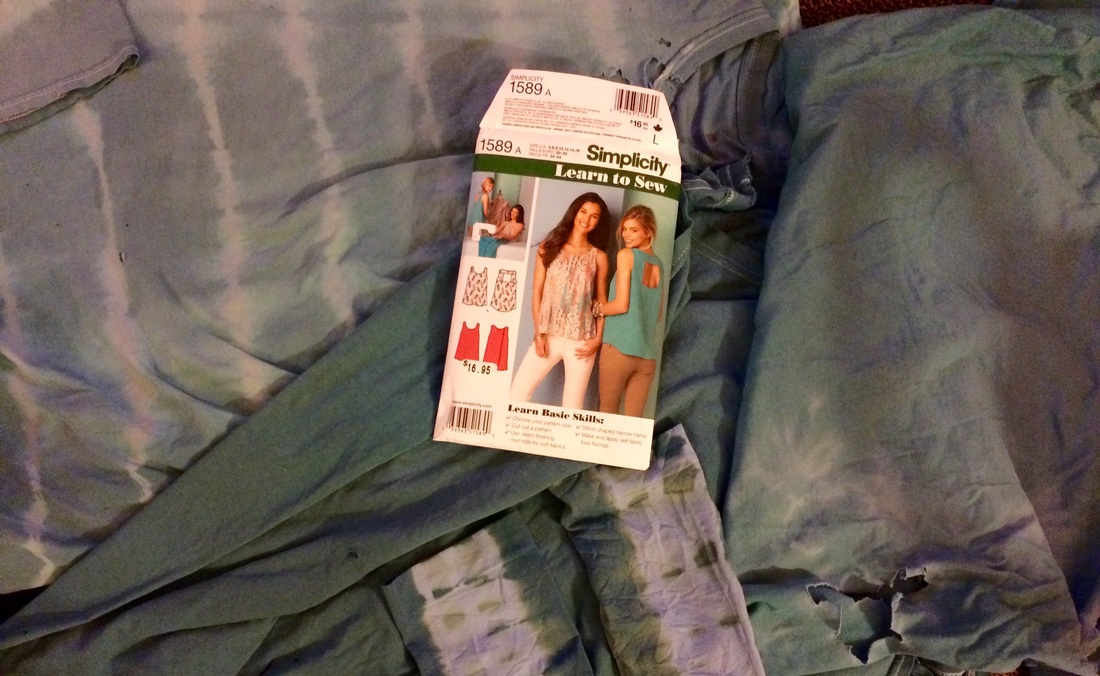
Dying fabric takes a certain level of comfort with commitment. There are products sold to remove dye but I have never used them and it sounds like more work and less fun than I’m looking for in my naptime sewing pursuits. I chose to dye several of my husband’s worn out, plain white work tee shirts with the intention of sewing them into baby leggings (excellent use of any knit), little girl skirts, and my flyaway back tank that I posted about here. This was a great way to use up the parts of the shirts that aren’t worn out, though was a little tedious cutting around the holes.
You can buy a fairly inexpensive bottle of liquid dye or even less expensive powdered dye and new life to old or faded fabrics pretty easily. Rit is a popular brand that I have had great success with but there are many other brands out there that are awesome also. Rit is appropriate for cotton, cotton blends, linen, other natural fibers, and some polyester blends. Generally, the more man-made fiber content, the more it would behoove you to seek out a brand of dye specifically for that fabric type.
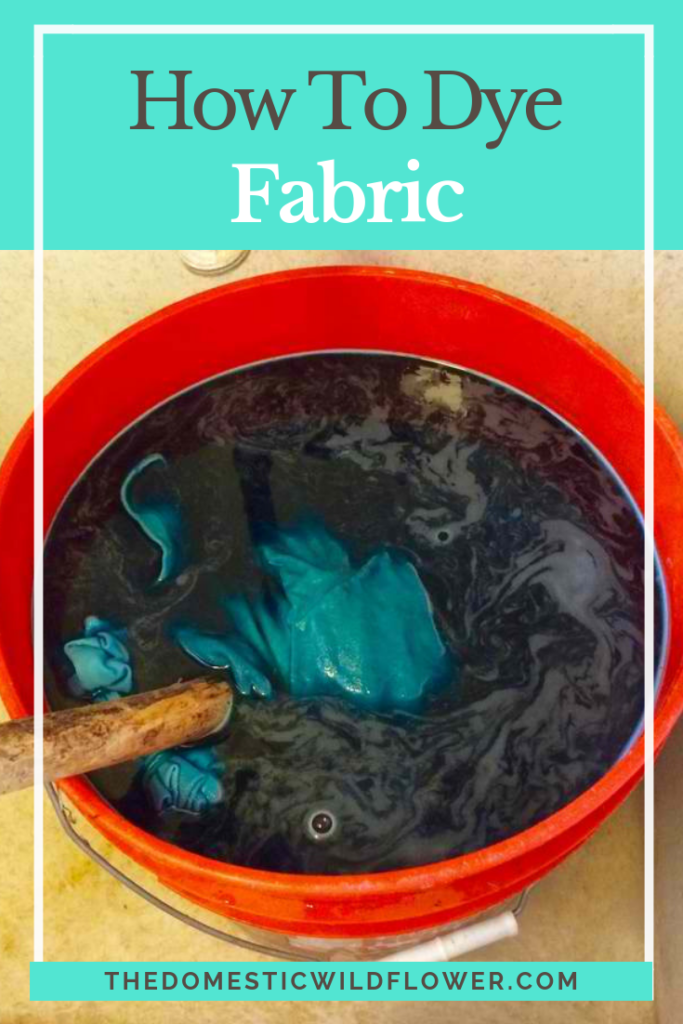
I was inspired by the beautiful shibori dying technique (examples here and here) but chose teal dye instead of navy. I used rubber bands to bunch up tie-dye-style the old tee shirts and placed them in a clean 5-gallon bucket, and put the bucket in our wash basin. Someday I may write an ode to the ever-useful wash basin that seems less and less popular in newer homes but I will be brief and just say I love mine for projects just like this one. In addition to needing a clean, non-porous bucket or receptacle you need a stirring stick. I grabbed a stick from the yard and was very glad to not have to worry about cleaning it. For past projects, I used a yardstick. If you have no stick handy, choose a non-porous (hard plastic) stick and avoid metal as it can react with the dye and probably change the dye a bit and perhaps pit the metal.
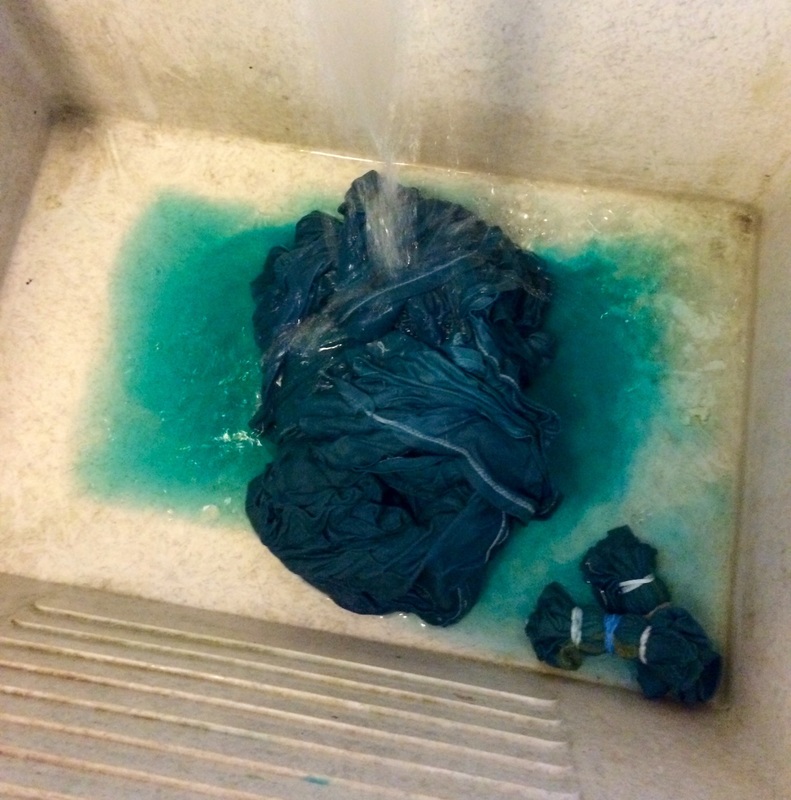
The directions will likely direct you to stir, stir, stir, and I wouldn’t skimp on this even if you are dying old tee shirts. The agitation is pretty important. The next step will be to rinse by hand and wash in a washing machine. Surely, you should use gloves to rinse but I’d be lying if I said I did. And my cuticles were green as a result.
I like to have a plan of what I will wash in the washing machine after I dye fabric. Rags or the plastic shower curtain are good choices to be sure your washing machine is free of excess dye. Run a large, empty load or a tub wash cycle, then wash something like rags directly afterward to be on the safe side.

The dying is actually very simple. Follow the directions on the bottle or box which are all basically going to tell you to add water, the dye, maybe white vinegar and/or salt (as a fixative which will help the dye “stick” to the fabric) and stir. The amount of fabric you can dye is based on weight- usually a pound or two of fabric per container of dye.
The advantage of liquid dye is minimal but clear: you don’t have to wonder if you have stirred vigorously enough for long enough the cauldron of teal blue water to dissolve the powder entirely. I have never had trouble with the Rit powdered kind and because it comes in a cardboard box, rather than a plastic bottle, and is less expensive by about $2, I’d say it is preferable for casual dying projects.
As for washing the hand-dyed garments later, I try my best to wash in cold water and with vinegar in the additive dispenser.
Easy, right? Tell me in the comment section below, Wildflowers, what have you dyed with success? Share your tips below!


Leave a Reply