This post will share the most common mistakes that beginners make when they start canning and tips for avoiding them when you are learning to can.
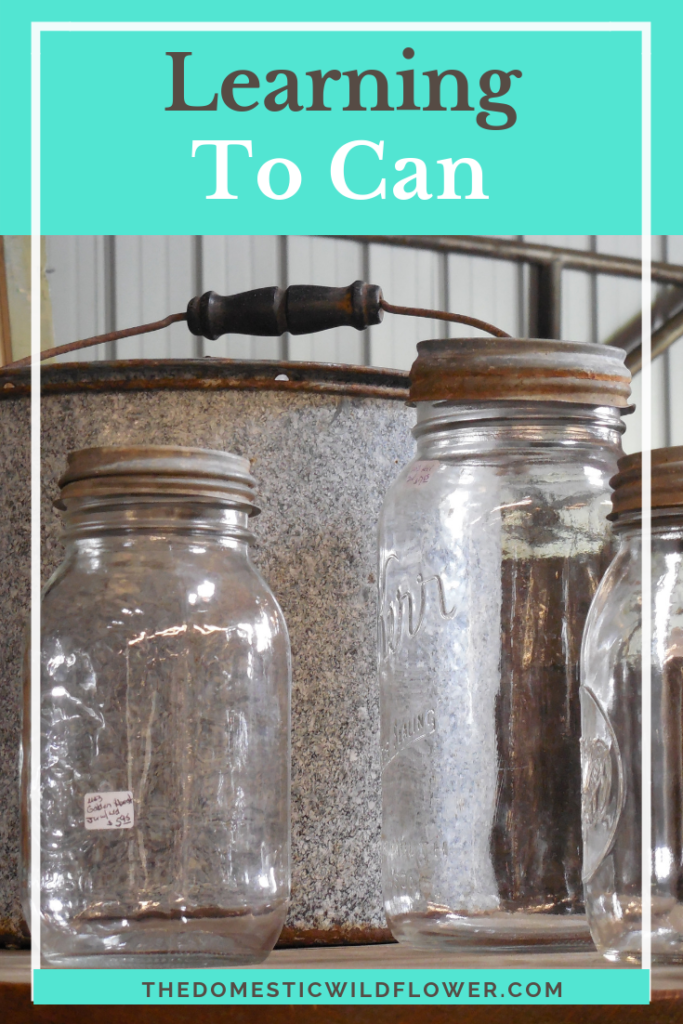
I know learning to can may seem SUPER daunting, and you are reading this post because of you 1. Are interested in learning to can and 2. Have no idea how to start, and 3. are sure you’ll make some of the mistakes I’ll list below in the post. You can also watch the video version of the post here:
Sign up for the free Canning Basics Course and you’ll be learning to can with confidence and step-by-step instruction!
Here are the most common mistakes beginners make when learning how to can!
-
- They think it is too hard. Newbies often think that canning is crazy complicated, far beyond the difficulty of normal cooking tasks. I always say that canning is easier than cooking a big holiday dinner. If you’ve ever cooked for many more than your family, had to put an extra leaf in your table, had to figure out how to put said leaf in the table, then you know what I’m talking about. Canning is WAY easier than cooking a big dinner and I’ll tell you why. There are never more than 4 pots on at once, you rarely have to use the oven, and all the action is in one place. Usually you have 2 pots boiling, 1 at a gentle simmer, and with a cold drink and a trusted cookbook, you can take it easy. With Thanksgiving dinner you have rolls to cook, pies to bake, a bird to stuff and roast and baste and truss…No. Thank. You. I’d can every day for a month to avoid that kind of stress. Canning is not too complicated.
- Beginners think they will make themselves sick. Canning has been around since Napoleon needed a way to preserve food so his soldiers afield could be fed and thus kept alive. Canning has come a long way since wartime spurred that innovation and now the USDA has vetted all the procedures, equipment, and techniques that are recommended by me and any preserver worth their salt. It is a science, not an art, and you don’t have to understand any of the science to do it safely and correctly. You just have to follow the recipe and I know you can do that!
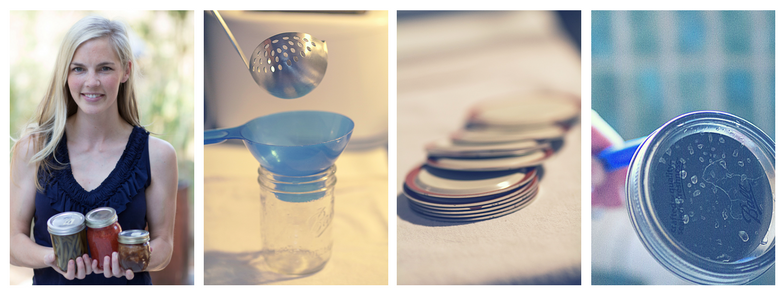
- Newbies think they don’t have all the gear to can. Canning does take a few pots and pans, to be sure, but I have a little trick for avoiding the big, black and white speckled enamel pot. You can use a regular stock pot (or a pot that is taller than the tallest jar you want to process by about 3 inches) and a silicone trivet. Here’s the affiliate photo link for my favorite kind.
That trivet keeps the jars from rattling around on the bottom of the pot and breaking and lets you avoid using a giant pot that you don’t already own. Get the complete equipment list here! The other items you need are things you probably already have in your kitchen and they are useful beyond canning. Download the free equipment list here!

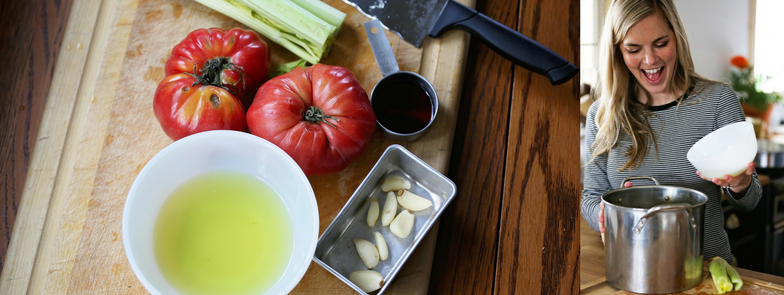
4. Some beginners think that all food in glass jars is canned food. It is not. If I made some spaghetti for supper and put the leftovers in a mason jar, that’s just using a smart container. It isn’t canning. If I made jerky in the oven at about 200 degrees allllllll day long and put it in a glass jar, that is not canning. If I used a pressure canner (a metal pot with a metal lid that LOCKS ON) then I am absolutely canning but that kind of canning procedure is for low acid foods (dairy, meat, vegetables…think cream of broccoli soup and ocean-fresh fish) and is a great way to preserve those lower acid food types. It is canning, but not water bath canning. Water bath canning is where you preserve high acid (4.6 or lower number on the acid and pH scale) foods like fruit (strawberries are about a 2 on the scale, for example) or veggies that are being made into pickles (vinegar is very acidic and thus makes the veggies very acid) in a water bath. To can, you take this higher acid food (jam, salsa, pickles), and put the hot food into hot jars. You’d put the lid and ring on and put the hot food back into the boiling water pot. The time the jars full of jam are submerged depends on how long it takes for the center of the food in the jar to get over 212 degrees F, which kills all spoilers. You take the jars out when the time is up and THAT is water bath canning. The critical piece of that puzzle is that you follow a recipe for water bath canning. Follow a recipe from a trusted source published in the last 25 years or so, and you’re golden.
5. Another mistake beginners make is they think canning is a mystery. It isn’t a mystery at all. It is really amazing indeed but it is no mystery. Water bath canning makes the food inside the jars shelf stable because of a few processes that happen. When the hot food in the hot jars is in the boiling water bath, the temperature gets hot enough to kill lots of spoilers or germs that would give a person a tummy ache or other ills. All the oxygen (read: food for germs or spoilers) is forced from the jar (you’ll see little bubbles rising from the jars) and when the jars are pulled from the water bath, a vacuum is created (magic! science!) and the lid is sucked down tight and a super strong seal is created so no germs or oxygen can get in. A seal is so tight that you can and should remove the rings when the jars are cool and you should be able to pick the jar up by the lid only. I cannot open the jar without a metal jar opener; it is a very tight seal indeed. The third element in this very scientific thing is the food in the jars is high acid. It is at a 4.6 acid level or lower number and that means that the things that might make you sick can’t live in a high acid environment. It is like the inside of the jars becomes like the surface of another planet; no oxygen, lots of acids, and it got so hot that anything in the jar other than delicious salsa was killed. Canning creates an environment inside the jar that makes it inhospitable to things that might make you sick.
6. They use a super old recipe. You know, because old = super cool. I’m with you all there; usually the older the better but with recipes you need to check your great aunt’s pickle recipe against one that was published more recently. One specific difference that I have seen that directly relates to safety is that in books that were published in the ‘60s, the recommendation is to increase the processing time by only 1 minute for every thousand feet you are canning above sea level. Now, we know to process for 5 minutes for every thousand feet. I’m not saying you can’t use an old recipe but you do need to check it against a new recipe and check processing time (the time the jars in submerged in boiling water) and the ratio of sugar/fruit or vinegar/vegetable.
7. Some novices think you can cut corners. Let me first say that I am the penultimate corner cutter in about 80% of my life. I’ll skip any step that I don’t see as NECESSARY and not think twice. I’m a big picture girl, and I love the idea that done is better than perfect. It drives my sister and husband crazy that I’ll rush around, forgetting all about details, but that’s me. That said, hear me loud and clear, Wildflowers: You cannot cut corners in canning. Fermenting on a countertop is an easy breezy counterpoint to canning. Sauerkraut is done in about 7-10 days after sitting on any old countertop at about any temperature. With canning, you use a timer, you follow the recipe closely, and you pay attention. There’s no “whatever” attitude allowed. You can’t wing it, or use some canning rings twist-tied together instead of getting a legit rack (I tried that) or a bbq meat fork and a regular pair of tongs as a jar lifter (also tried that). It truly is a pretty simple thing to learn but you can’t cut corners in canning.
8. Some newbies think that if the jar is sealed, you are good to go. Hold on a second. If I put hot LOW ACID food in a mason jar and processed it for a few minutes using only the recipe in my imagination, the lid would seal. Yep, that little magic vacuum would be created and the lid would seal tight. BUT the other parts of the process would be missing. The LOW ACID food – yummy fresh corn, plain ol’ green beans, something delicious like bacon jam which is LOW ACID- isn’t other-planetary enough to prevent germs from growing. It would look pretty, the jar would be sealed but the inside of the jar would be like any other container in the back of your refrigerator growing fuzzy mold. It would be a little world where bugs could grow, and you don’t want that.
9. They try to learn alone. Aside from the obvious that learning a new thing is fun with a friend, canning with an expert friend is way easier. I want to see you all enroll in the completely free canning basics course that will show you where to learn more about canning safety (there’s a video walk-through of the USDA site!), all about the equipment you need and what you can skip, and it will teach you the foundations of canning. Think of it like step zero. Sign up here!
The Canning Basics Course
Addresses the three most common misunderstandings beginners have if they’ve never canned before. Those three areas are
-
Safety (so easy to follow simple steps to perfectly sealed jars!)
-
Process (what to do when)
-
Equipment (you probably have everything you need already!)
In the free course, I include a video walkthrough of the USDA canning database where I explain the rather large and sort of difficult to follow final word on canning safety. I show you the sections you can bookmark to read at a later time if you desire, and I explain in a “Reader’s Digest” way what it all means.
This little course is really valuable also if you haven’t started canning because you are worried about having to get a ton of equipment. I explain the essentials, substitutes for many of them, and I also explain what you do NOT need. That way, you won’t end up with a space-hogging overabundance of kitchen gadgets.
I teach finally what to do when which is the part that also trips newbies up. People often remember watching mom or grandma can when they were kids, and their memories are of looking up at a cookstove full of boiling pots. That memory isn’t enough to get you started, and is sure to only cause you stress when you try it yourself.
I can’t wait to see you on the course! (Did I mention it is free?)
Yes! Get Instant Access!
What can you can? Well, it will be hard to rein in my enthusiasm as I list so bear with me.
You can preserve in jars things like…
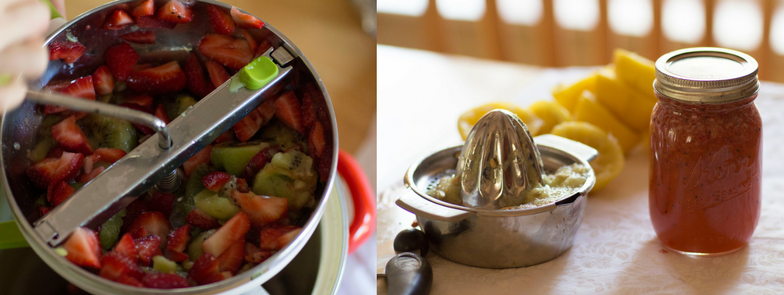
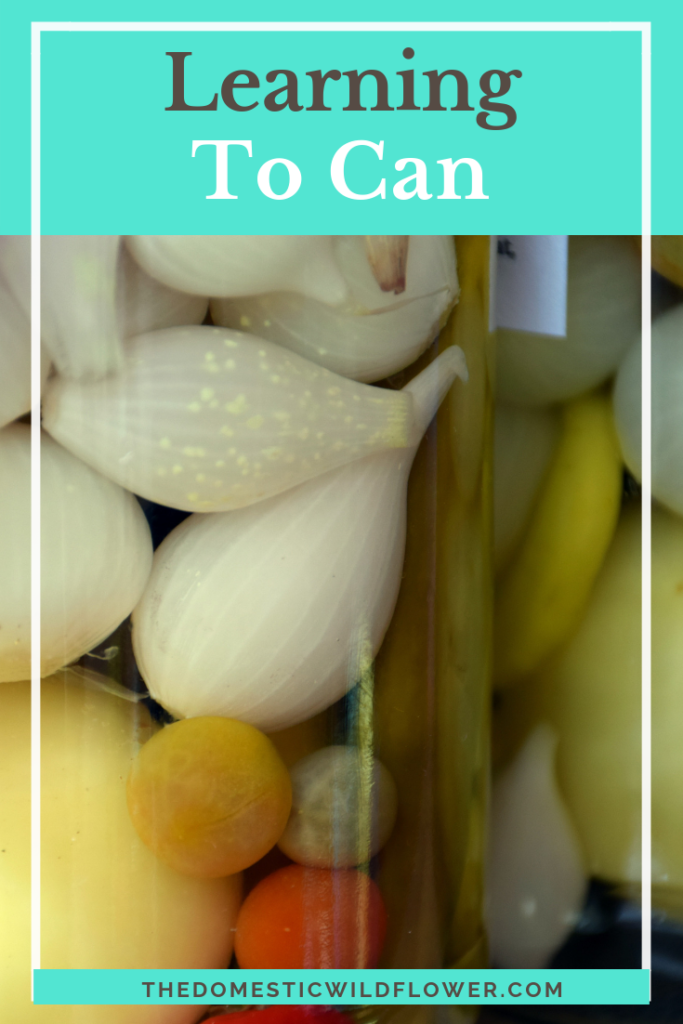
jam | jelly | syrup – not just for pancakes- think in drinks, on ice cream… | conserves (fruit & nuts!) | fruit & alcohol (like cherries in wine!) | pickles | pickled pearl onions for garnishing a cocktail | applesauce | fruit butter | slices of peaches, pears, etc. | shrubs | marmalade | pickled mixed & spiced vegetables like escabeche | hot sauce | salsa | marinades for meat | tomato sauce and every incarnation of tomato you can think of | roasted bell peppers | bread & butter pickles | and MORE
Canning is NOT using a pressure COOKER like an instant pot (though I hear those are great for tough cuts of meat!), it is NOT just putting food into jars and sticking it in the fridge, and it is NOT fermenting sauerkraut on your counter in a jar (great idea though!).
There are countless advantages to canning your own produce but here is the short list of why I LOVE it and why I know you will too:
-
Canning saves a ton of time.
-
Canning saves money.
-
Canning allows you to have wholesome produce ready to eat year round.
-
Canning helps you eat sustainably.
-
Canning eliminates the worry about mystery ingredients or allergens- canning jars are literally and metaphorically clear.
-
Canning is easy. Hot food goes into hot jars, which goes into a hot water bath. Done.
-
Canning helps you eat more produce, that tastes better, that you got to CHOOSE.
-
Canning gives an enormous sense of accomplishment and satisfaction.
I want to invite you all to join this super valuable online course now!
Yes! Get Instant Access!If you’re not sure about the whole “online course thing” I don’t blame you. Here’s a little walkthrough of what it will look like inside. There’s no homework, no deadlines, and you don’t have to enter your credit card information or anything like that.

[…] If you are interested in learning more about canning, she has a free beginners course available! And a great introductory blog post here. […]