• Skip to secondary menu
  • Skip to main content
  • Skip to primary sidebar
  • Skip to footer
  • The Pressure Canning Cookbook
  • Blog
    • Subscribe
    • Welcome!
  • Perfectly Preserved Podcast
  • About
    • ADW Manifesto
    • Work With Me
      • Read
  • Shop
    • My Account
    • Cart
    • Checkout

The Domestic Wildflower

Handmade Food & Craft Tutorials for Beginners

  • Courses
    • Free Canning Basics
    • Everything Canning Course
    • Steam Canning Workshop
    • Free Homemade Cocktail Mixers
    • Wildflower Mixology
    • Crochet Basket Workshop
  • Can & Preserve
    • Never Canned?
    • Steam Canner Equipment Bundle
    • Shrubs Course
  • Sew
  • Cook
  • Craft
    • Crochet Step-by-Step Guides
      • Crochet Basket
      • Giant Yarn Throw
      • Thick & Thin Throw
  • Living
    • Creativity Challenge
    • Clean
    • Kids
  • Rentals

Jenny Gomes

Teaching Months and Days to Kids

January 5, 2016 by Jenny Gomes Leave a Comment


Teaching Months and Days to Kids

Oh, the New Year is here! I LOVE the fresh-start feeling, regardless of how cliche it may be, and one of the many things I’m aiming for is upping my teach-my-small-child important stuff game. I was gifted a fabulous resource for teaching kids days and months (and a lot of other awesome things!) and I am so happy to share it with you all.


The Fun, Happy Calendar is a perpetual calendar which brings me to my first “lesson.” Because it is perpetual, you can pencil in the days of the week with your lucky pupil which will help practice letter formation, the correct order of the days and the idea that each line has seven days, hence the seven day week. OR you can not pencil in the days of the week and reuse the calendar over and over, as in perpetually 🙂 It is a win for moms either way.


This calendar is also a coloring book. A coloring book + calendar is right! The illustrations for each month are ready to be filled in by parent and child alike (we love coloring in colored pencils in my home, occupied by children who are ages 36, 4, and 2). The illustrations are of the birth flower, stone, tree (the author’s brilliant invention), and other relevant characters.  

[Read more…] about Teaching Months and Days to Kids

Filed Under: Kids

How to Wrap Presents

December 23, 2015 by Jenny Gomes Leave a Comment


How to Wrap Presents
How To Wrap Gifts with Brown Bags: A Less Waste Idea

Gift wrap is one of the most wasteful parts of the holiday season that I have almost entirely given up. Here’s how I skip spending money on gift wrap that looks cute and then is promptly thrown away. I use brown grocery bags and tie by packages with thrift store yarn and label with a marker. Read on for this simple technique and give up wasteful gift wrap!I use brown grocery bags for a few reasons. I haven’t completely gotten with the bring-your-own tote to market program and lots of times I have to get bags from the store. I ask for brown bags because paper products literally grow on trees, can be reused for many, many things, composted, and are a renewable resource that supports American men and women. I use small ones for popping corn in this post here, and I use the trimmings from wrapping gifts to start fires in the woodstove and while it is not a no-waste method, it is a totally cute, much less waste method.
[Read more…] about How to Wrap Presents

Filed Under: Craft, Living Tagged With: brown bag, gift, holiday

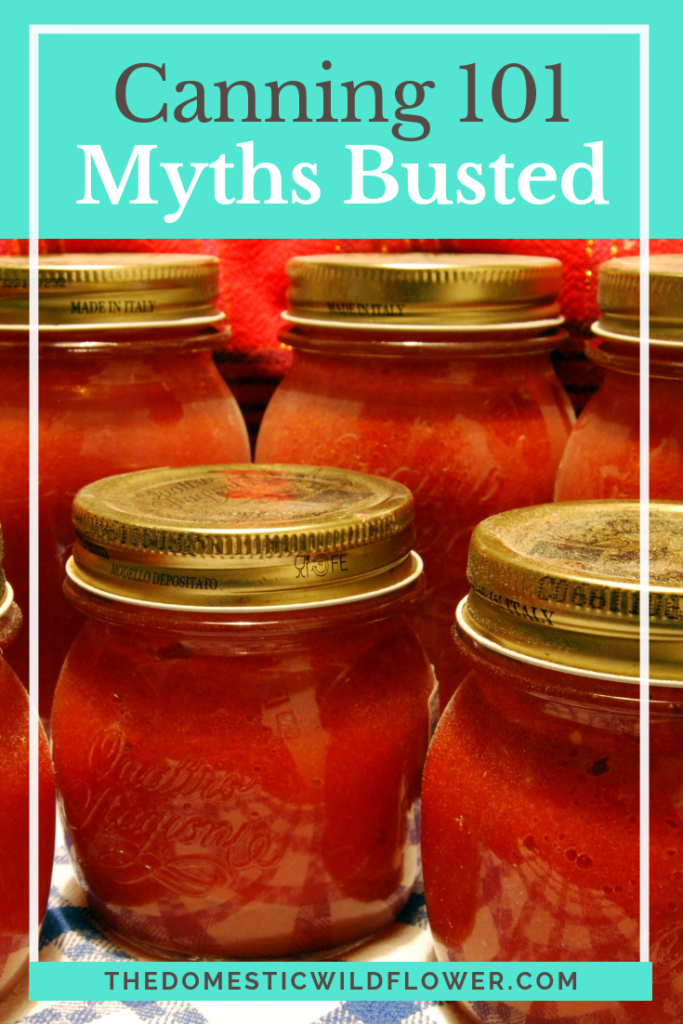
Canning 101: Myths Busted!

December 21, 2015 by Jenny Gomes Leave a Comment


Canning 101: Myths Busted!

Canning Myths Busted: Canning is Safe

One of the biggest reasons that only about 20% of the population in the US cans (puts food into jars) is concerns over safety. In this post, I aim to explain why if you follow the rules (the way you might observe the speed limit and wear a seat belt) canning is absolutely safe.

One way you can feel assured when you start canning as a beginner is by knowing about temperature and its role in killing the bugs that might make us sick. Note a few important temperatures in the infographic below:

212 degrees F is the temperature at which high acid foods like many fruits (discussed at length in my post here) are safely canned in a water bath (boiling water + jars full of hot, delicious food). This temperature is where bacteria, yeast, and molds cannot live inside the jars of food.

24-250 degrees F is where low acid foods (think lots of veggies and meats as mentioned here) are canned in a pressure canner (this is a big pot that has a lid that locks on and a pressure gauge- I haven’t written a post about these bad boys yet but I will soon:) safely and where all spoilers are killed that may be lurking inside the jars.


Canning Confidential - Temperatures for Food Preparation

Source: Fix.com

Adjusting for altitude: This is not as scary as it sounds. For every 1000 feet that you live (and thus are canning) above sea level, add 5 minutes to the processing time (the time the jars filled with food are in the boiling water bath). That means that if you live at 4000 feet above sea level, you will add 20 minutes to the processing time. It would likely behoove any high altitude canner to check with their local cooperative extension for specific recommendations.

The other element that a canner should consider is acid. If the last time you thought about acid it was in science class and you were holding a piece of litmus paper and a hypothesis worksheet, never fear: You simply have to follow a recipe from a trusted source. That’s all you have to do. You don’t have to understand the concept at all: You just need to follow a recipe from a good canning book published sort of recently- say, in the last 10 years. Here are a few that I love and recommend:


That’s not to say the recipes in Grandma’s book are all wrong. It just means you might check it against a very similar recipe that is more current. And this is the very reason I shared this post about acid & canning; Once you get started canning, it isn’t long before you are planning the next batch of preserves and shortly thereafter you might start dabbling in recipe substitution. Refer to this handy PDF I created, just for my Dear Readers, to know if it is safe to swap out lemon juice for lime, (yep!) or figs for strawberries (nope!).


If all this is still a little hazy and seems too reminiscent of the witches in Macbeth chanting, “bubble, bubble, toil, and trouble” then head here: http://nchfp.uga.edu The National Center for Home Food Preservation is THE resource for those who want to learn more before taking the canning plunge.

Okay, Wildflowers~ I need your help. I want to hear from you and to encourage you to give me a little feedback, I have partnered with Mason Jar Lifestyle, an awesome company that sells all kinds of a functional and fashionable Mason jar and canning goodies. I wrote a guest blog post for them here and because they are so bad, they shared some goodies with me and my readers. You should check them out- you will thank me later 🙂


Related Posts:
Acid & Canning Guide
Keeping Track of Canning: Canning Log


Filed Under: Can

Homemade Sauerkraut

December 17, 2015 by Jenny Gomes 2 Comments

Homemade Sauerkraut: Home Fermentation & Zymology 101

This post may contain affiliate links. All opinions are my own. 

Homemade Sauerkraut

Homemade Sauerkraut: Zymology 101

Sauerkraut is simple to make at home and the part that requires attention is handled by a simple, made in the USA, effective product called the GoFerment lid. I am terrible at tasks that require long term attention. Making bread from scratch, minding candy as it cooks to a certain temperature, rinsing sprouts (daily? weekly? twice daily? hourly? ugh!), and the like are all failures for me. This device caught my attention because it eliminates the burping and paying attention during the week the produce ferments on the counter.

Get a cabbage, a mason jar, and a GoFerment lid (or an old fashioned crock if you have the attention that I lack) and a little salt and read on Wildflowers!

You will need:
½ green cabbage
½ tablespoon salt

You can double the above and use a half gallon jar. You can purchase quarts (for the half recipe that I made) or a half gallon jar (that I rarely see in stores in my rural area) by clicking the photo links below. Furthermore, if the idea of a handy lid that ensures fermenting success is enticing, click the photo link below to purchase.


Go Ferment! Wide Mouth Mason Jar Mold Free Anaerobic Fermenting Kit w/ Recipe E-book (2 Pack, Grey)

Wash your receptacle (mason jar and GoFerment lid or crock) well and set aside. Fill the airlock (the top vial-thing extending into the air) to the fill line with water or cheap vodka. The airlock allows the gas that is created in the fermentation process to escape without allowing potentially mold-causing air in. It’s pretty smart.

Slice cabbage into shreds. Place cabbage into a bowl, add about half of the salt and begin working the cabbage with your hands, sort of kneading and massaging with vigor, aiming to release from the cabbage all the water that is naturally held within. I felt a bit disappointed at first because the brine took a while to be created. The more you squeeze, the more the cabbage will break down and the more brine will be released. Add the remaining salt and squeeze ever more. The goal is to create enough brine to cover the cabbage. If you become impatient or you don’t have quite enough brine, you can add some brine to the jar in the next step.


Homemade Sauerkraut: Zymology 101 | A Domestic Wildflower click to read this helpful tutorial for those interested in getting started fermenting foods like sauerkraut! This tutorial tells you everything you need to know to make a batch of sauerkraut in a mason jar on your countertop. Click to read now!

Homemade Sauerkraut: Zymology 101 | A Domestic Wildflower click to read this helpful tutorial for those interested in getting started fermenting foods like sauerkraut! This tutorial tells you everything you need to know to make a batch of sauerkraut in a mason jar on your countertop. Click to read now!
Fill the clean crock or jar with the cabbage and brine. If the cabbage is not completely covered, add a brine solution of one cup water plus 1 teaspoon salt until the cabbage is completely submerged.

Screw on the GoFerment Lid and watch and wait for 7-10 days. Foaming a bit is okay, and the airlock allows gas to escape without letting potentially mold producing air in. I tasted it at day 7 and then at day 10. Day 7 was not enough tang, and too much like plain cabbage. 10 was perfect. Check yours with a clean utensil and give it another day or so if the taste isn’t to your liking.

If you want more information on fermenting foods, www.culturedfoodlife.com is a site I found that is full of information. The post I found particularly relevant was this one here: http://www.culturedfoodlife.com/fermenting-tip-use-a-lid-or-cloth/ This post discusses the pros and cons of using an old fashioned crock and troubleshoots some common pitfalls.

Why you should be eating more fermented foods: Fermented foods such as sauerkraut, kimchi, kefir, buttermilk, and other vegetables help the immune system work at an optimal level. They are a natural source of microflora which helps with digestion and a variety of other systems within the body and they are a source of many nutrients. Furthermore, fermented foods were present in the diets of nearly all our ancestors. The most important reasons, to me? They are delicious, inexpensive, and fun to make.

My final product:
I LOVE how my sauerkraut isn’t mushy. It is soft, but not much. The mushy storebought ‘kraut I have had in the past has been entirely lacking structural integrity which I’m not crazy about. This homemade goodness is toothsome, even. It’s a condiment homerun. The flavor is cabbage-y but salty and tangy and really, really good.

To enjoy: I will be putting this sauerkraut in a Rueben sandwich, and on a Polish dog. What else should I eat it with, Wildflowers? AND, what should my next fermenting project be? Thanks for sharing your suggestions in the comments section! And if you want to grab your own GoFerment lid, use the link below!

Go Ferment! Wide Mouth Mason Jar Mold Free Anaerobic Fermenting Kit w/ Recipe E-book (2 Pack, Grey)

Homemade Sauerkraut: Zymology 101 | A Domestic Wildflower click to read this helpful tutorial for those interested in getting started fermenting foods like sauerkraut! This tutorial tells you everything you need to know to make a batch of sauerkraut in a mason jar on your countertop. Click to read now!
My finished sauerkraut atop my sourdough English muffin, gouda, and turkey sandwich. Amazing!

If you aren’t sold on this weird, on the counter, home fermenting thing, consider this: By adopting waste-reducing processes, like home fermenting, you can waste less money and fewer resources. Food waste is a real shame, for lots and lots of reasons, and this infographic below can be a guide for buying dry goods in bulk and produce not in bulk and more often.

For example, my little family often won’t eat a whole head of cabbage before it starts looking less than appetizing. So, by cutting my cabbage in half, making roasted cabbage and onions for supper and sauerkraut with the other (both while the cabbage is fresh) then I have avoided the food waste I might have succumbed to otherwise.


Food Waste Prevention - Buy in Bulk

Source: Fix.com

If you are feeling excited to try fermenting, you are ready to learn about canning too! I have created a completely free canning basics course that teaches the three things I see beginners struggle with the MOST: equipment, process, and safety. You can sign up for this easy video+ email course here! 
Happy fermenting, Wildflowers! I can’t wait to hear what you are fermenting, what you want to ferment, and how much you love the GoFerment lid that removes the ‘minding’ from making yummy things like sauerkraut! Comment in the section below!

Filed Under: Cook

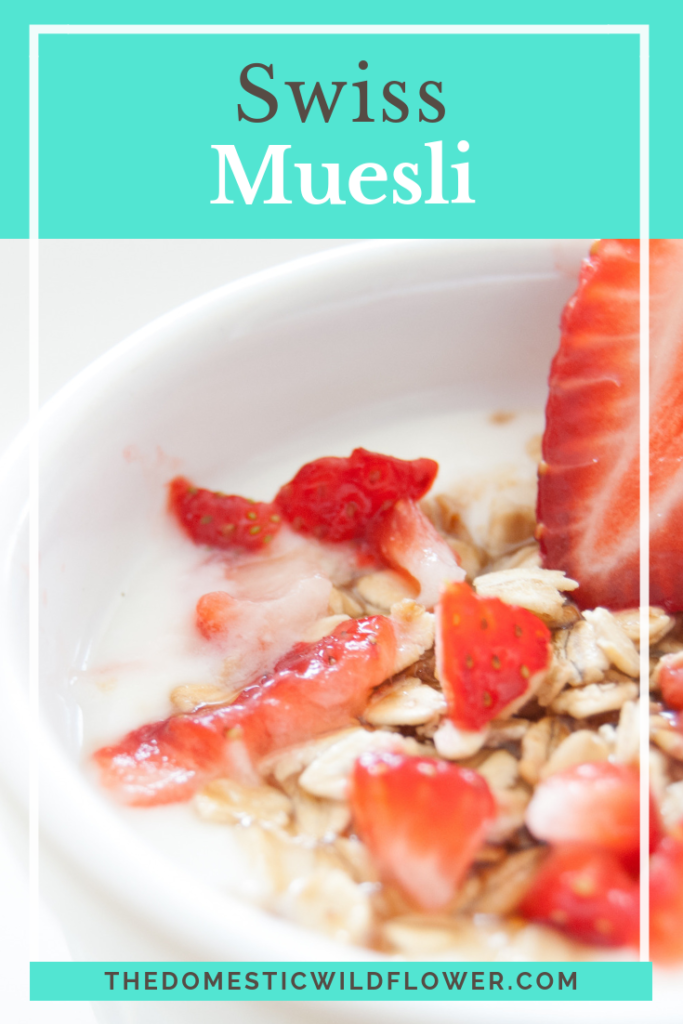
Swiss Muesli

December 10, 2015 by Jenny Gomes Leave a Comment


Swiss Muesli

Swiss Bircher Muesli: An Authentic and Healthy Breakfast

Muesli is a widely used descriptor referring to breakfasts made with grains, dairy, and fresh fruit. The recipe that follows in this post is adapted from the excellent “The Swiss Cookbook” by Betty Bossi gifted to me by my kind Swiss cousins. If you are hungry for a wholesome breakfast that is fast and delicious, read on.

I am told that Betty Bossi is the Swiss equivalent of America’s Betty Crocker. As a lover of all things Swiss, I am excited to work my way through this beautiful cookbook which is broken down by regions in Switzerland and recipes that hail from that area. The recipes are also denoted with Swiss flag icons with 3 flags meaning “very authentic” and 1 meaning it uses authentic elements with a modern interpretation. I’d recommend it for any Swiss cooking enthusiast and you can purchase it from Amazon by clicking the affiliate photo link below.

The original Bircher muesli recipe, waving 3 little Swiss flags, made enough for more than one breakfast and called for currants, which I don’t have access to. I also modified the requirement for sweetened condensed milk to require my crockpot-ed sweetened condensed milk-turned caramel that I shared here. If you have a can of sweetened condensed that you haven’t turned into caramel, by all means, use it. I found the caramel to be really tasty and I hope you do too.

Bircher Muesli – Serves 1

3 tablespoons rolled oats
1 ½ tablespoons crockpot caramel or sweetened condensed milk
1 tablespoon milk
1 tablespoon lemon juice
1 large apple

Mix all the ingredients except the apple together in a bowl. Using a box grater, grate the apple over the mixture and combine.

Click to download your free recipe card!

Swiss Muesli: A Fast, Healthy, and Authentic Breakfast | A Domestic Wildflower click to get the recipe that is miles better than store bought! This post also shares the recipe on super cute printable recipe cards.

Garnish with: coconut, walnuts, pomegranate, berries, almonds, chopped strawberry, or any other additions you’d like to start your day.

Optional: A few tablespoons of whipped cream, finely ground hazelnuts or almonds, or chocolate chips.

Substitutions: Swap out the sweetened condensed milk for yogurt or cream and 1-2 tablespoons honey or sugar.

Enjoy, Wildflowers! I actually make this for lunch very often and share the bowl with my babies. I love how it fills me up but is light and fresh-tasting (thanks, apples + lemon juice!). I also like how you can sub out and switch in easily based on whatever you have on hand; that’s my kind of recipe.

If you love all things, Swiss, the way I do, be sure to follow my Swissophile Pinterest board by clicking “follow on” below! I’d love to connect with more folks who love all things precise, moderate, alpine, and tidy 😉

A Domestic WildflowerSwissophile

Muesli: An Authentic Swiss Breakfast that is healthy and fast from A Domestic Wildflower. Click to read about this breakfast and read why the author loves Switzerland!

Follow On

Please share in the comments below the variations of Swiss Muesli you’ll be trying! Have a great breakfast, Wildflowers!

You might also love…
Concord Grape Jam
Strawberry Pineapple Shrub
3 Tips for Mending Denim

Filed Under: Cook

  • « Go to Previous Page
  • Page 1
  • Interim pages omitted …
  • Page 51
  • Page 52
  • Page 53
  • Page 54
  • Page 55
  • Interim pages omitted …
  • Page 66
  • Go to Next Page »

Primary Sidebar

Categories

Follow me here, there, & everywhere!

  • Email
  • Facebook
  • Instagram
  • Pinterest
  • RSS
  • Twitter
  • YouTube

Search

Get The Pressure Canning Cookbook

Get 10 Free Recipes Now!

Best Chicken Coop

Footer

Get Started Pressure Canning

Shrubology Ebook

Shrubology: Refreshing Homemade Fruit and Vinegar Syrups for Cocktails
Make easy, no-cook fruit & vinegar syrups for cocktails & mocktails! This ebook shares crowd pleasing recipes and simple to understand ratios so you can make a shrub on your countertop any time- without a recipe. Dive into these Prohibition Era drinks today!

Copyright

Copyright 2019
The Domestic Wildflower
www.thedomesticwildflower.com.
All content created by Jennifer Gomes unless otherwise noted.

Copyright © 2026 · Lifestyle Pro on Genesis Framework · WordPress · Log in