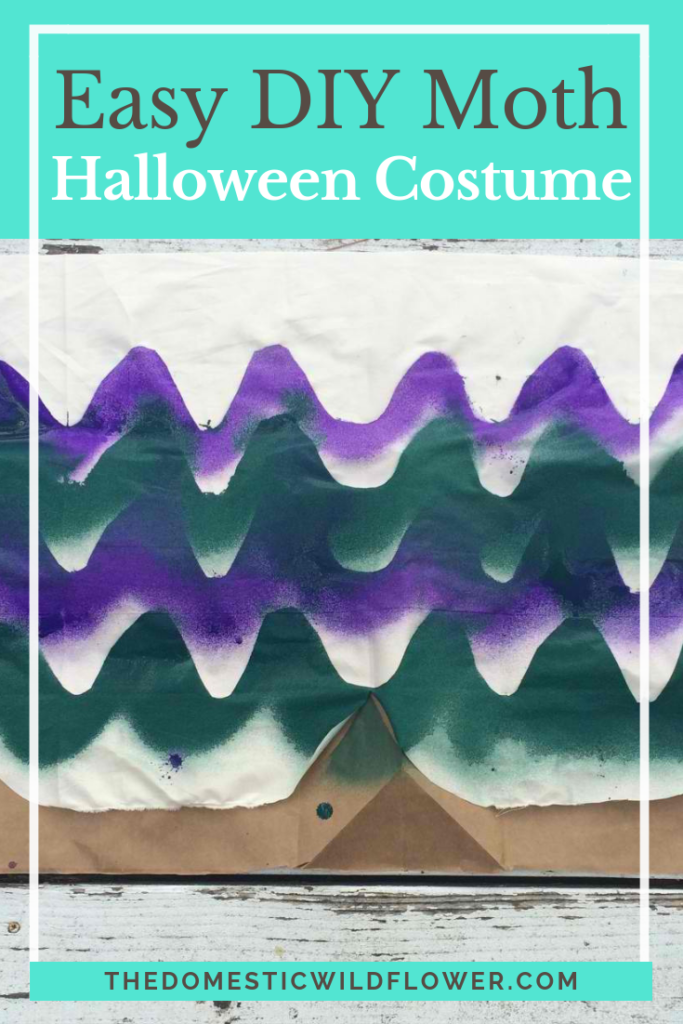
Easy DIY Moth Halloween Costume
|
10/26/2015
Easy DIY Moth Halloween Costume This easy, DIY Halloween costume can be done fast, easy, with very little or no sewing and is way better and different from the standard Princess Whomever costume or storebought fare (yawn!). These wings are car seat and small child-friendly and because they have painted fun colors, no one is missing the standout, wired wing variety. I am actually not as festive as most people seem to think I am. I’m not into doing a lot of decorating for holidays, so whatever I do, it is going to be simple, easy, and likely multi-purpose. I made this moth costume to fit my nearly-four year old’s request. She loves moths, and wanted to be a “scary, purple and green moth.” You got it, Babe. I can do that, and you can too and modify it to fit whatever your darlings desire. This post may contain affiliate links. All opinions are my own. Here’s what you need:
I used unbleached muslin which comes in a wide variety of widths, so if you are buying new fabric, I’d recommend it. If you are paint-phobic, you could score some beautiful batik print (which is what I originally had in mind when planning this costume) that would mimic a moth’s pattern fairly.
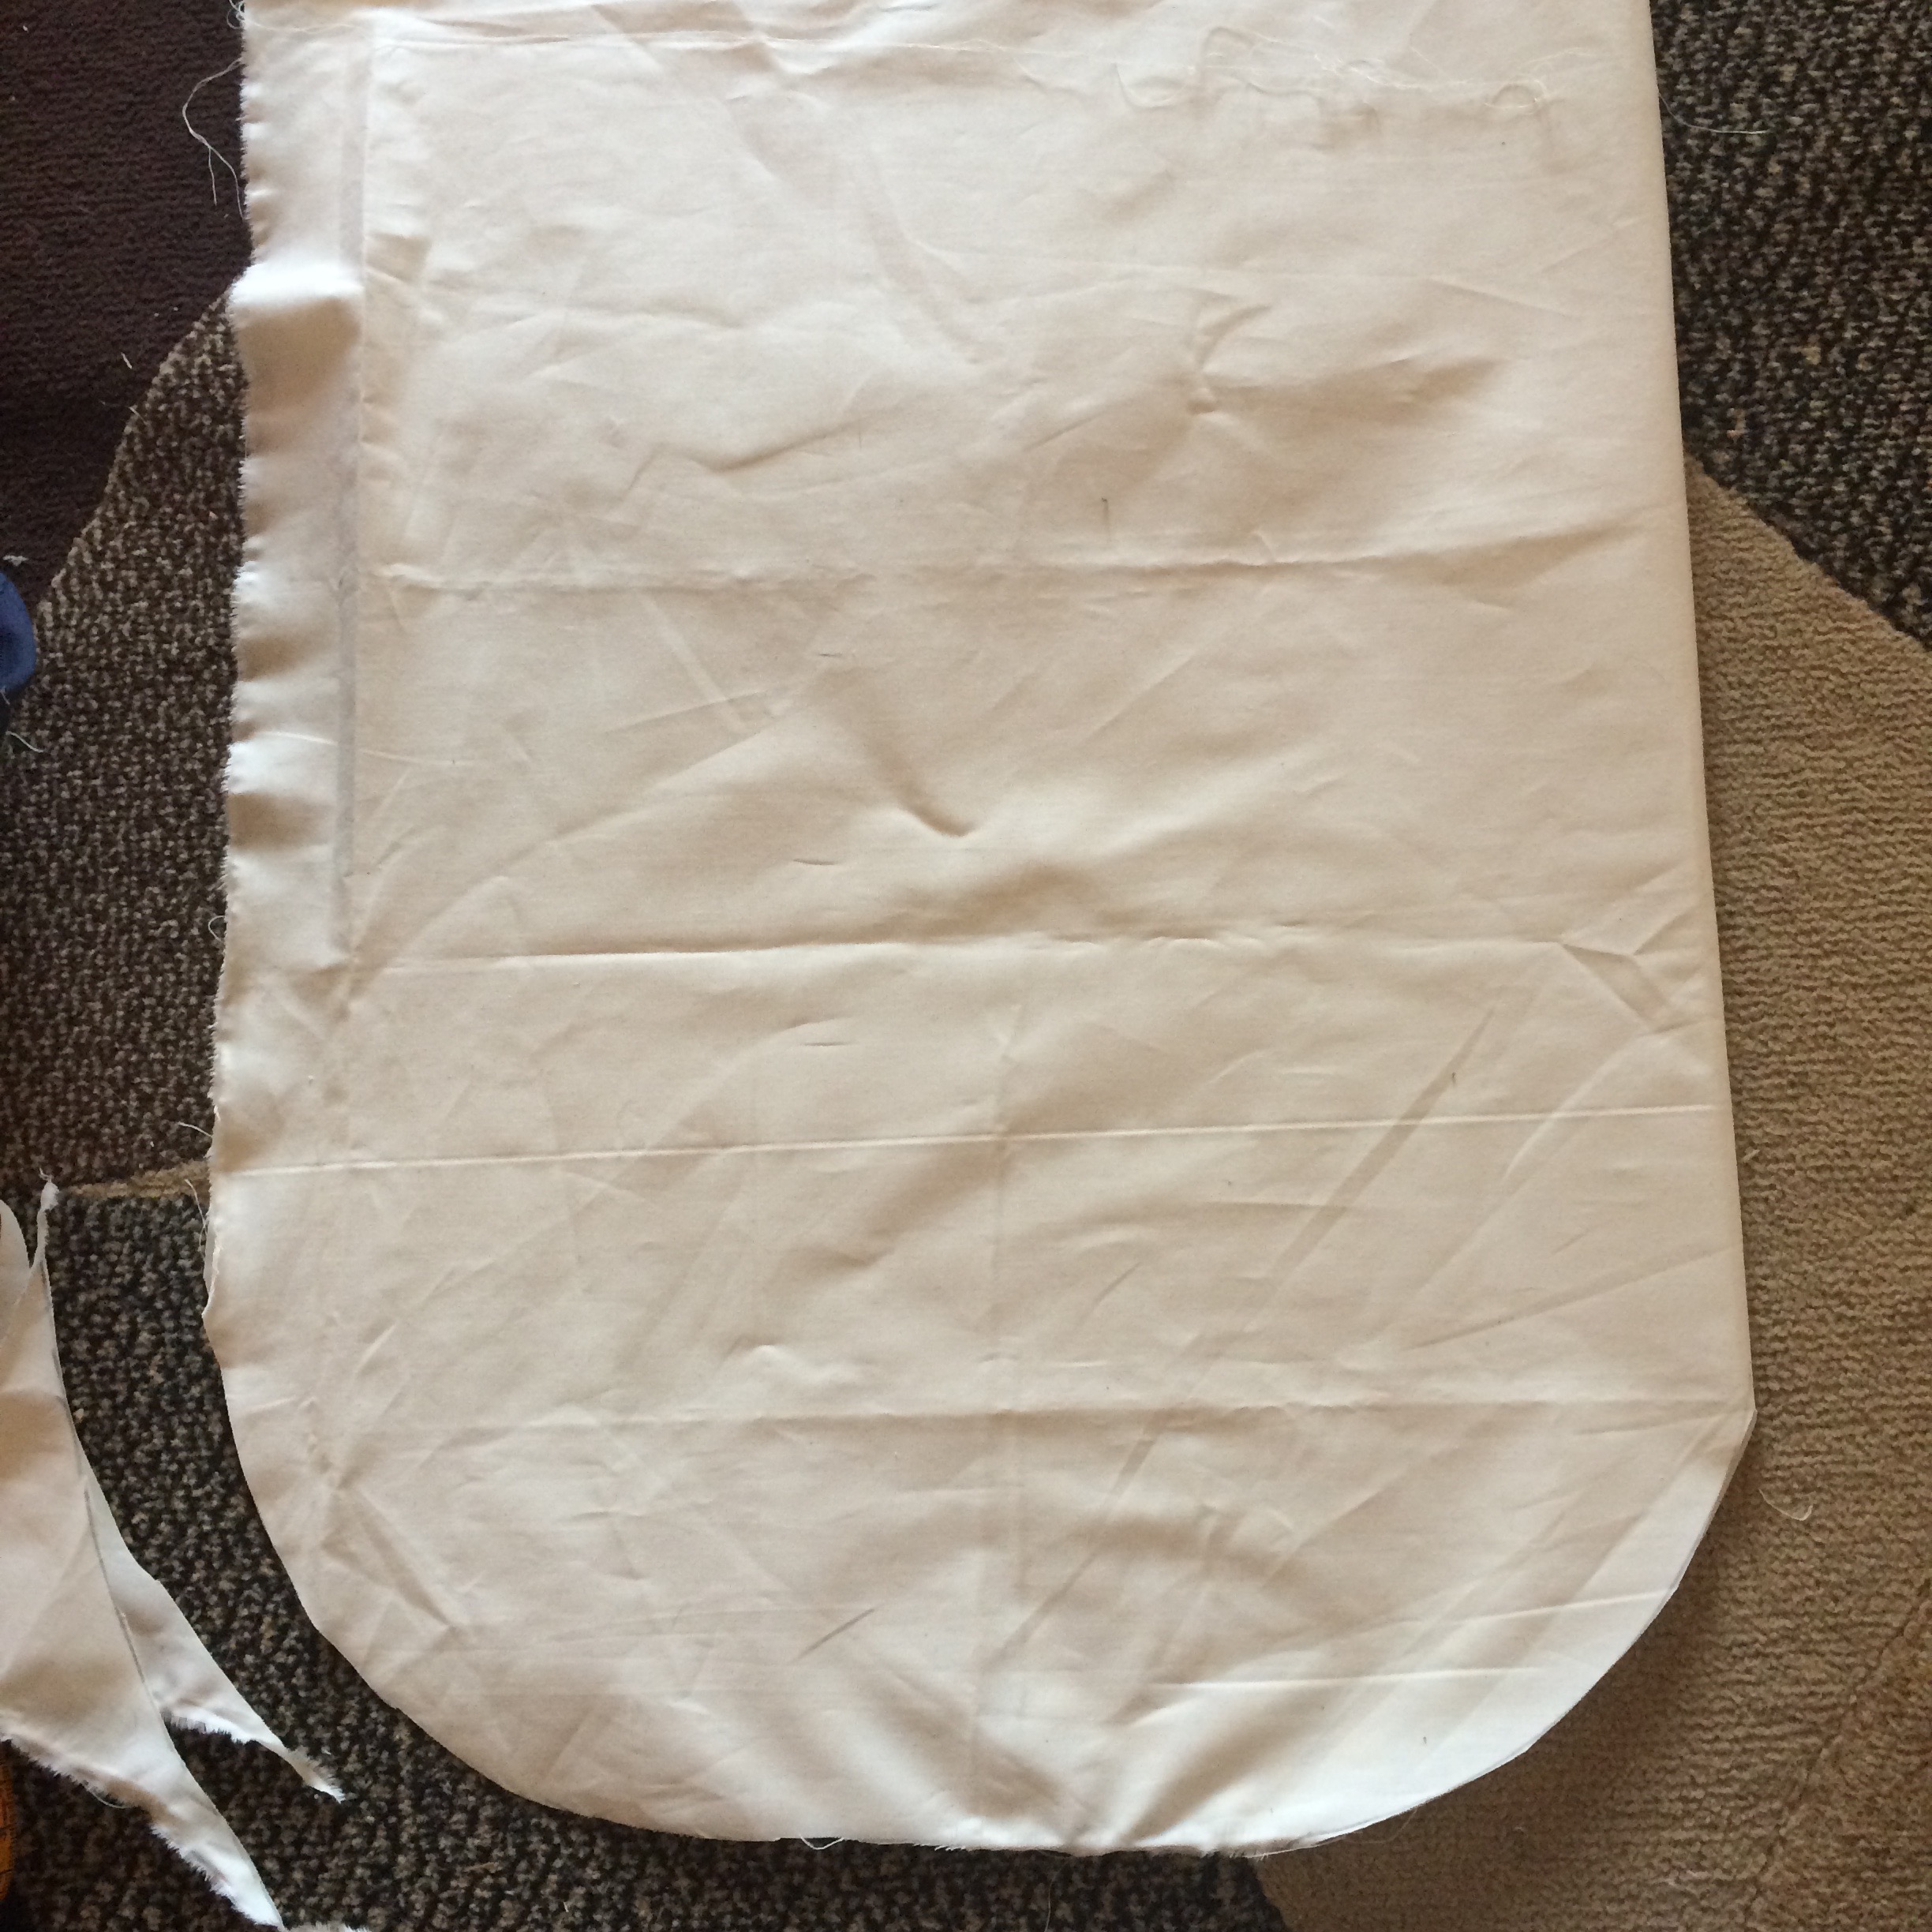
Procedure: I used a large salad bowl as a template for a curve at the bottom edge of the wing. I folded the wings in half and made a matching curve on the folded edge so it created a wing-ish shape, kind of like a wide, fat, letter W. You can choose to zigzag around your wings at this point but I didn’t.
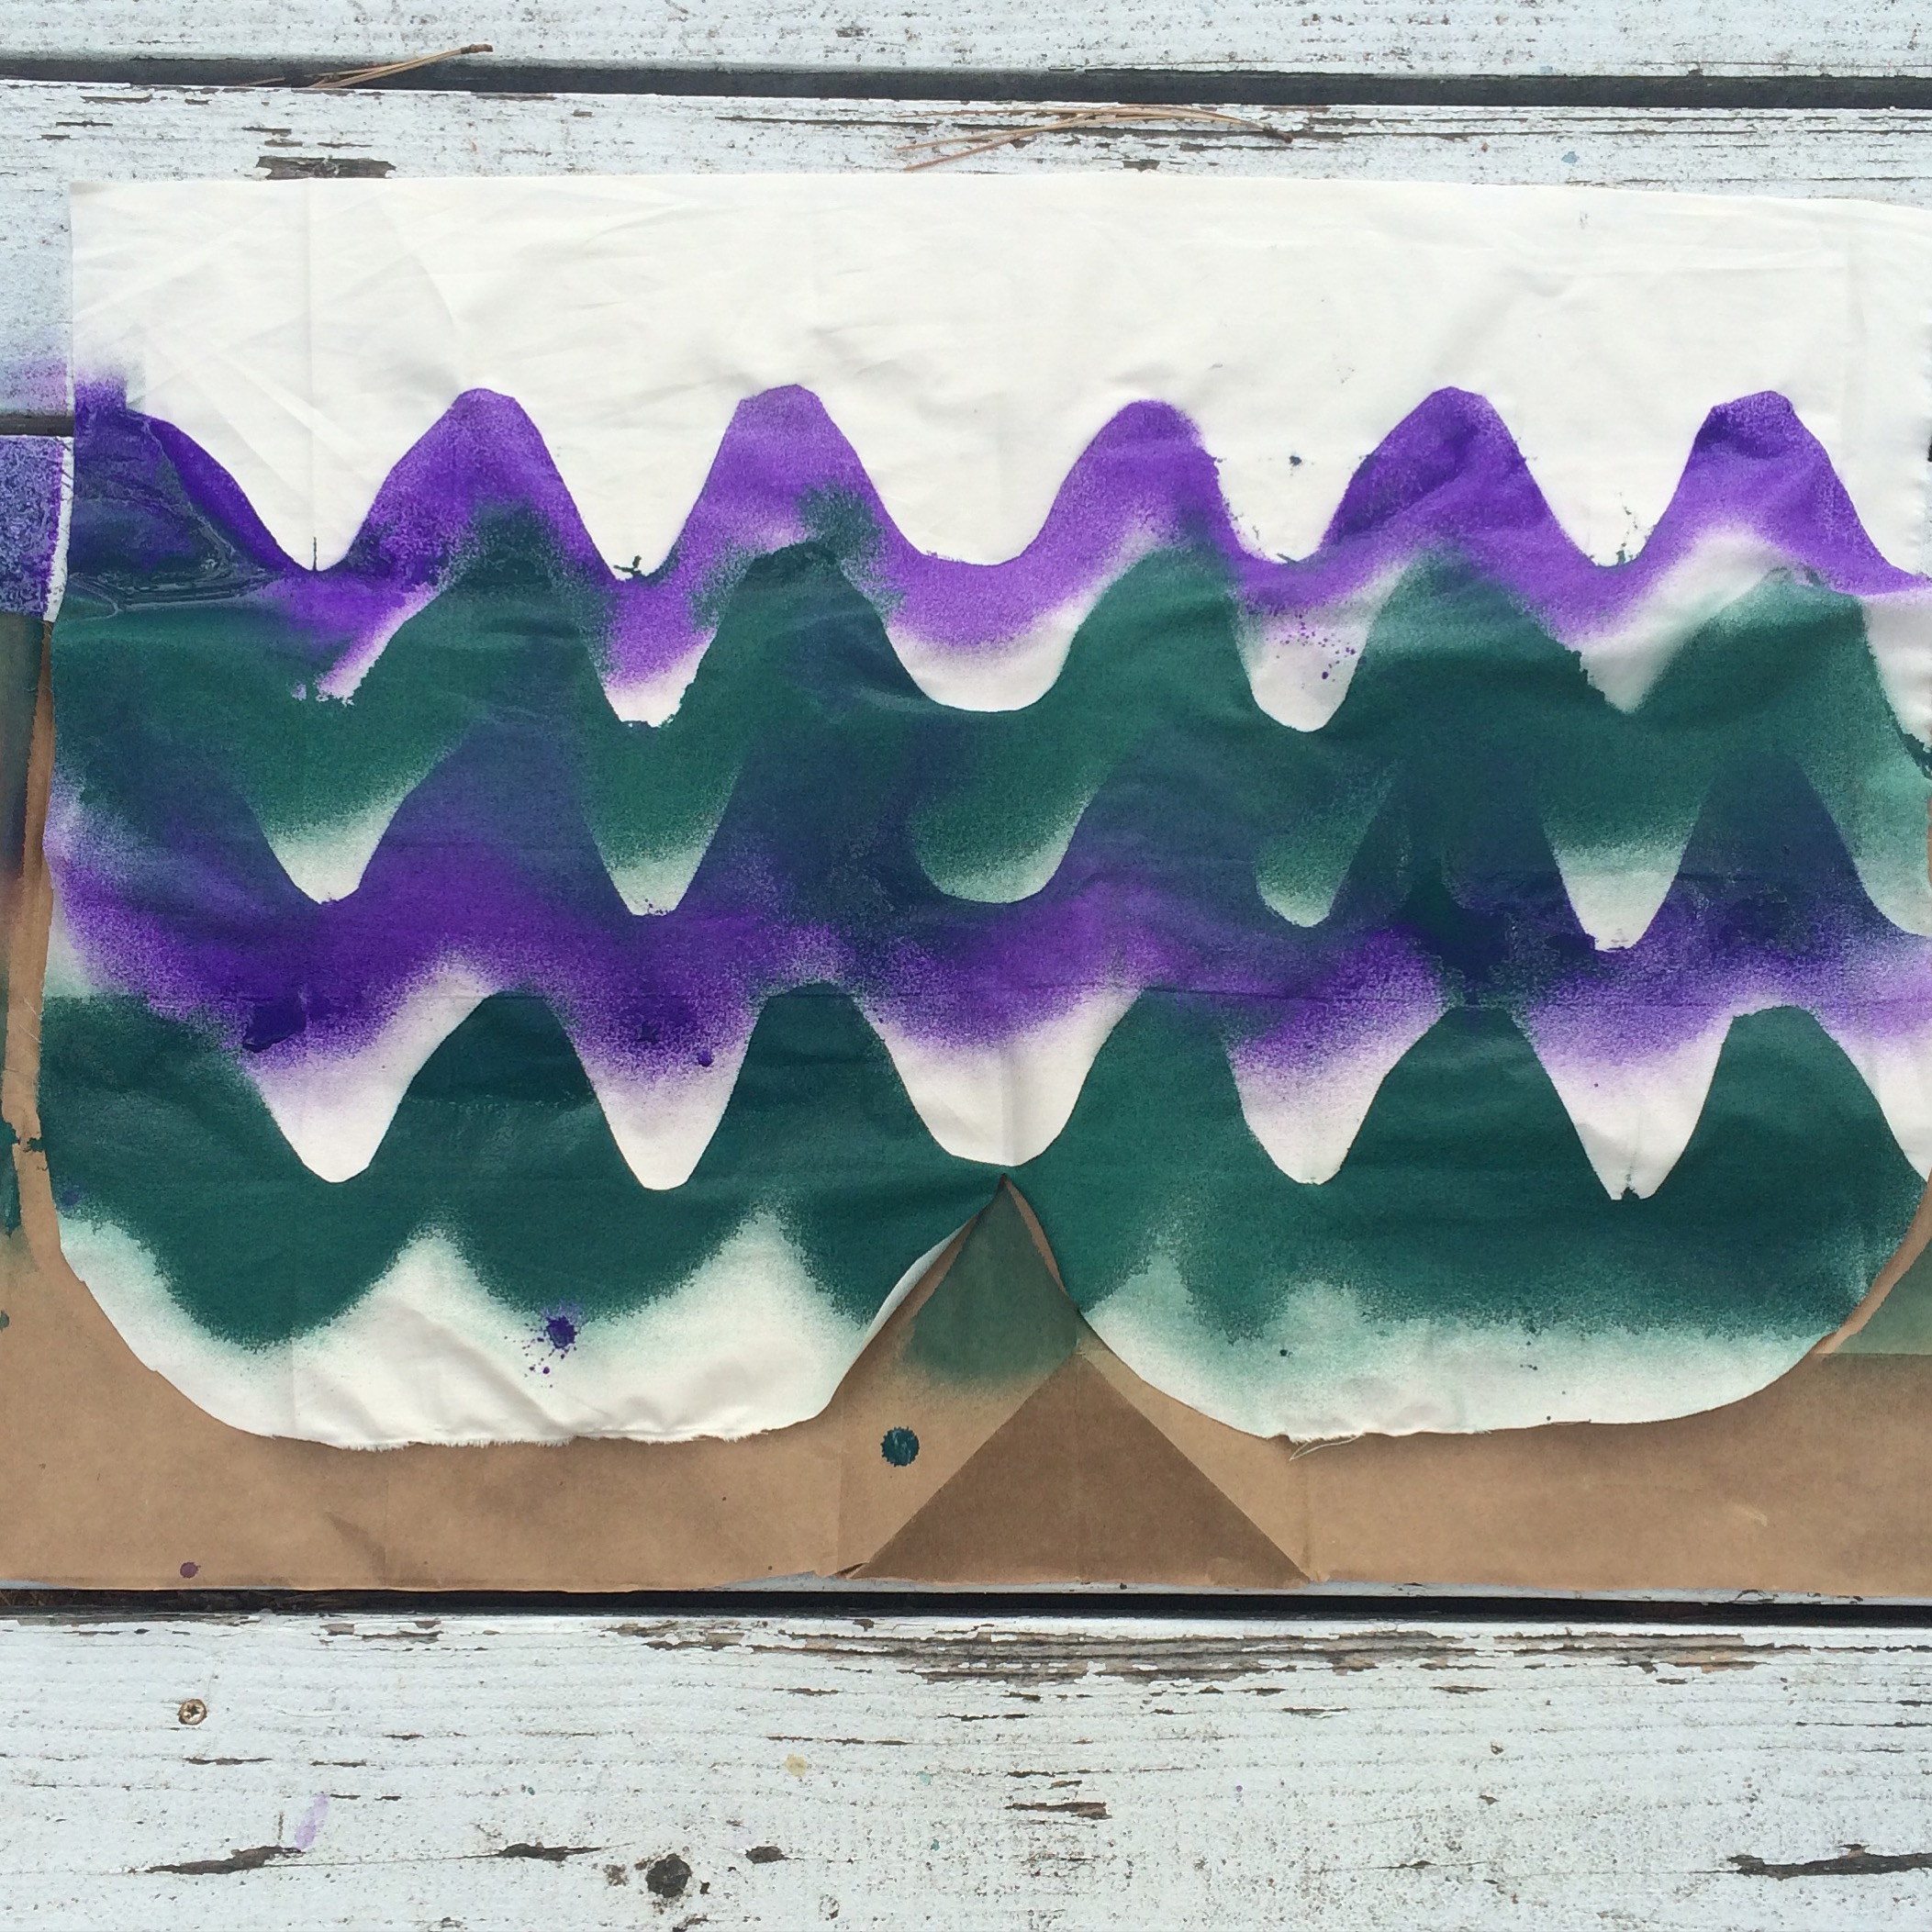
Create your template from a piece of cardboard. I swear; I found a moth on the porch and modeled my zigzag pattern after it. Moths are typically found in more subdued colors and patterns in nature when compared to their daytime-flying butterfly cousins but do whatever you desire. I sprayed the paint, moved the template up a few inches, switched colors and repeated. Did I drip and were the ends a little wonky? You bet. Does it matter? No way.
The particular type of paint I used took a little bit of time to dry but dried to a super soft feel which I really was pleased with.
 Using thread that matches the wing fabric (cream in my case, not black that would match the shirt) and stitches to the shirt. It can be a little tricky getting the shirt under the sewing machine because the sleeves are narrow. You should be able to sew from shoulder to shoulder and if the sleeves are bigger than a 2T, I’d think you could sew from elbow to elbow.
Happy Halloween, Wildflowers! I hope this little tutorial shows you that you do NOT have to be a skilled sewist, nor super duper crafty to make an inexpensive, creative, not super girly (unless you want to be, in which case, glitter it up!), small child-friendly costume.
If you’re wondering why I didn’t take a photo of my darling little girl in her moth costume, it is because she refused to put it on. Kids…
Please share in the comments below: what other winged things could this little tutorial apply? Bees? Butterflies? Bats? I can’t wait to hear what you come up with 🙂
If you want to learn how to sew, check out the courses HERE! |