• Skip to secondary menu
  • Skip to main content
  • Skip to primary sidebar
  • Skip to footer
  • The Pressure Canning Cookbook
  • Blog
    • Subscribe
    • Welcome!
  • Perfectly Preserved Podcast
  • About
    • ADW Manifesto
    • Work With Me
      • Read
  • Shop
    • My Account
    • Cart
    • Checkout

The Domestic Wildflower

Handmade Food & Craft Tutorials for Beginners

  • Courses
    • Free Canning Basics
    • Everything Canning Course
    • Steam Canning Workshop
    • Free Homemade Cocktail Mixers
    • Wildflower Mixology
    • Crochet Basket Workshop
  • Can & Preserve
    • Never Canned?
    • Steam Canner Equipment Bundle
    • Shrubs Course
  • Sew
  • Cook
  • Craft
    • Crochet Step-by-Step Guides
      • Crochet Basket
      • Giant Yarn Throw
      • Thick & Thin Throw
  • Living
    • Creativity Challenge
    • Clean
    • Kids
  • Rentals

Jenny Gomes

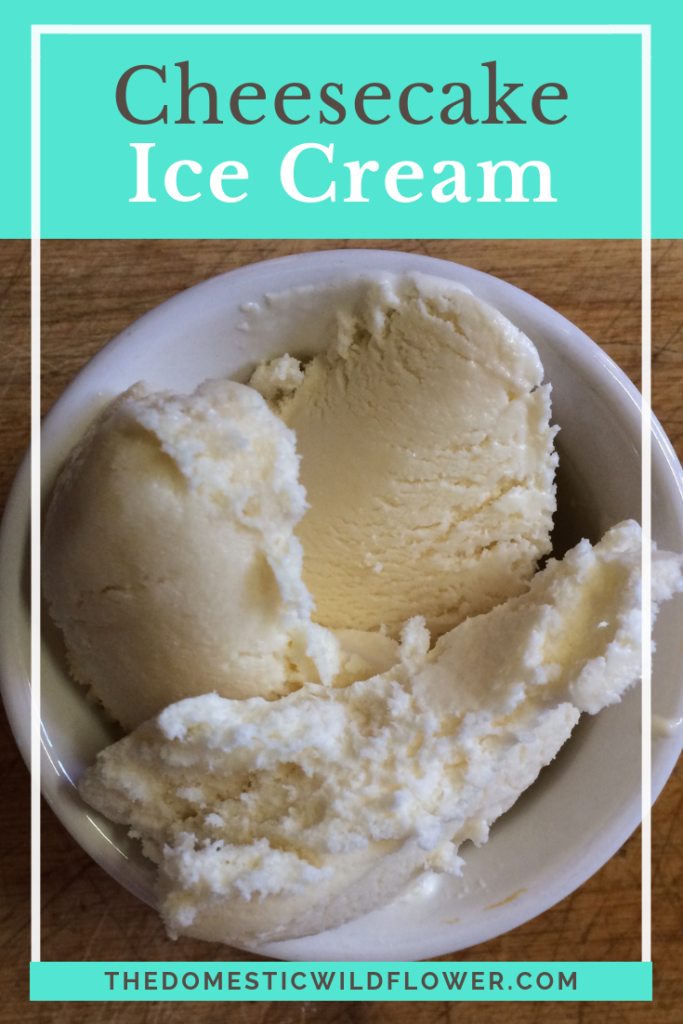
Cheesecake Ice Cream: No Ice Cream Maker Required

October 19, 2015 by Jenny Gomes Leave a Comment

Cheesecake Ice Cream: No Ice Cream Maker Required

10/19/2015

Cheesecake Ice Cream: Simple, Fast, and No Ice Cream Maker Required!

If you desire a fast recipe that doesn’t require an ice cream maker for an improvement upon regular vanilla, you are in the right place. I really like this recipe because when frozen, it doesn’t turn into a block of ice; it remains scoopable. The cheesecake flavor is divine, of course, and you can’t beat how few ingredients it requires.

You will need:

1 8 ounces block of cream cheese

1 can sweetened condensed milk

2 cups milk, half and half or cream (I made one batch with each and really, I’d say use whatever you have in the fridge because the thickness of the cream cheese really is what makes it creamy. Regular ol’ 2% won’t be a letdown, I promise)

2 tablespoons good quality or homemade vanilla extract

To Make:

If you think of it, let the cream cheese soften on the countertop for a bit before mixing with the can of sweetened condensed milk.

Once the sweetened condensed milk is incorporated with the cream cheese, turn your mixer to a slow speed and add the milk or cream and the vanilla extract.

Mix until very smooth.

Pour into a container and freeze until firm, or mix in an ice cream maker following the manufacturer’s instructions.
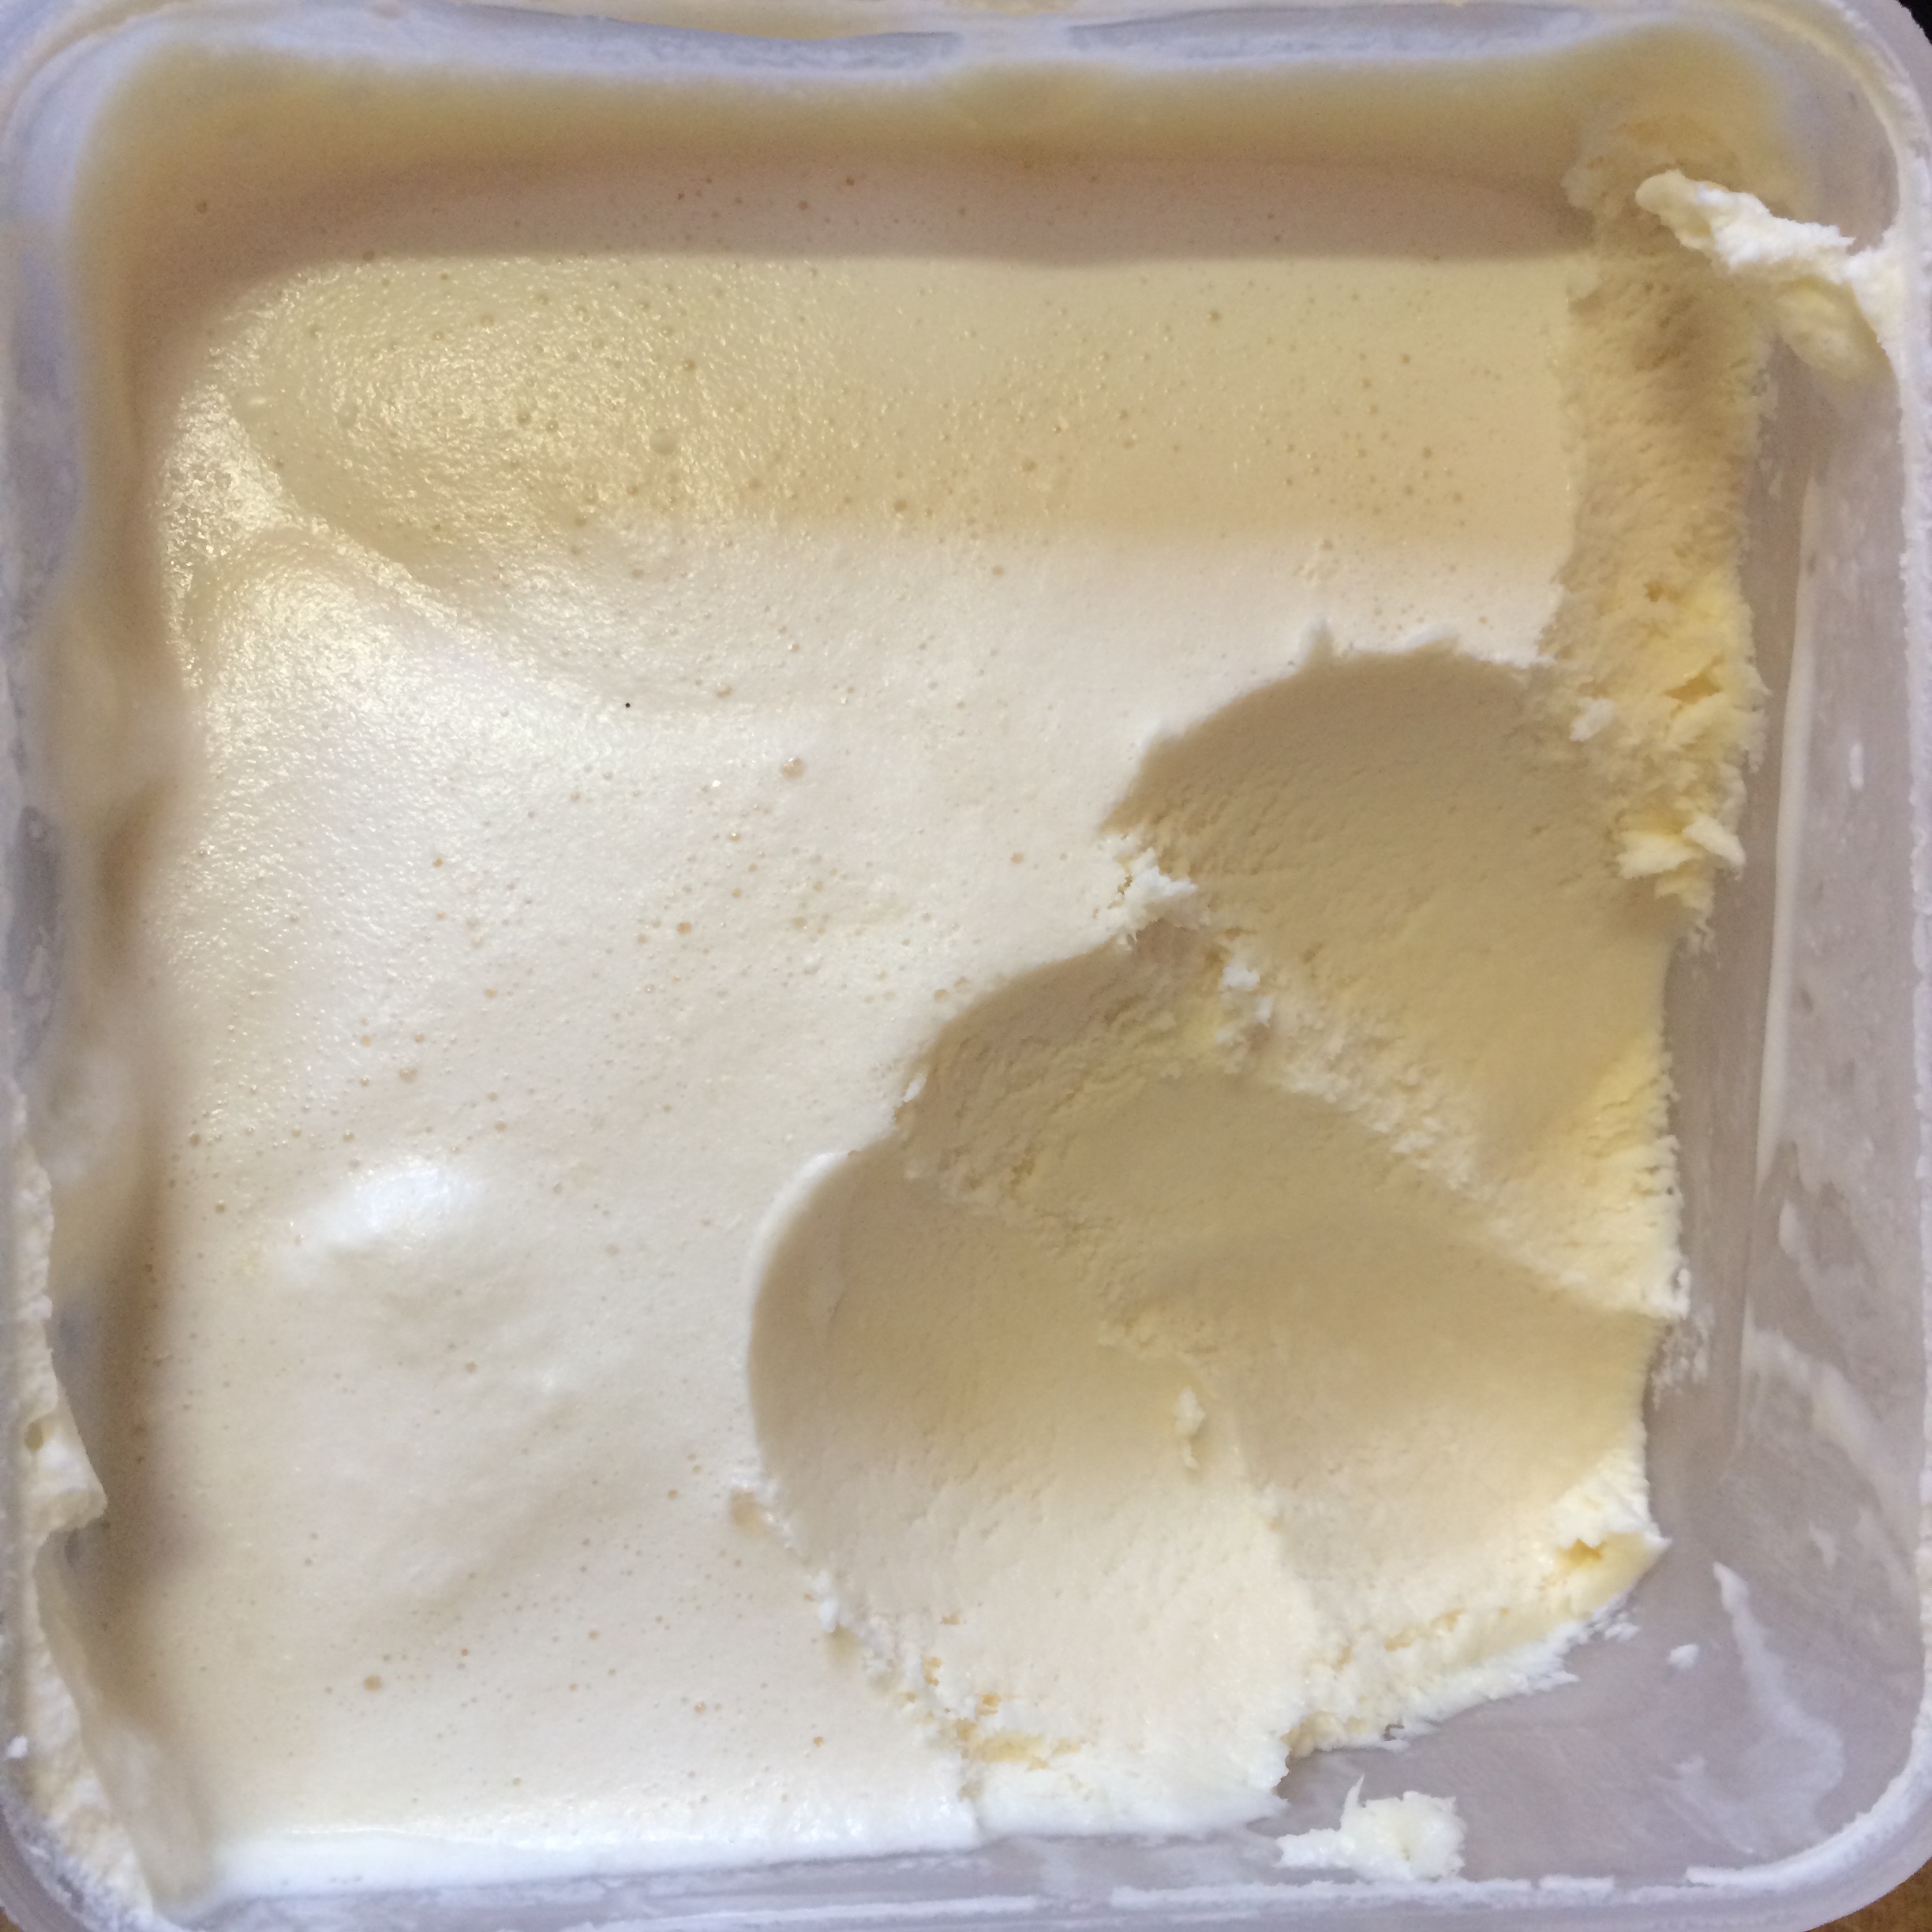
cheesecake ice cream: 4 ingredients and no ice cream maker required! click for the easy recipe!
What do you think, Dear Readers? Is this on your to-make list? Share in the comments below!

Filed Under: Cook

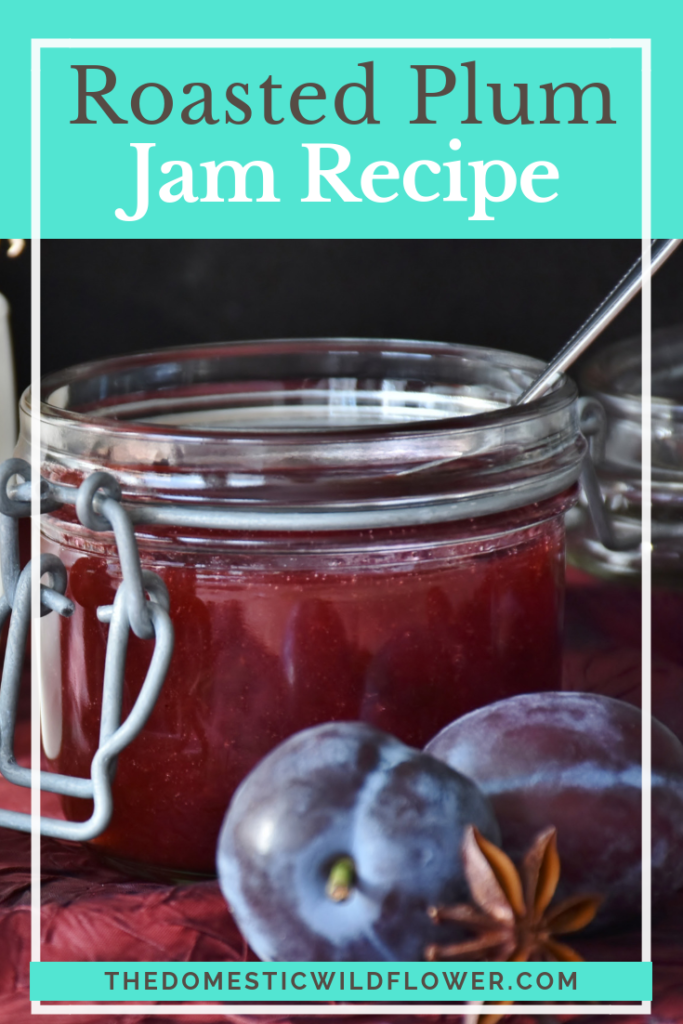
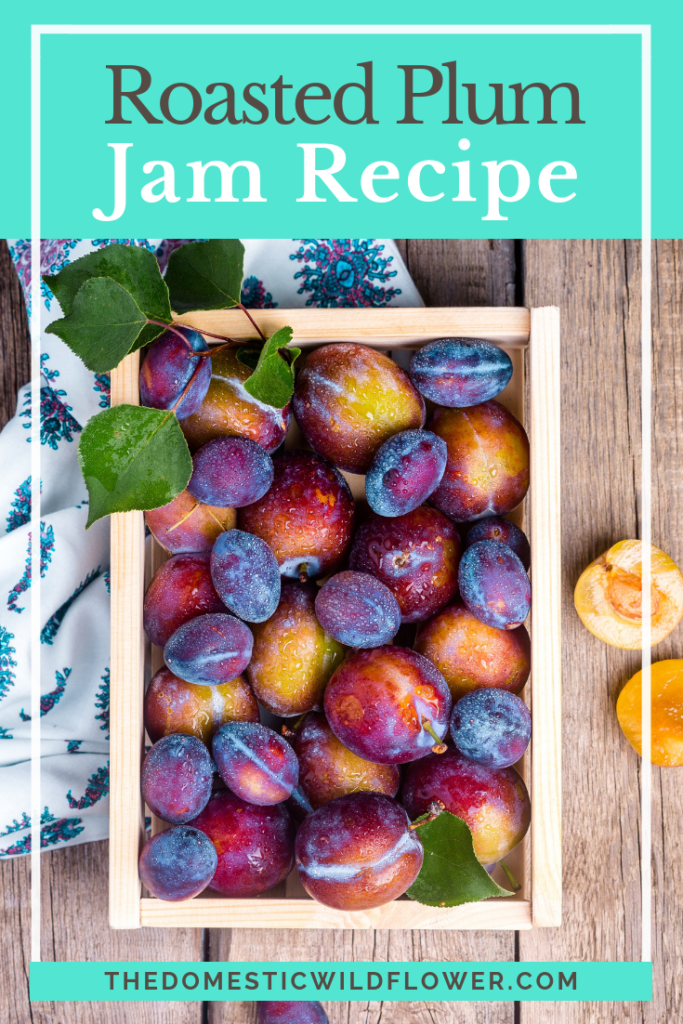
Roasted Plum Jam

October 12, 2015 by Jenny Gomes Leave a Comment


Plum Jam is an easy recipe that is elevated in a wonderful way by roasting the plums. Beginners can easily succeed with this canning recipe and the roasting plums make your home smell heavenly.

The last time I saw my dear Grandpa Carlos we visited him in his shady lawn in Willows, CA. His plum trees were loaded with pretty, golden fruit and my mom and I kicked ourselves for not arriving with proper buckets for fruit collection. Grandpa watched us pick his plums, filling grocery sacks full, and talking about canning jam. I normally blog about projects that are happening now but I wasn’t blogging when I made this particular recipe, with these delicious and now penultimately special plums. Fall is in the air now, plums are ripening, and hunting season always makes me think of Grandpa too. I came home from Willows that fall, pregnant with my son, and roasted his plums with my little girl on a chair beside me into the best preserve I may ever make and now I’m too sentimental to open the remaining jars and eat it up.

This post may contain affiliate links. All opinions are my own.

I can’t find the recipe or pin I referred to that suggested I roast the plums so I can’t give proper credit. I know my instructions that will follow are based very closely on the recipe for Plum Jam in my favorite canning book, Canning for a New Generation. Buy it if you want a wonderfully diverse and entirely inspiring text. You won’t be sorry.

Recipe for Roasted Plum Jam

4 pounds plums, pitted and diced

2 cups of sugar

3 tablespoons lemon juice

1 tablespoon spice- Canning for a New Generation suggests cardamom but I used cinnamon, clove, and nutmeg and it was divine.

Place the diced plums in a wide, oven-safe pan and fill with just enough water to almost cover. Roast at 400 degrees, stirring often until the fruit is very fragrant, the water is mostly cooked away, and the fruit is broken down. This is the part that makes your house smell heavenly. I can’t say I have had another cooking experience like this one and I hope you find it as wonderful as I did.

When the fruit is cooled a bit, ladle into a food mill and process to remove skins. Alternatively, press through a sieve. I have read that you could process in a blender but I have never done it that way though I bet it would work. Here’s the food mill I recommend.

Add the lemon juice, sugar, and spice to the plums in a wide preserving pan. Simmer, stirring often, for about 20 minutes or until it is thickened significantly. Ladle the hot jam into hot, sterilized jars following safe canning practice outlined in the USDA site here or in the introduction of any good canning book. Leave ¼ inch headspace, add lids and rings, and process in a water bath for 5 minutes to process. Remove to a towel on a countertop and leave undisturbed for 12 hours. Label and store.

My Grandpa Carlos was the kind of guy who encouraged those around him to live it up, which is something I’ve always wrestled with. He’d say, yeah, drink another beer, play another game, stay another hour! I may have to cowgirl up and open one of the jars of jam just for him. He’d never want something good to go to waste.

Share your thoughts in the comment section below, Wildflowers! Have you ever roasted fruit to a similar end? I’m eager to try another recipe so please share if you have!

If you loved this post, read the same recipe + more of the love & life lesson here on Enlightenment is Sexy

[Read more…] about Roasted Plum Jam

Filed Under: Can

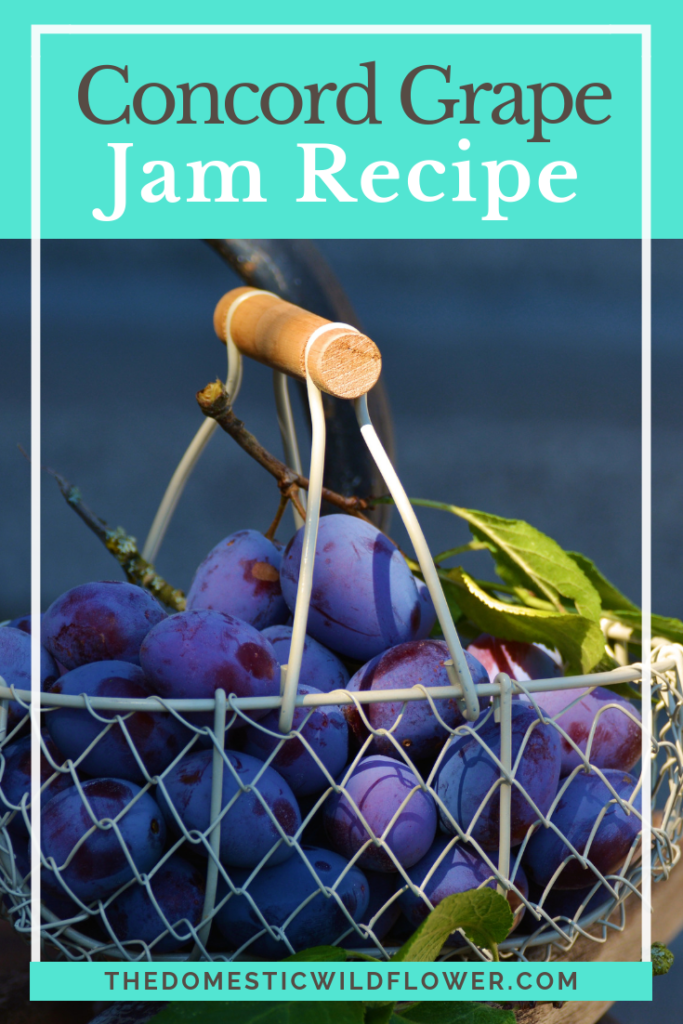
Canning Concord Grape Jam

October 8, 2015 by Jenny Gomes 2 Comments

 ​

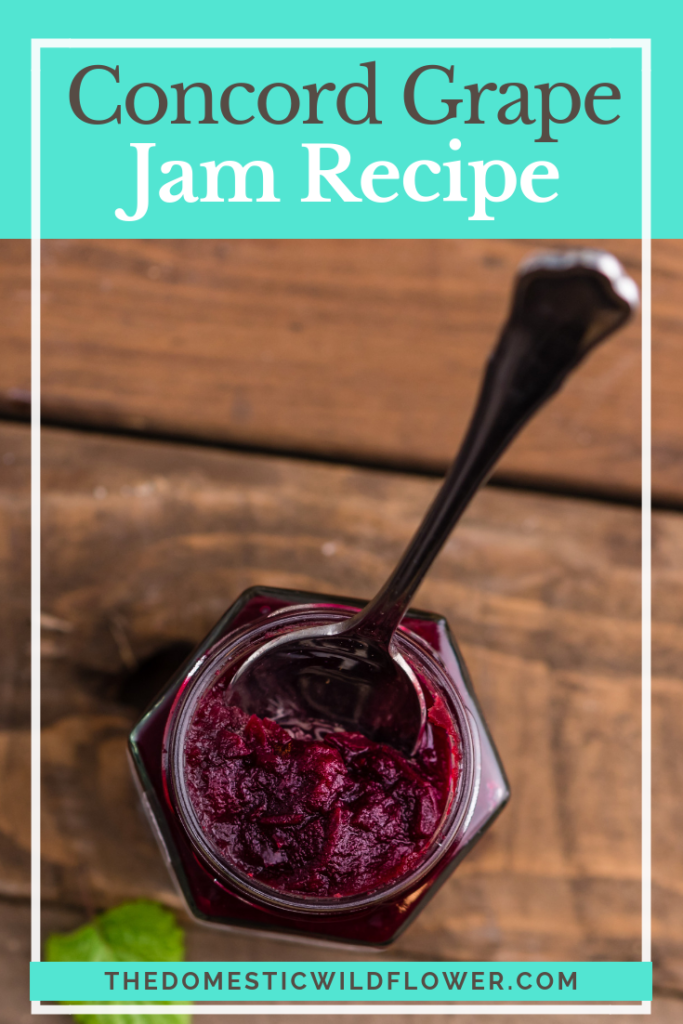
Canning grape jam is a fairly simple task because the recipe is straightforward and brief, grapes are not difficult to collect (no thorns like blackberries) and are sweet enough that they don’t require a lot of extra sugar. While we most often see the clear jelly in stores, the grape jam is delicious and seems to be a bit more virtuous in my mind because more of the actual grape remains in the pot.

The recipe I use is from the wonderful compendium, Canning for a New Generation (I swear, I have never met the author nor is this a sponsored post; I just love this book!

This post may contain affiliate links. All opinions are my own.

I picked my grapes from the vines my Great Grandma Nona planted on our ranch many years ago. They face the south and every year, during the first month of school, I get to admire her industry and pick.

The recipe from Canning for a New Generation is as follows:

4 lbs Concord grapes

2 cups of sugar

3 tablespoons lemon juice

1 teaspoon ground cinnamon

¼ teaspoon ground cloves

I have made this jam with and without the spices and I can’t decide which I like better. If you haven’t tried it spiced, it is very good indeed. Imagine a dollop on hot oatmeal…

The recipe directs the preserver to bring the grapes to a boil and then press through a sieve as a means of skinning and seeding the grapes. I happen to have a food mill which I love, and I ran my grapes through it first with very good results. Here’s the one I have and love, gifted to me by a wonderful friend.

I have been sharing my canning and sewing adventures on Periscope and then saving the videos to my YouTube channel. Here’s my scope demonstrating how easy it is to use the food mill to process your grapes.

After you have either processed the grapes through a food mill or through a sieve, discard the skins and seeds.

Add the remaining ingredients to the grape pulp (about the consistency of a thin smoothie) and bring to a boil. It took my batch 30 minutes to thicken significantly.

Note: I have found that the time it takes for my jam to “set up” (thicken enough so that a dab of the jam dropped onto a cool plate and set in the freezer for 15 minutes is firm- basically when the jam is thick enough to be jam, not syrup) is significantly longer than many recipes indicate. I think that one possible culprit is the product I use is often homegrown or wild (my nose isn’t in the air here; it is the truth only as a matter of practicality) and thus the water content is inconsistent with the more standardized grocery store produce. That said, don’t be afraid to cook your jam a bit longer to achieve a thicker result. Thin jam that is a bit too thick for syrup is still tasty but tricky to pour/spoon and thus use up.

Tip: I have also used half a box of powdered pectin in this recipe, whisked in at the end, following the directions on the box, to good effect. If your jam is still fairly thin, you might try powdered pectin.

Ladle hot jam into hot jars, leaving half an inch headspace, and following safe canning practice outlined in this great resource from the USDA here or in the opening chapters of any good canning book.

Put the lids and rings on the jars and return to the water bath. Bring to a boil and process for 5 minutes. Remove the jars from the water bath onto a towel on a countertop and leave undisturbed for 12 hours. Label and store.

I love sharing canning recipes like these because many people are surprised to learn that canning is much more simple than they realize. I very rarely can anything that has a long ingredient list or a lengthy list of steps. Jams are a great beginner preserve because they are so high in acid, as described in my Acid & Canning Guidepost, a canner can feel totally confident that they will be successful and safe.

I did a couple of Periscope broadcasts while I made my last batch and saved them to my YouTube Channel.
Here’s how the jam looks when it is ready for the hot jars.

Related Posts:

Acid & Canning: pH Guide of Various Foods

Keeping Track of Canning: Canning Log

Canning Tomato Sauce

What is your favorite jam recipe, Wildflowers? I’m always looking for new ones; please share in the comment section below!

Filed Under: Can

Dove with Butter and Herbs

October 5, 2015 by Jenny Gomes 1 Comment

It has become a bit of a joke among those in my cattle ranching family that I have all manner of wild game on my supper table and rarely now do I serve steak. Above all else, I try to be practical, and because my husband is an enthusiastic hunter and fisher, I have had to learn to cook a wide range of beasts. My freezers are filled with meats that are wilder, leaner, and more ‘free range’ than anything you might pay top dollar for in a specialty market and I suppose I am very fortunate in that regard. I am no expert, and I plan on asking Santa for these books in order to improve my game cooking skills even more. I have read a bit by this author, Hank Shaw, and I can tell he’s the Real McCoy. Check him out on Instagram. He does things like roast grouse bits to make broth. It’s awesome.

Dove and other birds have a tendency to be dry, and the key to a dinner that doesn’t end up in the dog dish is keeping the meat moist. Dove is a rather small upland game bird and the way our family loves them cooked is in a foil packet on the barbecue. The foil keeps the moisture in, and the butter and herbs are a perfect compliment.

Procedure:

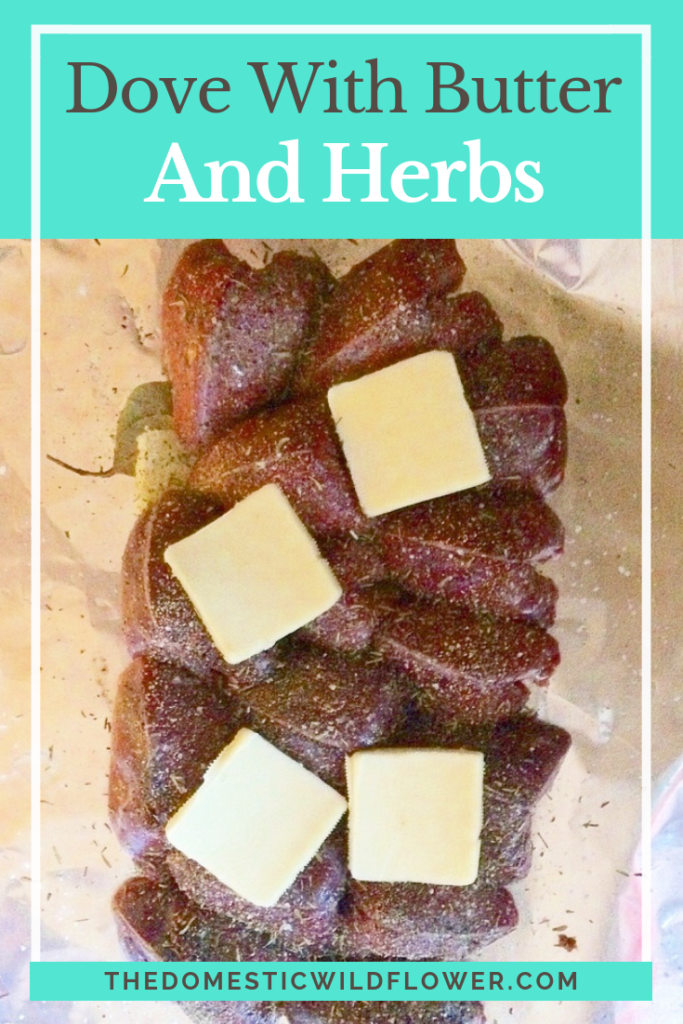
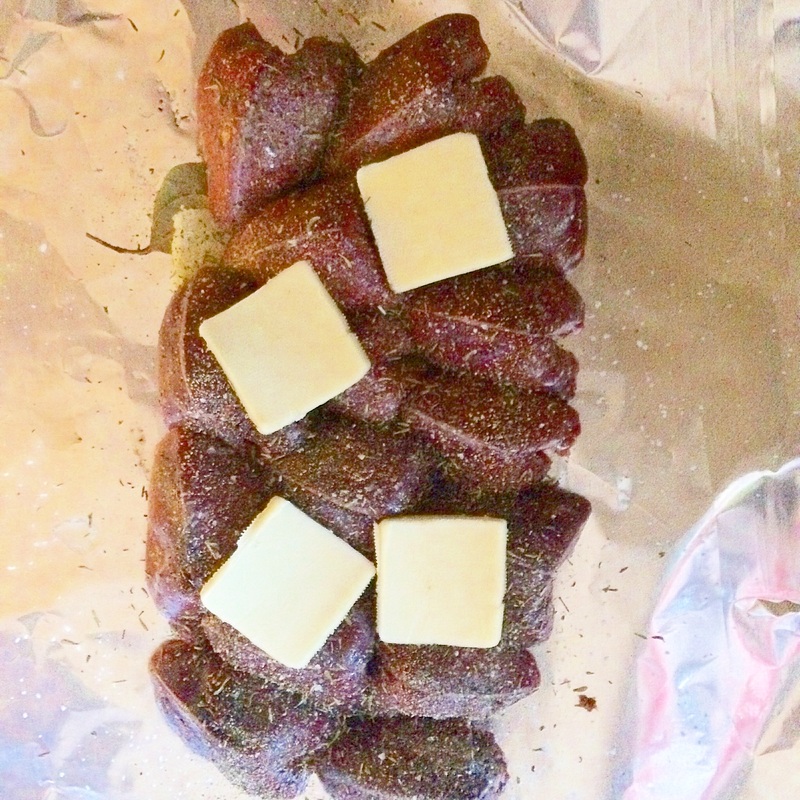
Arrange cleaned dove breasts (that look charmingly like stylized hearts) on 2 sheets of aluminum foil. Doubling the foil is critical; without it, a hole in the foil is likely and you will lose all your butter. Beneath and atop the dove, add slices of real butter, adding up to about ½ a tablespoon per breast, give or take, erring on the side of more.

This isn’t a recipe exactly because it depends on how many your hunter or grocer has available. I had 10 breasts in these photographs so I used about 5 tablespoons of butter.

Tuck 3-4 bay leaves beneath the butter, and sprinkle with rosemary and thyme, salt and pepper. Add a few more slices of butter on top for good measure.

Dove with Butter and Herbs | A Domestic Wildflower click for this simple and delicious recipe!

Dove ready to be sealed in a foil packet and headed for the BBQ.

Fold up the foil packet, and if possible, fold in such a way that you could open it up while still on the barbeque. I fold the top down the way you might hold a brown bag lunch, for example.

Cook on the barbecue, on medium high, for 10 minutes. Dove is done when the meat is not bloody, and darker in color. You might unfold your packet a bit to peek and perhaps retrieve a breast to slice open. Just don’t spill the butter!

Pour reserved butter into a dish for dipping pieces of meat into. Alternatively, you could use it to make a gravy, which I haven’t done but I’m sure would be delicious, or you could pour on top of accompanying potatoes or rice.

I’m always looking for more ways to cook wild game, Wildflowers, so please share your favorites in the comments below!

Filed Under: Cook

Canning Roasted Bell Peppers

October 1, 2015 by Jenny Gomes Leave a Comment

Canning Roasted Bell Peppers

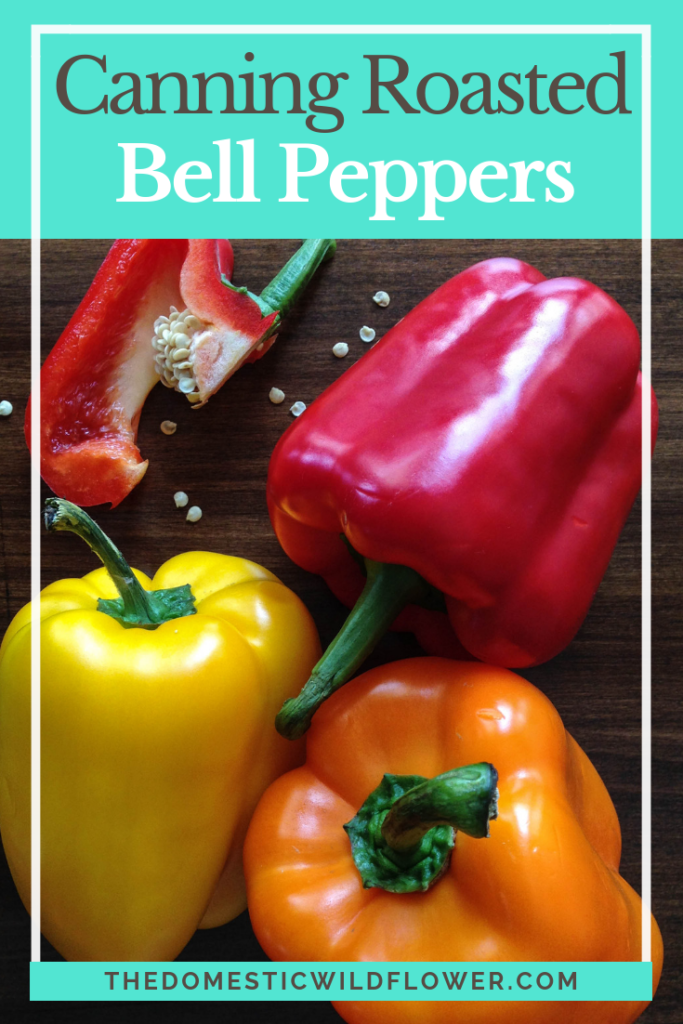
This is a versatile, simple, and easy recipe. Roasted bell peppers are divine on a toasted cheese sandwich, indispensable in Mexican dishes, right at home in Mediterranean meals, and so utterly useful that I run out every year way before canning season returns and I always wish I had made time to can more.

They are, however, time-consuming in one critical step. Once roasted (under the broiler or on a bbq), they have to be peeled by hand and they are usually piping hot, slippery, wet, and I always end up feeling like a roasted bell pepper myself. They are the kind of thing that you’d want to preserve with the help of a good friend and a cold drink. Perhaps with two of each, even.

This recipe is from the delightfully written and exceedingly useful Canning for a New Generation by Liana Krissoff. If you are interested in getting started canning, this is the book to buy. Unless you and I are friends and you plan on inviting me to your wedding in which case plan on receiving it from me as a gift. I mean it; I love this book!

This post may contain affiliate links. All opinions are my own. ​

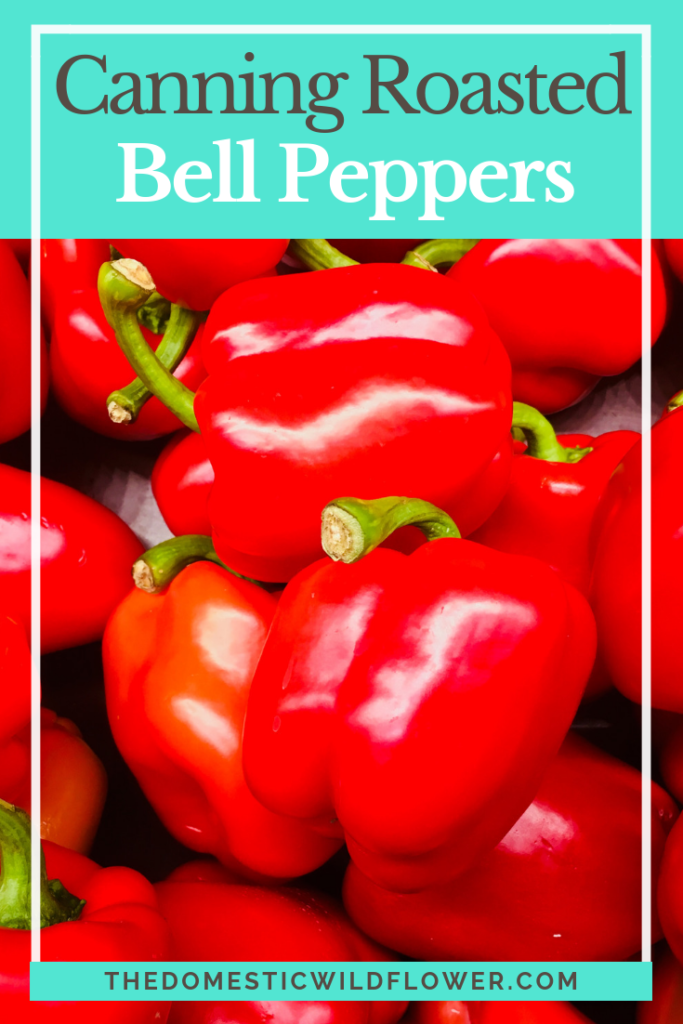
Roasted Bell Peppers: How to Can Roasted Bell Peppers Recipe and Tutorial | A Domestic Wildflower click through to read the beginner friendly tutorial and make delicious and versatile roasted bell peppers!

The first step of roasting the peppers can be done earlier in the day than when you get your water bath going. Or, you can really create a sauna in the kitchen and do it all in one. Refer to my advice about cold drinks and good friends above.

It bears mentioning that this is an easy recipe to double, or otherwise adjust in quantity. You just need to have enough of the brine to cover the peppers and the quantities are pretty easy to divide and multiply.

You will need:

4 lbs of red or green bell peppers

1 cup bottled or strained the fresh lemon juice

2 cups white vinegar (6% acidity) (read more here about acid & canning)

2 teaspoons salt

1 cup extra-virgin olive oil

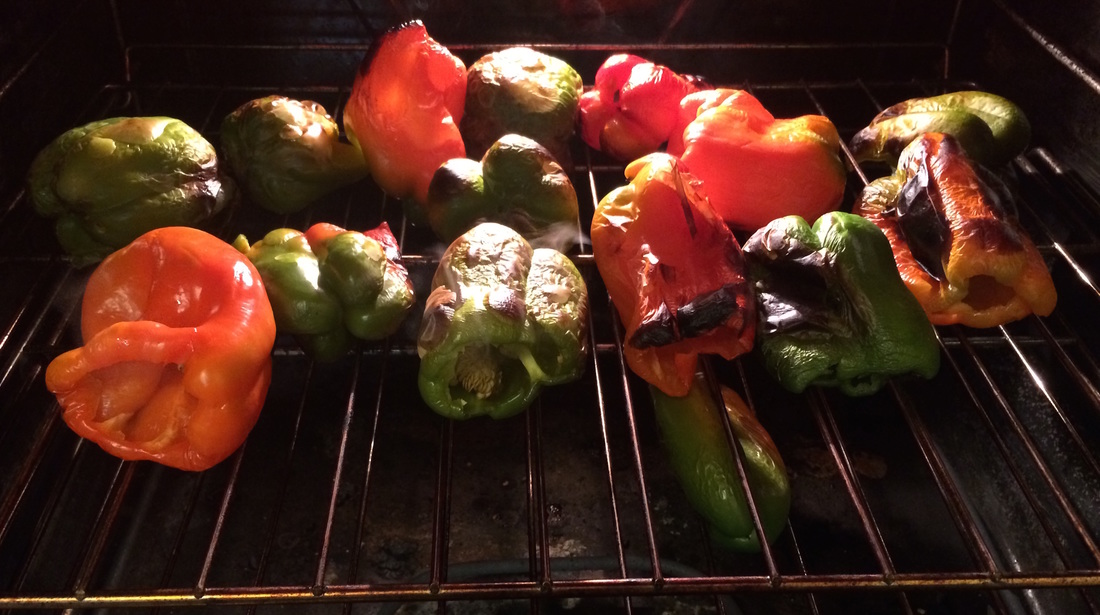
You can place whole bell peppers under the broiler OR you can cut the stem out of the bell and pull out whatever seeds and ribs come with it. I did it this way most recently and felt that it was a less hot mess to deal with when skinning.

Place peppers on the racks of your oven set to broil. Turn the oven light on, and be nearby with tongs. In my oven, the bells were ready to be turned the first time in about 10 minutes. This is awkward, hot, and difficult to the uninitiated because bell peppers aren’t exactly easy to turn and even a gal with a messy kitchen like me tries to not end up with bell pepper juice all over the floor. You might be well advised to place a cookie sheet or other pan on the lowest rack to catch the drips or errant little peppers. I’d be lying if I said I had the sense to do so, but as I write this, I feel like I definitely might do it next time.

Continue turning peppers till they are charred on as many sides as you can get beneath the broiler.
​

Roasted Bell Peppers: How to Can Roasted Bell Peppers Recipe and Tutorial | A Domestic Wildflower click through to read the beginner friendly tutorial and make delicious and versatile roasted bell peppers!

They will likely get charred and done at slightly different times, so as they are ready to be removed, place them in a bowl with a lid. As they cool, the skin will become easier to pull off.

Either while the peppers are cooling or while they are roasting, assemble the canning liquid that they will be swimming in and get your jars ready and water bath boiling. I like wide mouth half pints personally but of course, use what you have.

Once the oven is off, the lid is on the bowl and you’ve cooled off a bit with a said friend and drink, start peeling the skins from the peppers. This is not an exercise in perfection (nothing on this blog will ever be, Wildflowers) but in patience. Not all of the skin will come off, but all of the skin you do peel off will stick to the various surfaces it comes in contact with including your hands, clothing and the countertops. I usually stand with the compost pail to one side and the cutting board to the other, peeling and placing the done peppers on the board. If you are able, remove the bulk of the seeds as you work.

Here’s a short video of me in my tiny, steamy kitchen peeling peppers. It’s a casual Periscope broadcast but it gives an idea of what the peppers will look like before and after peeling.

Once they are all peeled, the bulk of the work is over and you should feel great excitement for all the yummy dishes in which you will use the peppers.

Bring the lemon juice, vinegar, oil, garlic, and salt to a boil in a wide preserving pan.

Follow standard water bath canning practice described in detail here or in any good canning cookbook and pack the chopped bells into jars and ladle the hot brine atop the peppers, leaving ½ headspace. Remove bubbles from the jar with either a chopstick or the back of a spoon and by pressing down gently. Wipe the rims carefully, as even a smidge of oil can thwart the creation of a seal. Add the lids and rings and return to the water bath pot. Bring to a rolling boil and process for 15 minutes.

And that’s it, Dear Readers! It is a recipe that I return to year after year and it is absolutely worth the chore of peeling those hot, slippery bell peppers. I’d love to hear how you’d use these up, Wildflowers! Please share in the comment section below to which dishes you’d add these peppers!

Filed Under: Can

  • « Go to Previous Page
  • Page 1
  • Interim pages omitted …
  • Page 55
  • Page 56
  • Page 57
  • Page 58
  • Page 59
  • Interim pages omitted …
  • Page 66
  • Go to Next Page »

Primary Sidebar

Categories

Follow me here, there, & everywhere!

  • Email
  • Facebook
  • Instagram
  • Pinterest
  • RSS
  • Twitter
  • YouTube

Search

Get The Pressure Canning Cookbook

Get 10 Free Recipes Now!

Best Chicken Coop

Footer

Get Started Pressure Canning

Shrubology Ebook

Shrubology: Refreshing Homemade Fruit and Vinegar Syrups for Cocktails
Make easy, no-cook fruit & vinegar syrups for cocktails & mocktails! This ebook shares crowd pleasing recipes and simple to understand ratios so you can make a shrub on your countertop any time- without a recipe. Dive into these Prohibition Era drinks today!

Copyright

Copyright 2019
The Domestic Wildflower
www.thedomesticwildflower.com.
All content created by Jennifer Gomes unless otherwise noted.

Copyright © 2026 · Lifestyle Pro on Genesis Framework · WordPress · Log in