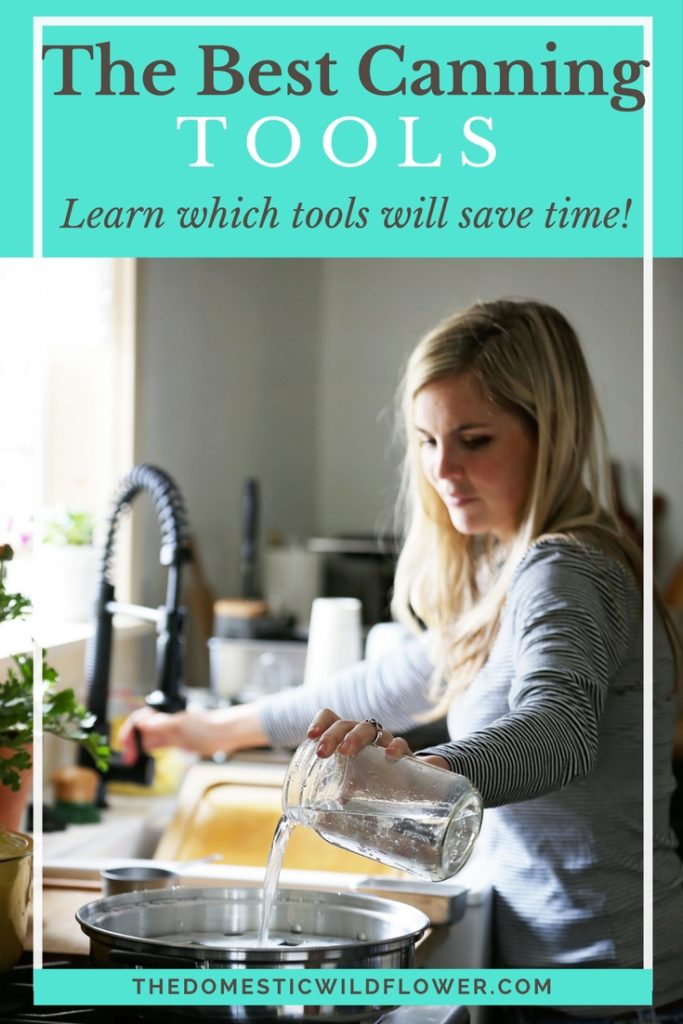
This post will share the canning tools that I use every time I can, recommend to you, and love for water bath canning and steam canning.
This post contains affiliate links.
I use these wide mouth pints all the time and are the jar I recommend for a beginner. They are the most versatile because they are small enough to fit into a pasta pot water bath set up, the double as a drinking glass and two cups of anything is a sizeable portion. It isn’t that often that I need 4 measuring cups of jam at once. I like them especially for tomato sauce.

The other jars that I really like are for giving as gifts. These tiny 4 ounce jars are perfect for sharing a rich spread like tomato jam, a spicy hot sauce, or shipping preserves in the mail. Jars are heavy, and especially when shipping internationally they are expensive to mail, so tiny jars are essential in these situations. I made sunny Meyer Lemon jam for my cousins in Switzerland in these jars; talk about California in a jar! They use the regular size lids too, which I love.

Want to watch the video version of this post?
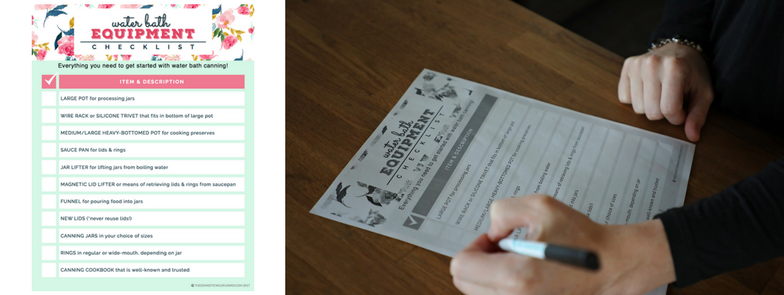
Want the equipment checklist to get started? Download it for free here!
I recommend this jar lifter and funnel set. Normally, I’m in favor of recyclable items but this funnel is see-through which makes eye-balling the headspace really easy as opposed to impossible with an opaque funnel. A jar lifter is mandatory; you gotta have one to water bath can and really should have one for steam canning. If you skip the jar lifter because you are steam canning, you can get by with a hot pad, but be very careful. A jar lifter is still a must.

You always need brand new lids. Used lids can be reused to store dry goods but CANNOT be used for canning. A used lid that is used for canning might give you false seal which means it will seam sealed but on the shelf in a month or two, it will become unsealed. That’s a waste of your effort! Spend the few dollars and get new lids. Get new lids like these.


I LOVE this steam canner. If you already have a water bath canning set up and like it, that’s fine and dandy but if you don’t have a canning process OR if you find your traditional canning process slow and cumbersome, listen up: STEAM CANNING IS FAST. It is ready in 5 minutes, while a traditional water bath takes about 30 minutes to be ready. I’m not a math teacher, but that seems like a big difference, right? You can read my post about steam canners here but you’ll definitely want to get your own steam canner after reading. I love this one.

This YouTube video will explain what a steam canner does and show you how it will cut your canning time in half even if you have never canned before!
A food mill is not necessary to can, exactly, but I use mine in nearly every recipe. I use so often because it is so effective in creating a super smooth puree, it is easy to clean, it is not an appliance that is going to break and be expensive to replace, they are all or mostly metal (read: durable) and I love that mine has 3 plates that can be swapped out. You know the 4 sides to a box grater? That’s what the interchangeable plates do; you can have a super fine puree, or just a medium one. The best example of it’s utility is making applesauce. I can cut a whole apple- core, seeds, skins, stems, everything- into quarters, add water, and boil till the quarters are really soft, I can plop the quarters into the food mill and all the cores, seeds, skins, and stems stay on the top and all that falls through is smooth applesauce.

Here’s a video of it in action to show you exactly what it does!
A silicone trivet is a really versatile way of turning any old pot you already have into a water bath canning pot. You have to have a rack or buffer on the bottom of the pot to prevent the jars from breaking and the silicone trivet is an affordable and useful amendment. You can use it as a trivet, of course, when you aren’t canning, and when you are, it simply sits in the bottom of a stock or pasta pot.

You can get a traditional water bath canning pot like this but I’d only recommend it if you want to can really large batches of quart jars and you have lots of time to wait for it to boil.

Do you have what you need to start canning? Get the equipment checklist!

I started canning a few years ago. I use both water bath and a pressure canner. I can mostly things I grow in my small kitchen garden, but today I used store-bought apples to make caramel apple jam. It goes great on top of plain yogurt in the morning. – Margy
Oh that jam sounds so “Fall” and delicious!