• Skip to secondary menu
  • Skip to main content
  • Skip to primary sidebar
  • Skip to footer
  • The Pressure Canning Cookbook
  • Blog
    • Subscribe
    • Welcome!
  • Perfectly Preserved Podcast
  • About
    • ADW Manifesto
    • Work With Me
      • Read
  • Shop
    • My Account
    • Cart
    • Checkout

The Domestic Wildflower

Handmade Food & Craft Tutorials for Beginners

  • Courses
    • Free Canning Basics
    • Everything Canning Course
    • Steam Canning Workshop
    • Free Homemade Cocktail Mixers
    • Wildflower Mixology
    • Crochet Basket Workshop
  • Can & Preserve
    • Never Canned?
    • Steam Canner Equipment Bundle
    • Shrubs Course
  • Sew
  • Cook
  • Craft
    • Crochet Step-by-Step Guides
      • Crochet Basket
      • Giant Yarn Throw
      • Thick & Thin Throw
  • Living
    • Creativity Challenge
    • Clean
    • Kids
  • Rentals

Blog

Customizable Strawberry Jam Canning Recipe

May 18, 2019 by Jenny Gomes Leave a Comment

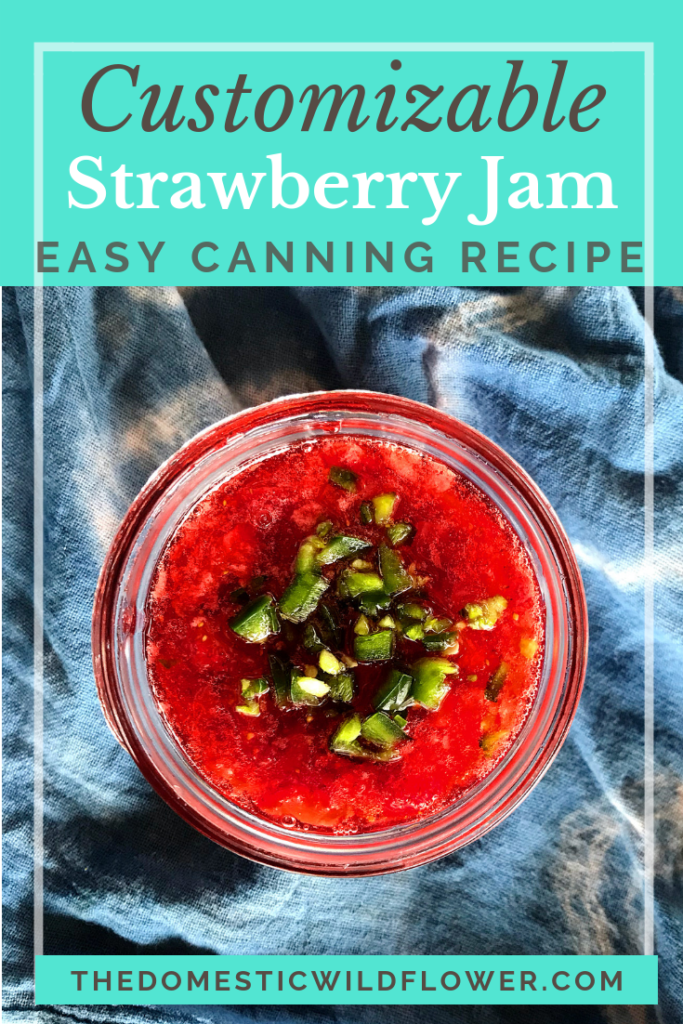
This customizable, make it your way, strawberry jam canning recipe is fast and easy, and so fun to make with a group. Select your add-in flavors, and follow the easy recipe below.

Customizable Strawberry Jam Canning Recipe

This post may contain affiliate links.

Strawberry jam is a fast and fun recipe that a beginner can make and this recipe explains how you can round up a selection (or just a few) of optional add ins to add just before canning to customize your jam and make it your own.

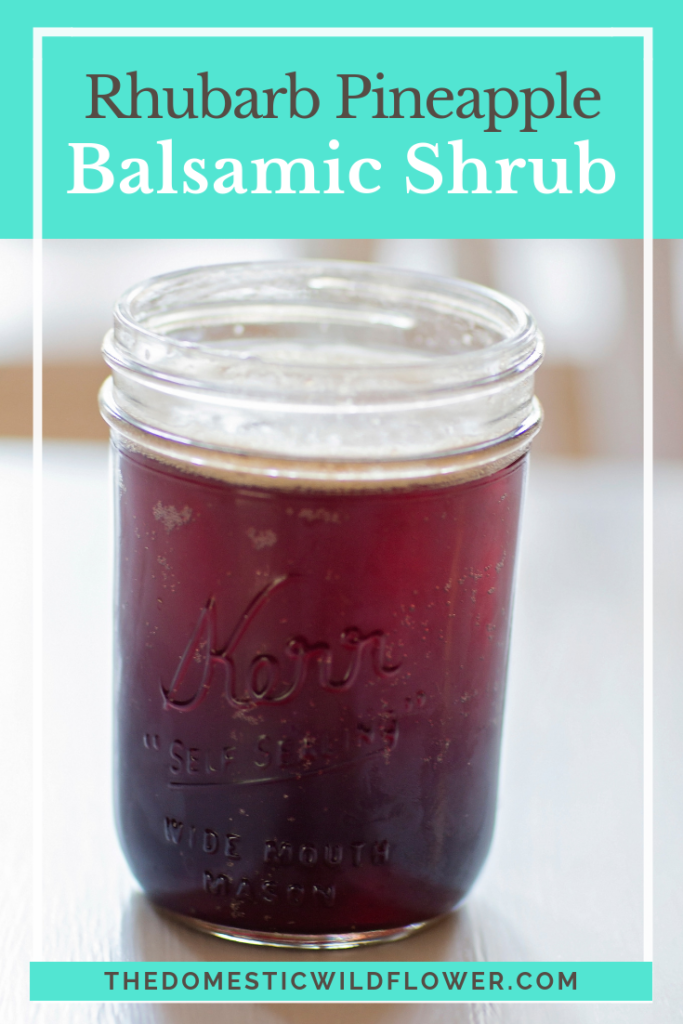
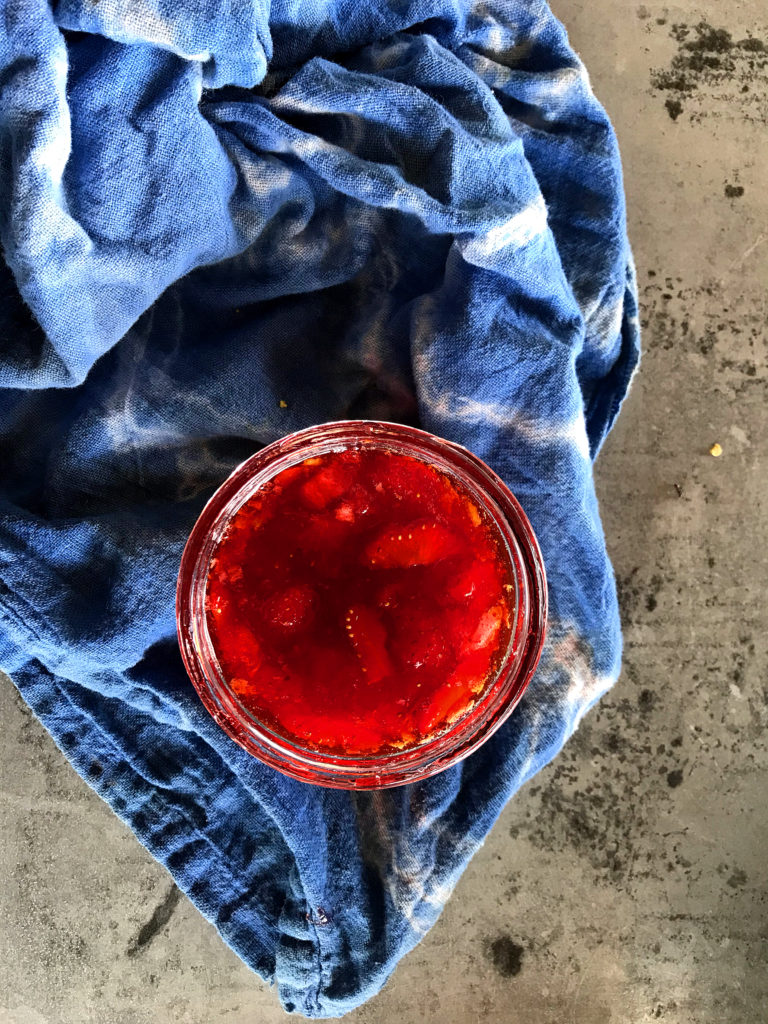
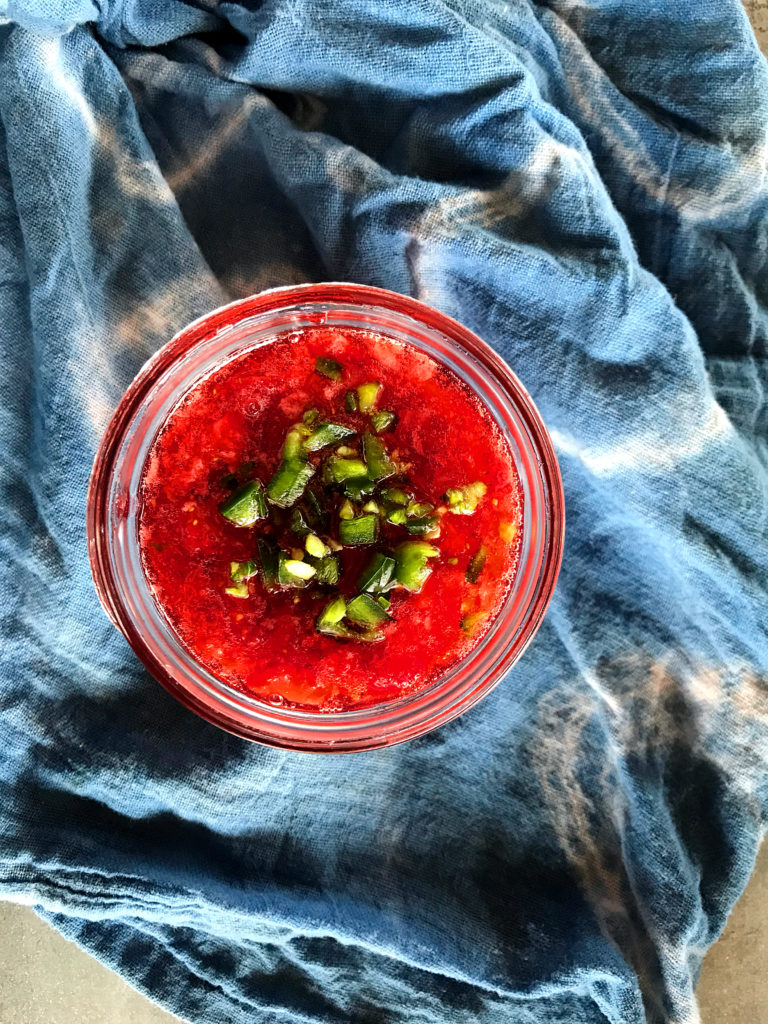
One way to tell which jar is which is to use these fun, colored lids. You’ll know that the balsamic flavored jam has the red lid, and the one with minced jalapeño has a green lid.

If you came to this post for a recipe, and now you’re not so sure because this is a canning recipe, don’t worry! You can sign up for the Free Canning Basics Course and get a few easy lessons in your inbox!

Canning Basics Course

This customizable strawberry jam is easy to make especially in wide mouth half pint jars. You’ll have a perfect serving of specially flavored jam to give or keep and the wide mouth makes the addition of the flavoring easy.

This would be a fun recipe to make with a group (see this post for a recipe for canning for a party!)

Customizable Strawberry Jam Canning Recipe

Customizable Strawberry Jam Canning Recipe

Download and print the Customizable Strawberry Jam Canning Recipe for free here!

You will need 
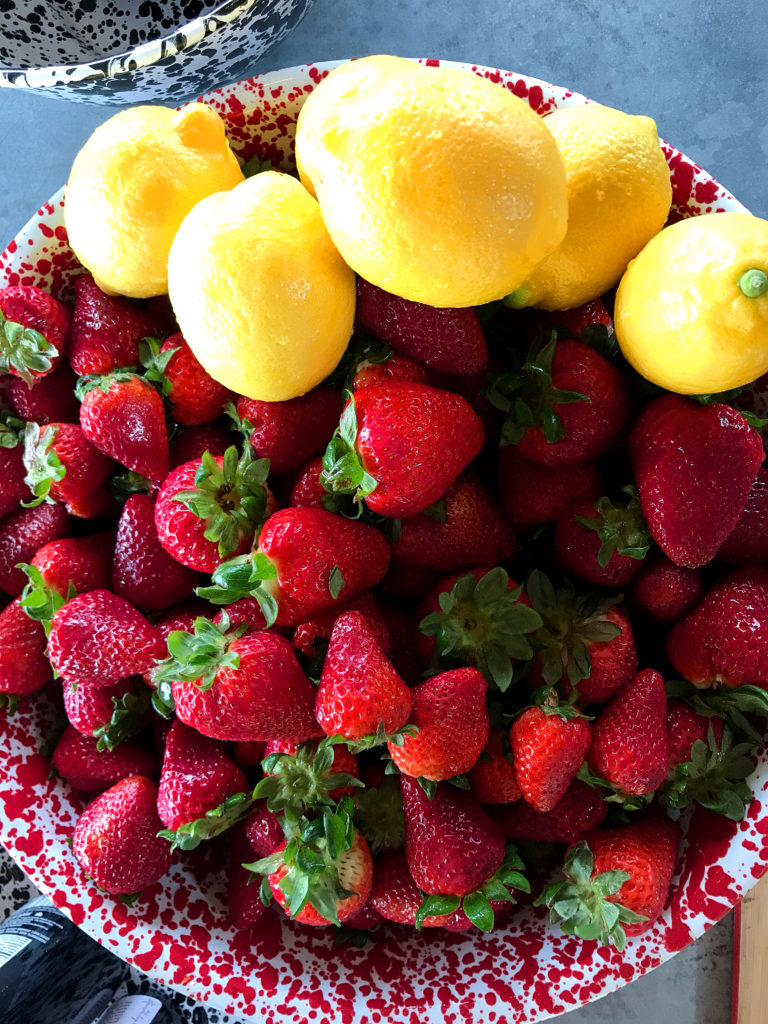
10 cups strawberries, washed and chopped
7 cups of sugar
2 lemons, squeezed
2 boxes  liquid pectin
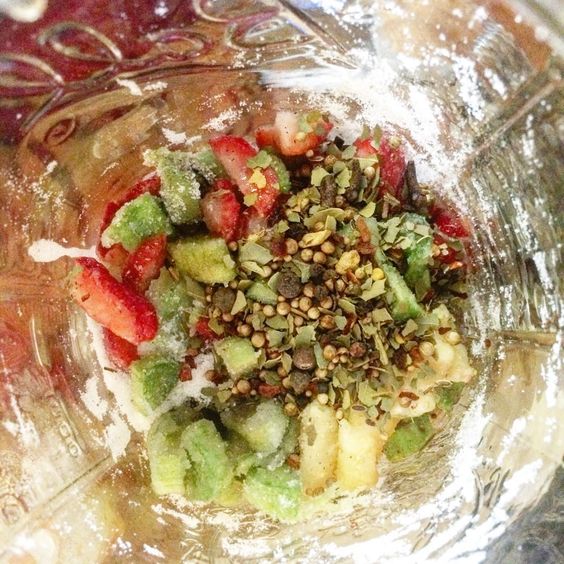
Customize with an optional add in- 1 teaspoon each per 1 cup/half pint jar
–vanilla paste or extract
–rose water
–orange flower water
-finely minced jalapeno, seeds removed
–dried or fresh lavender
-lemon or orange zest
-teaspoon balsamic vinegar 

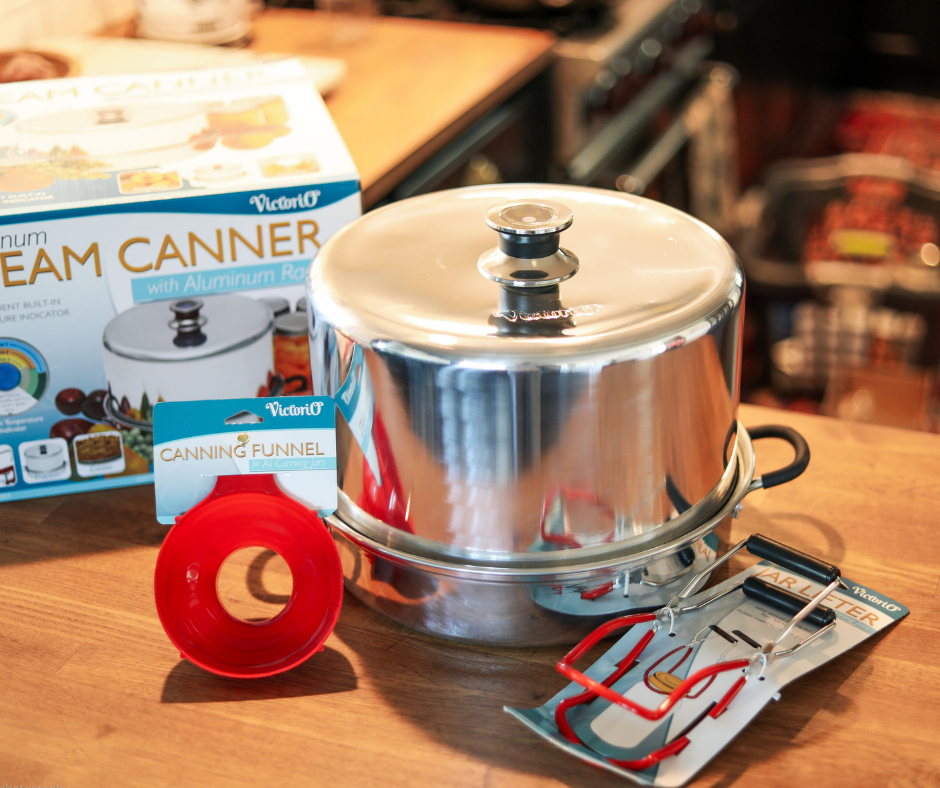
1. Prepare your water bath canning pot or your steam canner. Fill the water bath canning pot with water, add 7-8 half pint jars, and bring to a boil OR fill the steam canner to fill line and turn on low with the half pint jars nearby on a towel-covered countertop. 

2. Combine strawberries and lemon juice. Simmer together in a preserving pan (a heavy bottomed, wide pan) and stir occasionally for 15 minutes. 

Customizable Strawberry Jam Canning Recipe

3. Optional: Remove from heat and ladle into a food mill. Process jam through for a super smooth jam.

4.Return strawberries to a boil, add sugar, and whisk in pectin quickly.

5.Ladle into jars one at a time, adding 1 teaspoon of your optional add-in flavoring. Stir with a toothpick or spoon to quickly incorporate.

Customizable Strawberry Jam Canning Recipe

6. Apply lids and rings, and either submerge into the boiling water of the boiling water bath with a jar lifter  OR set gently on the rack of the steam canner. 

7.Process for 10 minutes PLUS 5 minutes for every 1000 ft above sea level. Remove from heat, rest jars carefully on towel covered countertop. Label cooled jars and store for up to 1 year. Yields 10 half pint jars.

Love strawberries? You can get my best strawberry canning recipes in one ebook. Check it out here!

Canning Strawberries Recipe Book Cover

Filed Under: Can

Absolute Best Way To Get Started Canning

May 13, 2019 by Jenny Gomes Leave a Comment

If you want to know the absolute best way to get started canning, this post will tell you the fastest, easiest, and best way. Read on for the tools, tips, and tricks from a busy mom who understands what it is like to not have enough hours in the day.

The Absolute Best Way to Start Canning

This post contains affiliate links.

Most people think of canning and imagine a few specific things. They imagine the huge, speckled black pot with steam rolling from the top, and they imagine it taking hours and hours.

Truly, those are THE biggest obstacles to YOU starting canning, aren’t they? You don’t want to clutter your kitchen up with a ton of gear (didn’t your grandma have an attic full of stuff?) and you don’t have hours and hours to devote to a new hobby.

BUT you are reading this because the idea of canning is intriguing to you. You want to can the recipes that your mom or grandma made, or you want to gut out allergens for your family, or you want to make more food yourself, and the cooked-in-advance part of canning sounds amazing…you want to learn how, but it has to fit into your busy life and stuffed kitchen.

Steam canning is the answer to all of the above and more.

It is the FASTEST way to can. It cuts 25 minutes off each batch. 25 minutes saved is great, but you really  save time with each subsequent batch. Suddenly you aren’t canning all afternoon. You’ve canned several batches in 90 minutes, or just one in under 30.

Read this post for more detailed info on steam canning here.

I’m pretty darn good at a few things.

I don’t do anything slowly.

I am great at making friends.

I’ve made friends (truly, this is not a paid sponsorship) with Amy of Victorio Kitchen Products, the maker of the pot that allows for the fastest canning possible. She and I are birds of the same feather. We were on the phone and I said to Amy, in an offhand way,

“It would be awesome if your funnel and jar lifter came in the same box as the steam canner because then a beginner wouldn’t have to get anything else to start…”

And then in a few days, Amy emailed me the link to Victorio’s Steam Canner Bundle.

I’m a squeal with excitement girl, and let me tell you…I definitely squealed with excitement.

Amy at Victorio (a husband and wife team in Orem, Utah) put together in ONE box the absolute best way for you to get started with canning. They are so passionate about helping newbies get started, (ahem, just like me!) that they are making the very affordable Victorio Steam Canner Bundle available exclusively for you readers.

Did I mention it is cheaper than getting it on Amazon?!

You get free shipping, too.

You’ll need NO other tools to get started. Rustle up your jars and you’re all set!

Steam Canner Bundle

Other than squeal with excitement, here’s what I’m offering.

For purchasers of the Victorio Steam Canner Bundle, if you email me a screenshot or forward of your purchase confirmation, I’ll email you the Steam Canning For Beginners Ebook for free.

Steam Canning for Beginners this post explains steam canning for beginners and shares the ebook that will explain step by step how to use the fastest tool in canning!

To celebrate our new friendship and the launch of the Bundle, Amy at Victorio and I have put together a Giveaway. It’s a fun one because there’s tons of opportunity to increase your chances of winning by sharing (Do it! It’s a single click- so simple!)

The lucky winner of the Giveaway will win:

The Steam Canner Bundle – a steam canner, funnel and jar lifter– everything you’d need!

The Steam Canning Workshop (my video course that teaches a beginner how to use and maximize their steam canner, STEP BY STEP)

The Steam Canning for Beginners Ebook to read while you’re on the treadmill or in bed at night

Enter to win this amazing prize here!

The Absolute Best Way to Start Canning

If you want to see me unbox this amazing bundle, watch here!

If you want to check out this steam canning stuff, but you’re not ready to dive in just yet, check out the Steam Canning for Beginners Ebook. Its affordable & low-commitment; it’s like taking steam canning out for coffee. You’re just getting to know it a little bit better!

Filed Under: Can

6 Steam Canning Resources

May 5, 2019 by Jenny Gomes Leave a Comment

I’ve had a lot of readers express that they think that steam canning is next level, harder, 2.0, or otherwise more difficult than traditional water bath canning and that simply isn’t so. I’m here to tell you that canning is a piece of cake in a steam canner and in many ways, much easier than traditional water bath canning. Here are my best steam canning resources to save you tons of time canning. Read on for the best way to get the steam canning gear you need, steam canning blog posts, a steam canning ebook, YouTube videos about steam canning, my Steam Canning Workshop, and more.

6 Steam Canning Resources

This post contains affiliate links.

6 Steam Canning Resources

Steam Canning For Beginners

The Steam Canning for Beginners ebook will explain many of the considerations you’ll encounter, such as: how to maximize the steam canner’s efficiency, how to choose recipes that make the most of your steam canner, how to know you’re doing it right, what to do if your processing time is over 45 minutes, who steam canners are best for (almost everyone!), and more.

6 Steam Canning Resources

How to Maximize Your Steam Canning Time to Can Faster

This post will share with you some valuable tips for maximizing a steam canner by choosing recipes that are particularly well suited to steam canners, and which to skip.

The Steam Canning Fact Sheet & Equipment List is FREE, and will help you DIVE IN! It’s a beautiful PDF that you can print or look at on your phone and will clarify what steam canning is, and is not, easily!

Download Now!

6 Steam Canning Resources

Differences Between Water Bath Canning and Steam Canning

This video will explain in detail the differences between using a water bath canner and a steam canner and will show you how a steam canner can save 30 minutes or more per batch, weighs just a quarter of a full-size traditional canner, and are ideal for a beginner. Read on, Wildflowers!

6 Steam Canning Resources

What Is A Steam Canner

This post will explain what a steam canner is, the pieces that come with it, how it saves time, the types of recipes that maximize a steam canner’s efficiency, how much water they use (hardly any!) who a steam canner is best for, and why you’ll want to try one yourself!

6 Steam Canning Resources

Why A Pressure Canner is NOT a Steam Canner

This post will explain the differences between a pressure canner and a steam canner, and why you’ll definitely want to learn how to use a steam canner. Watch the video below, Wildflowers!

6 Steam Canning Resources

29 Reasons You Should Be Using A Steam Canner

This post will explain the reasons why a steam canner is the best thing to happen to the preserving world since Napoleon offered a reward to anyone who could preserve food to feed his soldiers afield. Read on for the list, Wildflowers!

6 Steam Canning Resources

Are you ready to can the fastest way possible? In the Steam Canning Workshop, I SHOW you, STEP BY STEP, how to master steam canning in crystal clear videos that make you feel like we are hanging out canning together.

No matter if you are an experienced water bath canner, or if you’ve never canned anything, the Steam Canning Workshop will transform you into a confident, lightening-fast canner.

6 Steam Canning Resources

Start Steam Canning with This Bundle

Now that you have printed off the equipment list, you can see you need the Steam Canner Bundle from Victorio Kitchen products. In this bundle, you get the steam canner, the funnel, and the jar lifter, all in ONE BOX. You get FREE SHIPPING, and it’s cheaper than on Amazon. 

Steam Canner Bundle


Filed Under: Can

Bread Machine Cinnamon Roll Recipe

April 13, 2019 by Jenny Gomes Leave a Comment

This recipe is for a delicious cinnamon roll that you make in the bread machine, roll out and can let sit over night if you’d like, to bake in just 20 minutes in the morning. Instead of the tired powdered sugar glaze, I dress mine in jam. Read on for the perfect bread machine cinnamon roll recipe.

This post contains affiliate links

I am a big fan of unpopular things to do in the kitchen I guess. I LOVE canning (and I’ll teach you here), and instead of getting an instant pot, I’m ALL about my bread machine.

Guys, bread machines are AMAZING. I need to confess first of all, that I didn’t buy mine. My Gram gave me hers. However, if mine died (it’s probably 20 years old and going strong) I’d buy one of these. The price is reasonable, the features include the delayed start and different crust options (we like a light crust in our house, but some may like a darker crust) and it can make up to a 2 lb loaf which feeds a family. It also doesn’t take up a ton of countertop space, which is really handy.

They are amazing because you put the ingredients in and turn it on and leave. Truthfully, that’s the appeal of the Instant Pot, right? Same idea with bread machines, folks.

You don’t have to knead it, or remember to come back and knead again (I mean, those activities are nice if you can remember to do them).

They get exactly the right temperature of “warm” to kick the yeast into “go” and do its magical thing.

Mine has a “delay” function which means I can put the ingredients in, making a little volcano island of flour, a sea of water around, and in the volcano’s top, the few teaspoons of yeast, far away from the activating waters below so the bread is warm and fresh from the oven when supper is ready.  

In addition to regular, delicious classic bread, this cinnamon roll recipe is a great use of the bread machine.

You set the machine to “dough” so you don’t do any mixing or kneading by hand, but roll it out once the machine’s cycle is complete.

Cinnamon Roll Bread Machine Recipe

You may want to prepare this the evening before you’d like to enjoy them. Then, they will rise the final time overnight, and you can bake them in 20 minutes in the morning.

You will need

8 ounces warm water- not hot, 70-80 degrees F, and never hotter than 100 degrees.

1 ½ teaspoons salt

2 tablespoons real butter, softened

3 cups flour

2 tablespoons milk

1 ½ tablespoons sugar

2 teaspoons active dry yeast (get the jar, as packets are unreliable, and store in the refrigerator)

Measure all ingredients into bread machine. Following the directions on your bread machine and select the dough function.

While the dough is being prepared in the machine,

Combine:

4 tablespoons real butter

¼ cup sugar

2 teaspoons cinnamon

Let this mixture sit at room temperature so it is soft and ready to be spread when the dough is done.

Once the cycle is complete, roll dough on a floured board into a shape that’s close to 15 x 9 inches (though mine is more of an oval than anything).

Spread butter and cinnamon mixture across dough evenly, all the way to the edges.

Roll tightly, into a long log. Slice into about 9 sections, about 2 inches in width. Place into a greased baking dish. They will fit snuggly.

Let rise in a warm place, about 45 minutes or as long as overnight, with a towel covering them.

Spread ½ cup of jam (here’s a great recipe) over the tops.

Bake 20 minutes in a 375 degree oven for 25 minutes.

Easy and delicious! I want to hear if you make these, Wildflowers. Let me know in the comments if you try the recipe and what jam you spread on top!

Filed Under: Cook

Rhubarb Pineapple Balsamic Shrub

April 12, 2019 by Jenny Gomes 1 Comment

This post will share one of my favorite shrub recipes. It uses bold tasting balsamic vinegar with pineapple and rhubarb. It’s great on its own with sparkling water but with tequila, it is over the moon delicious. Read on for the recipe!
Rhubarb Pineapple Balsamic Shrub

Rhubarb is one of my favorite veggies. I love the color, the flavor, and how delicious it is in a pie, crisp, and canned into jam or syrup. It is pretty easy to get 1 3/4 cup chopped rhubarb; even a new gardener can cultivate this amount. It is also available in grocery stores. Just be sure to be careful with the leaves as they are poisonous.

This shrub recipe is absolutely a good one for newbies to try. However, it is a bold shrub, that is strong tasting because of the balsamic vinegar. Remember as you make it, it will be diluted significantly with water and/or spirits. It won’t taste as strong as it smells. Don’t let that make you shy away. I have made a great many shrub recipes and this remains of the very best. One addition I made that was NOT my favorite was with one batch I added pickling spice, which included bay leaves. It wasn’t that good. Stick with the pepper, and the fruit mix, as that really results in a sweet-tart-savory mix that is delicious and oh-so-good with tequila. You don’t have to mix it with tequila of course but if that’s your libation of choice, you are in for a real treat.

Here’s how to make your own Pineapple Rhubarb Balsamic Shrub
  • 1 ¾ cup chopped rhubarb
  • ¼ cup chopped fresh pineapple
  • 1 ½ cup granulated sugar (though I wanted to try honey…stay tuned for an update on my next batch)
  • ¼ teaspoon black pepper (delicious- don’t skip, and maybe add more if you’re inclined or use 1 teaspoon of peppercorns)
  • 1 cup good quality balsamic vinegar
  • ½ cup good quality cider vinegar
  • up to 1/2 cup strawberries, chopped

Combine the rhubarb, pineapple, sugar, and pepper in the jar. I used my half gallon jar, but a quart would work. After an hour, give the sugar and fruit a stir and screw on the lid.

Rhubarb Pineapple Balsamic Shrub


Let the mixture sit 24 hours. Add the vinegar, stir, and let the shrub sit for about a week on your countertop. Stir (or shake) daily. After 3-4 days, strain through a sieve into a clean jar. Use a cheesecloth if you care about a little sediment. I did not. Discard solids. Store in the refrigerator.

Rhubarb Pineapple Shrub Cocktail

Combine:

1 part rhubarb pineapple shrub

1 part tequila

2.5 – 3 parts sparkling water

Add the above to a glass full of ice and enjoy. This is over the moon delicious in a weird, spicy-sweet vinegar-y way. The pepper is good in the same way that a Bloody Mary is good in a peppery, savory way.

If you are a mason jar drinker like me, a half pint wide mouth jar accommodates:

¼ shrub

¼ cup tequila

½- ¾ cup of sparkling water and several large ice cubes.

That makes a strong and bold tasting drink. You might split it between two jars just to start out. Everything in moderation, Dear Readers 😉

I know some of you are new to me, so I wanted to introduce myself. I’m Jenny, and this blog is where I help beginners craft a more handmade and homemade life. I”m a mom of two young children, and when I’m not crafting or cooking, I’m teaching English.

Jenny of The Domestic Wildflower

I really love writing about shrubs and cocktails because they are so different from canning, my first preservation love.

If you want to learn how to turn nearly any fruit into a delicious shrub like this one, sign up for my free & easy email course!

Enroll Now!

What do you think, Wildflowers? Weird or divine? What shrubs have you concocted with success? Please share in the comment section below!
 
I want to inspire you to serve up beautiful, fresh, and easy drinks for you and your loved ones, no matter the occasion or notice. Incorporating some fun techniques into your tool belt can take the event of having company from underwhelmed and uninspired to feeling joyful and bright in no time. I found this gorgeous infographic that shares exactly that 🙂
Grow Your Own Cocktail Garden: Gin and Tonic With a Twist
Source: Fix.com Blog


Filed Under: Cocktails

  • « Go to Previous Page
  • Page 1
  • Interim pages omitted …
  • Page 20
  • Page 21
  • Page 22
  • Page 23
  • Page 24
  • Interim pages omitted …
  • Page 66
  • Go to Next Page »

Primary Sidebar

Categories

Follow me here, there, & everywhere!

  • Email
  • Facebook
  • Instagram
  • Pinterest
  • RSS
  • Twitter
  • YouTube

Search

Get The Pressure Canning Cookbook

Get 10 Free Recipes Now!

Best Chicken Coop

Footer

Get Started Pressure Canning

Shrubology Ebook

Shrubology: Refreshing Homemade Fruit and Vinegar Syrups for Cocktails
Make easy, no-cook fruit & vinegar syrups for cocktails & mocktails! This ebook shares crowd pleasing recipes and simple to understand ratios so you can make a shrub on your countertop any time- without a recipe. Dive into these Prohibition Era drinks today!

Copyright

Copyright 2019
The Domestic Wildflower
www.thedomesticwildflower.com.
All content created by Jennifer Gomes unless otherwise noted.

Copyright © 2025 · Lifestyle Pro on Genesis Framework · WordPress · Log in