This gift guide will list the items perfect for the canning enthusiast who has canned a season or two and has the basic gear already. These tools will help them can better, faster, and will take their canning to a whole new level. Read on for the complete list of canning gear for an intermediate canner!
This post contains affiliate links. That means that if you click through a link and make a purchase, I get a teeny tiny commission that doesn’t affect your purchase price at all. It’s a great way to support your favorite canning blogger.
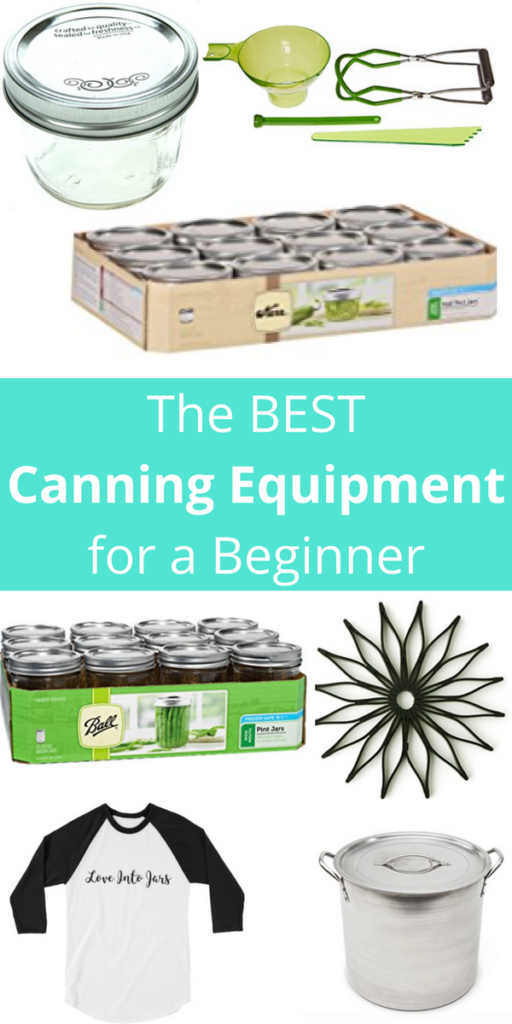
If you are looking for gear that’s best for a beginner, check out my beginner’s home canning equipment guide here!
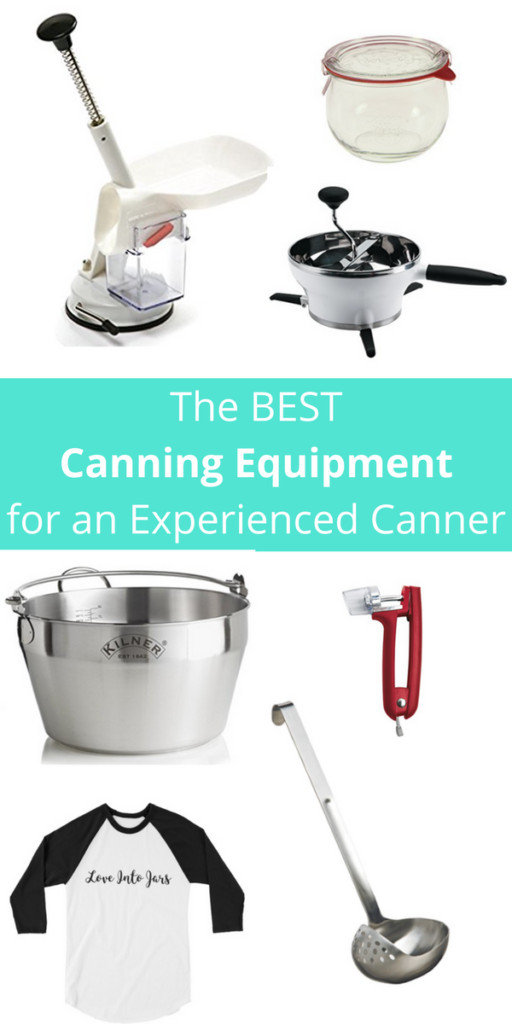
First up is the best food mill around. This food mill processes cooked foods and removes skins, seeds, peels, cores, and makes a super smooth sauce in one step. There’s no motor that will fail, or no junky plastic parts that will fail in a year or two; this is a well made, easy to clean tool that will last years and years.

Next in the list of Best Home Canning Equipment for an Experienced Canner is the beautiful preserving pan by Kilner. This is a pan for cooking jam, jellies, and more. It is heavy bottomed, and basically perfect for making preserves. It would last a lifetime, prevent jam from begin scorched, and allow it too cook low and slow, and thicken perfectly.

These jars may look “French Countryside” even though they are German in origin. An experienced canner would love to try their hand at canning with these Weck jars. They are a little different than standard Ball jars- the lid has a removable rubber flange and there’s no satisfying “pop” sound like when canning Ball lids & jars, but they work with the same processes and same recipes. They are beautiful and chic, to boot.

They come in these many other shapes as well, which is so fun:


Next up in Best Home Canning Equipment for an Experienced Canner is the newest development in the canning world, the Steam Canner. These pots were approved for use by the USDA in 2015 and they make canning SO MUCH FASTER. They work exactly the same way as regular canning but they heat up much less water, so they are ready to go in 5 minutes instead of 30. If I could give every canner ONE gift, it would be one of these. I NEVER pull out my regular water bath canning pot anymore because they work so well and save so much time.

You don’t have to worry; they are NOT hard to use, and they aren’t at all like a pressure canner. I wrote a blog post about them here called 29 Reasons You Should be Using a Steam Canner and there’s another great post I wrote called Steam Canning for Beginners.
Once a canner has canned a few seasons, they know that it would be really nice to keep track of which recipes they loved, which they didn’t, how many jars each recipe yielded, etc. I have a free Canning Log that’s beautiful and printable, and you can print it off right here to give to the canner in your life!
A steamer juicer is a contraption that your grandma probably used for canning grape juice. They are a really useful device and can be used for juicing elderberries, grapes, currants, and more. This one is the same brand as the steam canner that I love so I’d suspect it would be the very same high quality. I’m still steaming in my grandma’s steamer but if I had to ask Santa for one, this is the one I’d love:

This item is a lower price point, but if you had to can many pounds of cherries, you’d probably pay 10 times whatever a pitter cost to have it. A cherry pitter can save so much time and make the job of canning one of the most delicious fruit so much more fun. This kind is hand held, in the same brand as the food mill I’ve had and used for several years.

This cherry pitter is by Norpro, which is another brand I trust, and it suctions to the tabletop. I have the very similar model, that I got at a yard sale, but mine screws to the table ledge, and has scratched it more than once. I have not used this suction one but I bet it would work perfectly AND it wouldn’t damage your countertop. I like this style of model because it is really nice to have several cherries in the hopper so you can just bang-bang-bang pit them and then grab another handful.

This little strawberry huller is a great stocking stuffer if your canner preserves a lot of strawberries. This little guy does his one little job very, very well and if faced with a mountain of berries to preserve, the canner in your life would thank you.

This ladle is called a “strainer ladle” and they are wonderful for canners because they allow you to control how much liquid and how much solid (salsa+ tomato juice, for example) ends up in each jar that gets filled. It’s under $20 and I love mine.

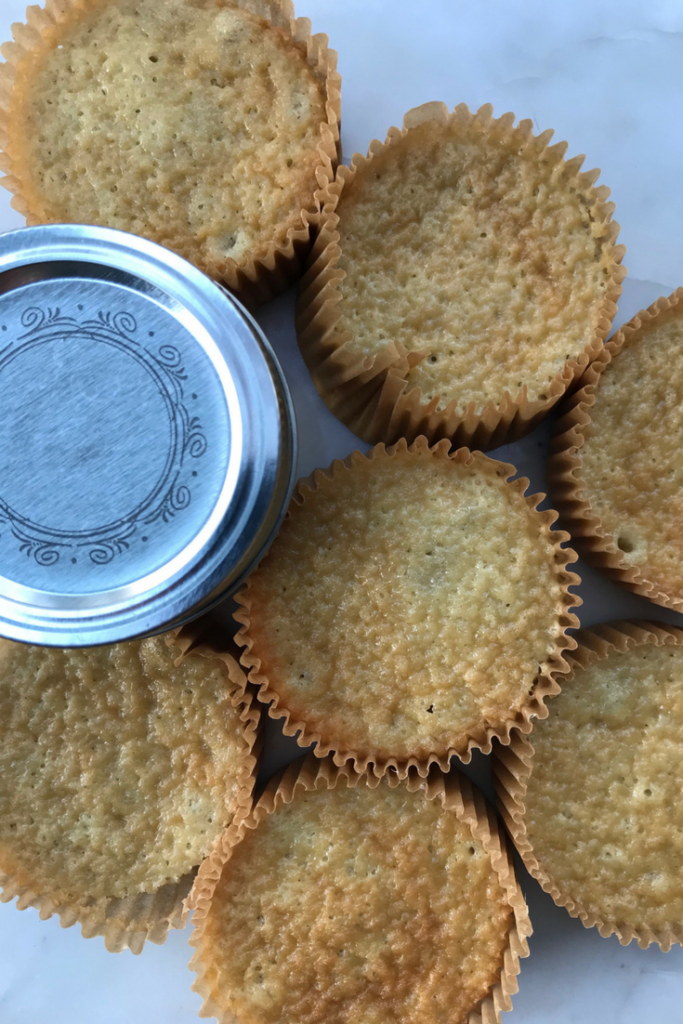
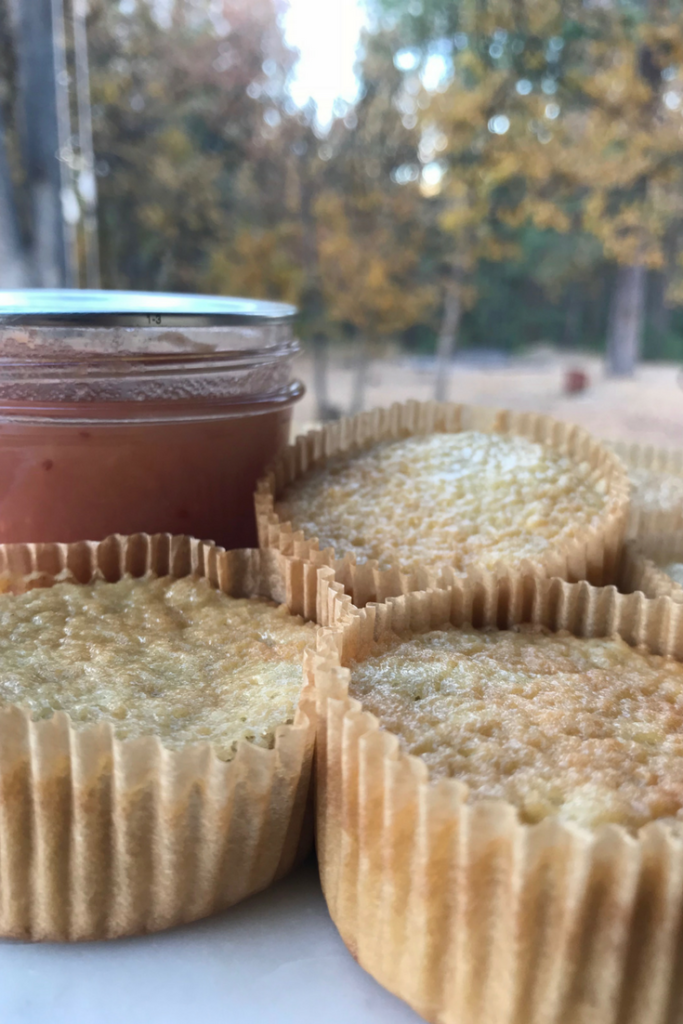
This little jar is only 4 ounces, which means it’s perfect for the canner in you life to fill with hot sauce, chocolate cherry jam, or any other perfectly gift-able preserve and give as gifts.

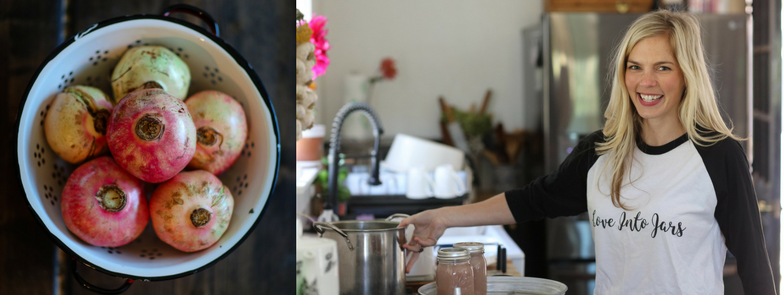
And for the canning enthusiast, they need these super cute canning tee shirts.

As any experience canner knows, Canic is the fear brought on by having tons of quickly ripening produce, but not enough time to can it all. It’s a very real thing, and the canner in your life needs this shirt.

Many canners have little Berry Picker helpers- these shirts are awesome for those littlest helpers whose motto usually is, “one for the basket, two for me.”

I hope this guide to the best home canning equipment for an experienced canner was helpful! Remember, if you have a canner in your life that’s just getting started, or is “canning curious” check out this guide for The Best Home Canning Equipment for a Beginner !