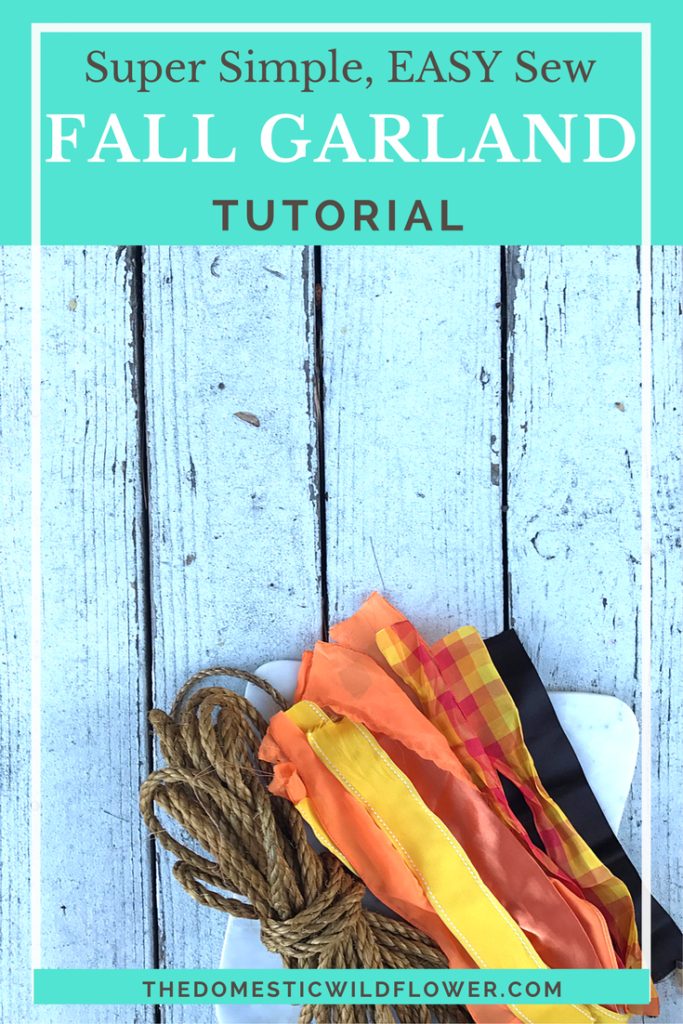
This post will share a super simple Easy Sew Fall Decor Bunting Tutorial that you can make in under an hour! I also link to the jute rope I love for all my garlands and buntings, as well as some great ribbons to use in the Fall Bunting too.
This post contains affiliate links. That means that if you click through and make a purchase on Amazon, I get a teeny, tiny commission that doesn’t affect your purchase price at all. I only link to products that I think will make your project awesome, that I’d recommend to a friend. Let’s make this bunting!
You might remember my pretty, red and tan striped burlap bunting from this post. I ended up donating it to a local auction that was raising money for my child’s playground that needed a safety update and now, this fall season, I needed a way to spruce up our dining area with some fall color.
So, I decided to make this Easy Sew Fall Decor Bunting and write a tutorial for you all!
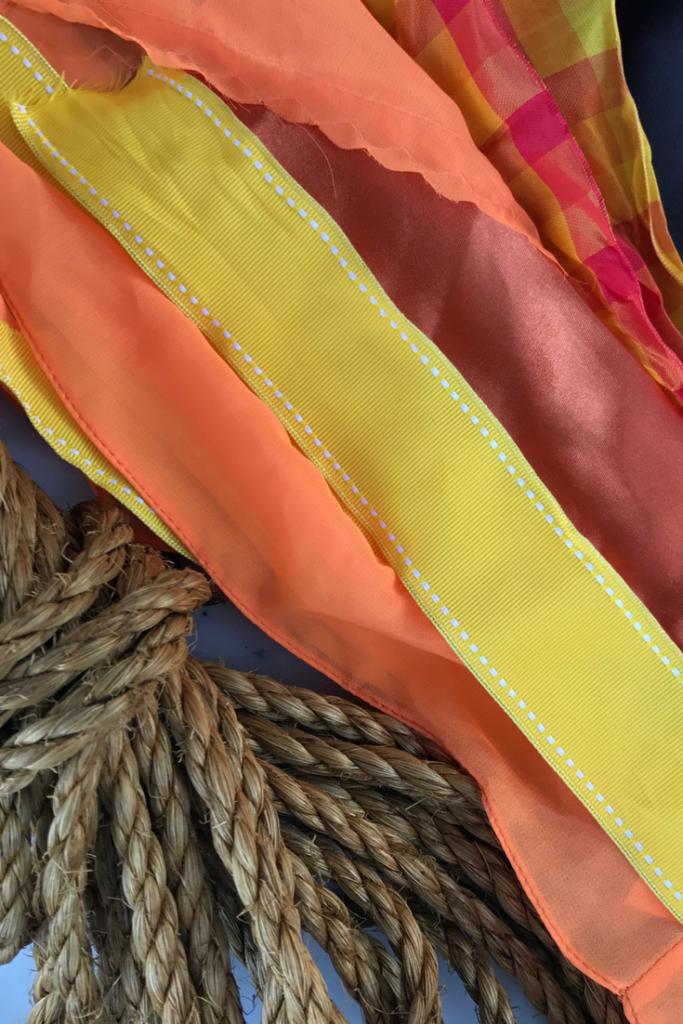
I love this jute rope for making buntings because it is inexpensive, great for indoor or outdoor use, and strong enough you could use it to suspend a lantern or a wreath- it’s amazing!
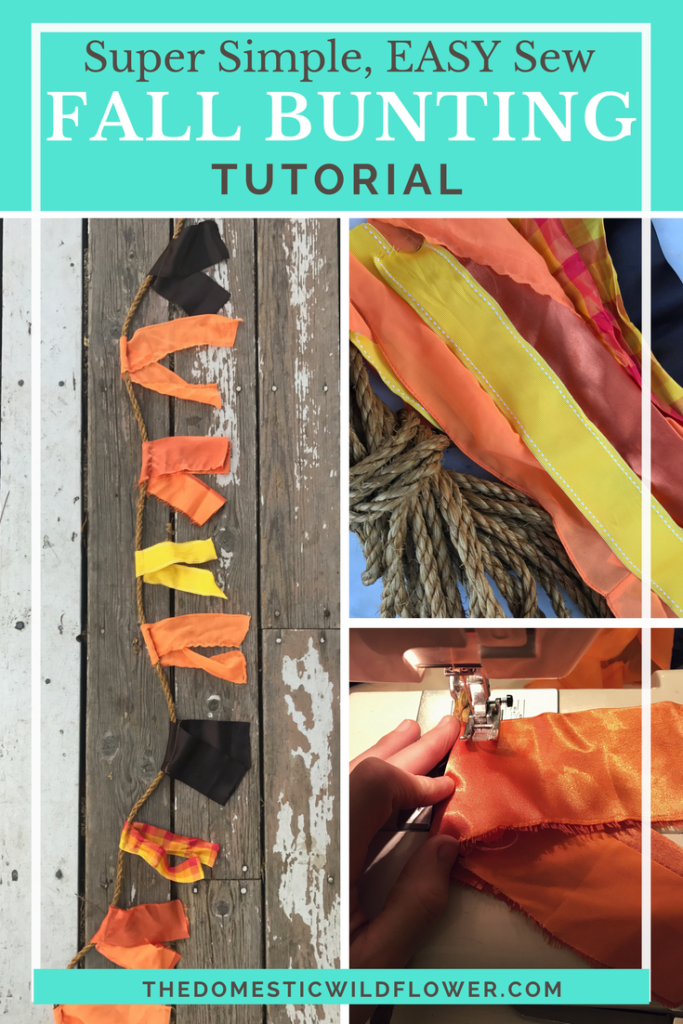
I gathered scraps of wide ribbon (some with wire edge, some wide satin ribbon) and sewing scraps that fit my theme. I hemmed a bridesmaid dress for my cousin that was orange (for a fall wedding- so cute) a few seasons ago, and in classic Jenny fashion, saved the scraps from the hem. These orange chiffon and satin scraps are perfect but I’ll link to some great ribbons you can use here.
Materials for the Easy Sew Fall Decor Bunting
Sheer Chiffon Ribbon |Burlap Ribbon | Leaf Print Ribbon | Velveteen Ribbon | Velvet Ribbon | Jute Rope | Flat Jute Braid
One tip from my quilting experience is to choose fabrics or ribbons that are mix of dark, medium, and light. You don’t have to worry about matching colors so much as you do striving to to get an even-ish mix of dark, medium, and light colors in order to make your bunting (or quilt) sparkle.
Instructions
Cut your fabric scraps (use fabric that won’t fray readily, unless you want to hem about 10 inches long (don’t get hung up on this- 12 inches or 8 inches, all look really cute).
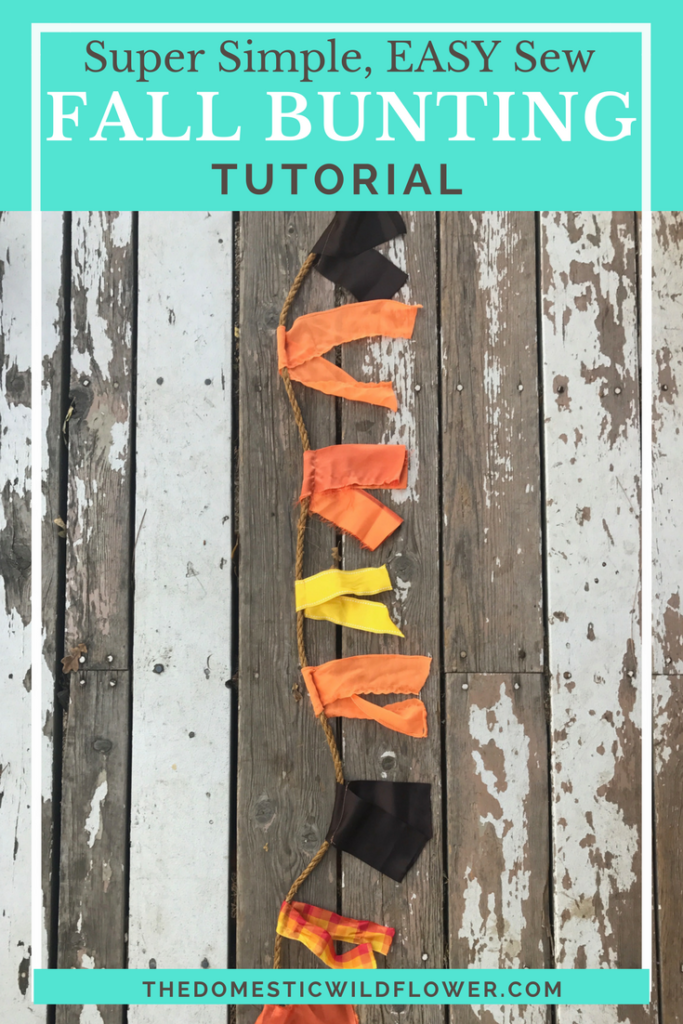
Since you are using up scraps, potentially, take a minute to lay them out first, on the floor or on a table top, in the order you’d like them to be on the bunting. I had only a few dark ribbons, so I spaced those out over the 10 feet of hemp rope FIRST, and then filled in with my many light and medium hued pieces.
Then, stack them up in the order than you liked so they are beside your machine, ready to go.
Once you have assembled your scraps or purchased fabric and ribbon strips then determine about how long your rope should be and cut to length. I cut mine 3 feet at least longer on each end so I have plenty with which to tie to curtain rods, fence posts, etc. Knot the end of each rope in an overhand knot and if it particularly prone to fraying/untwisting, you can secure it with strapping tape (the clear plastic tape on cardboard boxes from Amazon 🙂 like a large scale version of your shoe lace tip.
Fold the ribbon or fabric over the hemp rope with the rope to the LEFT of the foot, and the little banners pointing to the RIGHT.
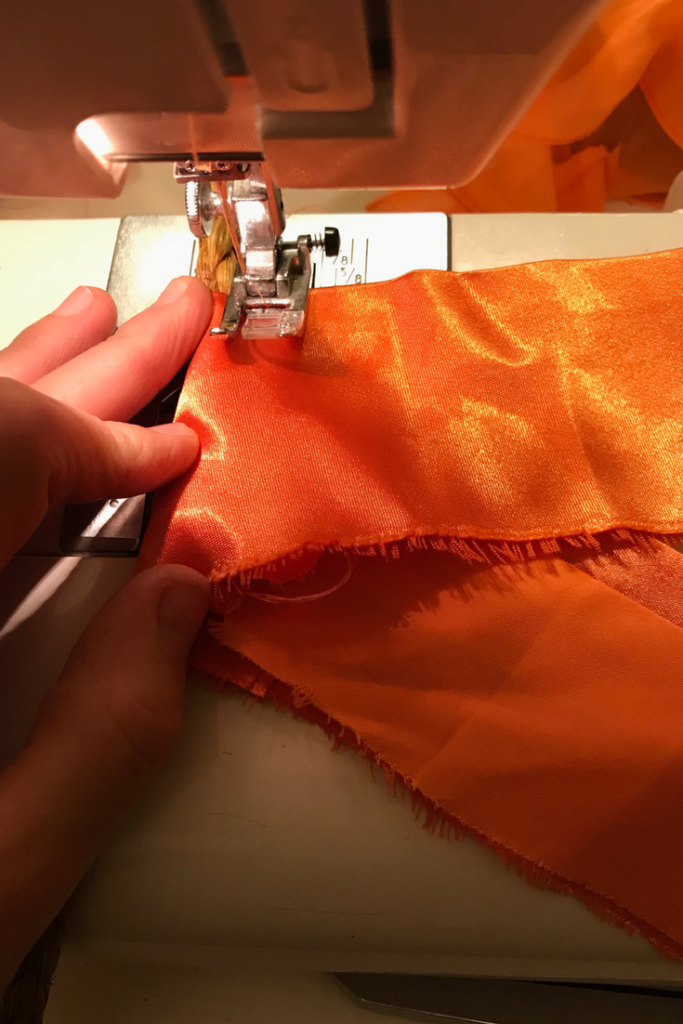
I like to fold them a little askew, so they create an upside down V shape.
Backstitch, and sew to the end, remembering to backstitch again.
Sew as close to the rope as you can so they don’t slide all over your rope when on display.
Grab your next little banner and repeat, about as far apart as each banner is long.
That is, if your little banners are 5 inches (10 inches long when you cut them) then space them out 5 inches apart on the rope.
Repeat until all banners are sewn on to rope.
Super cute, right? Check out my other bunting project here- I used an upholstery strapping that’s striped and adorable.

Leave a Reply