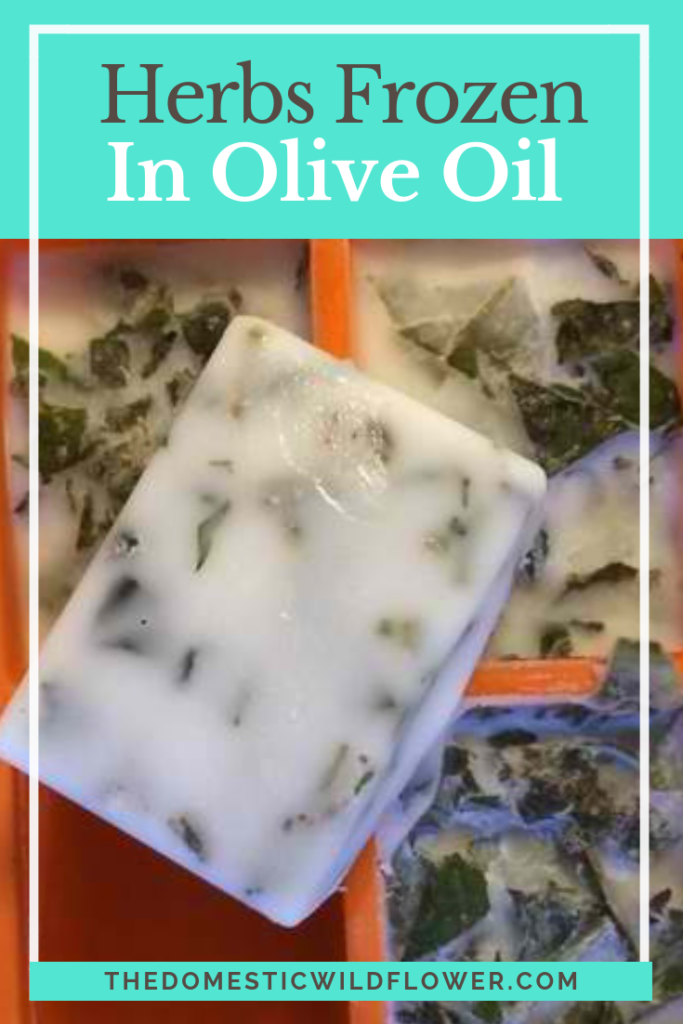
Herbs Frozen in Olive Oil
I have been skeptical of the utility and practicality of the idea of freezing fresh (and thus rapidly aging) herbs in olive oil in ice cube trays but the overabundance of basil in my crisper led me to try and love this as a method of preservation.
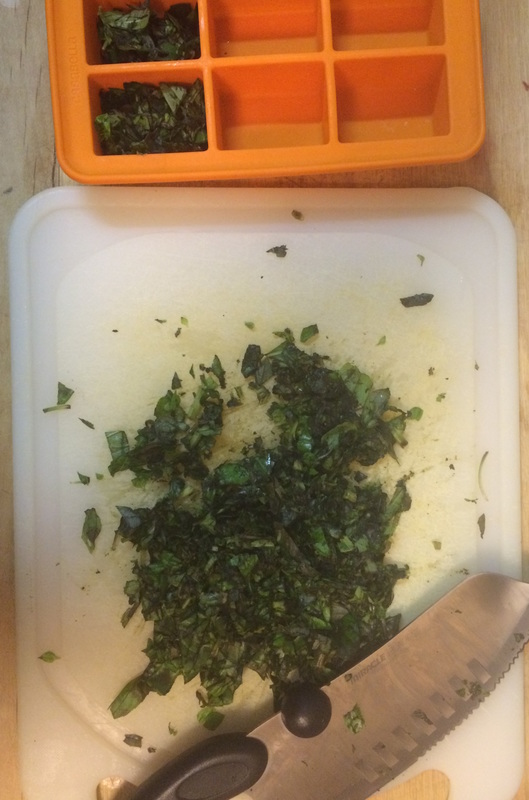
While I can’t add much to what you might have read online already about how simple it is to chop herbs, pack into ice cube trays, and cover in olive oil for freezing, I can do a few things for you Dear Readers.
This post may contain affiliate links. All opinions are my own.
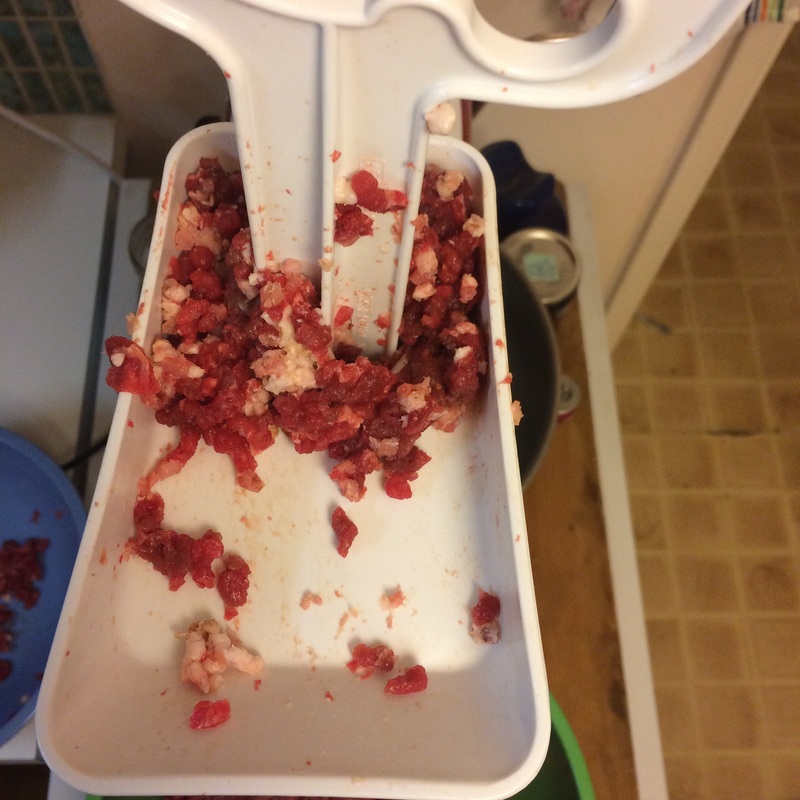
I can attest to the practicality of doing so. I had almost half a pound of fresh basil withering away and was on the edge of spoiling. I chopped it (with the help of a friend who encouraged me to try it) and packed it into my ice cube trays. These are the trays that were gifted to me for my wedding and they are the biggest ice cube trays I have seen, and the quantity of oil + herb seems far more practical than a tiny, regular sized ice cube. If you need more ice cube trays, I love these and they can be purchased by clicking the photo below:

Of course, you don’t need fancy, big-block silicone ice cube trays to preserve your herbs. I just found it to be particularly handy to do so.
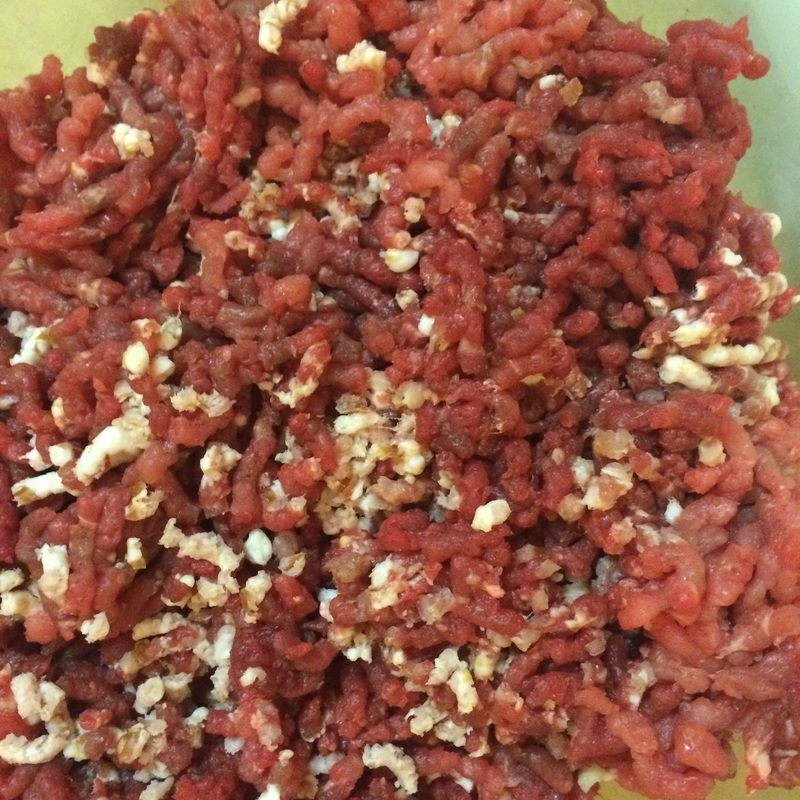
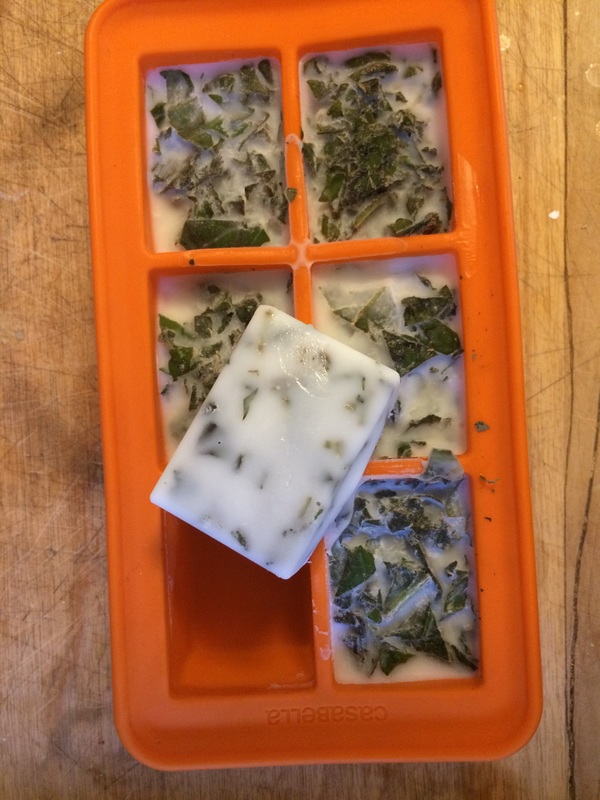
Once the herbs are packed in their little cubbies, pour olive oil slowly over the top. Cover with plastic wrap and freeze overnight.
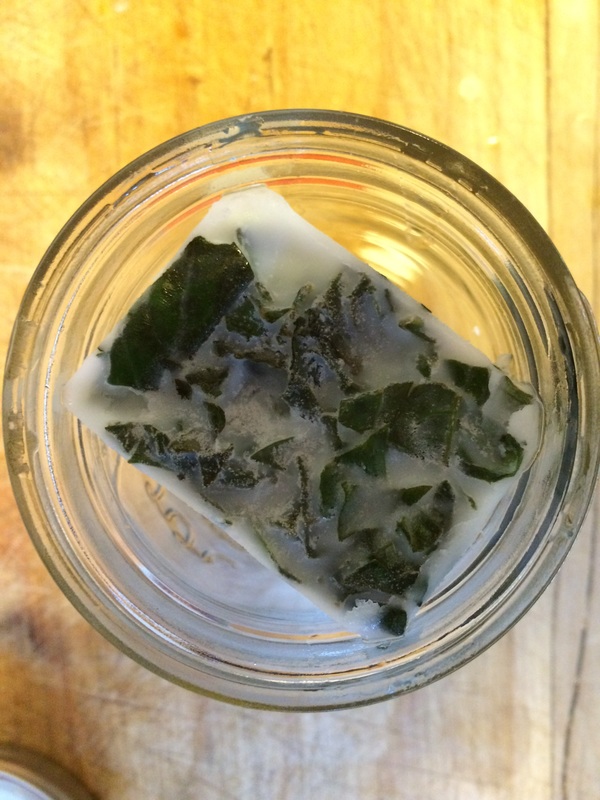
I honestly thought this was a tip that would fall into the “Pinterest Fail” category but I really am happy with the result. I can now fully encourage my thrifty Wildflowers to save some herbal goodness from the compost heap in this manner and I’d say use the biggest ice cube tray (or tiny container) you have for a more useful quantity.
Of course, by saving the last little bit of wilting basil, or by choosing to make the most of the abundance you have in the now, you are helping solve part of a much, much bigger issue. Food waste is something I try very hard to avoid for many reasons, and you should too. The green I care the most about is dollars and I’m not ashamed to admit it. I’m not alone in this camp, and yet over a third of the garbage in landfills is food. That is so much money wasted! One of the tiny tweaks to your routine can be saving herbs in olive oil and you’ll be saving all kinds of green.
The infographic below explains in short order how much food is wasted in the US, the cost in dollars, and the reasons behind the dates on packaging. The dates are NOT regulated (except on infant formula) and by becoming better Wildflowers, I am certain we all can become better about wasting less and thus wanting not.