• Skip to secondary menu
  • Skip to main content
  • Skip to primary sidebar
  • Skip to footer
  • The Pressure Canning Cookbook
  • Blog
    • Subscribe
    • Welcome!
  • Perfectly Preserved Podcast
  • About
    • ADW Manifesto
    • Work With Me
      • Read
  • Shop
    • My Account
    • Cart
    • Checkout

The Domestic Wildflower

Handmade Food & Craft Tutorials for Beginners

  • Courses
    • Free Canning Basics
    • Everything Canning Course
    • Steam Canning Workshop
    • Free Homemade Cocktail Mixers
    • Wildflower Mixology
    • Crochet Basket Workshop
  • Can & Preserve
    • Never Canned?
    • Steam Canner Equipment Bundle
    • Shrubs Course
  • Sew
  • Cook
  • Craft
    • Crochet Step-by-Step Guides
      • Crochet Basket
      • Giant Yarn Throw
      • Thick & Thin Throw
  • Living
    • Creativity Challenge
    • Clean
    • Kids
  • Rentals

Blog

Mending Denim Jeans: 3 Tips for Fixing Denim

August 6, 2015 by Jenny Gomes 2 Comments

Mending Denim Jeans: 3 Tips for Fixing Denim

    • Mending Jeans: How to Fix Torn Denim | A Domestic Wildflower click for a great tutorial on fixing denim with a few important tips!
      how to mend jeans
    • Mending Jeans: How to Fix Torn Denim | A Domestic Wildflower click for a great tutorial on fixing denim with a few important tips!
    • How To Mend Jeans: 3 Tips for Fixing Torn Denim

      Mending can be the most valuable when used to save or extend the life a pair of beloved or certainly useful jeans. Yet it can be the most critical mending job as the fit of a pair of jeans is often a matter of the whole being greater than the sum of its parts. We can thank Aristotle for that bit of wisdom, and we can thank a denim needle, a salvaged denim patch, and a lot of pins for a mending job well done. Read on for the all-important sewing how-to, Wildflowers!

      A denim needle is not mandatory but is a wise investment. You will need one if the mending job will require you to sew over any seams, especially the crotch (LOTS of layers of denim there) or over the double fronts of work dungarees. If the patch will be on lighter denim, and you won’t be sewing over seams, then sew on, you risk taker. I do it all the time and lots of times I have been sorry but lots of times it worked out fine.

      This tutorial is for garments that you can mend without opening any seams. Someday I will write a tutorial for that, but this one assumes that you can slide the garment into your machine. If you are mending the knee of slender kid’s jeans, for example, you will have to use an iron-on patch or open up the side seam to sew the patch. If you aren’t sure, try sliding the item into place. If you can’t get the needle to the hole, you’re out of luck.

      A patch should be made from denim that is still in good condition. The bottoms of cut off jeans like these here are a perfect choice. Check out the backside of the denim to see if that wouldn’t be the perfect color to blend into the background of the mending job. I very often choose the backside because it seems to disappear the best. If you haven’t made jorts recently, then ask friends and family for a castoff or hit up a second-hand store.

      I have purchased and used the packaged variety that you iron on with very limited success. They are useful when the location of the patch is nearly impossible to sew but it that is the case, how you will iron it to activate the adhesive back is a challenge. If you want a fix for a torn knee, where it will be worn and washed more than once or twice, sewing is probably the only solution.

      Cut the patch to be significantly larger than the torn area. Not an inch or so larger, but up to three inches or bigger in every direction you think you will need. Big. You can always trim it.

      Choose a thread that when a strand is across the jeans, it disappears. This might be blue, lavender, grey, or white. Be open to possibilities, frugal sewers. Of course, you can use a colored thread but if decoration was your angle, I’d still suggest a matching color for the functional patch and then switching colors to decorate.

    • Mending Jeans: How to Fix Torn Denim | A Domestic Wildflower click for a great tutorial on fixing denim with a few important tips!
    • Once you have pinned, set your machine to zigzag. I like the stitch that stitches 2 to the left and 2 to the right and back again because it seems to disappear better than the standard 1 stitch to the left and 1 to the right, but surely either will suffice. Sometimes I choose the regular straight stitch (if I have to sew very close to a thick seam and don’t want to sew over it for example) and that works fine also.

      Getting the leg into the machine can be pretty difficult and I have had my husband stand behind the machine and just hold the bulk of the pants while I sewed because I couldn’t scrunch them up in there any farther and sew at the same time. It is at the farthest point when you are really struggling to keep all the fabric to the right of the needle, that breaking a needle is more likely. Exercise caution, Dear Reader.

      Begin sewing at the farthest point and sew forwards over the patch and then backward, creating a kind of zigzag shape with your stitching. If you are able and the garment calls for it, you can of course stitch around the patch but in the leg of jeans, you can’t turn around or sew in a circle. It is like you are practicing parallel parking over and over if you follow my often used ‘sewing is like driving’ metaphor.

    • Mending Jeans: How to Fix Torn Denim | A Domestic Wildflower click for a great tutorial on fixing denim with a few important tips!
    • With many sharp pins and a large dose of patience, sit with the item in your lap or on a work surface. Slide one hand with the patch inside the leg so you can see the outside of the garment. This can be awkward in the same way putting a comforter into a duvet can be because you can’t see what’s going on but it is more important that you see the OUTSIDE of the item, hence the big patch. I line up the farthest point of the patch first with at least an inch allowance and start pinning. Do your best to bring torn edges close together but expect some to simply not reach especially if the tear is older and some of the fiber has been lost. This is an exercise in accepting imperfection. Pin both close to the torn edges AND all the way out to the edge of the patch, which you are feeling with your fingers and not seeing with your eyes. Use your inside-the-garment-palm to spread the area flat and smooth. Pull the pocket of jeans inside out or pin out of the way.

      Trimming fray is up to you. I often leave it because it can fill in the gap a bit and hide a less than perfect match in the patch- rhyme not intended.

      Read this if you are above beginning level sewing and don’t worry about it if you are just starting out: It is smart to think about which direction you will be putting the garment into the machine and adjust the direction of your pins accordingly. If you are mending the right thigh, then you will slide the jeans in waist-first; thus you’d want the ball or colored part of the pins to either be “facing” the left leg or the hem of the leg. For a mending job like this, you will have lots of pins and if they are pinned in the same direction, removing them will be much faster and result in less bloodshed.

    • Mending Jeans: How to Fix Torn Denim | A Domestic Wildflower click for a great tutorial on fixing denim with a few important tips!
    • Mending Jeans: How to Fix Torn Denim | A Domestic Wildflower click for a great tutorial on fixing denim with a few important tips!

Mending Denim Jeans: 3 Tips for Fixing Denim

  • Trim threads inside and out and trim the patch on the inside of the leg if necessary.

    This is quite a long blog post about mending but if you have ever (and who hasn’t!) had a pair of beloved denim tear you’ll be willing to try to save them.

    Use a denim needle, cut the patch much larger than you think you will need it and PIN all over the area. Good luck, Wildflowers!

    If you want to learn how to sew, check out the courses HERE!

    If this post was helpful, subscribe to the mailing list and never miss a post! Want in?

    Yes, PLEASE!

    Please comment in the section below with your successes and pearls of mending wisdom!

Filed Under: Sew

Canning Log: Keeping Track of Canning

August 3, 2015 by Jenny Gomes 2 Comments

Canning season is upon us and I can hardly contain my excitement. My tiny kitchen is getting steamed up at just the thought of it. One thing you can do to prepare for a successful canning season is to download this canning log and keep track of your canning projects this season.

Grab your Canning Log here and keep track! 

CLICK TO PRINT!

One thing that I have wished I would have done in previous years is keep track of what I preserve for the following year. Canning is different than regular ol’ cooking in that what you preserve is distinctly seasonal (which is why you are going through all the sweaty effort of preserving it) and once you wrap up canning all the tomatoes, you won’t think about canning them for another year. It can be tricky remembering if you liked this marinara recipe or that, or if you liked the way the pectin ratio in this jam recipe set up better than than this one. It also is difficult to recall exactly how many pounds of strawberries one must pick (from such low, low growing little plants) to make a batch of strawberry syrup to yield so many little, little jars.

To help myself and my Dear Readers, I have created (with the help of some awesome Wildflower friends) a canning log PDF that you can print out for FREE as many times as is useful to you to keep track of what you preserve. Jot down the recipe name (and page number if you are so inclined), the pounds of produce you used, the jars it yielded, and scribble reminders in the Notes section, which is the spot of which I’m going to make the most use. I want to remember if I used the really hot peppers to good effect or if that particular recipe was way more effort than I want to repeat next season. For example, for my roasted bell peppers, I’d write, “De-lish. Peeling = Ugh!” When I look back, I’ll remember to do a big batch (because they are so yummy and versatile) and invite a friend to help because they are so miserable to peel (Thanks for coming over, Anna!). I hope you find this log as useful as I do and stay tuned for more pretty, useful tools in the “Resources for Wildflowers” section.

Click to print your pretty helpful Canning Log PDF now and keep track of canning this season!

CLICK TO PRINT!

Happy Canning, Wildflowers! What are you most excited about canning this season? Share in the comment section below!

Filed Under: Can

Nutella and Coconut Ice Cream: With or Without an Ice Cream Maker

July 30, 2015 by Jenny Gomes Leave a Comment

Nutella and Coconut Ice Cream: With or Without an Ice Cream Maker

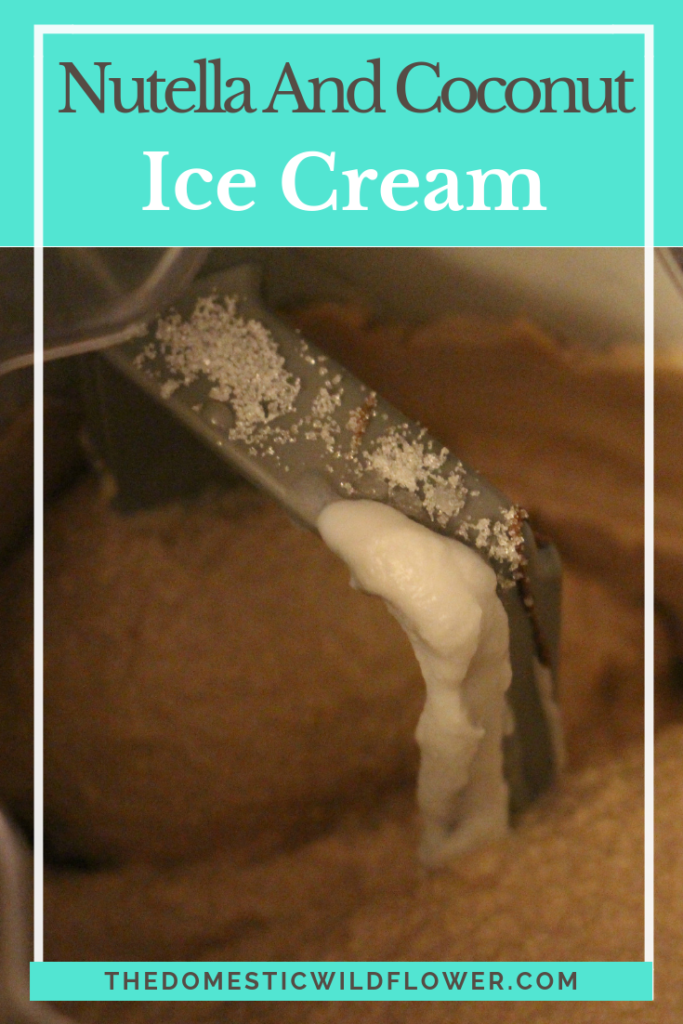
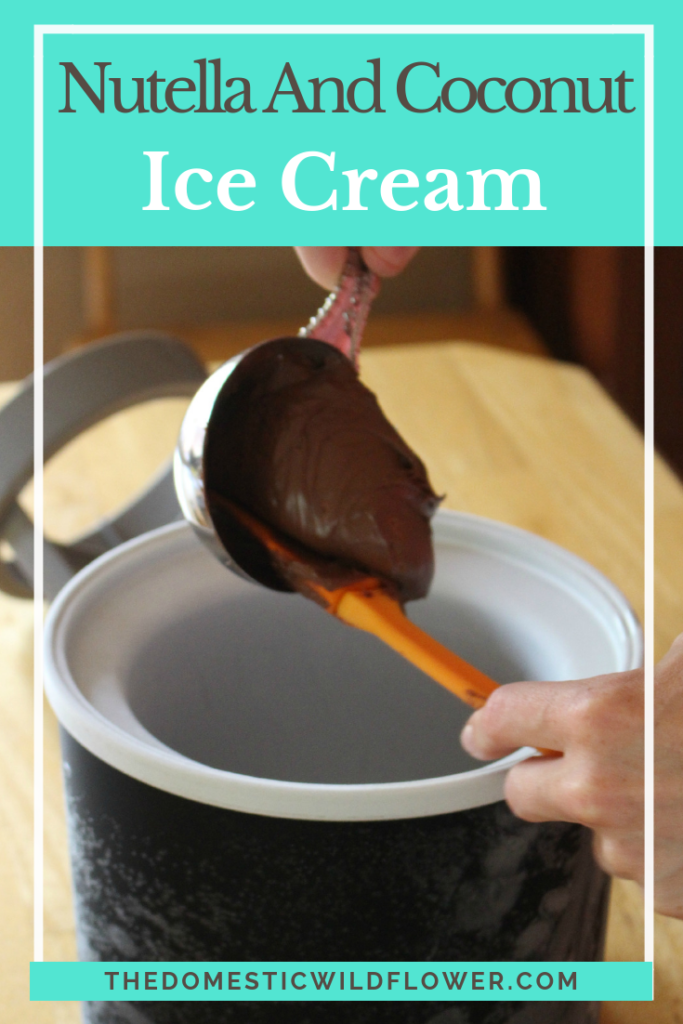
You don’t have to use an ice cream maker to make this easy treat but it is a good way to use an often gifted but not as an often used appliance. I have a love-hate relationship with mine only because I frequently forget to freeze the bowl for the requisite 4 hours beforehand. If you have no frozen bowl or ice cream maker at hand, mix the ingredients together slowly with an electric hand mixer OR a whisk and a lot of vigor.

For the uninitiated, Nutella is the brand name for a cocoa-enhanced hazelnut spread. It is absolutely delicious and if you like chocolate or hazelnut, run to your nearest grocer and buy a jar. I have splurged on other, fancier brands and they were all slightly different- some are thinner than others, and have a stronger hazelnut flavor. They are all excellent, so try with abandon. If you have a tendency to read the calorie content on labels, consider this before deciding that Nutella is “bad”: Like peanut butter, hazelnut spread is filling, and also like peanut butter, is enhanced with added sugar but can be purchased in lower sugar varieties.

After you make the desert below, try spreading Nutella on apple slices, on pretzels, on a banana, on strawberries, and in countless other delights.

I tried the very popular recipe suggested by countless others on Pinterest that consists of only Nutella and coconut milk. It was tasty and obviously pretty simple but froze to a rock-hard consistency. Adding cream and milk makes it much more scoop-able.

Instructions: 

Mix in either the frozen bowl of an ice cream maker or in a regular bowl;

½ cup Nutella

one can of unsweetened coconut milk

2-3 tablespoons sugar

½ cup heavy whipping cream (or 1 cup milk if you haven’t cream handy)

½ cup milk

Pour into a container and freeze till firm.

Hint: The Nutella mixes best when warm. If you want your chocolate evenly distributed, consider mixing the ingredients in a separate (not frozen ice cream maker bowl) before pouring into the cold bowl. I love the streaks of Nutella and am not about to dirty another dish, but you certainly could.

Nutella & Coconut Ice Cream: With or Without an Ice Cream Maker | A Domestic Wildflower click to read this super simple recipe that uses Nutella in all its glory!
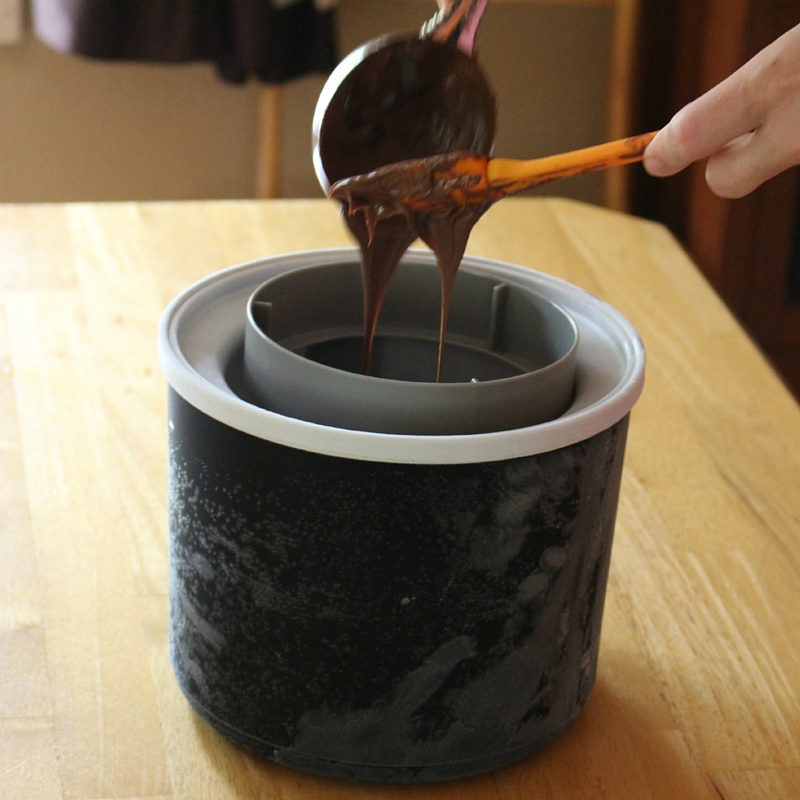
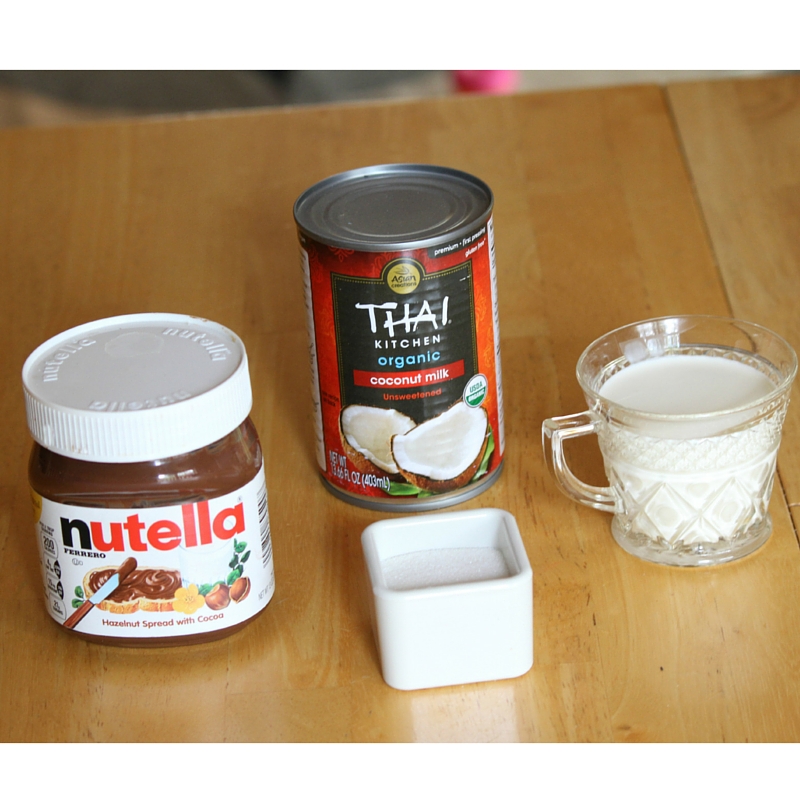
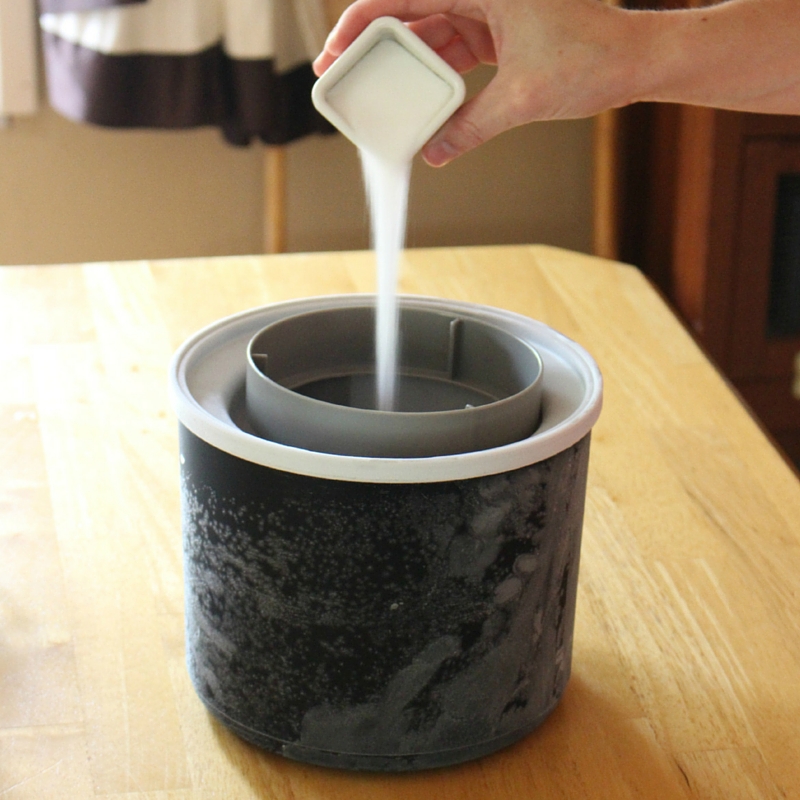
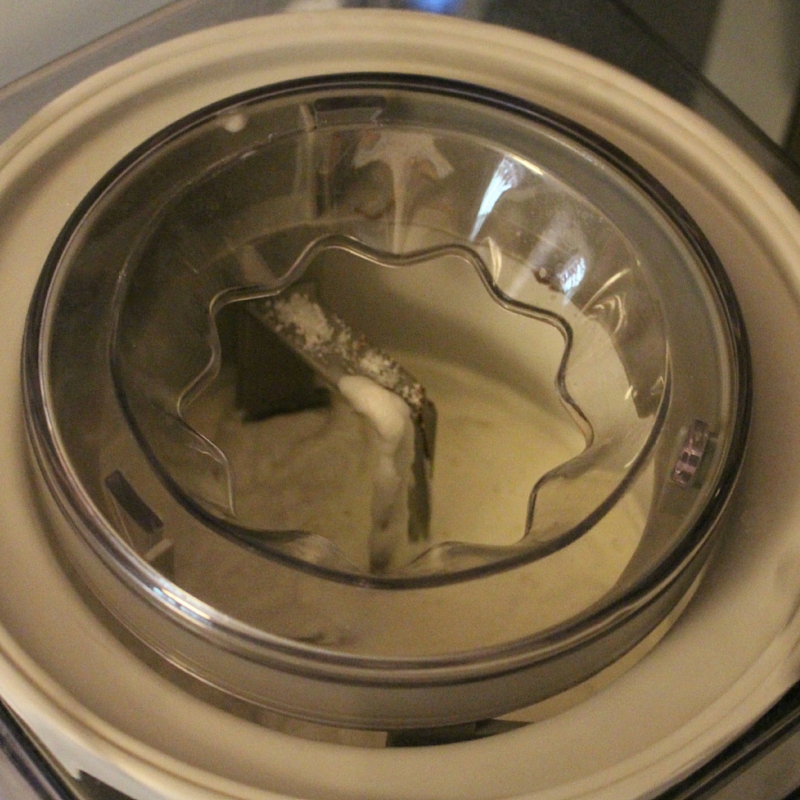
Cheers, Wildflowers!  I plan on including a frozen banana in my next batch 🙂  Share in the comment section below your favorite way to enjoy one of my favorite pantry staples; Nutella!

Filed Under: Cook

Tips for Making Cut Off Shorts

July 27, 2015 by Jenny Gomes 2 Comments

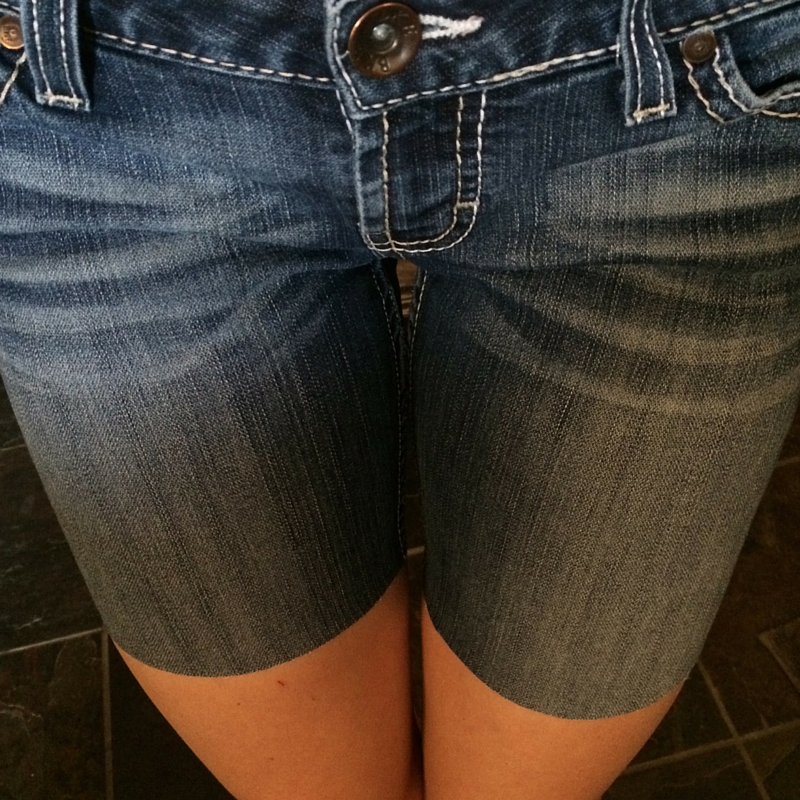
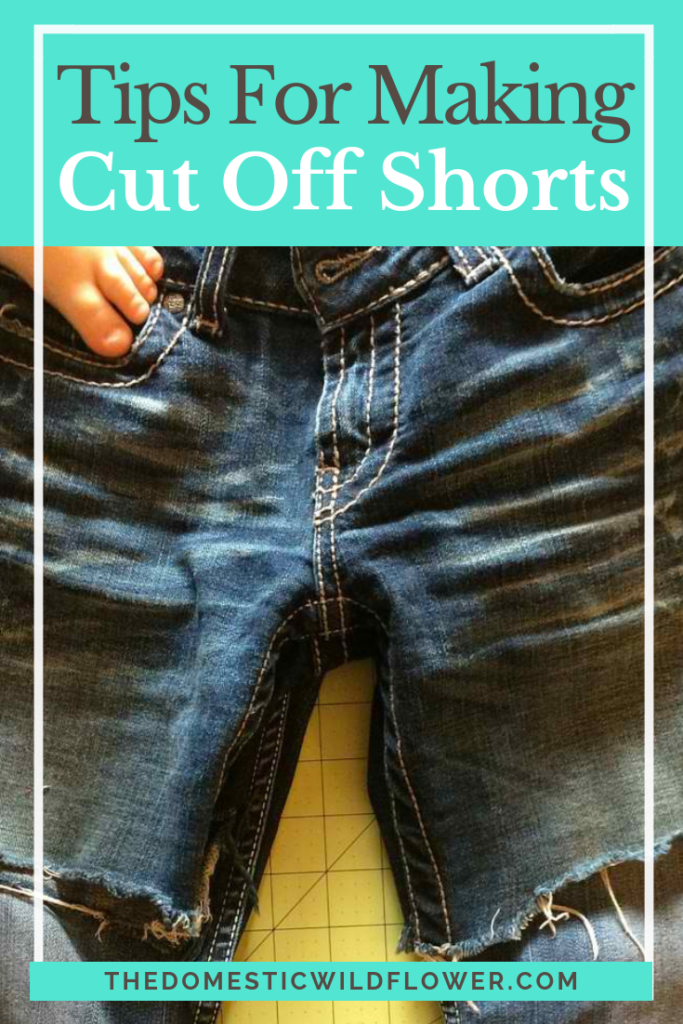
 There are a few tricks to making perfect cutoffs that I will share with you here. I hope the next time you wear the knees out of your favorites or score some secondhand jeans that are too short the way I just did, you can spend a few minutes cutting them off the right way to wear all summer long
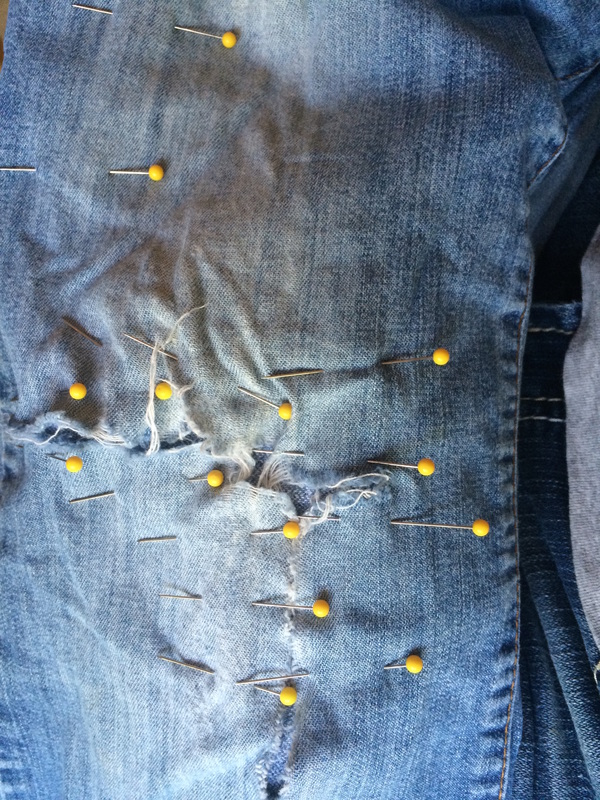
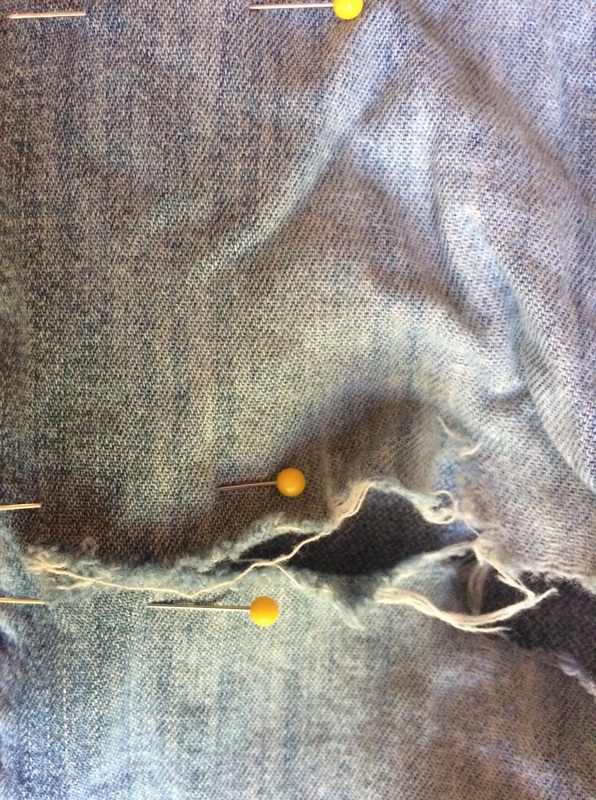
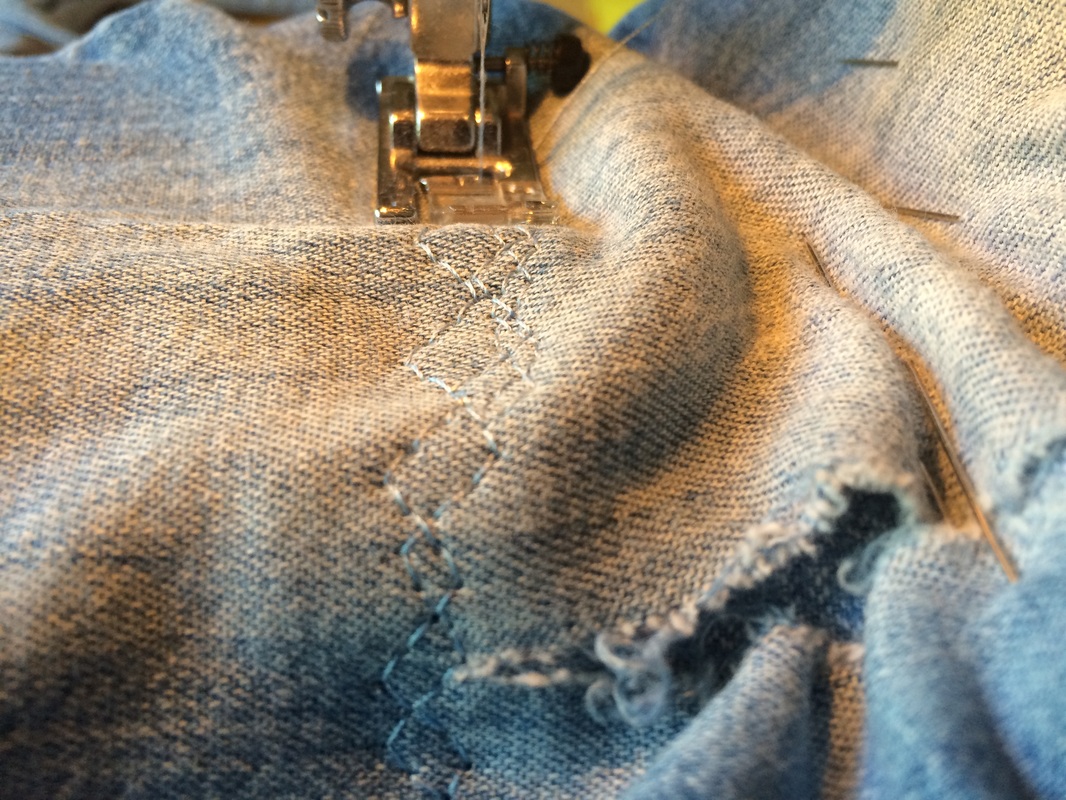
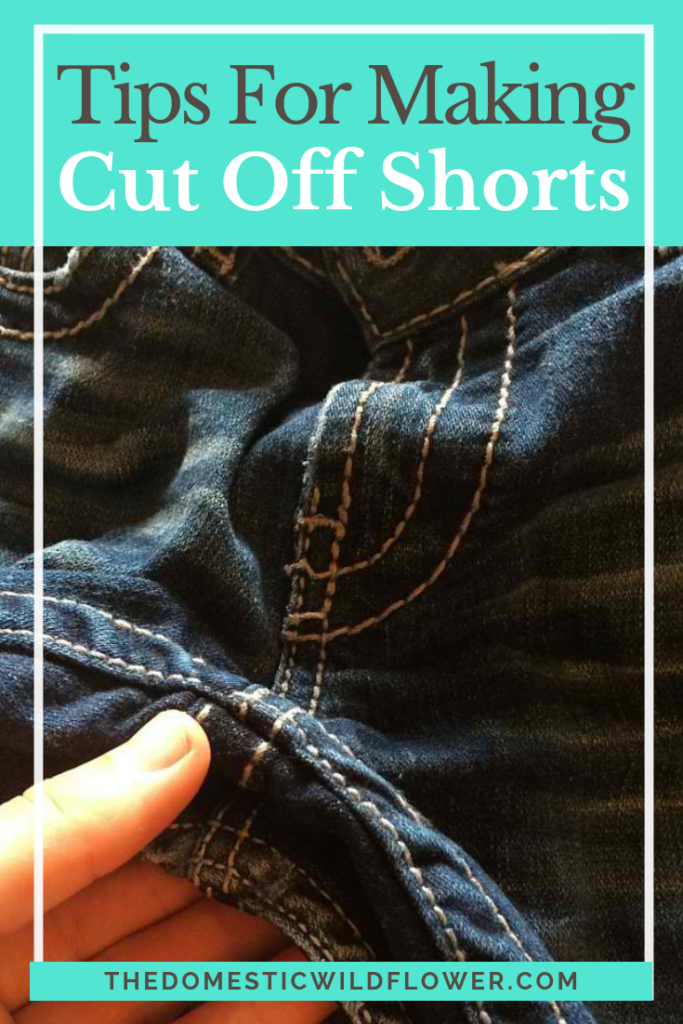
Tips:
Wash them as hot as you might ever, and dry them. If there’s a chance they might shrink, you don’t want to find out after you cut them off.

Use a pair of shorts you already own as a guide. You don’t have to, but this can be really handy. If possible choose a pair in a similar fit and style to the pants at hand.

Making Cut Off Shorts: Tips for Making Perfect Cut Offs Every Time | A Domestic Wildflower click to read this helpful tutorial and don't end up with crooked or uneven shorts again!

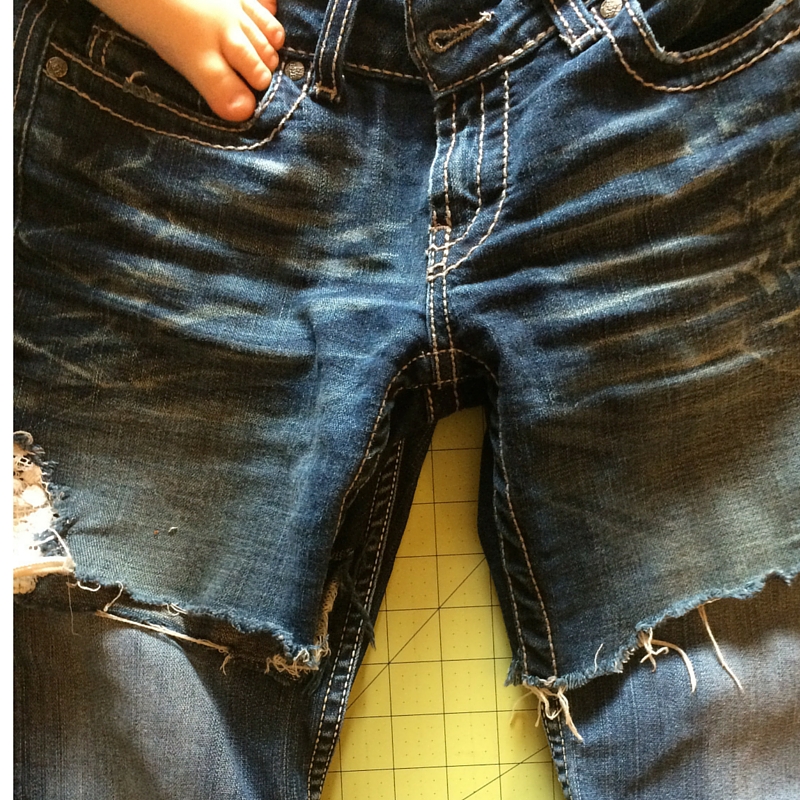
I cut each leg separately. If you have sharp scissors, you could cut through both legs at once but that doesn’t mean you should.

I always cut an inch longer than I think I will want them and you should too. Cutting fabric is permanent. You can always try them on, decide you want them a half inch shorter and cut again.

Lay the pants flat. The inseams will be spread apart, making the top of a triangle. Smooth the pants flat, being mindful that the back of each leg may possibly be wrinkled. If you have example shorts, lay those on top, lining up the crotch seams. This is important. Don’t worry about lining up the waistbands, or the zippers. Line up the crotch seams.

 crotch line up

Because I had a pair of shorts I loved to use as a pattern, I was able to see that the legs were NOT cut off in a straight line, but rather angling up to the outer thigh, for example. Your desired look may have a greater angle than mine did in these photos.

To finish the ends you can do nothing (my summertime uniform has no finished edge) or you can zigzag in a matching thread close to the edge. I have done this with great success for shorts that are thisclose to being too short. The zigzag keeps the fraying from washing and wearing to a minimum but allows for the amount of fray that is fashionable and desirable.

Making Cut Off Shorts: Tips for Making Perfect Cut Offs Every Time | A Domestic Wildflower click to read this helpful tutorial and don't end up with crooked or uneven shorts again!

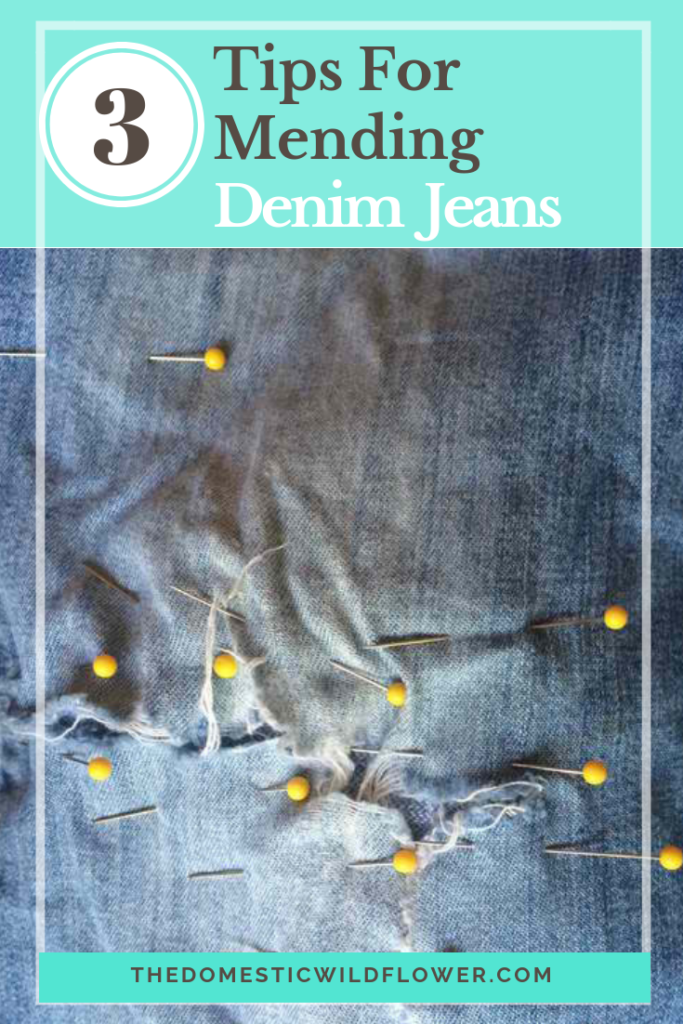
I keep the legs to use to mend jeans and for other sewing projects and you should too!

If you want to learn how to sew, check out the courses HERE!

Yes, PLEASE!

Happy cutting, Wildflowers! Share your successes or failures in the comment section below!

Filed Under: Sew

Yoga With Kids Sequence: Busy Mom Yoga Part 2

July 23, 2015 by Jenny Gomes Leave a Comment


Picture

Picture
In my last post, I showed you several beginner yoga poses that you can try with your kids following along. You don’t need a mat and you can be indoors or out. Here’s the second half of the sequence of kid-friendly yoga poses to try. You can mix them up, and start or end with this post or the previous, and do as many positions as you have time to as a busy parent. It is probably better to do fewer poses at a slower pace to reap the most benefit.

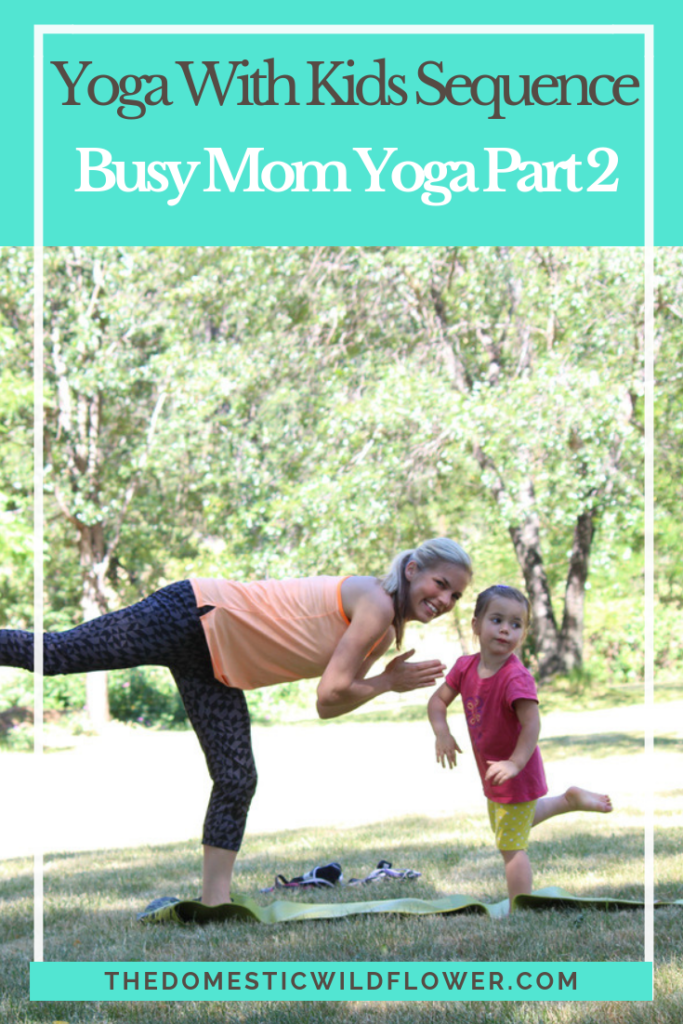
Here’s the Part 2 sequence!

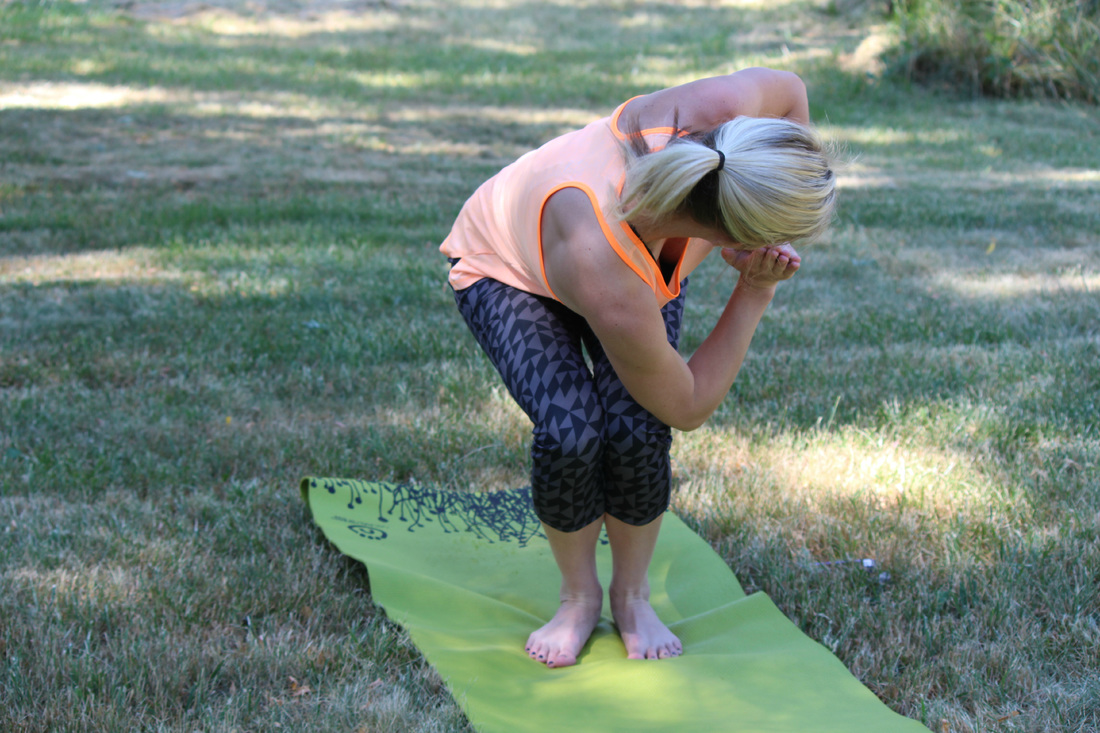
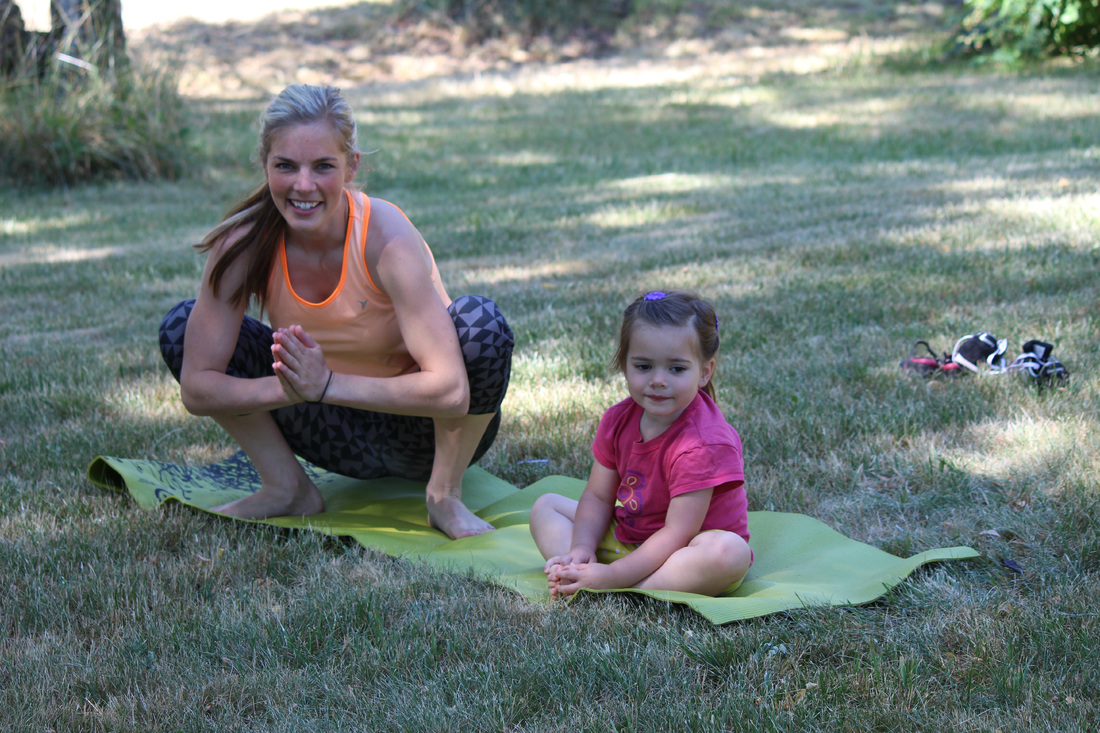
Chair: Inhale arms up, and sink your lower body down as if you were going to sit in a chair. You can stand up and sit back down in the imaginary chair as many times as you’d like. Bring your hands to center, press your palms together, and twist to the right. You might be able to hook your left elbow on the outside of the right knee. Untwist and try it on the left side.


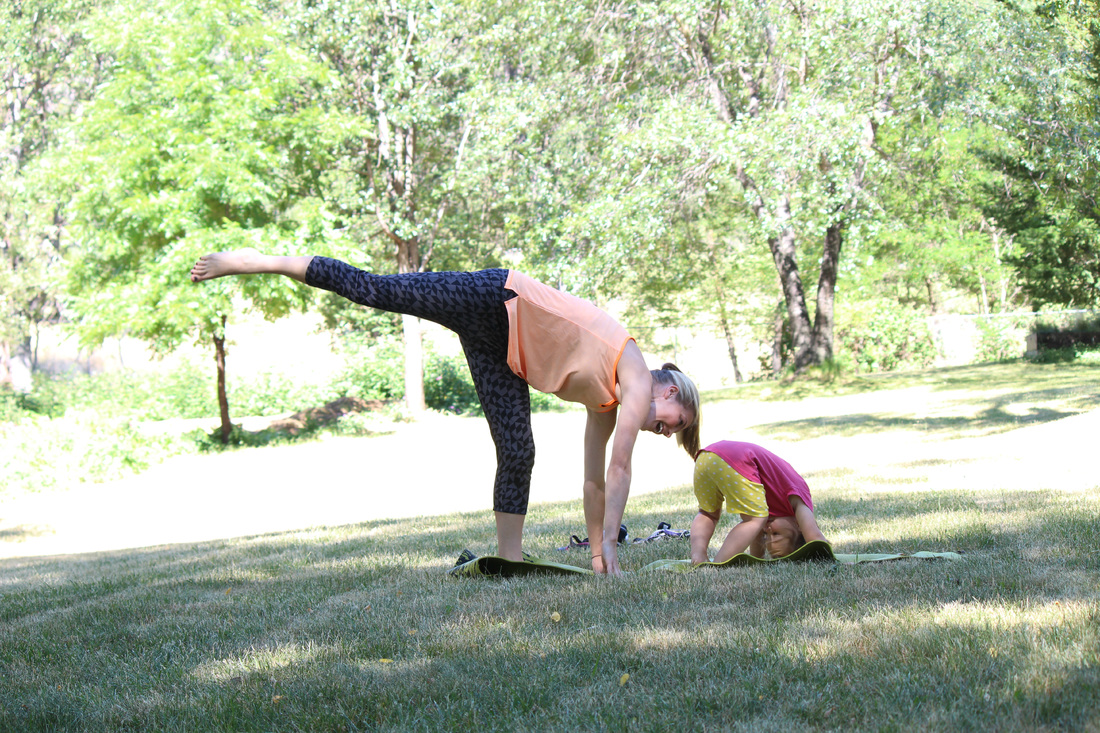
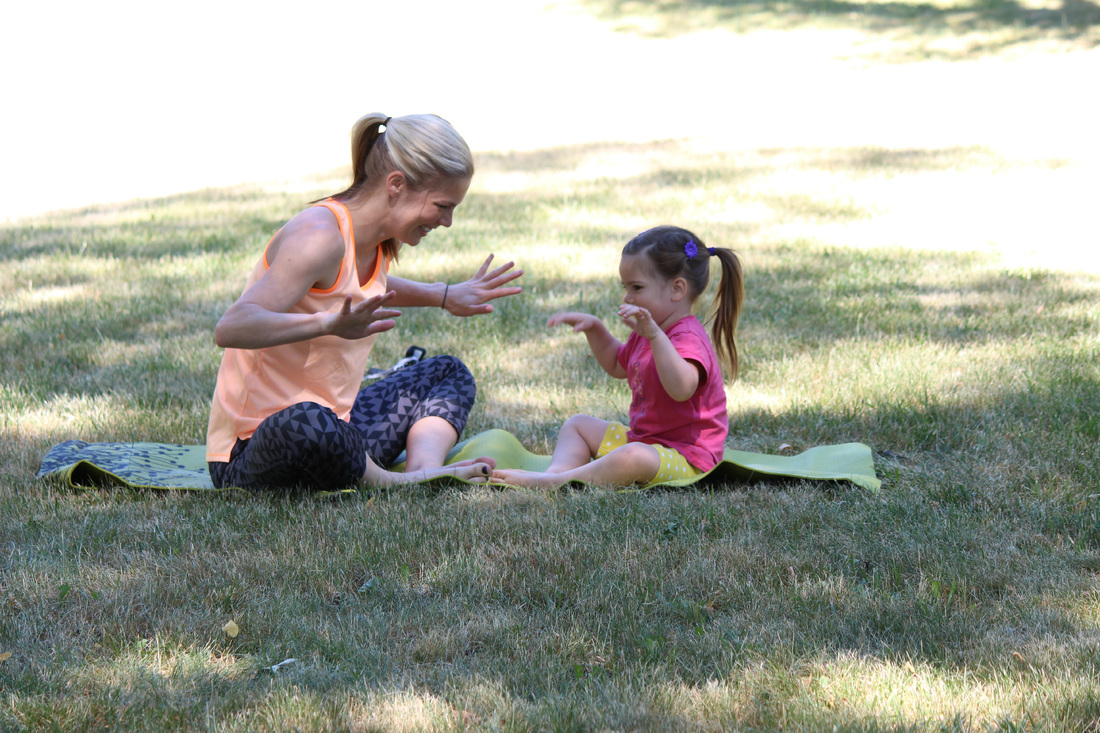
Arrow: From standing, step your left foot back, letting just your pointed toes touch the ground. Extend your arms up, and let your right leg bend a bit.

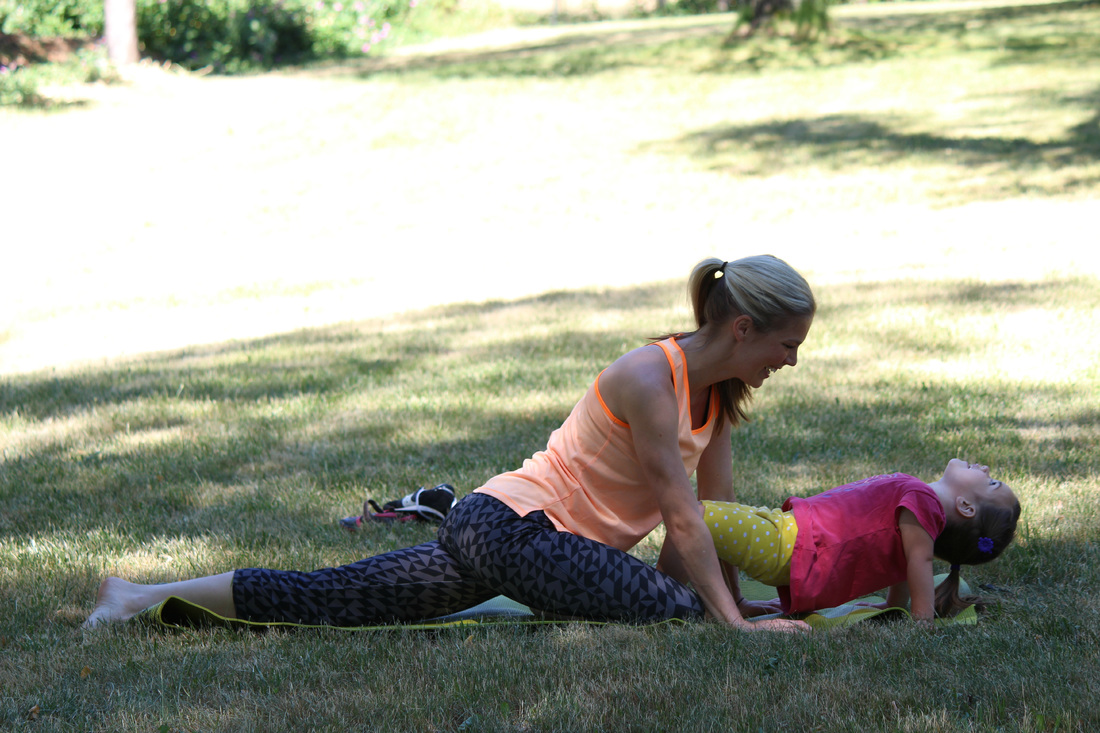
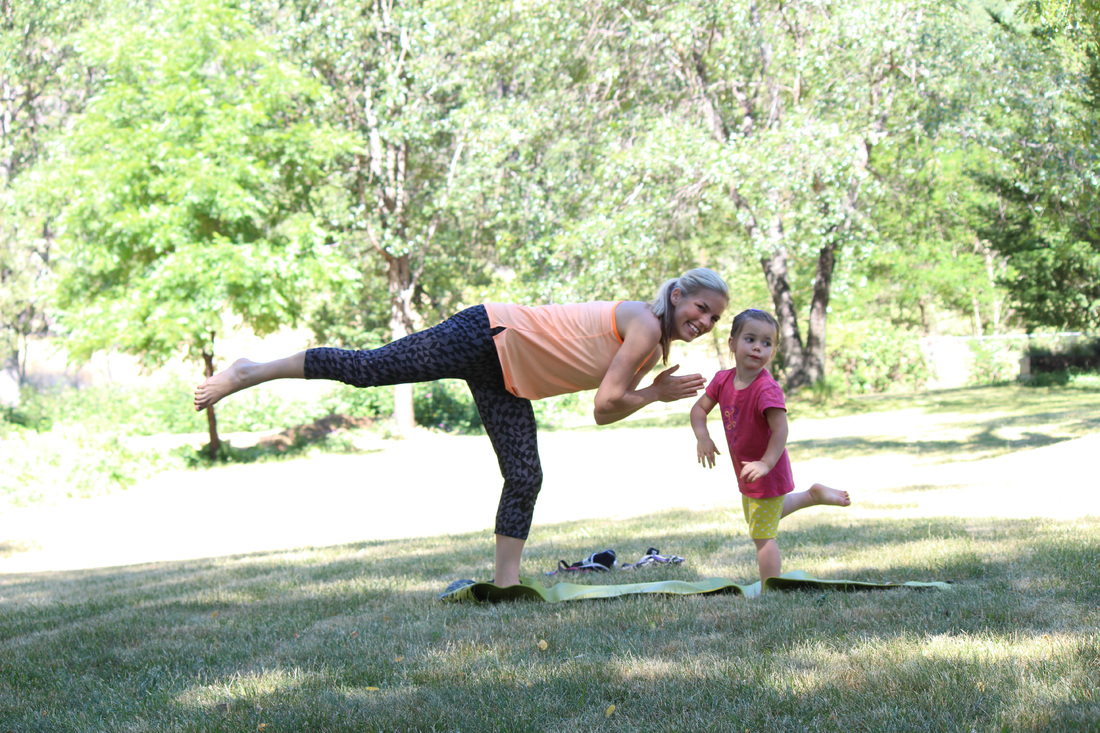
Warrior 3: From arrow, tip your upper body forward a bit more, drawing your back leg up off the ground so you look like a capital T from the side. It is okay if you are wobbly here; it is supposed to be challenging and this is an extra fun one for kids to try. If you are feeling stable, continue tipping forward so that your hands are planted on the ground and your leg is extended toward the sky. Bring the extended leg down, and step your right foot back to ready for arrow pose. Move from arrow to warrior 3 on this side.


*Here’s a good stopping spot. Or, keep practicing and try the next 3 poses!

Picture


Picture

Picture

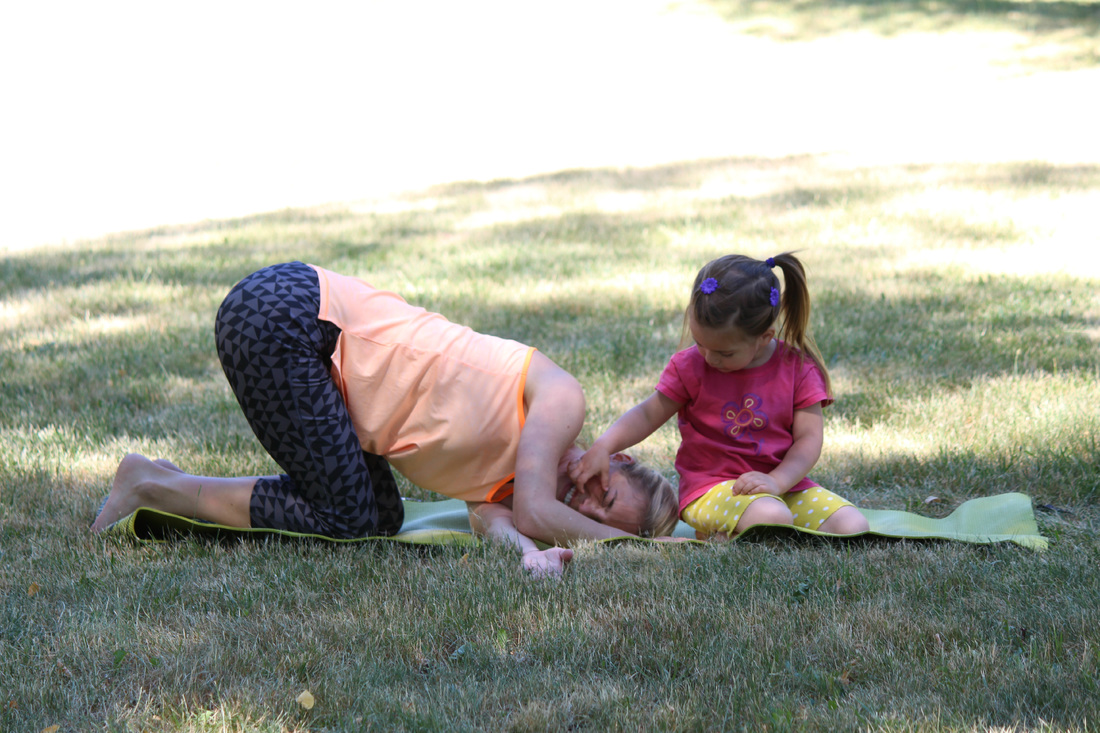
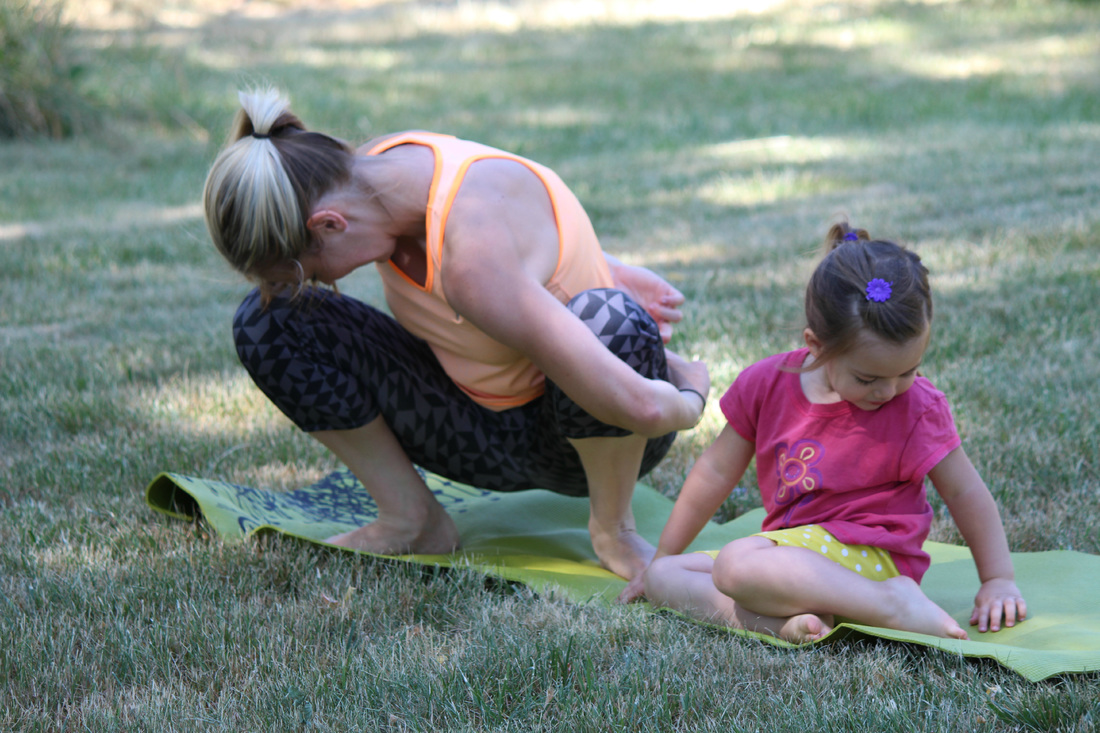
Squat and twist: Sink down into a squat. You may need to have a wider stance if you can’t get your heels on the ground. Press your palms together and use your elbows to help press your knees farther apart. You can then twist your upper body toward the right knee. Imagine twisting from your hips or your belly button, not your neck. Place your right hand at the small of your back. Sweep your left hand along the floor, wrapping it around your left knee and maybe touching your right hand. Repeat on the other side. Come to all fours.


Picture

Picture

Pigeon: From all fours, bring your right knee to your right wrist. Swing your angle around toward your left wrist. It doesn’t matter if you get your ankle close to your wrist or not. It shouldn’t hurt. Push your lower body back, keeping your left leg straight. Let gravity bring your pelvis closer to the ground. You can sink down onto your forearms and rest your head on your hands. Come up to all fours and repeat on the left side.

Picture

Picture

Butterfly: Come to sitting on your bottom with knees bent and soles of your feet together. Draw tall through the crown of the head and conclude with a few nice deep breaths.

Yoga with Kids Sequence | A Domestic Wildflower

If you love common sense living posts like this one, subscribe and never miss a weekly article! Want in?

Yes, PLEASE!

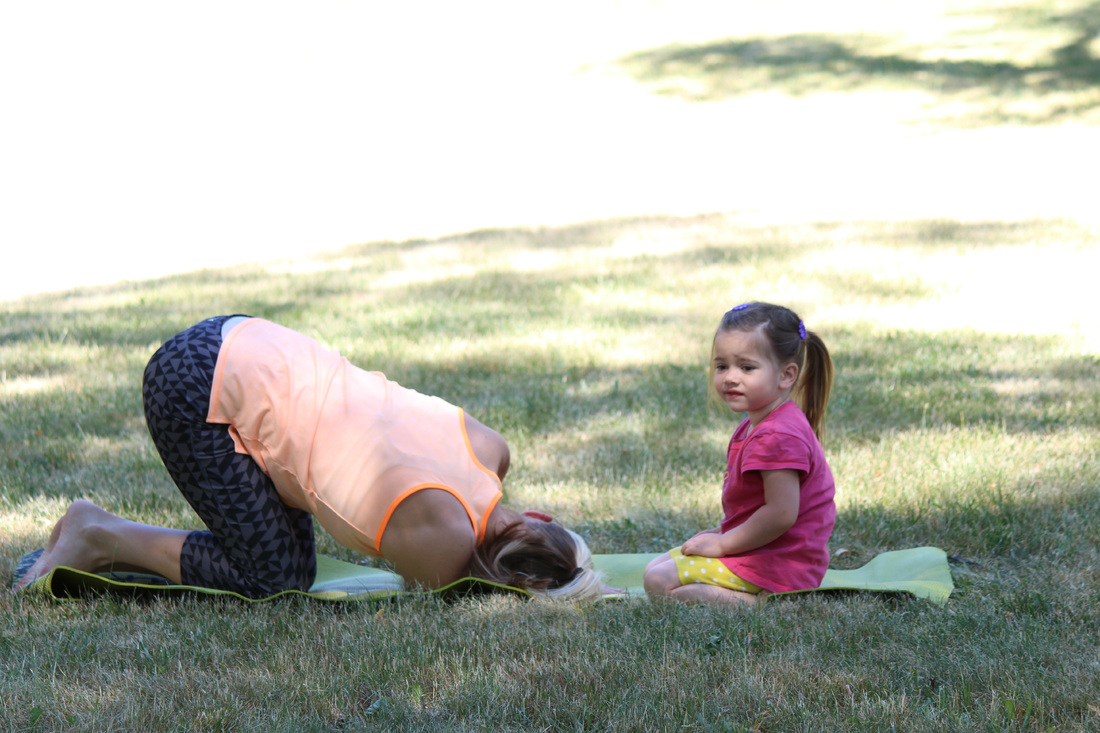
There we have it Wildflowers I hope you feel a bit more relaxed and ready for the rest of your day. Fire away if you have questions; I’m happy to help. A big thank you to Circle Bar Photography for taking these photos. Share in the comment section below any exercise success or failures or favorite poses to try!

Filed Under: Yoga

  • « Go to Previous Page
  • Page 1
  • Interim pages omitted …
  • Page 58
  • Page 59
  • Page 60
  • Page 61
  • Page 62
  • Interim pages omitted …
  • Page 66
  • Go to Next Page »

Primary Sidebar

Categories

Follow me here, there, & everywhere!

  • Email
  • Facebook
  • Instagram
  • Pinterest
  • RSS
  • Twitter
  • YouTube

Search

Get The Pressure Canning Cookbook

Get 10 Free Recipes Now!

Best Chicken Coop

Footer

Get Started Pressure Canning

Shrubology Ebook

Shrubology: Refreshing Homemade Fruit and Vinegar Syrups for Cocktails
Make easy, no-cook fruit & vinegar syrups for cocktails & mocktails! This ebook shares crowd pleasing recipes and simple to understand ratios so you can make a shrub on your countertop any time- without a recipe. Dive into these Prohibition Era drinks today!

Copyright

Copyright 2019
The Domestic Wildflower
www.thedomesticwildflower.com.
All content created by Jennifer Gomes unless otherwise noted.

Copyright © 2025 · Lifestyle Pro on Genesis Framework · WordPress · Log in