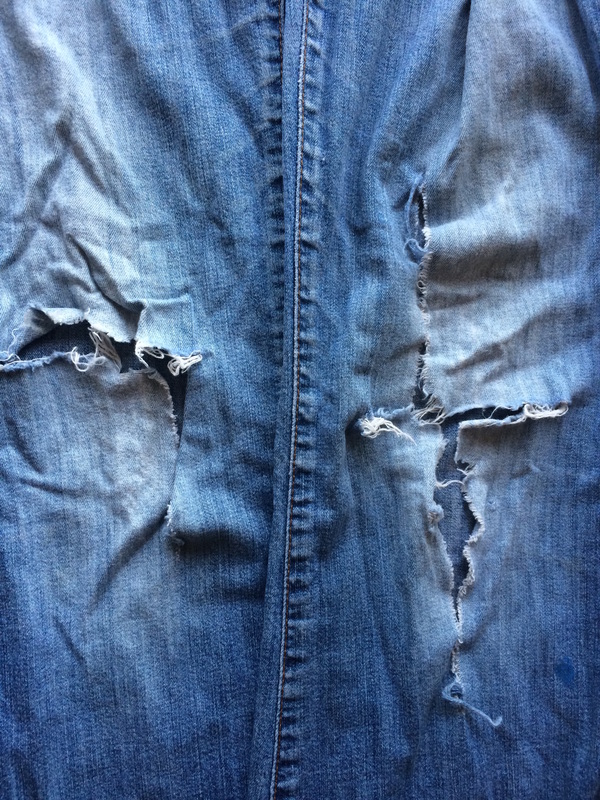
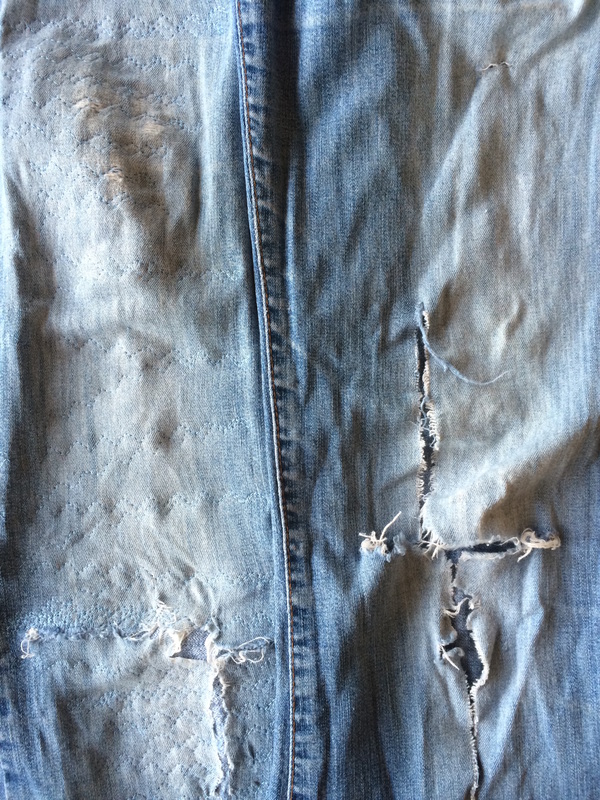
Mending can be the most valuable when used to save or extend the life a pair of beloved or certainly useful jeans. Yet it can be the most critical mending job as the fit of a pair of jeans is often a matter of the whole being greater than the sum of its parts. We can thank Aristotle for that bit of wisdom, and we can thank a denim needle, a salvaged denim patch, and a lot of pins for a mending job well done. Read on for the all-important sewing how-to, Wildflowers!
A denim needle is not mandatory but is a wise investment. You will need one if the mending job will require you to sew over any seams, especially the crotch (LOTS of layers of denim there) or over the double fronts of work dungarees. If the patch will be on lighter denim, and you won’t be sewing over seams, then sew on, you risk taker. I do it all the time and lots of times I have been sorry but lots of times it worked out fine.
This tutorial is for garments that you can mend without opening any seams. Someday I will write a tutorial for that, but this one assumes that you can slide the garment into your machine. If you are mending the knee of slender kid’s jeans, for example, you will have to use an iron-on patch or open up the side seam to sew the patch. If you aren’t sure, try sliding the item into place. If you can’t get the needle to the hole, you’re out of luck.
A patch should be made from denim that is still in good condition. The bottoms of cut off jeans like these here are a perfect choice. Check out the backside of the denim to see if that wouldn’t be the perfect color to blend into the background of the mending job. I very often choose the backside because it seems to disappear the best. If you haven’t made jorts recently, then ask friends and family for a castoff or hit up a second-hand store.
I have purchased and used the packaged variety that you iron on with very limited success. They are useful when the location of the patch is nearly impossible to sew but it that is the case, how you will iron it to activate the adhesive back is a challenge. If you want a fix for a torn knee, where it will be worn and washed more than once or twice, sewing is probably the only solution.
Cut the patch to be significantly larger than the torn area. Not an inch or so larger, but up to three inches or bigger in every direction you think you will need. Big. You can always trim it.
Choose a thread that when a strand is across the jeans, it disappears. This might be blue, lavender, grey, or white. Be open to possibilities, frugal sewers. Of course, you can use a colored thread but if decoration was your angle, I’d still suggest a matching color for the functional patch and then switching colors to decorate.
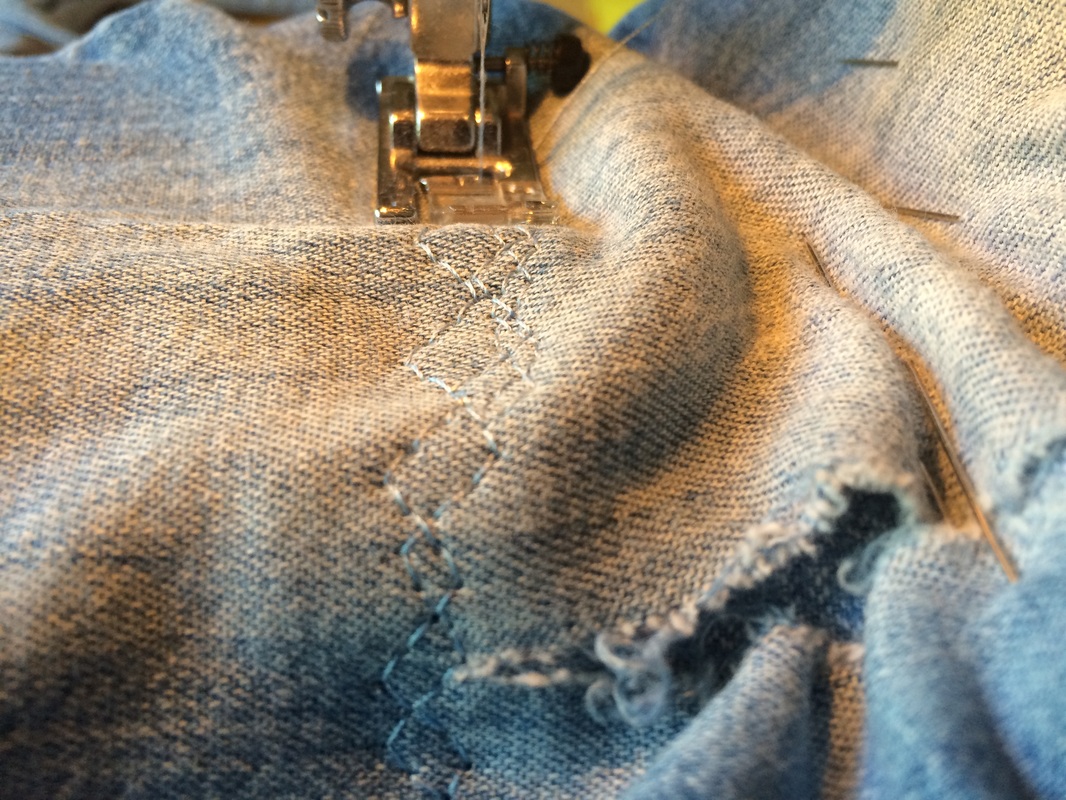
Once you have pinned, set your machine to zigzag. I like the stitch that stitches 2 to the left and 2 to the right and back again because it seems to disappear better than the standard 1 stitch to the left and 1 to the right, but surely either will suffice. Sometimes I choose the regular straight stitch (if I have to sew very close to a thick seam and don’t want to sew over it for example) and that works fine also.
Getting the leg into the machine can be pretty difficult and I have had my husband stand behind the machine and just hold the bulk of the pants while I sewed because I couldn’t scrunch them up in there any farther and sew at the same time. It is at the farthest point when you are really struggling to keep all the fabric to the right of the needle, that breaking a needle is more likely. Exercise caution, Dear Reader.
Begin sewing at the farthest point and sew forwards over the patch and then backward, creating a kind of zigzag shape with your stitching. If you are able and the garment calls for it, you can of course stitch around the patch but in the leg of jeans, you can’t turn around or sew in a circle. It is like you are practicing parallel parking over and over if you follow my often used ‘sewing is like driving’ metaphor.
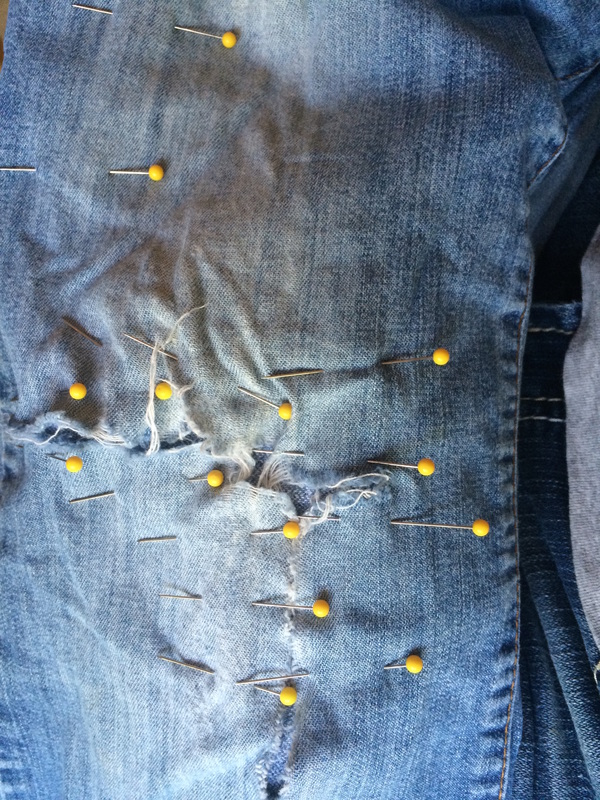
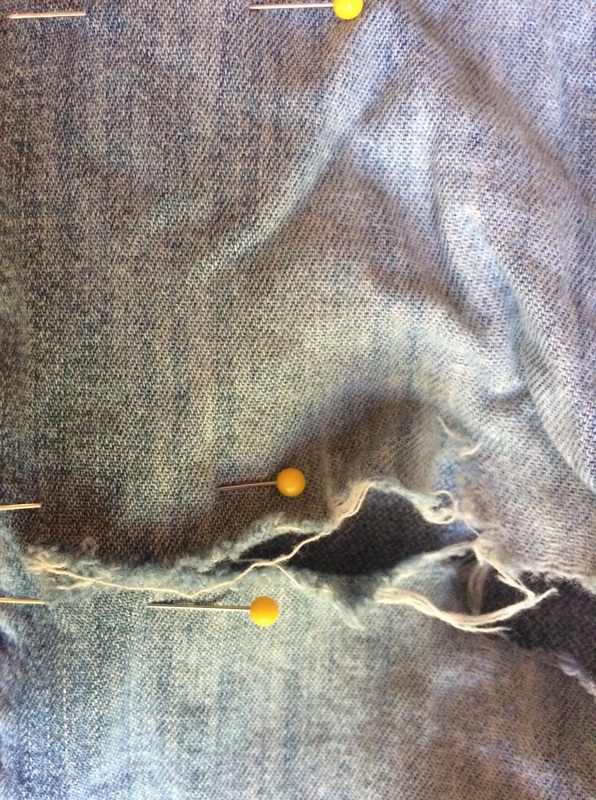
With many sharp pins and a large dose of patience, sit with the item in your lap or on a work surface. Slide one hand with the patch inside the leg so you can see the outside of the garment. This can be awkward in the same way putting a comforter into a duvet can be because you can’t see what’s going on but it is more important that you see the OUTSIDE of the item, hence the big patch. I line up the farthest point of the patch first with at least an inch allowance and start pinning. Do your best to bring torn edges close together but expect some to simply not reach especially if the tear is older and some of the fiber has been lost. This is an exercise in accepting imperfection. Pin both close to the torn edges AND all the way out to the edge of the patch, which you are feeling with your fingers and not seeing with your eyes. Use your inside-the-garment-palm to spread the area flat and smooth. Pull the pocket of jeans inside out or pin out of the way.
Trimming fray is up to you. I often leave it because it can fill in the gap a bit and hide a less than perfect match in the patch- rhyme not intended.
Read this if you are above beginning level sewing and don’t worry about it if you are just starting out: It is smart to think about which direction you will be putting the garment into the machine and adjust the direction of your pins accordingly. If you are mending the right thigh, then you will slide the jeans in waist-first; thus you’d want the ball or colored part of the pins to either be “facing” the left leg or the hem of the leg. For a mending job like this, you will have lots of pins and if they are pinned in the same direction, removing them will be much faster and result in less bloodshed.
Trim threads inside and out and trim the patch on the inside of the leg if necessary.
This is quite a long blog post about mending but if you have ever (and who hasn’t!) had a pair of beloved denim tear you’ll be willing to try to save them.
Use a denim needle, cut the patch much larger than you think you will need it and PIN all over the area. Good luck, Wildflowers!
Women & girl’s jeans can also be embellished with colorful flowers, hearts, kitties, or whatever pattern! Sew embellishment over the patch, paint a decoration, or add some sparkle.
Jen you are so right! I have a beautiful embroidered butterfly appliqué that I scored at a thrift shop that I’m saving for the perfect pair 🙂 thanks so much for sharing!