• Skip to secondary menu
  • Skip to main content
  • Skip to primary sidebar
  • Skip to footer
  • The Pressure Canning Cookbook
  • Blog
    • Subscribe
    • Welcome!
  • Perfectly Preserved Podcast
  • About
    • ADW Manifesto
    • Work With Me
      • Read
  • Shop
    • My Account
    • Cart
    • Checkout

The Domestic Wildflower

Handmade Food & Craft Tutorials for Beginners

  • Courses
    • Free Canning Basics
    • Everything Canning Course
    • Steam Canning Workshop
    • Free Homemade Cocktail Mixers
    • Wildflower Mixology
    • Crochet Basket Workshop
  • Can & Preserve
    • Never Canned?
    • Steam Canner Equipment Bundle
    • Shrubs Course
  • Sew
  • Cook
  • Craft
    • Crochet Step-by-Step Guides
      • Crochet Basket
      • Giant Yarn Throw
      • Thick & Thin Throw
  • Living
    • Creativity Challenge
    • Clean
    • Kids
  • Rentals

Can

How To Prepare for Canning Season as a Beginner

April 9, 2018 by Jenny Gomes Leave a Comment

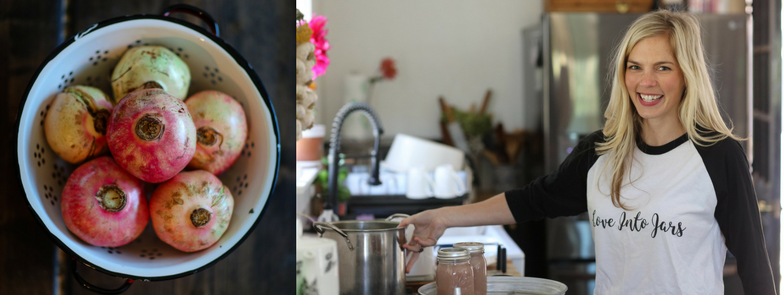
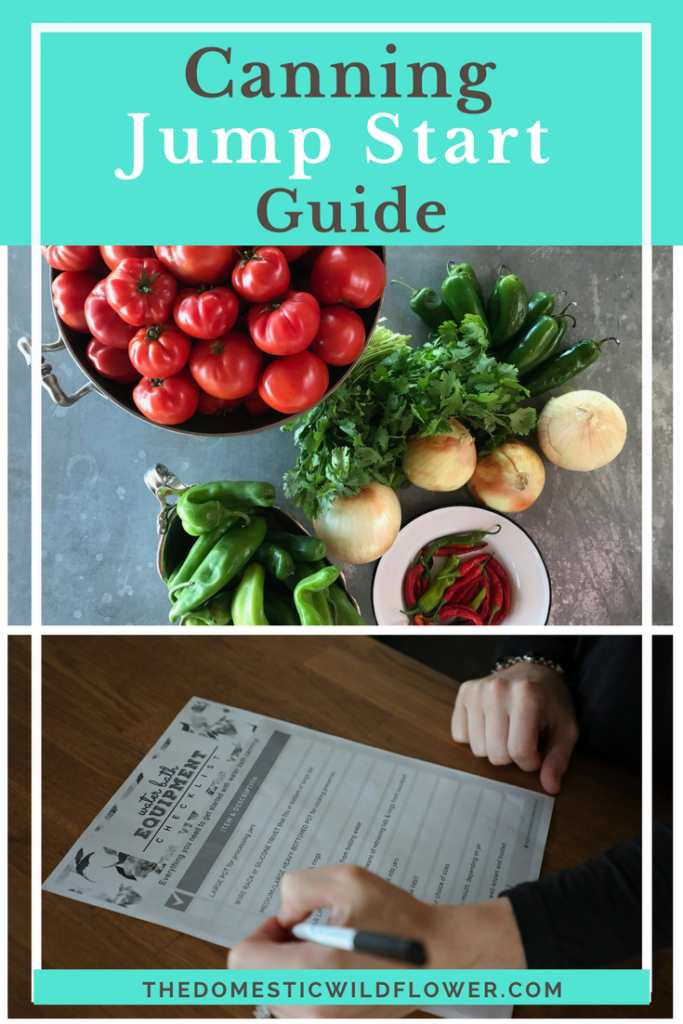
Canning season is right around the corner and this post will explain exactly how to get ready for my favorite time of year. These steps will help you be ready for canning season and all the bounty it brings. There’s nothing worse than coming into a bargain quantity of produce and not having what you need to preserve it. Let’s get ready!  

How to Prepare for Canning Season As a Beginner | Canning checklist for beginners and links to the essentials | Read this simple, clear post to get started canning this season!

This post contains affiliate links.

Why in the world do you need to worry about getting ready right now? As you learn more about canning you will see that lots of canning happen in an unplanned fashion. Once you have the equipment and a general idea of how it works, you will likely happen upon a quantity of products that you want to can up right away. Produce should be canned when it is at its peak, and you don’t typically have time to waste. Furthermore, I have found that once friends and acquaintances find out that you are a budding canner, they will surely offer up free or cheap quantities of berries or peppers and because you will have read this post, you will be ready to preserve them. This post will detail exactly how you can get ready now and you’ll be ready to go whenever preserving opportunity knocks.

Want the quick version of this post? Download your 1 page canning season prep checklist here!

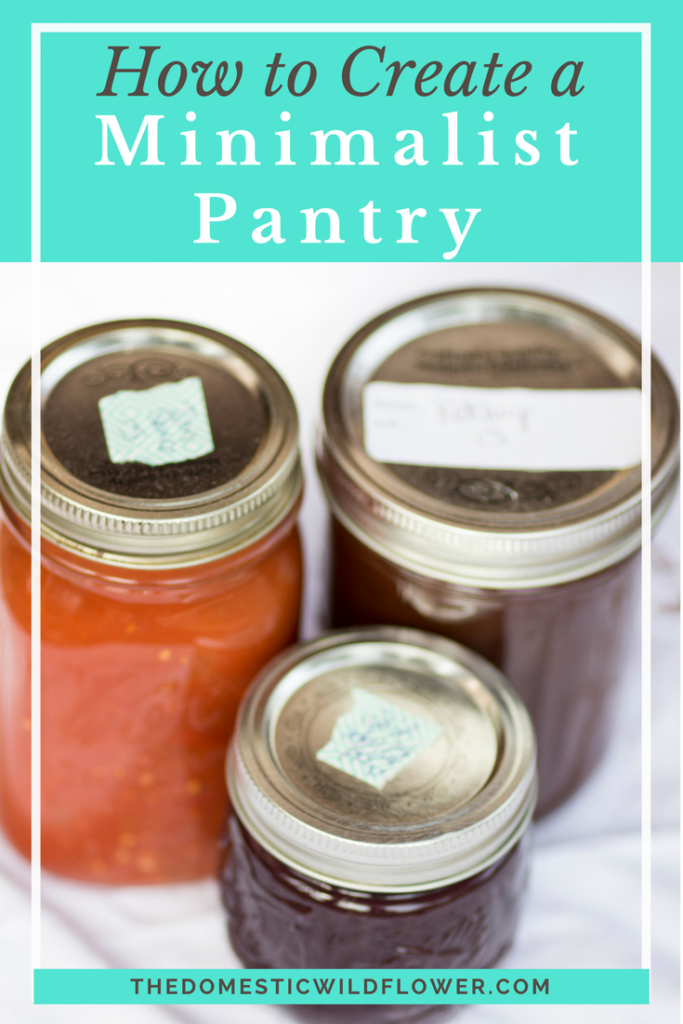
  1. Look in your pantry. Check out your shelves and think about what you cooked all year long. What did you run out of (home canned or not) that you wished you hadn’t? What staples do you go to on busy nights or for fun meals with friends? In my home, I doubt I will ever be able to can enough tomato sauce. Pasta is a kid and husband pleaser, the tomato sauce I make counts as a vegetable when I’m too rushed to fix a green one, and it is supremely versatile. I can over a hundred pounds of tomatoes every year and run out by early summer (100 pounds isn’t THAT much- it is several flats. Don’t be too impressed. Tomatoes are heavy).
  2. Make a wish list. Think about the recipes you would like to try, the fruit or veggies you wished you had canned but never got your hands on, or the thing your loved one would truly appreciate to be given. Flip through a canning book or the Start Canning section of this site for inspiration.
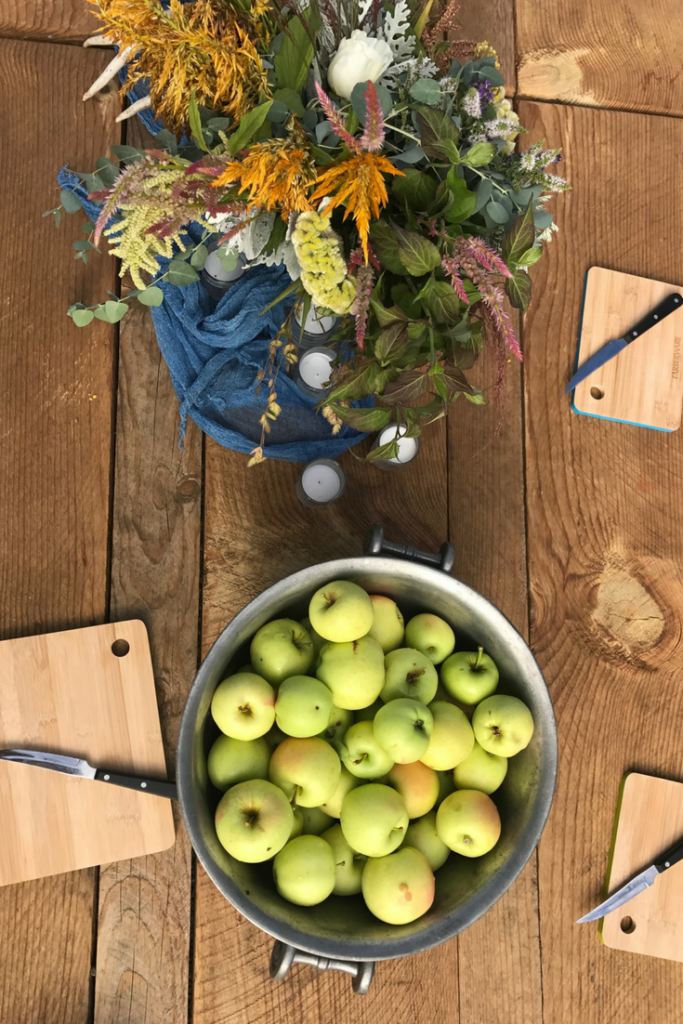
  3. Think about seasons. You may have to use a canning cookbook or the google machine for this part but consider what time of year you are reading this and what fruit and vegetable will be ripening in your area. Many canning cookbooks are arranged by season for this very reason. I might be excited to can apple juice this year, but I need to know that there is a while to wait since apples aren’t ripe in my area until October. Very generally speaking you can expect these few example items to be ripe in the following seasons:

Spring: Strawberries – Asparagus

Summer: Berries – cucumbers- peppers- tomatoes

Fall: Apples- Pears

Winter: Citrus

  1. Take stock of your equipment. I wrote a super thorough post about the equipment you need to start canning here, and you should absolutely read that one next if you haven’t already. You might need to get some teeny jam jars if you plan on making special jam to give at a bridal shower, or some quarts if you want to make a glut of apples into juice, for example.
  1. Buy your non-perishable grocery items.

Because I’m pretty much perpetually canning or making shrubs, I go through a lot of these items and purchase them in large quantities. You need to have on hand the following items:

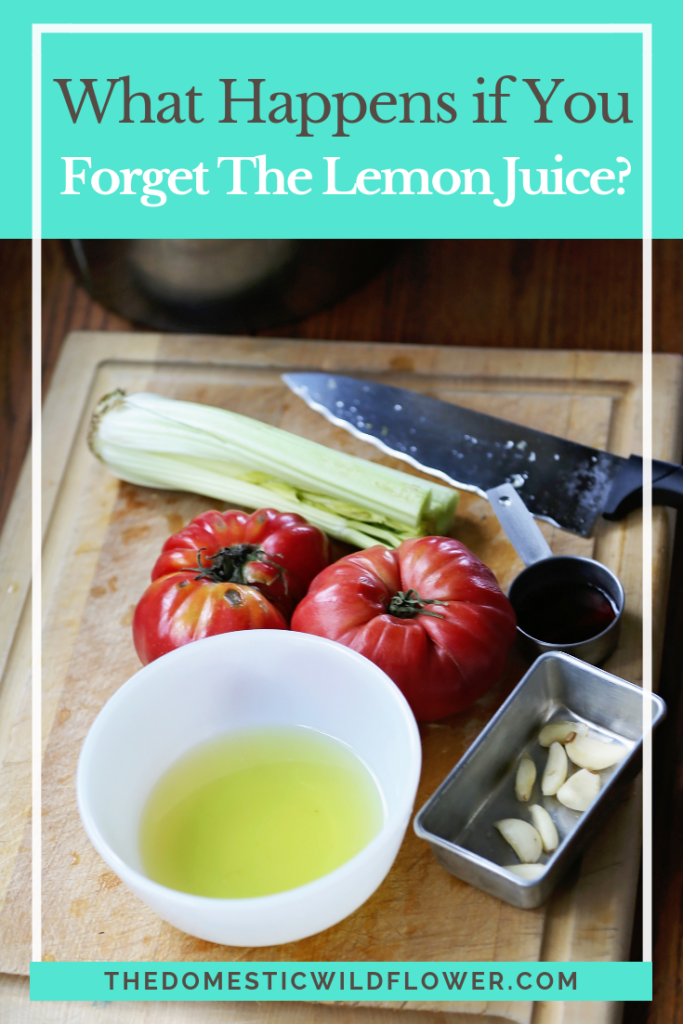
Store bought lemon juice. Store bought lemon juice is actually very important because when you buy your lemon juice from the store, it is sold at a standard acidity- probably 5% or more. I explain the importance of acid & canning in this post here but the main thing you need to know is if a recipe calls for lemon juice it is probably to bring the acid of a recipe up (and the pH down below 4.6) and a plain old lemon that you squeeze yourself might not be acidic enough to do so. If the recipe you want to try calls for a “squeeze of lemon” or “zest of a lemon” then they mean you can use a whole lemon as the source. If it calls for a specific measurement of juice, use bottled.  

Vinegar. Buy vinegar that is of better quality than the cheap while you might use to wash windows or descale a faucet. If the recipe calls for a specific acid level, get it. If you are not sure what recipes you will be trying exactly or you are just getting started, buy a gallon of white vinegar that is advertised as “delicious” or some other food-specific descriptor and a bottle of apple cider vinegar (useful in shrubs and lots of other applications). I find the stringent tasting, good for cleaning vinegar on the bottom shelf of the supermarket and it usually has a plain label. It isn’t like the bottom shelf variety will harm you or your pickles, it is just the better the quality, the better the end product will likely taste. You want your cucumbers to taste pickled, not like vinegar.

Sugar. Buy a quantity that you can comfortably store and bear in mind making jam, syrup, jelly, etc takes a large quantity and most times, cutting back on the sugar in the recipe is a no-no. Sugar is a powerful preservative and as such, it is pretty darn important that you follow the recipe. Once I get my large sack home, I usually dispense it into half gallon mason jars and screw the lids on tightly because I have ants. You also can store it in the freezer to avoid pests. I buy white, plain old granulated sugar. Some recipes call for brown but if you are short on space, get just white. You don’t want powdered, confectioner’s sugar.

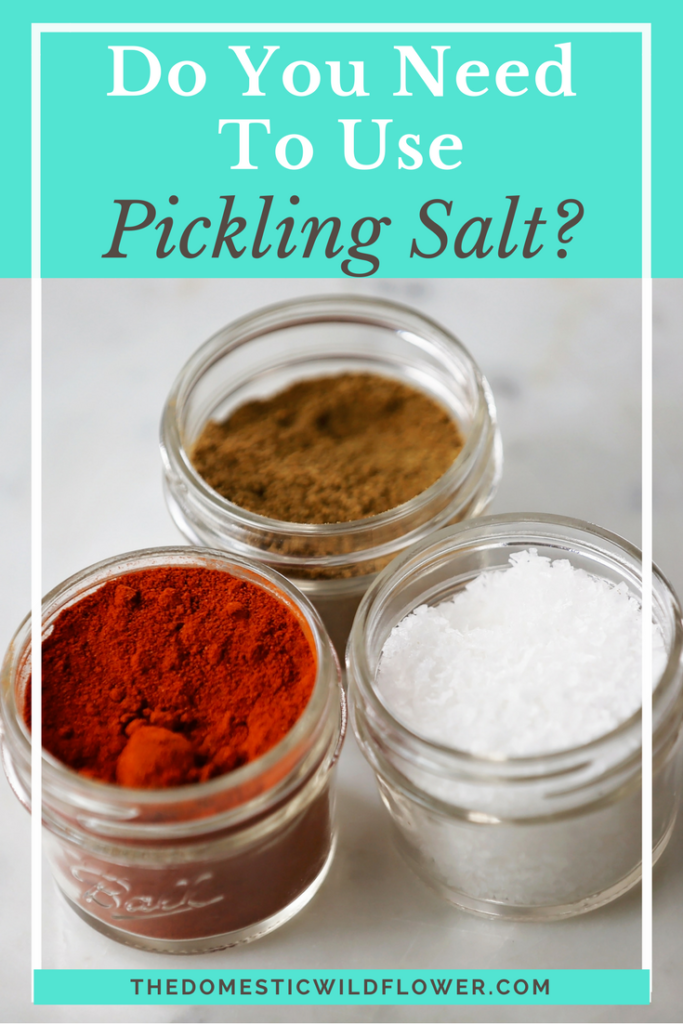
Salt. Pickling salt is labeled as such because it lacks the additive that will make your pickle juice cloudy. I wrote a blog post about the differences between pickling salt and regular salt here!  That post will help you decide if you need to pickling salt or not. If you are the kind of person that frets about cloudy pickle juice you might be comforted by purchasing pickling salt. I just use the regular Morton (or whatever is on sale) iodized salt because I don’t care about cloudiness and my jars usually have a mineral-y, hazy film on the exterior because I often forget to pour a glug of white vinegar into the canning pot which would prevent the lime in my hard water from clinging to the jars. I don’t actually make many batches of pickles per year, so I haven’t found that more than a couple of the cylindrical containers of salt to be more than I need. Also, note that a recipe might refer to the salt + ingredients as “brine.” That just means salt+water+whatever else liquid and it will likely be combined, boiled, and then poured over the vegetables.

Citric acid. Here’s another store-bought item that you readers might be surprised to see my list. I’m all about homemade but this is another purchase made for safety sake. I discuss acid & canning at length here but citric acid is a way to bring the acid level of tomatoes in particular (and some other veggie recipes) to a safer level. It is preferable to lemon juice because it is flavorless. It is a white powder and you usually need about a teaspoon per pint jar. I have never gone through more than one container in a season.

Canning Lids. You need NEW lids to can with. Use those used lids for cute projects like this one here and for storing dry goods. Buy the size (regular or wide mouth are the ONLY sizes there are; hallelujah!) that matches the jars you have. I usually buy a lot- 5 or more boxes of each size- when I see them at a good price, but I can pretty steadily from about June to October. I’d say start with 2 boxes of each size if you haven’t acquired jars yet. That will be enough to get going. Get the complete canning equipment list here. You’ll be surprised to find that you already own most of this stuff already!

If you are a person who prefers video, I recorded a video showing you all the best tools you’d need as a beginner on my YouTube channel. Watch it here!

That is it, Wildflowers! By following the list, you will gather what you need and will be ready whenever you happen to have the time + produce to can.

Click to print your canning season prep checklist and planner here!

Ready to take the next step? Want to learn how to can delicious, healthy foods you can give to friends & family? The canning course for busy beginners, Start Canning is accepting students! Learn STEP BY STEP in premium video lessons here! 

Enroll Now!

Best Home Canning Equipment For A Beginner

Filed Under: Can

Do You Need to Use Pickling Salt?

March 28, 2018 by Jenny Gomes Leave a Comment

Many canning recipes call for pickling salt, and curious canners want to know: Do you need to use pickling salt? I’ll explain what pickling salt is, when you should use it, when it is okay to skip, and you’ll want to dive into canning immediately because salt is salt, Wildflowers.

Pickling salt is regular salt that has NO anti-caking agent nor any iodine. Salt that you and I buy typically has a few additives in it that make for a cloudy brine.

This post contains affiliate links.

The word “additive” has a negative connotation and it shouldn’t because not all additives are bad. An additive simply means it is added. Without those additives, the salt in my Morton container would be rock hard. This post aims to clarify the role of these additives when they are in the pickling process.

Do You Need to Use Pickling Salt?

Watch the YouTube version of this post below if you prefer.

Pickling salt is officially recommended by the USDA because by having a clear brine, a canner can see what their pickles look like. I’ll be the first to admit that cosmetics aren’t a priority to me in my canning pursuits (I rarely strain my juice and I don’t remove seeds from my jam, for example) but cloudy brine isn’t problematic from a visual standpoint.

If you can’t SEE what’s going on inside your jar, you won’t be able to identify if perhaps you’ve forgotten an ingredient or if your jar hasn’t sealed and your pickles have spoiled. True, when you opened the jar, there are lots of clues (odor, texture, color, and more) that would tell you these things but a clear brine helps a canner see what’s going on in the jar. You might enjoy reading my post, What Happens When You Forget the Lemon Juice because I explore in depth some sealed jars absent of the acidifying ingredient. It’s not pretty, but it is really fascinating 🙂

I’ve said many times that one of the wonderful things about canning is that mason jars are clear- literally and metaphorically. You can SEE what is going on inside. So, if you choose to make Pickled Pearl Onions or Carrot Pickles for example and you use regular salt, you won’t really be able to see inside as well as if you used pickling salt.

How cloudy will your brine be? Well, if you don’t use pickling salt, it will vary based on the recipe but it won’t be dramatic. Pickling salt brine will be very clear (hello County Fair entries and Instagram photo ops) and regular salt  brine will be just a bit clouded, not completely opaque.

I confess that I rarely use pickling salt for my personal preserving. When I see pickling salt on sale, I buy it, but only when it is as cheap as regular salt. This is a personal choice based on the fact that I’m confident in my ability to discern if something has gone awry inside a jar (almost never) and that my jars almost always seal (truly…I can’t think of the last time I had one fail). I also don’t pickle as often as I jam or make tomato sauce or other sauces. This might be because I don’t have a garden (shocking, I know!) and don’t grow hoards of tiny pickling cucumbers but I DO have access to tons of wild berries and stone fruit on the family ranch, for free. Canning is a practice of penultimate practicality.

Do you need to use pickling salt? Read this post to find out when to use it and when you can skip it!

As you become more experienced, you might opt for regular salt in a pinch and preserve cloudy pickles but proceed at your own risk. Just like driving with a dirty windshield, it will be harder to see what’s on the other side of the glass.

Flaked salt (like sea salt) varies in density and flake size and shouldn’t be used for pickling. So, avoid using “fancy” salts for canning.

If you’d love to learn more about canning, I want to invite you to my FREE Canning Basics course where I teach beginners all about how to get started with this fun, practical way of cooking quickly in advance! Join me here!

Enroll Now!

SaveSave

SaveSave

Filed Under: Can

What Happens if You Forget The Lemon Juice?

March 19, 2018 by Jenny Gomes 2 Comments

What Happens if You Forget the Lemon Juice? In many canning recipes, it is required that you add an acidifying ingredient like bottled lemon juice, citric acid, or vinegar. What happens if you forget? This post will explain. Spoiler alert: it ain’t pretty.

What Happens if You Forget The Lemon Juice?

Canning works and is an effective means of food preservation because of several elements. One element is the inside of the jar is sufficiently acid. That is to say, it is too acidic for spoilers (bugs that would make us sick and decay our food) to grow.

This post contains affiliate links. 

The magic number on the acid scale that canners care about is 4.6. Any less acid, or higher a number, and the recipe is too alkaline, or not acid enough to be safely water bath or steam canned.

This is why green beans (an alkaline veggie) are preserved with acidic vinegar into the delicious Dilly Bean we all know and love today. Same with alkaline carrots- we make Carrot Pickles by acidifying them with vinegar.

You can print off the Acid & Canning Chart- for FREE- right here!


Because the vinegar in pickle recipes is so great in volume and makes the brine that the pickles are submerged in, it’s less likely that you’d forget that ingredient, but much more likely you might forget a little quarter cup of bottled lemon juice or the seemingly unnecessary teaspoon of citric acid.

At the end of the last canning season, I made a batch of roasted pineapple salsa from a trusted source. Pineapple is somewhat acid but varies significantly from fruit to fruit, and the recipe called for onions (not acid), garlic (also not acid- those tasty alliums never are), cilantro, and other veggies that make it necessary to add bottled lemon juice.

I’ll note here the importance of using BOTTLED LEMON JUICE as opposed to a romantically squeezed fresh lemon. A lemon you squeeze might be 5% acid, and it might not. The trusted canning recipe you are using is calling for bottled lemon juice because it needs that acid to bring the overall acid level up (and acid number down) to a safe level so spoilers can’t survive in the canning jar.

Also, note that plenty of trusted recipes call for fresh lemon juice. These recipes need the lemon juice for the flavor, not for the 5% acid.

Back to my roasted pineapple salsa. I made it, canned it, cleared my tiny countertops off and saw my new bottle of lemon juice sitting there, undisturbed. I hadn’t even opened it. I completely forgot all about the lemon juice, which was absolutely required for safe canning in this recipe.

The salsa that I had just prepared and canned was delicious and safe to eat if I put all the jars in the refrigerator (even though the lids all sealed) and ate it in about a week, just as I would any other leftovers. So, that’s what I did- we had tacos for 3 nights in a row and we ate most of it all up.

Except…I saved 2 jars, marked them well, and stuck them way up high on my pantry shelf, just for my Wildflower blog readers.

Fast forward 6 months, and I opened the jar. This is what happens when you forget the lemon juice.  

The Color:

Normal salsa (or any preserve, for that matter) retains much more color than that of this non-acidified salsa. It was indeed an ugly pale brown. All the ingredients were nearly the same color. The red bell peppers were still reddish…but everything else looked very unappetizing.

What Happens if You Forget The Lemon Juice in a Canning Recipe? Find out in this post!
Photo is completely unedited. Roasted Pineapple Salsa with lemon juice omitted by mistake.

The Texture:

The spoilers had begun to act upon the food and started the decay process; the salsa was absolute mush. The peach, pineapple, and onion pieces were barely identifiable and were very easily smashed flat with very little pressure from a fork on a plate. True, canned salsa is always a little less crisp than fresh salsa, but this is completely different. This was nearly baby-food consistency with a little agitation.  

What Happens if You Forget The Lemon Juice in a Canning Recipe? Find out in this post!
Photo is completely unedited. Roasted Pineapple Salsa with lemon juice omitted by mistake.

The Smell:

It didn’t smell like poison, but it definitely didn’t smell good. The odor was musty, stale, and old smelling. It didn’t smell like something you’d want to pour on top of your chips. However, it is important to point out, that it did NOT stink to the High Heavens. You might accidentally dump some on your plate if you weren’t aware.

The Disposal:

Because spoilers (germs that could make us sick, probably with diarrhea) are almost assuredly at work in this salsa, I took care to dispose of this salsa carefully. I threw the lid away, and I used bleach to clean the jar. The contents of the jar went into the garbage carefully- not where a kid or pet would accidentally have a snack. It is worth noting that while food poisoning is serious, it would likely not be lethal to anyone in my family as we have healthy immune systems. I don’t want anyone throwing up or having a tummy ache and God knows I have enough laundry already. If for some reason you uncover a jar of very old canned food (say, you’re cleaning out Grandma’s cellar) I’d dispose of the contents and clean the jars the same way.

The Takeaway:

I wrote this post to simply educate a curious reader – canner or not- what would happen if you were to forget the acidifying ingredient. I don’t advise doing this on purpose, and I hope to answer the question of what to do IF you do what I did: Eat it up, store in the fridge, and be more careful next time.

Learn MORE:

If you want to learn more, I have a FREE Canning Basics Course that I invite you to try- you’ll learn more about canning, how it works, and how it is most delicious salsa all year round 🙂 Sign up here!

Enroll Now!

Best Home Canning Equipment For A Beginner Join the Start Canning Course to learn how to preserve healthy, homemade food in jars!

Filed Under: Can

Canning Jump Start Guide

February 9, 2018 by Jenny Gomes Leave a Comment

Wish you knew how to can like Grandma did, but think it is too hard or you don’t have the time to learn? This post is for you! I can help you dive into canning with a modern spin with the Canning Jump Start Guide- read on for the guide that will help you get started canning!

Canning Jump Start Guide | Wish you could learn to can like Grandma did? This guide makes canning easy and fun for a modern, busy home! Get started preserving healthy, fresh produce today!

I know you are super busy. But, you are reading this blog post because you WANT to learn how to can and you think maybe, just maybe, you can fit another thing into your schedule. I promise, I can make it work for a modern life, a busy lifestyle, into nap times and in a way that can save you time and money instead of costing much of either.


The Canning Jump Start Guide shares the no-frills Canning Equipment Checklist that will surprise you- no giant, black-and-white speckled pot that Granny used required!- and only a few items that you will need to purchase before diving in. Truly, there’s probably just ONE item that you need for water bath canning that you likely don’t own already- and you’ll learn why inside the Canning Jump Start Guide!

Watch the YouTube Video version of this post below!

Some people are hesitant to start canning for fear that they will mess up the recipe. Inside the Canning Jump Start Guide I include 4 of the easiest, fool-proof beginner friendly recipes that are perfect to get started with.

Think

  • spiced applesauce

  • tomato jam (savory, not sweet)

  • ranch style salsa,

  • and strawberry jam!

This is the best easy applesauce recipe ever. This girl cans it in little convenience sized jars that are perfect for lunch boxes- genius! What a time saver! And applesauce is so healthy and delicious. Totally making this.

The Guide also includes a Canning Season Planner so you can look ahead and plan out which other recipes you’d like to try; there’s nothing worse than missing strawberry season, or hoping to preserve roasted bell peppers and completely forgetting about them until it’s too late!


One step in canning that is critical, and someone foreign is adjusting for altitude. The Canning Jump Start Guide includes a visual guide for knowing exactly how many minutes to add to your processing time based on your elevation.

The pantry checklist inside the Canning Jump Start Guide makes sure you will have what you need when you come home from the grocery store or farmer’s market with fresh produce ready to be preserved.


This super helpful guide is printable, or you can simply view it on your phone or laptop. You can access it as many times as you need, over and over, on all the devices you own.


By purchasing the Canning Jump Start Guide, you’ll be able to pin to the Canning Basics Pinterest Board where beginners like you will share recipes from all over Pinterest. It’s a fun bonus that I think you will love!


Canning saves me time every. Single. Day. When I’m rushed making dinner, I can open a jar of tomato sauce that’s already cooked and has no added sugar, load my kid’s lunch box with healthy pickled carrot sticks, and make my husband a peanut butter and jam sandwich that has a lot more food value than store bought jam.

The Best Part? The Canning Jump Start Guide is just $5. That’s right- It’s time to jump in, Wildflowers! 

I can’t wait for you to dive into the Canning Jump Start Guide!

Buy Now!

Best Home Canning Equipment For A Beginner Join the Start Canning Course to learn how to preserve healthy, homemade food in jars!

SaveSave

SaveSave

Filed Under: Can

How To Create a Minimalist Pantry

January 26, 2018 by Jenny Gomes 2 Comments

I want to share with you one way we can minimize stress in our kitchens, how to create a minimalist pantry, and that is in minimalism through canning. This post will help you create a minimalist pantry plus there’s a bonus, super versatile tomato sauce recipe included. Read on for the full post! 

How to Create a Minimalist Pantry

This post may contain affiliate links.

Hear me out: I know you probably are remembering canning from when you were a kid, and are thinking that canning took a ton of stuff. I’ve minimized the canning equipment list to reduce the amount of gear you need so you can use what you already have. My favorite pro tip to share is that you don’t need those huge, black and white pots; you can use a large stock pot (the one you use make stew or soup or boil artichokes) and a silicone trivet. Wide mouth pint jars are my go-to canning jar because they double as inexpensive and classic drinking glasses. Whenever I empty a jar that held jam or applesauce, it is washed and reused as a drinking glass or storage container. Bye bye messy and wasteful plastic containers! 

I am a total canning nerd, and I share beginner tutorials and recipes all season long because I love canning and I think you will too. Before I share with you the “how” I want to give you the “why” behind canning.

I have found, as a working mom of 2, that canning gives you CHOICE. It sounds contrary to what you think you are getting when you grab groceries off the store shelves. You seem to have tons of choices in the market, right? There are so many choices that the kids in the cart can’t decide on what flavor they want, which color box to get, or which processed food you really don’t want to buy them anyway gets brought home. If you are part of a tribe of strong, purpose-driven women, you want to make smarter choices to make your lives easier and better. How we think about cooking can be one way that is contributing to mental clutter that canning can help you cut.

How to Create a Minimalist Pantry

Canning can simplify our pantry shelves: Tomato sauce preserved in jars can be used as spaghetti sauce, spread on stromboli, spiced up and used in enchiladas, pureed with a little cream for tomato soup, thinned out in a Bloody Mary, or added to beef stew. A store-bought can of faux Italian, super-processed, and full of added sugar spaghetti sauce is probably destined to only be spaghetti sauce. That doesn’t help when your littles are asking for enchiladas, right? Canning gives you choice.

In addition to adding great flexibility to your pantry, canning gives you control in a very real way. As moms, we cannot control everything in our children’s lives, nor should we. Yet, controlling what they eat to a certain extent is an important job from day one, to the “don’t eat the dog food!” stage, through the “don’t eat your cookies on the bus to school!” and beyond. I’d never tell you to try to manage every bite that passes your baby’s lips but I can tell you that it feels pretty darn good to know that when I open a jar of peaches when my kids are starving that I preserved them myself. I know that I chose each particular peach, washed it, decided which recipe to use based on how much sugar I wanted to include, and I don’t have to worry about what the jar or lid is lined with or if it was clean. That control is a really empowering thing.

I encourage you to try canning as a powerful way of simplifying your pantry and meal preparation. And that versatile tomato sauce recipe I mentioned above? Here it is and don’t worry; I explain in detail exactly what to do. You can totally do this!

Here’s the recipe that I use to work up 12-pound batches of Roma tomatoes, that usually yields 4-5 pints (1 pint =2 measuring cups).

12 pounds peeled tomatoes

1 tablespoon olive oil

12 ounces onion, diced (about 2 small or 1 large)

2 large cloves of garlic

2 teaspoons salt, or to taste

about 2 teaspoons citric acid (a white powder sold in stores, usually near the new canning lids)

Prepare your largest cooking pot with either a metal canning rack or a silicone trivet inside, on the bottom of the pot. Put the canning jars inside (I like largemouth pints for tomato sauce personally), fill the jars with hot water, then the rest of the pot with hot tap water. Bring to a boil.

In a wide preserving pan, heat the oil and saute the onions on medium high for about five minutes. Add the garlic and saute for another five. Combine the peeled tomatoes with the garlic and onions and cook on medium high for about 45 minutes, until the sauce has thickened and darkened in color. Add salt to taste. Stir occasionally and beware of the sauce boiling over the edge or burning on the bottom.

Use a jar lifter (often sold in a kit with a funnel & lid lifter, and readily available at thrift stores and community tool libraries) to remove one canning jar from the boiling water bath at a time. Pour the hot water within back into the pot or into the sink. Set the hot jar gently on a towel-covered countertop.

Add 1/2 teaspoon citric acid (a white powder you get from the grocery store) to each hot jar that is removed from the water bath. Ladle boiling sauce into sterilized jars. Add lids and rings, tightened about as tight as you’d like a bathroom faucet, and return the jars to the boiling water bath. Bring the water back up to boil if need be, and add water from the tap to cover the tops of the jars with 3 inches of water if necessary. Process in a water bath for 35 minutes, adding 5 additional minutes of processing time for every 1000 feet you live above sea level.

When the time is up, you can carefully remove the jars one by one, using the jar lifter, to the towel covered countertop. You will likely hear the lids seal with their tell-tale “ping” sound. The lid will become concave and firm to the touch. If you have a lid fail to seal, never fear. That means there was probably a tiny bit of sauce on the edge of the jar and you should refrigerate that jar and eat it within a week. Label sealed jars with a marker and store.

That’s it! I have a rad little canning basics course that will walk you through the primary lessons in canning so you can complete the recipe above and countless other recipes to minimize your cooking routine. You can enroll right here, for free, in the course that will help you create a minimalist pantry one jar at a time.

Enroll Now!

Best Home Canning Equipment For A Beginner Join the Start Canning Course to learn how to preserve healthy, homemade food in jars!

I hope that canning helps you streamline and de-stress your mealtimes so you can really focus on what’s important so you are living the purposeful life you are destined to live.

Filed Under: Can, Cook

  • « Go to Previous Page
  • Page 1
  • Interim pages omitted …
  • Page 8
  • Page 9
  • Page 10
  • Page 11
  • Page 12
  • Interim pages omitted …
  • Page 21
  • Go to Next Page »

Primary Sidebar

Categories

Follow me here, there, & everywhere!

  • Email
  • Facebook
  • Instagram
  • Pinterest
  • RSS
  • Twitter
  • YouTube

Search

Get The Pressure Canning Cookbook

Get 10 Free Recipes Now!

Best Chicken Coop

Footer

Get Started Pressure Canning

Shrubology Ebook

Shrubology: Refreshing Homemade Fruit and Vinegar Syrups for Cocktails
Make easy, no-cook fruit & vinegar syrups for cocktails & mocktails! This ebook shares crowd pleasing recipes and simple to understand ratios so you can make a shrub on your countertop any time- without a recipe. Dive into these Prohibition Era drinks today!

Copyright

Copyright 2019
The Domestic Wildflower
www.thedomesticwildflower.com.
All content created by Jennifer Gomes unless otherwise noted.

Copyright © 2025 · Lifestyle Pro on Genesis Framework · WordPress · Log in