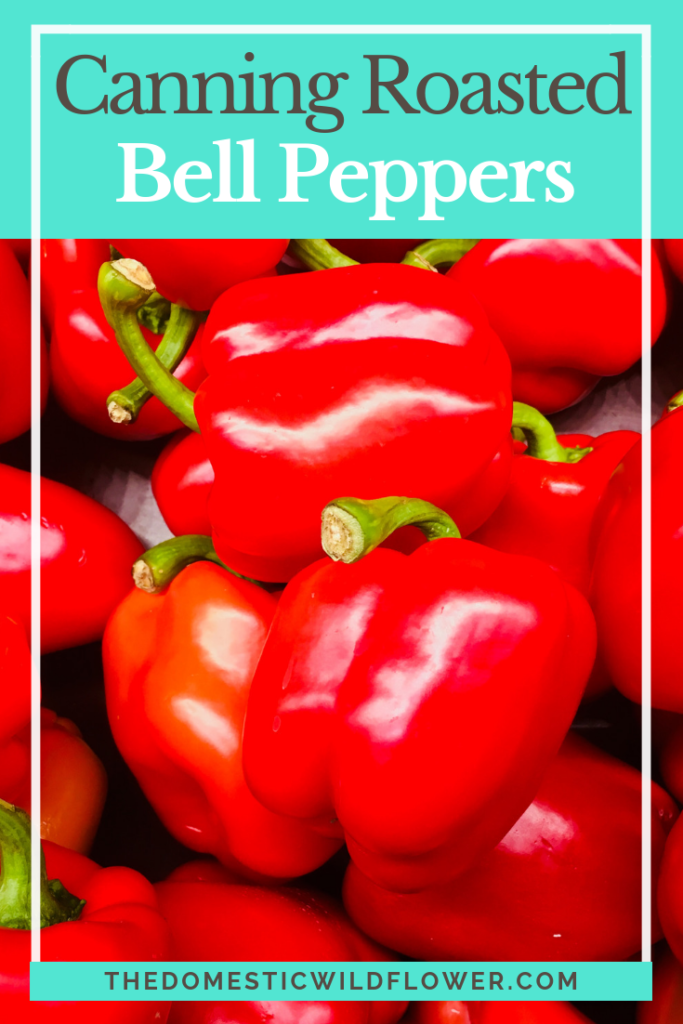
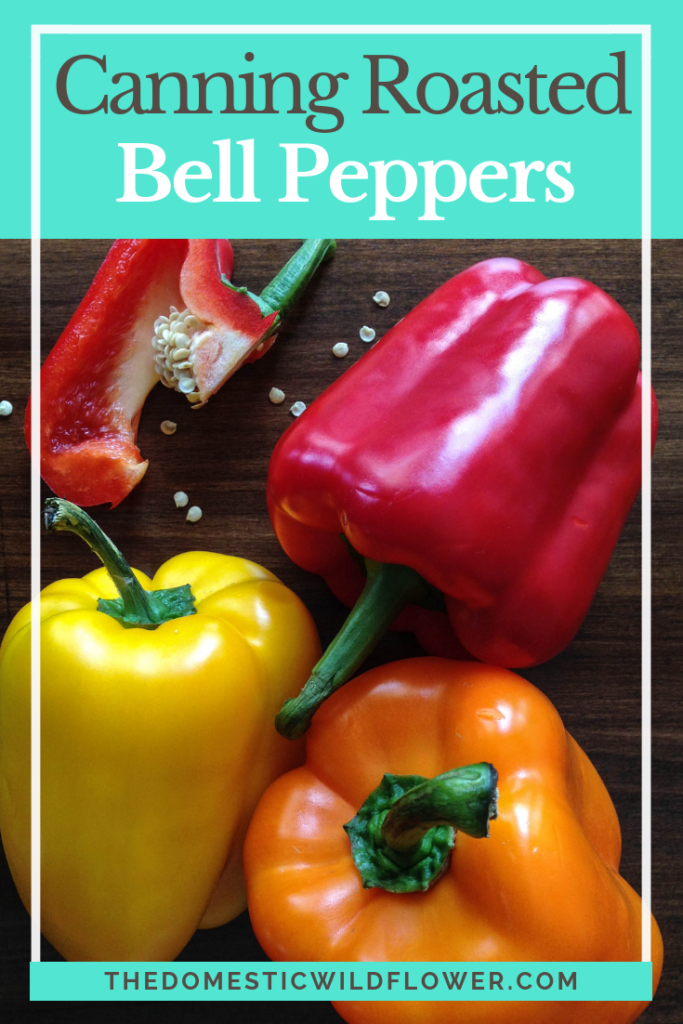
Canning Roasted Bell Peppers
This is a versatile, simple, and easy recipe. Roasted bell peppers are divine on a toasted cheese sandwich, indispensable in Mexican dishes, right at home in Mediterranean meals, and so utterly useful that I run out every year way before canning season returns and I always wish I had made time to can more.
They are, however, time-consuming in one critical step. Once roasted (under the broiler or on a bbq), they have to be peeled by hand and they are usually piping hot, slippery, wet, and I always end up feeling like a roasted bell pepper myself. They are the kind of thing that you’d want to preserve with the help of a good friend and a cold drink. Perhaps with two of each, even.
This recipe is from the delightfully written and exceedingly useful Canning for a New Generation by Liana Krissoff. If you are interested in getting started canning, this is the book to buy. Unless you and I are friends and you plan on inviting me to your wedding in which case plan on receiving it from me as a gift. I mean it; I love this book!
This post may contain affiliate links. All opinions are my own.

The first step of roasting the peppers can be done earlier in the day than when you get your water bath going. Or, you can really create a sauna in the kitchen and do it all in one. Refer to my advice about cold drinks and good friends above.
It bears mentioning that this is an easy recipe to double, or otherwise adjust in quantity. You just need to have enough of the brine to cover the peppers and the quantities are pretty easy to divide and multiply.
You will need:
4 lbs of red or green bell peppers
1 cup bottled or strained the fresh lemon juice
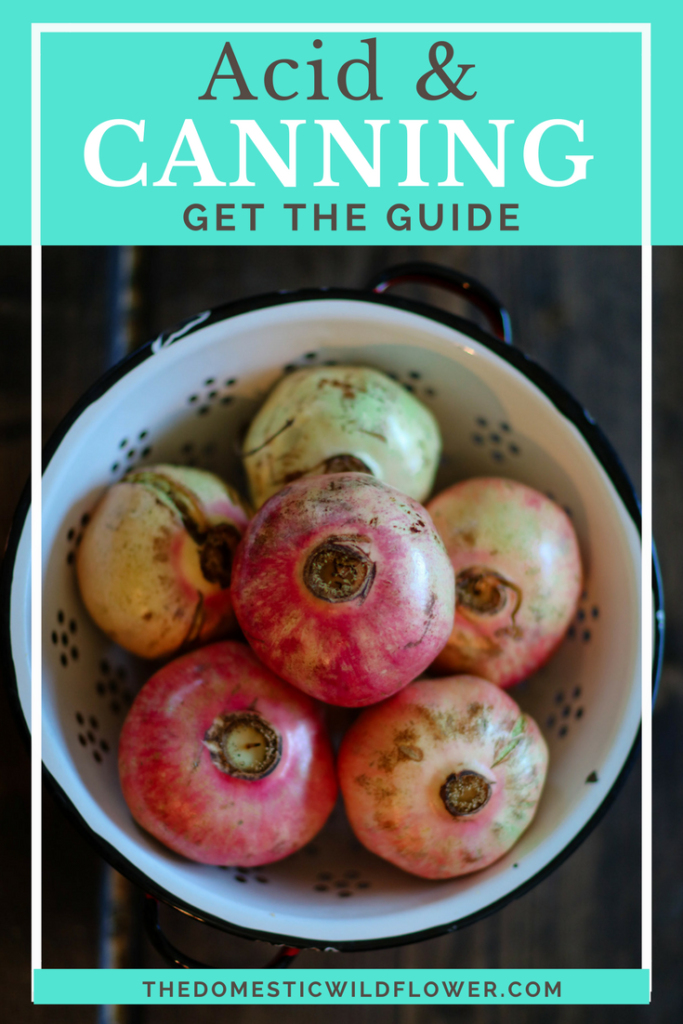
2 cups white vinegar (6% acidity) (read more here about acid & canning)
2 teaspoons salt
1 cup extra-virgin olive oil
You can place whole bell peppers under the broiler OR you can cut the stem out of the bell and pull out whatever seeds and ribs come with it. I did it this way most recently and felt that it was a less hot mess to deal with when skinning.
Place peppers on the racks of your oven set to broil. Turn the oven light on, and be nearby with tongs. In my oven, the bells were ready to be turned the first time in about 10 minutes. This is awkward, hot, and difficult to the uninitiated because bell peppers aren’t exactly easy to turn and even a gal with a messy kitchen like me tries to not end up with bell pepper juice all over the floor. You might be well advised to place a cookie sheet or other pan on the lowest rack to catch the drips or errant little peppers. I’d be lying if I said I had the sense to do so, but as I write this, I feel like I definitely might do it next time.
Continue turning peppers till they are charred on as many sides as you can get beneath the broiler.
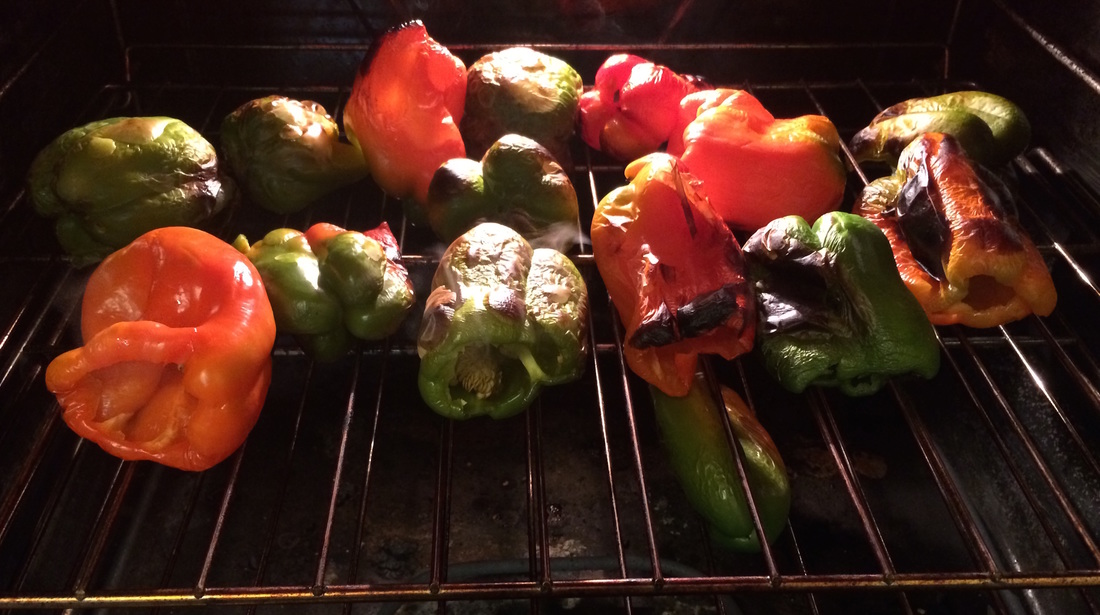
They will likely get charred and done at slightly different times, so as they are ready to be removed, place them in a bowl with a lid. As they cool, the skin will become easier to pull off.
Either while the peppers are cooling or while they are roasting, assemble the canning liquid that they will be swimming in and get your jars ready and water bath boiling. I like wide mouth half pints personally but of course, use what you have.
Once the oven is off, the lid is on the bowl and you’ve cooled off a bit with a said friend and drink, start peeling the skins from the peppers. This is not an exercise in perfection (nothing on this blog will ever be, Wildflowers) but in patience. Not all of the skin will come off, but all of the skin you do peel off will stick to the various surfaces it comes in contact with including your hands, clothing and the countertops. I usually stand with the compost pail to one side and the cutting board to the other, peeling and placing the done peppers on the board. If you are able, remove the bulk of the seeds as you work.
Here’s a short video of me in my tiny, steamy kitchen peeling peppers. It’s a casual Periscope broadcast but it gives an idea of what the peppers will look like before and after peeling.
Once they are all peeled, the bulk of the work is over and you should feel great excitement for all the yummy dishes in which you will use the peppers.
Bring the lemon juice, vinegar, oil, garlic, and salt to a boil in a wide preserving pan.
Follow standard water bath canning practice described in detail here or in any good canning cookbook and pack the chopped bells into jars and ladle the hot brine atop the peppers, leaving ½ headspace. Remove bubbles from the jar with either a chopstick or the back of a spoon and by pressing down gently. Wipe the rims carefully, as even a smidge of oil can thwart the creation of a seal. Add the lids and rings and return to the water bath pot. Bring to a rolling boil and process for 15 minutes.
And that’s it, Dear Readers! It is a recipe that I return to year after year and it is absolutely worth the chore of peeling those hot, slippery bell peppers. I’d love to hear how you’d use these up, Wildflowers! Please share in the comment section below to which dishes you’d add these peppers!