This post will share 5 canning recipes perfect for pleasing the kids in your life. Think lunch box perfect, mild flavors, few seeds, high nutrition, and great flavors.
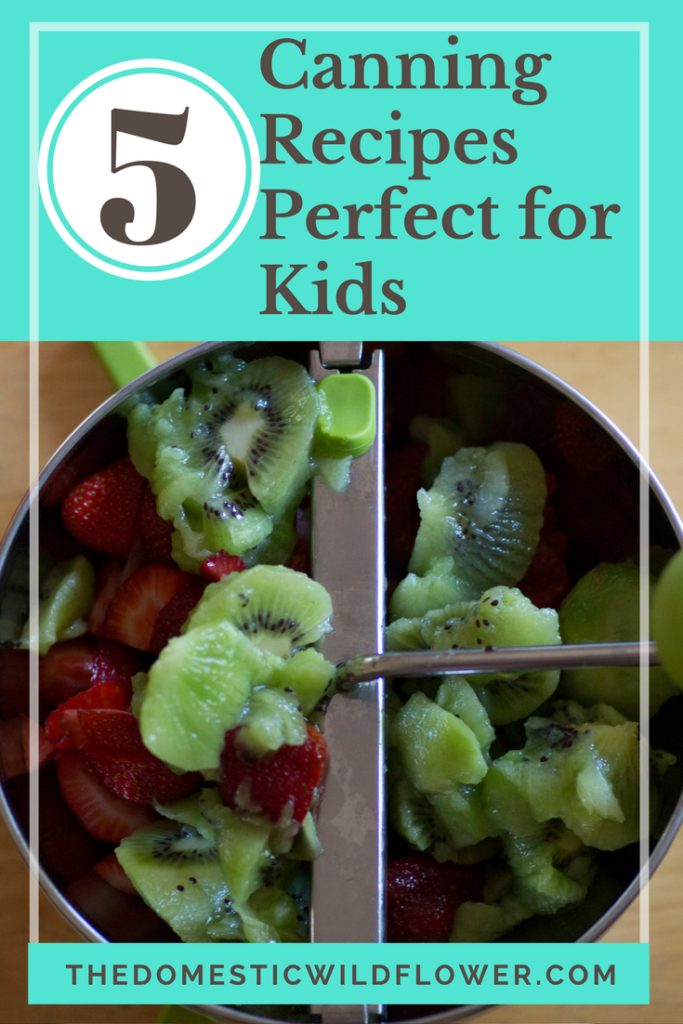
There’s nothing that has helped me stay sane at meal time as a busy working mom of two small kids more than canning. Seriously. Canning is cooking in advance and if you need me to repeat that, I’ll say it a little louder: CANNING IS COOKING IN ADVANCE. By putting wholesome, healthy food into jars (that I got for cheap when they are in season, fresh, and ripe!), that food is ready to go months later. It is mama magic, my friends, and I’ve rounded up a little collection of 5 recipes that I think will please you AND your kids.
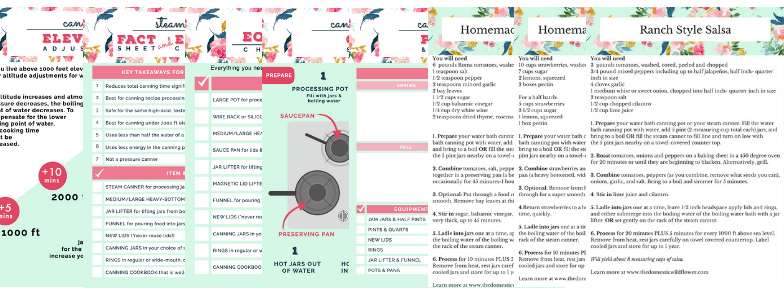
If you’d like to grab the PDF of these recipes, including crystal clear water bath canning directions, it is just $3 and you can download it here!
Yes! I Want Instant Access!Here are the recipes!
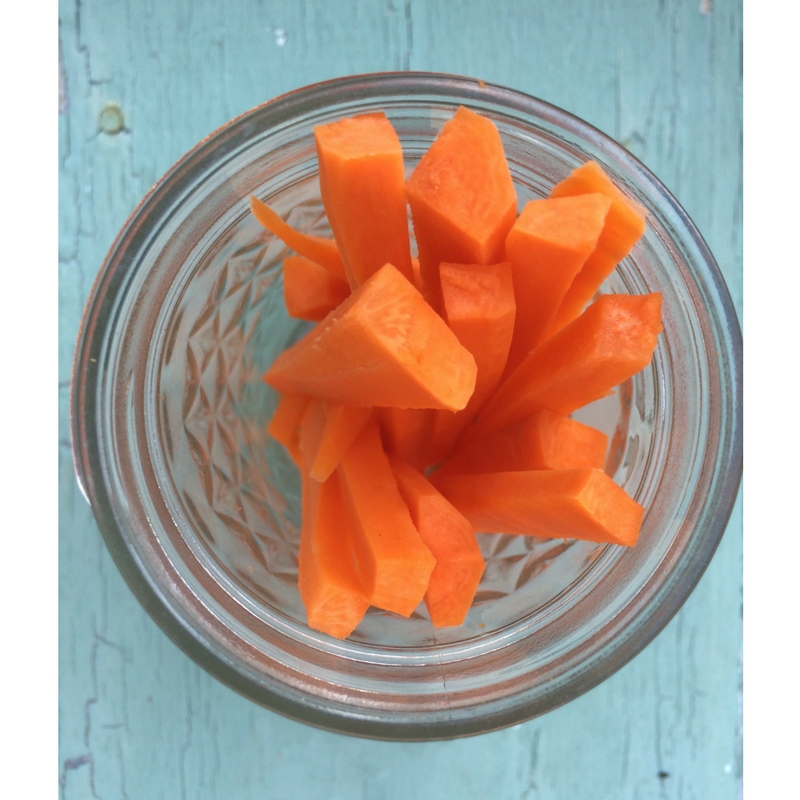
Carrot Pickles
Carrots are deliciously pickled in vinegar; they are salty and crisp and they plate beautifully. They are easy to spice up or keep simple for those pickier eaters in your charge!
These are easy to keep crisp, & are a healthy, savory snack!
You will need:
2 pounds good quality carrots, scrubbed.
5 1/2 cups apple cider vinegar
1 tablespoon salt
3 tablespoons sugar
4 cloves garlic, sliced
1/2 small white onion sliced thin, or diced
1 cup of water
Optional seasoning:1/2 teaspoon black pepper, 1 bay leaf per jar, 1 sprig thyme or dill per jar, shake of red pepper flakes to taste, about 1/2 teaspoon per jar- choose any or all of the above to suit your taste!
Cut carrots into sticks that are about 1/2 inch thick and no more than 4 inches tall if you are using pint jars. Let rest in ice water while you prepare your pots.
Heat the processing pot full of 4-5 pint jars and water to a boil.
In the preserving pan combine the vinegar, 1 cup of water, salt, sugar, and any seasonings. Bring to a simmer and then add the carrots until they are just tender about 9 minutes.
Use the jar lifter to carefully remove a hot jar from the boiling water bath. Pour the hot water back into the pot or into the sink.
Using the funnel, pack the hot carrots into the jars (not tight, just full), and then ladle the hot brine carefully over the carrots, giving it a chance to seep to the bottom. You may have to distribute pieces of onion and garlic and seasonings jar by jar using a clean, long-handled spoon.
After one jar is filled with carrots and covered with brine, put the lid and ring on and return it to the boiling water bath carefully.
Repeat with remaining jars.
When all the jars are filled with carrots and brine, bring the pot back up to boil and process for 15 minutes, and add 5 minutes for every 1000 feet you live above sea level.
When the time is up, remove the jars carefully to rest and seal on the towel covered countertop. Label cool jars and store.
Print and keep this PDF handy right here!
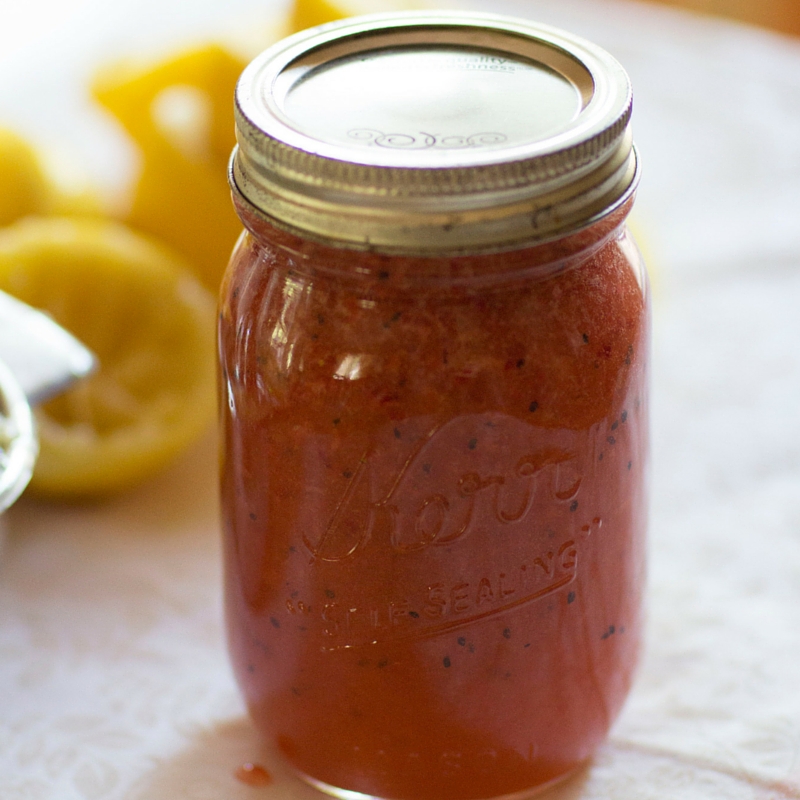
Buy Now!Strawberry Kiwi Lemonade Concentrate Recipe
You need:
3 cups strawberries with stems and leaves removed, rough chopped
3 cups kiwi fruit, peeled
4 cups bottled lemon juice
6 cups of sugar
Note: If you haven’t kiwi, you can just double the number of strawberries and skip the kiwi entirely. I think the kiwi is a great addition, however.
Prepare your processing pot with about 5-pint jars, prepare your lids and rings in a saucepan and bring both to a gentle boil.
Blend the fruit together in a blender, food processor, with an immersion blender, or food mill (a baby food mill would work fine!). If you haven’t one of these appliances, just chop the fruit into small pieces and don’t worry. It will cook down readily. If you have terribly picky children, you could choose to strain the mixture through a sieve at this point to remove the pretty black kiwi seeds, but luckily, my kids don’t mind them.
Put the pureed fruit into the preserving pan. Add the lemon juice and sugar and stir to combine. A note about lemon juice. I fresh squeezed every lemon in my crisper and only got a single cup of juice. There’s no shame in using bottled and I definitely had to. Frankly, because you are cooking and canning it, the fresh lemon juice might be better saved for use where it isn’t cooked at all. Use fresh if you have it and want to squeeze them, or bottled if not.
Bring fruit, lemon juice, and sugar to a gentle simmer. You want the sugar to dissolve but you don’t want the fruit to come to a rapid boil lest the fresh fruit flavor disappear. If it comes to a full boil, that is okay, but the flavor is a bit better if you can avoid a rolling boil.
Using the jar lifter, pull one jar from the boiling water and pour the hot water back into the pot or the nearby saucepan. Set it carefully on the towel-covered countertop. Using your funnel and a ladle, fill the hot jar with hot fruit puree. Leave ½ an inch between the top of the fruit and the top of the jar. Use the lid lifter to pull a lid and ring from the saucepan and put the lid and ring on the jar. Tighten only as tight as you might a faucet in the bathroom. You don’t need or want it super tight. Use the jar lifter to put the hot jar full of hot fruit back into the hot water.
You will repeat this process until you run out of fruit or out of jars. With whatever little bit you have left that isn’t a full jar, pour into a drinking glass and get ready to reward yourself with a cold drink.
Set the timer for 5 minutes. For every 1000 feet of elevation you live above sea level, add 5 minutes. For example, I live at 3000 feet above sea level so I set my timer for 20 minutes total. During this time, the water in the largest pot should be at a rolling boil, with at least an inch of water covering the lids. I know it is difficult to tell how much water is over the jars when it is really boiling but add from a teakettle if you aren’t sure.
When the time is up, use your jar lifter to remove the jars one at a time to carefully rest on the towel covered countertop. Let them cool undisturbed for up to 12 hours. Notice how the lids will seal; they will become concave and firm to the touch and you will probably hear a loud “ping” or clicking noise when the heat forces all the air from the jar which causes the lid to suck down, creating that air-tight seal you are looking for. If you have a jar that doesn’t seal after 12 hours, and the lid pops up and down when pressed, then just store the jar in the refrigerator and eat it up within a month. Label sealed jars and store in a cool, dry place.
To serve, mix 1 part concentrate with 2-4 parts cold water and stir to combine. Feel free to get fancy and use sparkling water, ice, and perhaps one shot of your favorite adult beverage.
Print the PDF for just $3!
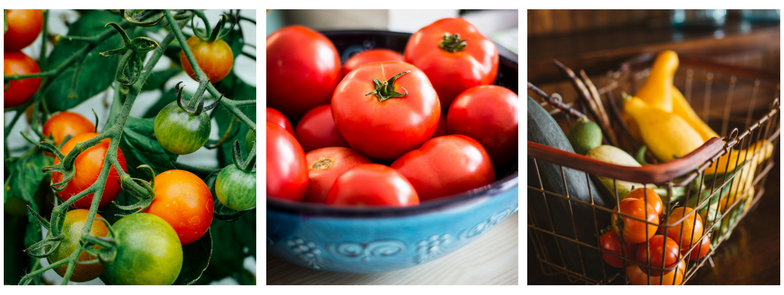
Yes! I Want Instant Access!Tomato Sauce Recipe
Here’s the recipe that I use to work up 12-pound batches of Roma tomatoes, that usually yields 4-5 pints (1 pint =2 measuring cups)
12 pounds peeled tomatoes
1 tablespoon olive oil
12 ounces onion, diced (about 2 small or 1 large)
2 teaspoons chopped garlic
2 teaspoons salt, or to taste
about 2 teaspoons citric acid
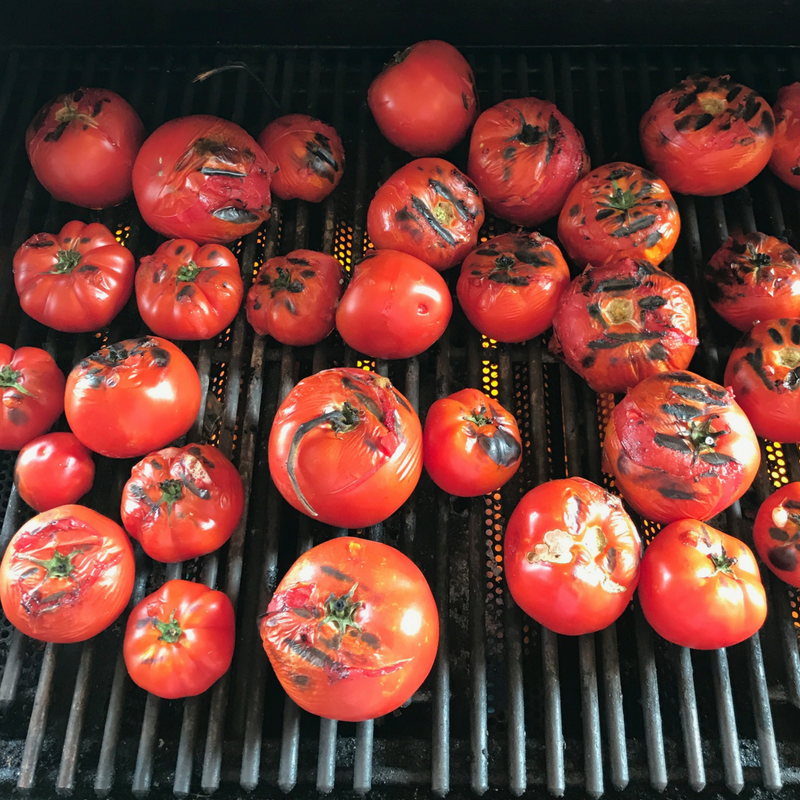
In a wide preserving pan, heat the oil and saute the onions on medium high for about five minutes. Add the garlic and saute for another five. Combine the peeled tomatoes with the alliums and cook on medium high for about 45 minutes, until the sauce has thickened and darkened in color. Add salt to taste. Stir occasionally and beware of the sauce boiling over the edge.
Add 1/2 teaspoon citric acid to each hot jar that is removed from the water bath. Ladle boiling sauce into sterilized jars (I like wide mouth pints for this recipe, but use what you have) add lids and rings, and process in a water bath for 35 minutes. Add 5 minutes processing time for every 1000 feet you live about sea level.
How handy would it be to have all these recipes printed out?! Grab the PDF for just $3!
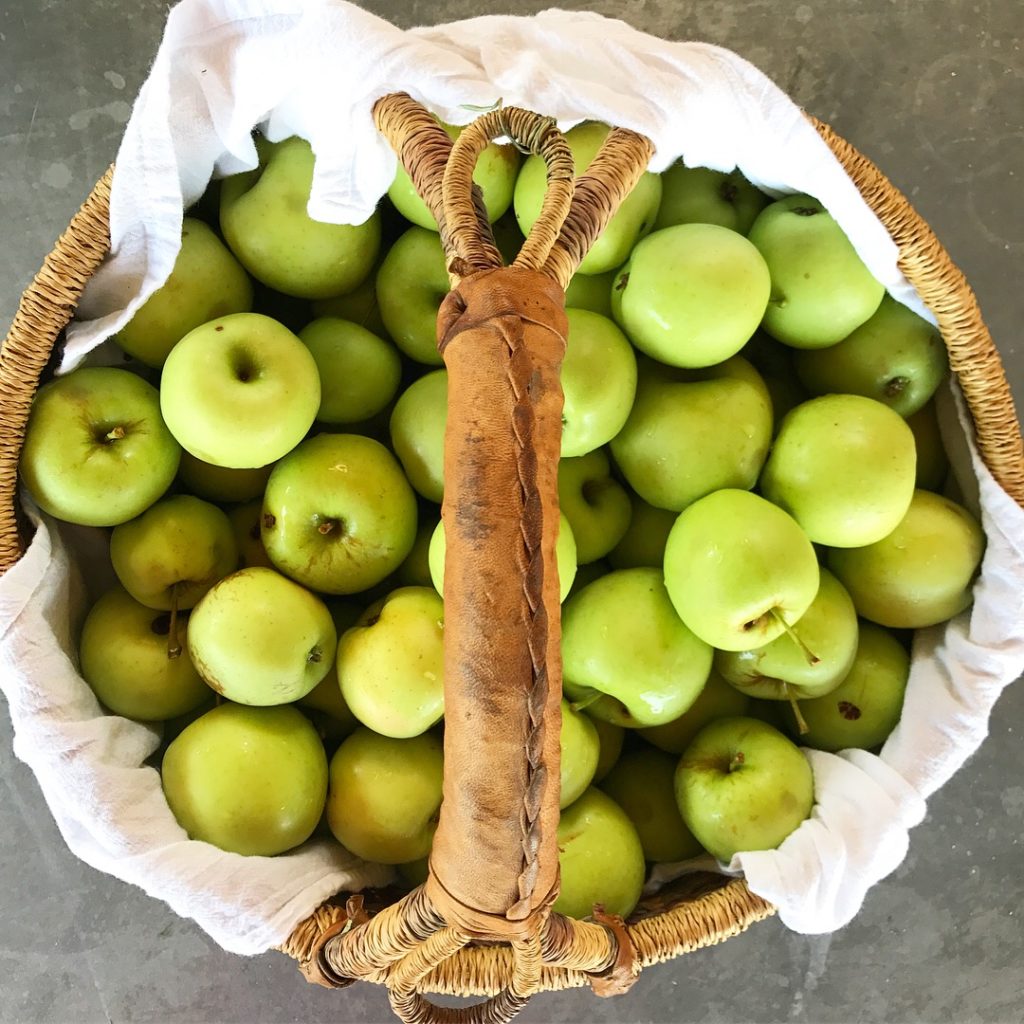
Buy Now!Apple Butter
Note: This recipe takes up to 12 hours to cook entirely. Most of that is in a crock pot. Your active time is about 2 hours preceding but plan ahead to either let the apple butter cook all day for an afternoon or evening canning session or potentially overnight after you have made this recipe once or twice.
You will need:
6 pounds of apples- if you have a food mill, you don’t have to peel and core them first.
6 cups of water
about 1 cup sugar
Fill a large pot with about 6 cups of water hot water and bring to a boil.
Combine the apples and the 6 cups of water to a boil and cook at a medium boil until the apples are broken down, soft, and falling apart, about 30-45 minutes.
Process the apples in a food mill. Put the puree in a crockpot and add the spices (that you can customize to your liking) and about 2 tablespoons of sugar per measuring cup sauce apple puree.
Cook on the “low” setting on the crock pot or slow cooker for 9 to 12 hours, stirring every couple hours, scraping the bottom and sides, and maybe propping the lid a bit akimbo so moisture evaporates. You know it is done when it is delicious, thick, and dark like barbecue sauce.
WAIT UNTIL THE APPLE BUTTER IS COOKED IN THE CROCK POT TO DO THE FOLLOWING:
At this point, to have the smoothest apple butter, use an immersion blender to further blend the apples smooth. Alternatively, you could process in a regular blender, or skip blending entirely.
Now that the apple butter is cooked, move the butter from the crockpot to a preserving pan and bring to a boil.
While it is heating, you can prepare your boiling water bath.
Fill your pot with jars of your choice, hot tap water, and put on the stove on high. Put a coordinating number of lids and rings in a saucepan and fill halfway with hot tap water. This recipe should yield about 2-pint jars full.
Have your funnel, jar lifter, ladle, and towel next to the stove. Pull the hot jars one at a time from the water, pour water back into the pot, set jar on the towel-covered countertop. Ladle hot apple butter into hot jars, leaving 1/2 inch headspace (space between the surface of the jam and the rim of the jar). Return the jar (full of hot apple butter) back into the boiling water pot. Repeat.
Bring the water bath pot back to a boil. Set your timer for 10 minutes plus 5 minutes for every 1000 feet above sea level.
When the time has passed, turn the stove off and use the jar lifter to remove the hot jars one at a time to rest gently on the towel-covered countertop. The lids can start to “ping” or seal immediately, and it can take up for 12 hours. Leave the jars undisturbed on the counter. Watch and listen for the distinctive sound of the vacuum seal being created, for the lid to be sucked down, and for it to have no ‘give’ when you press it with your fingertip.
If the jars seal, which they should, label and store in a cool place out of direct sunlight. If they do not seal, refrigerate.
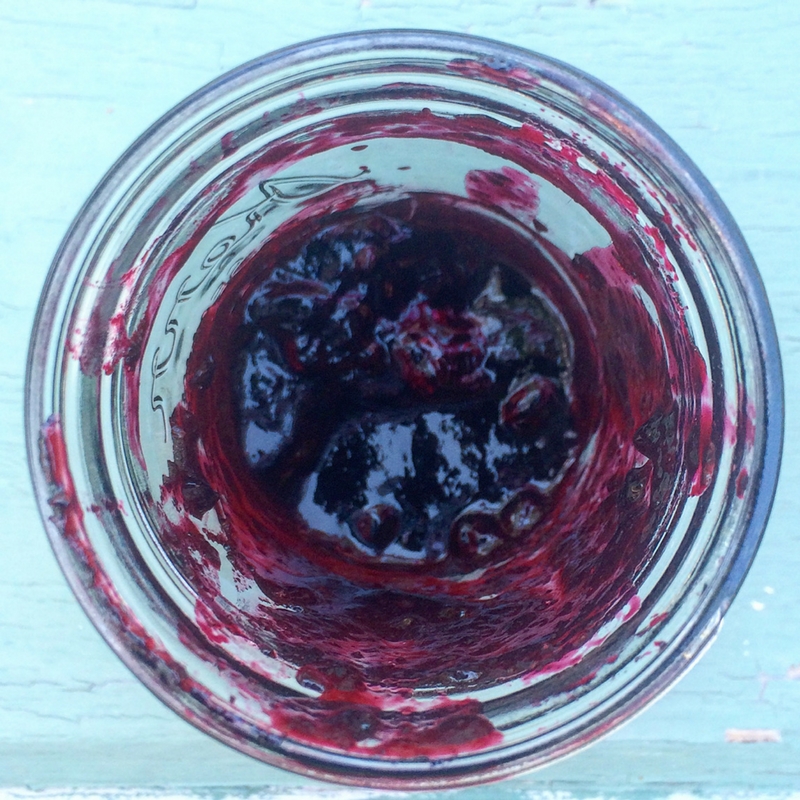
Best Berry Jam
You need:
6 cups blackberries
3 cups strawberries
½ cup bottled lemon juice, or 1 tablespoon for every cup of berries, if you are doubling or halving this recipe
6 cups of sugar
Half a box of powdered pectin and a whisk with which to mix it
A food mill with the plate with the smallest holes.
This recipe will yield about 8 measuring cups of jam, so you will need 8 half pint jars, or 4-pint jars, or the equivalent, in the water bath processing pot. Fill the pot with the jars and hot water from the tap and bring to a boil.
Prepare the fruit: You can gently rinse the berries in a colander but be careful: the more handling the berries get, the more they will fall apart and more juice will end up everywhere but the canning jar. Remove stems from strawberries and chop.
Combine fruit in preserving pan and bring to a gentle boil for 5-10 minutes.
Pour hot fruit slowly and carefully into the top of the food mill, which should be set over a large bowl or another preserving pan. Work all the fruit through the food mill and notice all the seeds that remain in the top section of the hopper.
Return the fruit to the preserving pan and add the sugar and lemon juice. Bring to a gentle boil and stir to dissolve sugar. Let the jam boil gently for another 10 minutes.
Whisk in half a package of powdered pectin when you are ready to can. That means be sure your processing pot is ready and has been boiling, you have a towel covering the countertop, and you have your jar lifter and funnel and lid lifter ready.
Using your jar lifter, pull one jar at a time from the boiling water bath. Pour the hot water from it, and rest it on the countertop. Use the funnel and a ladle to fill the hot jar with hot jam. Maintain a half inch headspace. Apply lids and rings and return the jar to the processing pot. Repeat with the remaining jars. Bring the processing pot back up to boiling and process for 15 minutes, and be sure to add 5 minutes for every 1000 feet above sea level at which you are canning.
Remove the jars and gently rest on the towel covered counter and listen for the distinctive “ping” of the jars sealing.
After 12 hours, label sealed jars and store. Jars that didn’t seal can be refrigerated and eaten promptly.
There you have it! 5 of my best, most kid-friendly canning recipes all in one place! Be sure to Pin to Pinterest, Wildflowers, and to print these recipes in a handy PDF, grab it for just $3 right here!
Yes! I Want Instant Access!