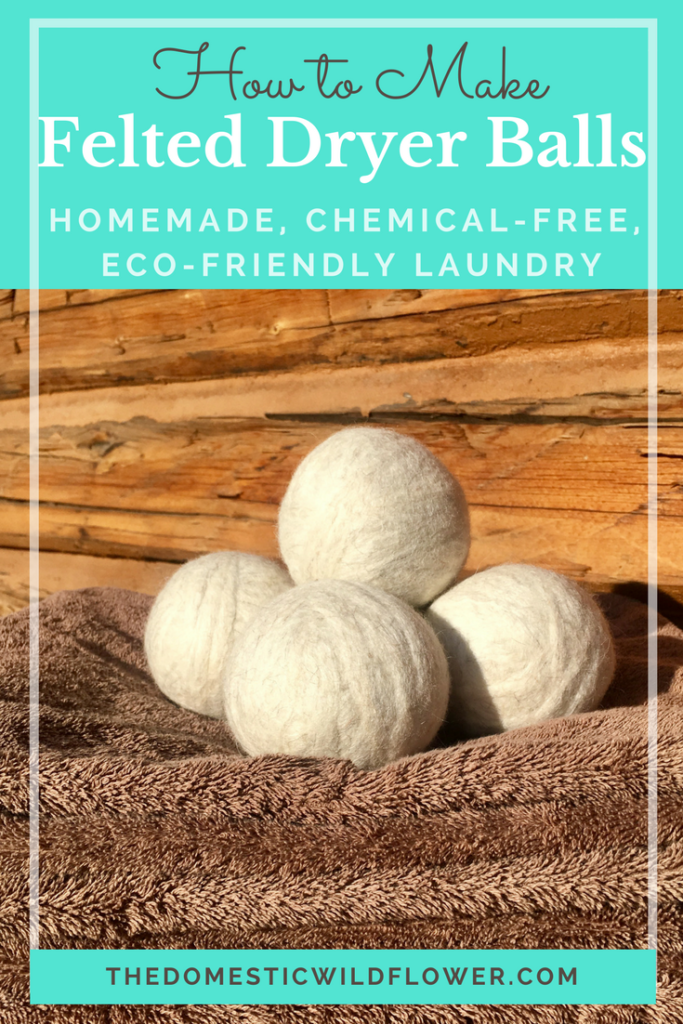
This post, featuring a guest post from my friend Amika will teach you how to make felted wool dryer balls at home and have you fighting static, wrinkles, and toxic dryer sheets like a superhero. Read on for the full tutorial!
Hey y’all! I’m Amika from DIY Sheep Crafts (shepherdlikeagirl.com), guest posting, How to Make Felted Wool Dryer Balls, for Jenny here at The Domestic Wildflower(thedomesticwildflower.com)!

When I first started making felted wool dryer balls for my peeps, a lot of my friends and family would say, “Weird! What are dryer balls, anyway?” My response was typically, “They are what folks like me use instead of dryer sheets to green-up their laundry game.” If you would like to have a more edified answer to THAT question (optional, but highly recommended) when your peeps ask you, then keep reading!
Queue heroes of eco-friendly laundry, static-fighting champions!
The chemicals, including synthetic fragrances, found in conventional dryer sheets are downright dangerous to your health and the environment! I could list all the toxic chemicals, but why scare the kids (and you can read more about it on my blog post, 4 Tips for Safer Laundry (shepherdlikeagirl.com/4-tips-
What Are Felted Wool Dreyer Balls?
Felted wool dryer ball are made, typically, from clean sheep fleece. The fleece is carded into roving. Then, all good shepherds and crafters hand wind the roving into 4 oz sized balls. These balls are then matted into a solid structure with a hot soap and water process, called felting. Dryer balls are completely chemical-free and reusable. They will even last up to 5 years!
What Are They For?
Feted wool dryer balls help keep the clothes soft, wrinkle-free and reduce static. Whaaat? Where have you been all my life?
How Do They Work?
The highly-absorbent wool soaks up moisture in your laundry as it dries and then evenly distributes that moisture back into the air as your clothes are drying. This helps the air in your dryer stay humid longer, which reduces static. In addition, this “soaking and releasing” action makes your clothes dry faster. And, all of these things, plus the balls rolling around in your dryer, caressing your sweet, sweet clothes, means fewer wrinkles. Can I get a “heck-ya”?
Ready to Make Your Own Dryer Balls?
Keep on reading and I will teach you how to make your very own felted wool dryer balls from sheep roving in 5 easy steps.
Now, let’s get started.
Supplies
5 Steps to Making Felted Wool Dryer Balls
1. Weight Out Your Roving
This step is optional. You can totally just wing it! Your roving ball should be about the size of a softball (maximum). I weight my roving in a plastic baggie, using a hanging scale (the same one that I use to weight lambs), into 4 oz “handfuls”. If you don’t have your own roving, you can get some from my sheep at Copia Cove Icelandic Sheep in Montana, HERE (www.copiacove.com/product-
Expert Tip: Weighing out the roving you use for a set of dryer balls will help you to determine an appropriate price to set if you wish to sell them, because a good shepherd/crafter knows the cost of her materials, in this case, per ounce.
2. Make Your Roving Ball
Roll your roving into a tight ball, like a ball of yarn. Start by doing a few revolutions around your first two fingers to get the ball rolling faster (haha, get it?). Keep winding until you reach a desired size, or use up all 4 ounces or roving.
Expert Tip: I start with three strands of roving and working my way down to two, and then just one strand, before I reach the end of my roving ball shaping. This makes the winding, rocking, and rolling phase go a whole lot faster! Be careful, because this can make your ball lopsided… unless you’re into that, of course. I like my balls nice and round, which is the reason for the three, two, one breakdown.
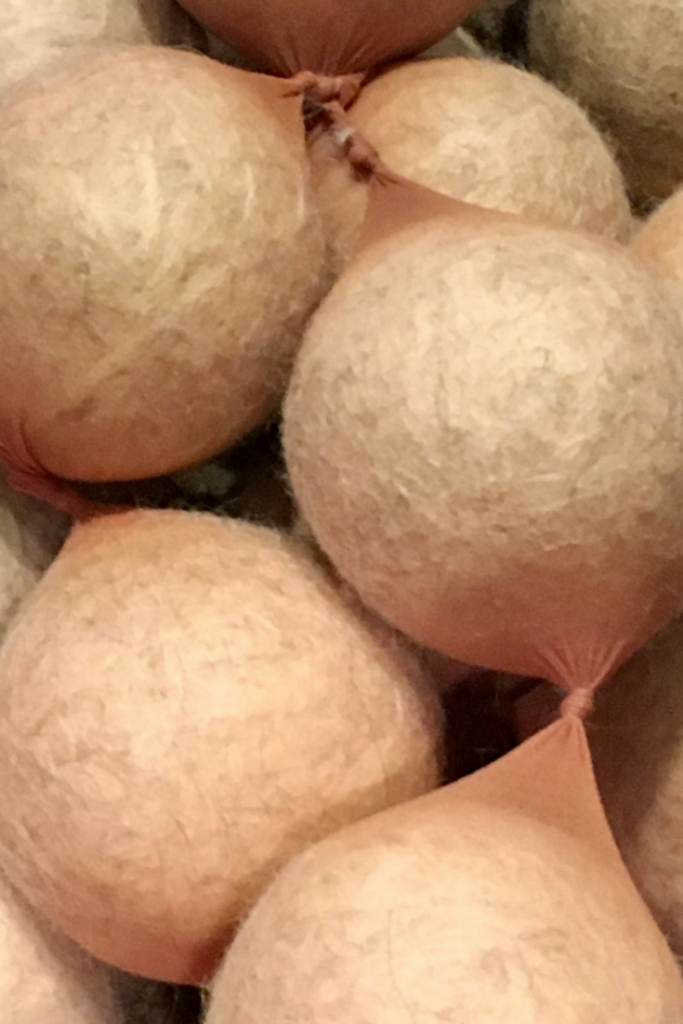
3. Load Up Your Roving Balls
Grab your stockings, ladies! Carefully squeeze a ball of roving all the way down into a stocking until it’s packed tight. Tie a knot in the stocking after each ball in order to separate the balls from one another and prevent them from felting to each other or loosing their shape. Keep loading balls until the stocking is full.
Expert Tip: Turn the stocking inside-out. Wool will felt to the toe seam, so it’s best to have it facing out.
4. To The Washing Machine
Load Your caterpillar-looking-roving-
Expert Tip: You will probably need to run them through the wash at least two more times to get them to felt well. Felted well is indicative of a firmness when squeezed. My washing machine is a front loader, and I always do two washes. My machine is also… temperamental. Sometime it won’t go through a spin cycle, I assume, because of the unbalanced weight. To fix that issue, just throw big towel in with the caterpillars.
5. Extract And Dry
You should have sightly damp felted wool dryer balls. Extract those little pretties by using scissors to cut an escape hole for each ball. Sometimes the wool will felt to the stocking- just keep peeling back that hosiery. Once they have all escaped, you can throw them in the dryer. One hot cycle in the dryer should be enough.
Expert Tip: Prevent audio-induced headaches! Throw that big towel in there (the one from step 4), along with your dryer balls, to keep them from banging around in the dryer.
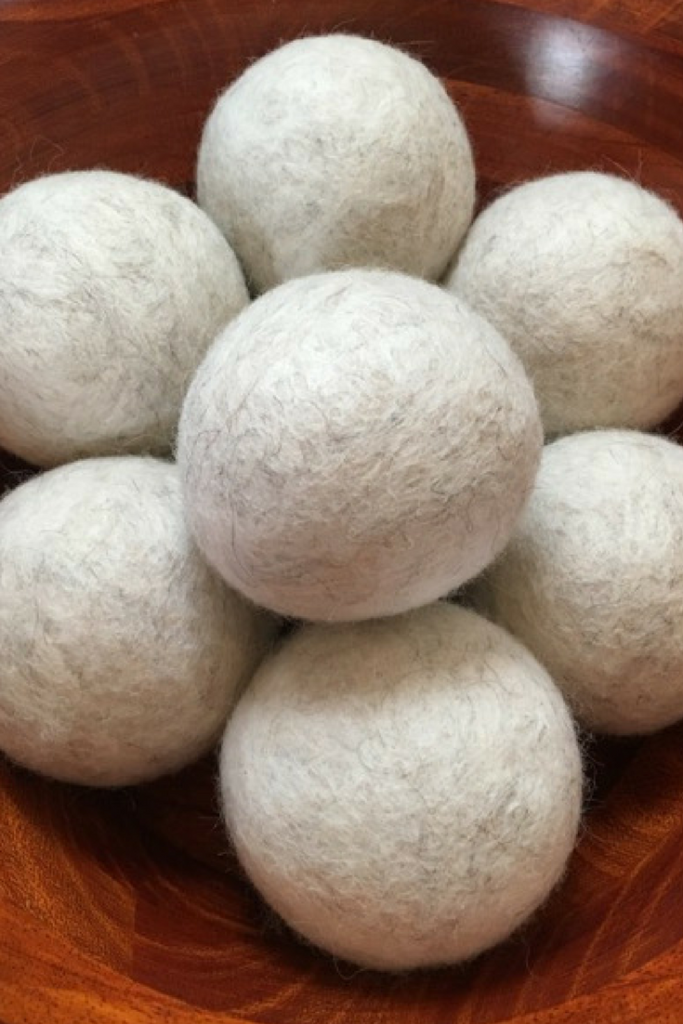
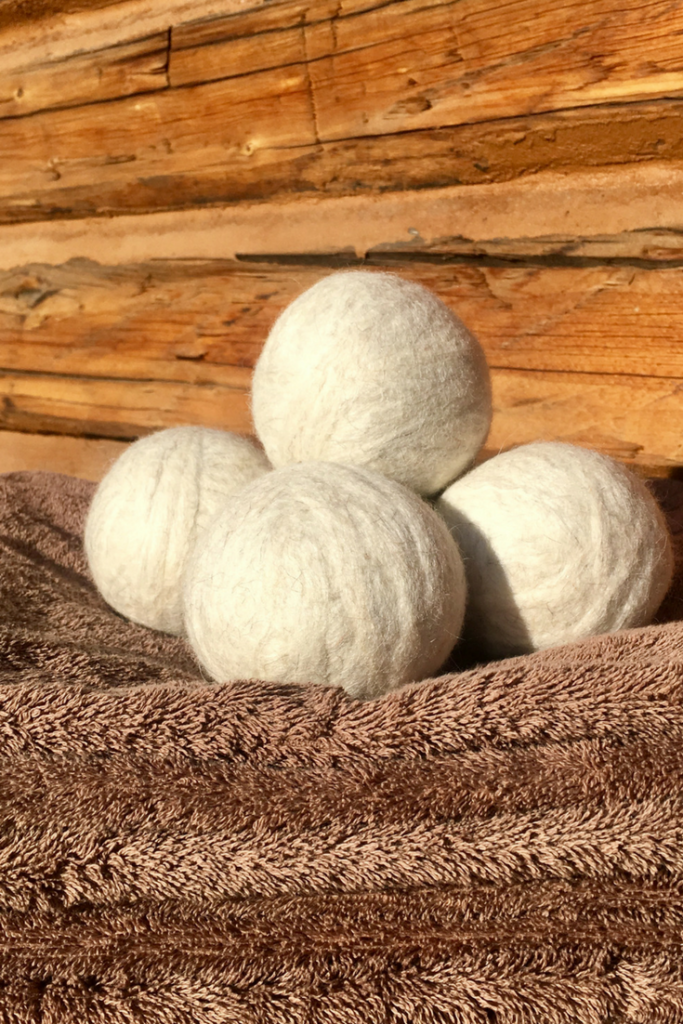
Easy, right? I like to package mine in groups of four with a cute little tag and a snippet about what they are and how to use them, or I just throw them in my own dryer! Happy felting and remember, Shepherd Like A Girl!
Amika has a sheep farm, Copia Cove Icelandic Sheep (CopiaCove.com) in Montana, and teaches online courses and workshops for sheep enthusiasts and crafters who want to utilize all of the raw materials that sheep so thoughtfully provide; milk, fiber, pelts. You can check out the fun craft community on DIY Sheep Crafts(shepherdlikeagirl.com), which is where wonderful sheep craft lovers come together to grow ideas and learn to make awesome crafts. She believes sheep are the ultimate homestead animal and that each moment is a chance to make happiness possible!

Can you scent these with essential oils?
Yes, absolutely!
Yes absolutely! You’ll apply a few drops and throw the balls in with your wet clothes. You’ll need to reapply regularly.