Growing microgreen sprouts in a mason jar is easy and inexpensive – even for someone with no green thumb! This tutorial has a few pro tips to ensure you grow tasty, nutritious sprouts in a simple canning jar. Read on to learn how to grow sprouts in a jar!
This post contains affiliate links.
When I was growing up in my very rural community, fresh greens out of season were hardly available, and if they were, my frugal mama wasn’t about to purchase them. Mom grew sprouts in a jar often and they were an incredibly cheap way to add crisp flavor and texture to salads, sandwiches, and more.
I’ll admit right here that despite being a canning blogger, I’m no gardener. I have a hard time keeping any plant alive but I can grow these little babies easily. Growing sprouts in a jar are easy with the tips that follow below!
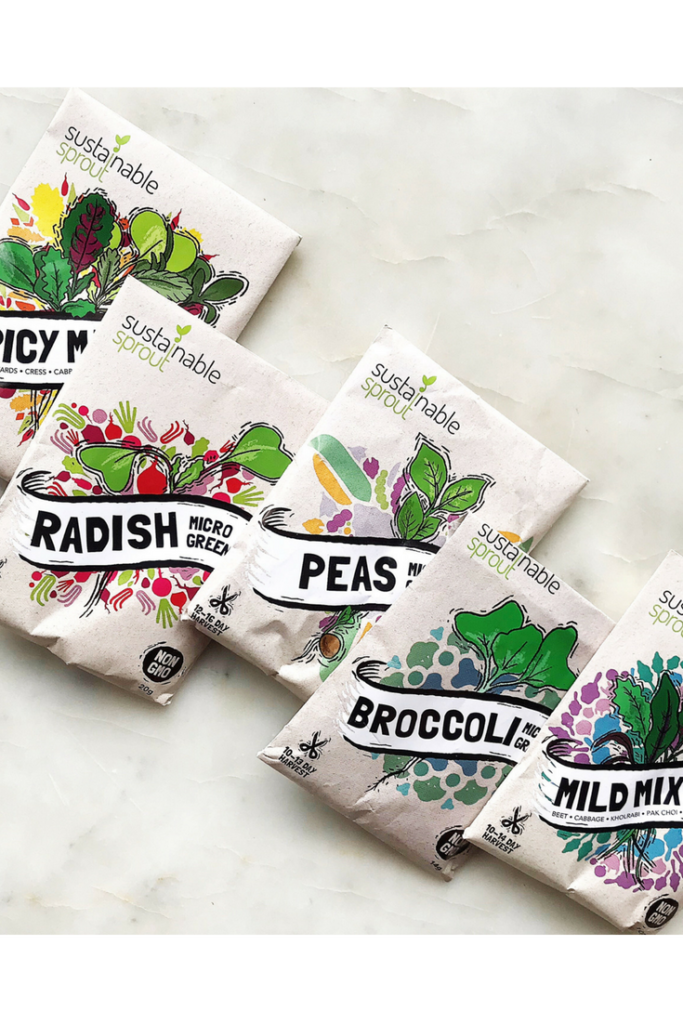
My mom used to get her seeds from the little local grocery or feed store, and you could as well, but the sprouts I used and am so happy with are from Sustainable Sprout. I LOVE their range of options- you could choose a mild mix (if you are living the picky child life like me) a spicy mix for more flavor, radish or broccoli (I did broccoli for my first batch and my kids even liked it…but I did NOT reveal that it was broccoli. They are just sprouts, ‘k?)
How to Grow Sprouts in a Jar
You’ll need a packet (or 2 or 10- might as well stock up because you’ll be making this weekly probably) of seeds
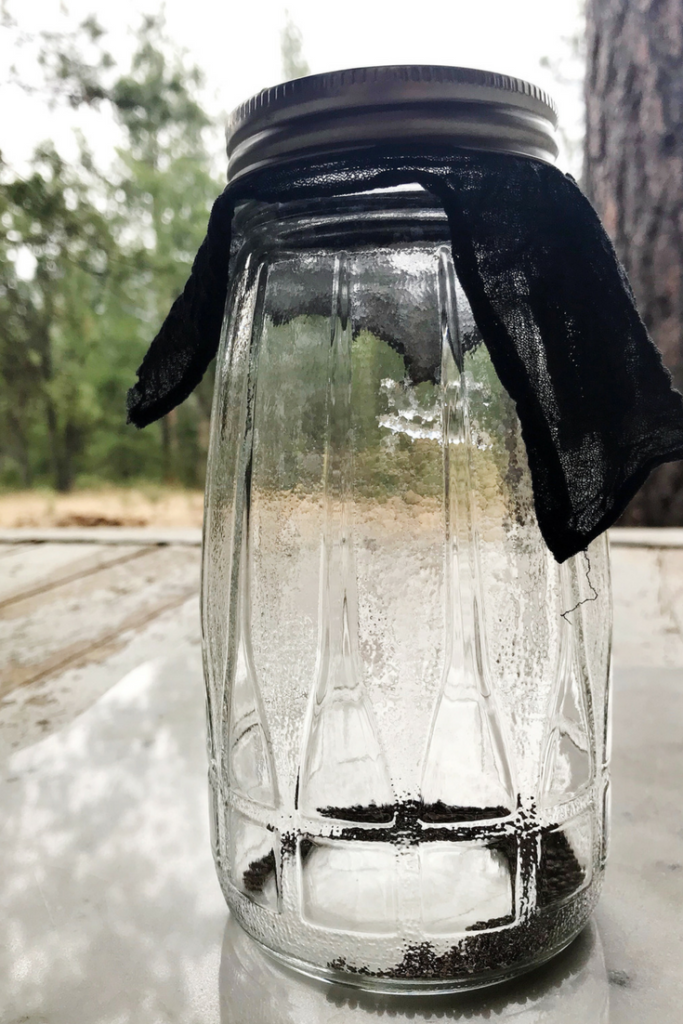
A 6 inch square of nylon – as in, from a pair you used to wear but got a run in. My mom always used nylon and it drys faster than cheesecloth (a perfectly acceptable substitute) and drains the jar easily. Drying quickly is desirable because it limits bacteria growth and nylons (or thin tights!) are perfect for that.
Place 1 tablespoon of seeds (about half a packet!) in the bottom of a perfectly clean quart (4 cups) mason jar. I like using the wide mouth jars for when the sprouts are ready to pull out- it’s easier to reach in to remove them than in a regular mouth jar. Place the nylon or double layer of cheesecloth over the top of the jar and screw on the ring. Fill with water, swish, and drain.
Pro Tip: If at all possible, prop the jar in a small casserole dish, or in a saucer with the back end of the jar on a spare canning jar ring so that the bit of water that remains after the twice-daily rinsing drains properly. Having this little saucer set up on the counter will save you time and prevent your seeds from having too much water.
After you’ve rinsed your seeds the first time, let them rest inverted in the above-described set-up until evening. Rinse again before bed/after you wash evening dishes/some time at the end of the day.
Rinse seeds (which is essentially watering them) twice daily. They should be left to rest in a warm spot if possible- 70 degrees is ideal. I’ve made these once in the winter and I think they didn’t sprout because the spot I had them sitting was too dark and cold. Remember: seeds sprout in the springtime, so you are recreating that in your jar, to some extent. Warm, sunny, and twice daily rinsing will yield germinated (aka sprouted) seeds in a few days, and you’ll be able to watch the seeds grow before your eyes over the course of 5-8 days. If the nylon or cheesecloth smells funky, swap it out and wash in hot water in the washing machine. When the sprouts have filled the jar in volume and/or the sprouts look like something you want to eat in color and size, pull them out.
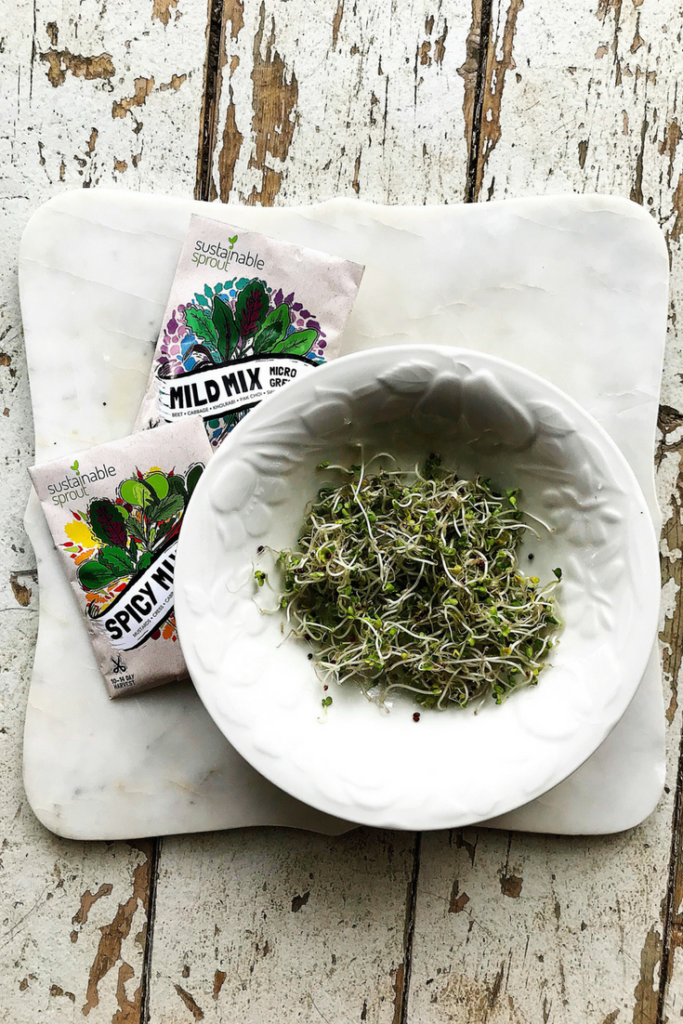
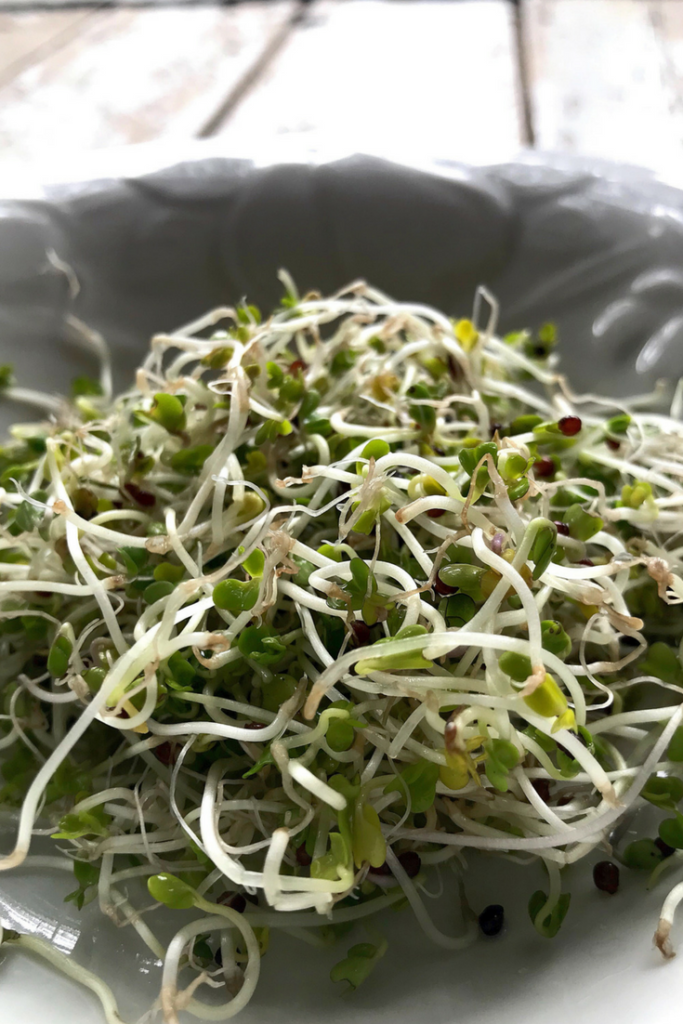
I let my sprouts sit in a colander for a few minutes to get any remaining water out of them and store in the refrigerator in a covered container.
I added mine to a chicken salad and they are amazing on a BLT…hold the L 😉
Have you made sprouts like this? Let me know in the comments, Wildflowers! If you’re looking for more fresh recipes, check out my NO-COOK Strawberry Pineapple Shrub!

Leave a Reply