If you are a beginner and you want to learn how to sew lingerie, here are the 3 easy steps to take to start sewing basic but beautiful bralettes, camis, and undergarments. Sewing lingerie is fast, fun, and so satisfying.
I had wanted to learn how to sew lingerie for the longest time but was afraid it would be difficult, time consuming, and that the finished product wouldn’t look great.
This post contains affiliate links.
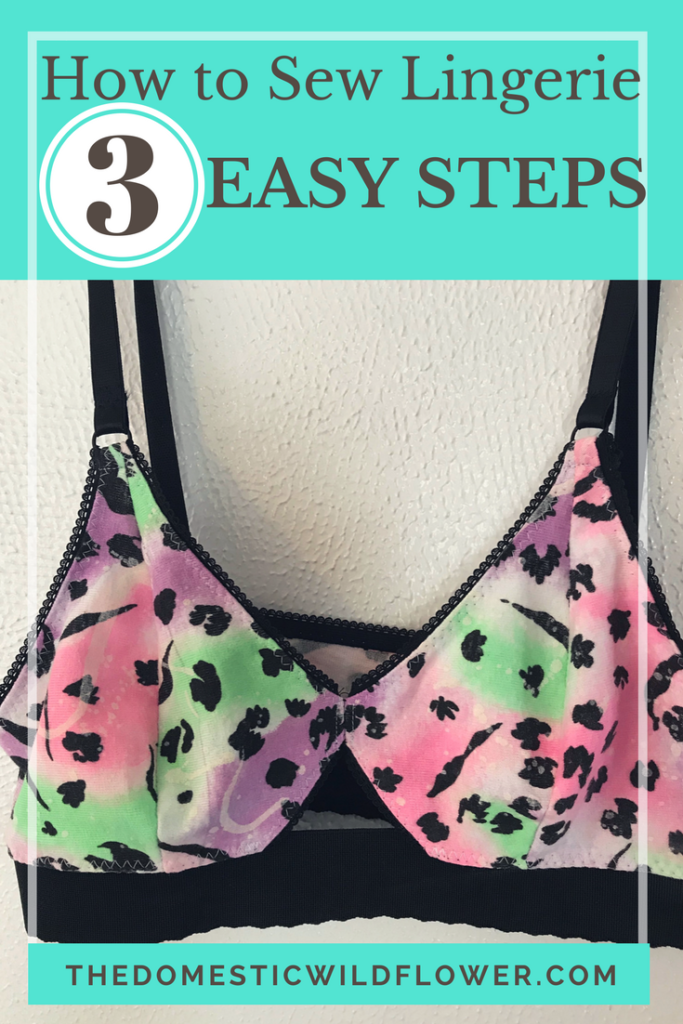
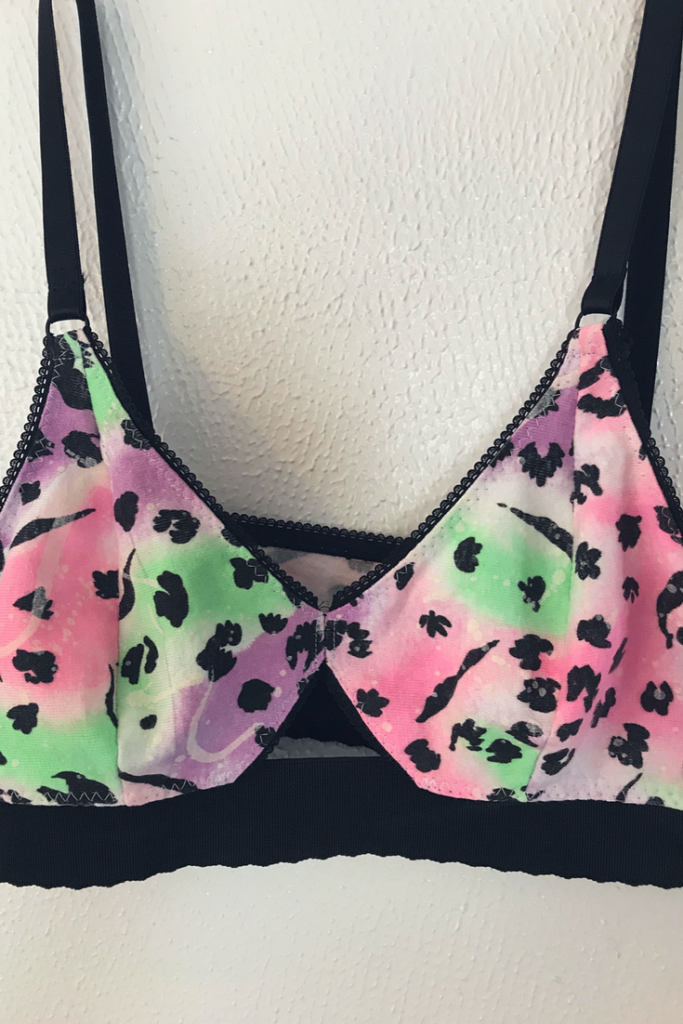
It’s true that there is nothing to fear but fear itself because when my blogging friend Hannah of Palindrome Dry Goods made the Barrett Bralette from Madalynne Intimates with their FREE pattern, I realized my fear was a silly one, and that I needed to dive in.
STEP 1: GET A GREAT PATTERN
Madalynne Intimates has several free patterns that are excellent in terms of clarity, quality and ease of construction. There’s no underwire or complicated steps in these free patterns. I made the Mallori first, and then the Barrett, and as in intermediate sewist, for example, I was easily able to see that I could skip the lining in the Barrett (because my 80’s neon leopard knit was sturdy enough without it) and thus was able to see how to proceed therein. There are beautiful photographs that actually help you see what to do next and I found them very instructive.
I told myself that I’d try it first with the free pattern and with fabric scraps. I went to my local Walmart (which I NEVER go to- gave all WalMarts up cold turkey in ‘09 and haven’t looked back!) and they of course carried 4 types of elastic and all were ugly.
STEP 2: GET GREAT MATERIALS
Initially, I scored elastic gold at my local thrift shop, Martin’s Experienced Items. For 35 cents a yard I got perfect condition, off the roll strap elastic and picot edge elastic, but no waistband elastic- thus is the thrift store search. You’ll find some gems but not all. I used these on my first bralette, the Mallori, in fuchsia and white, and it turned out darling.
My blogging soul sister Hannah of Palindrome Dry Goods told me about the Etsy shop Porcelynne and they are AMAZING. They have the rings, sliders, straps, elastic of every kind and color…and the prices are so reasonable and shipping was fast. I especially loved their bra straps that are already put together- they are the rings, sliders and straps for about a dollar. Um, yes please!
There I got raspberry colored elastic for around my ribcage for a bralette I haven’t made just yet, black picot edge elastic for my Barrett (seriously, how great did that turn out?!), black ribcage elastic for the Barrett, a bag of clearance pre-made bra straps in pastel colors (#sewallthelingerie) and several sets of silver and black rings and sliders.

STEP 3: GET A STRETCH NEEDLE
Perhaps the most important step of all is the stretch needle. I know, the stretch needle looks basically exactly the same as a regular sewing needle but it is NOT. I repeat: GET A STRETCH NEEDLE. They are like $3 for a package and they make such an amazing difference in your sewing experience and the resulting product. They the difference between fury and fun, honestly.
You can get them on Etsy HERE.
Or on Amazon HERE.
Stretch needles wiggle unobtrusively in between the knit, as opposed to slicing through the fibers and creating snags and puckers. I know, it hardly makes sense, but it’s true.
Want to learn to sew? This is the course that I recommend and love!
FABRIC IDEAS FOR BRALETTES:
Bralettes are incredible stash busters, my friends. If you don’t sew much (yet!) this means that they use up a TINY amount of fabric (well under a quarter yard) so they are economical, frugal, and sustainable. They are fun to sew in the same way baby clothes are fun to sew- they are fast! Knit is forgiving so think t-shirt material, and even lighter. You must choose a stretch, but the sky is the limit. I would NOT choose something slippery for your first or second lingerie attempt, however.
Madalynne Intimates sells these GORGEOUS kits with the fabric, elastic, and sliders all in one darling box. I’d highly recommend them especially if you’re uncertain about choosing elastic and fabric on your own or fear you’ll suffer from decision paralysis.
OTHER IMPORTANT TIPS FOR SEWING LINGERIE:
Use zig zag for seams that will go horizontally. This allows for the elastic and the knit/stretchy fabric to do it’s job- to stretch. You can use a straight stitch for vertical seams like the side seams of the bralette and perhaps to attach the bra strap to the rings.
Take the time to change your thread to match the elastic and the fabric. I chose contrasting elastic and fabric (I’m such a peacock!) so I had white bobbin thread and black top thread….for about 2 minutes and then had to switch them out so I had the reverse: black bobbin and white top thread. It was TOTALLY WORTH IT. My Barrett Bralette looks SO professional and sharp because I took the few moments required to switch my thread. I could have perhaps chosen neon purple for top and bobbin and sewn on my merry way…but I’m thrilled with my result.
If it looks terrible, rip it out and try again. I only had to take out a couple seams- one on my bra strap- it was a tiny bit crooked at the ring- and I’m so glad I did. On a tiny garment, those details really show up.
If you make the Madalynne Bralettes from the free patterns and are ready to try some of her paid patterns, DIVE IN HERE! She has soft cup bras, high neck lace options (so cute peeking out from a tee!) a knit bodysuit pattern (see how my friend Hannah made it here! ) and tons more.
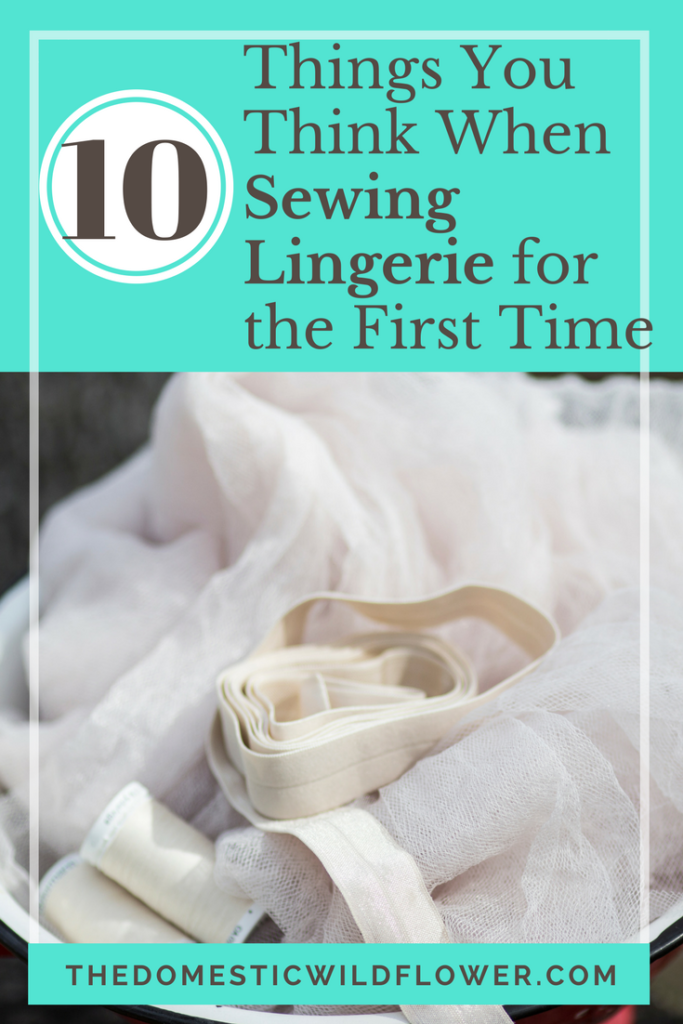
You may have read my post, 10 Things You’ll Think When Sewing Lingerie For The First Time, and if you haven’t you should for a peek into what will go through your mind when you begin your first project!
If sewing stretch has lit a fire within, check out one of my most popular sewing posts (ever!) How to Sew Spandex for more stretch sewing tips!

Leave a Reply