Want to learn to sew? This is the course that I recommend and love!
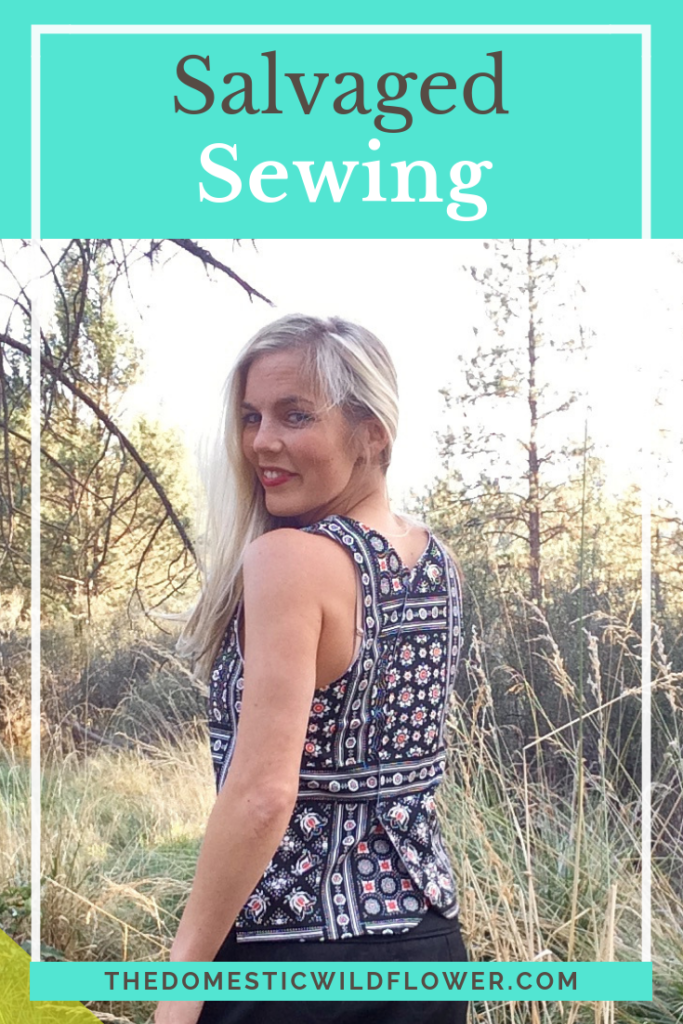
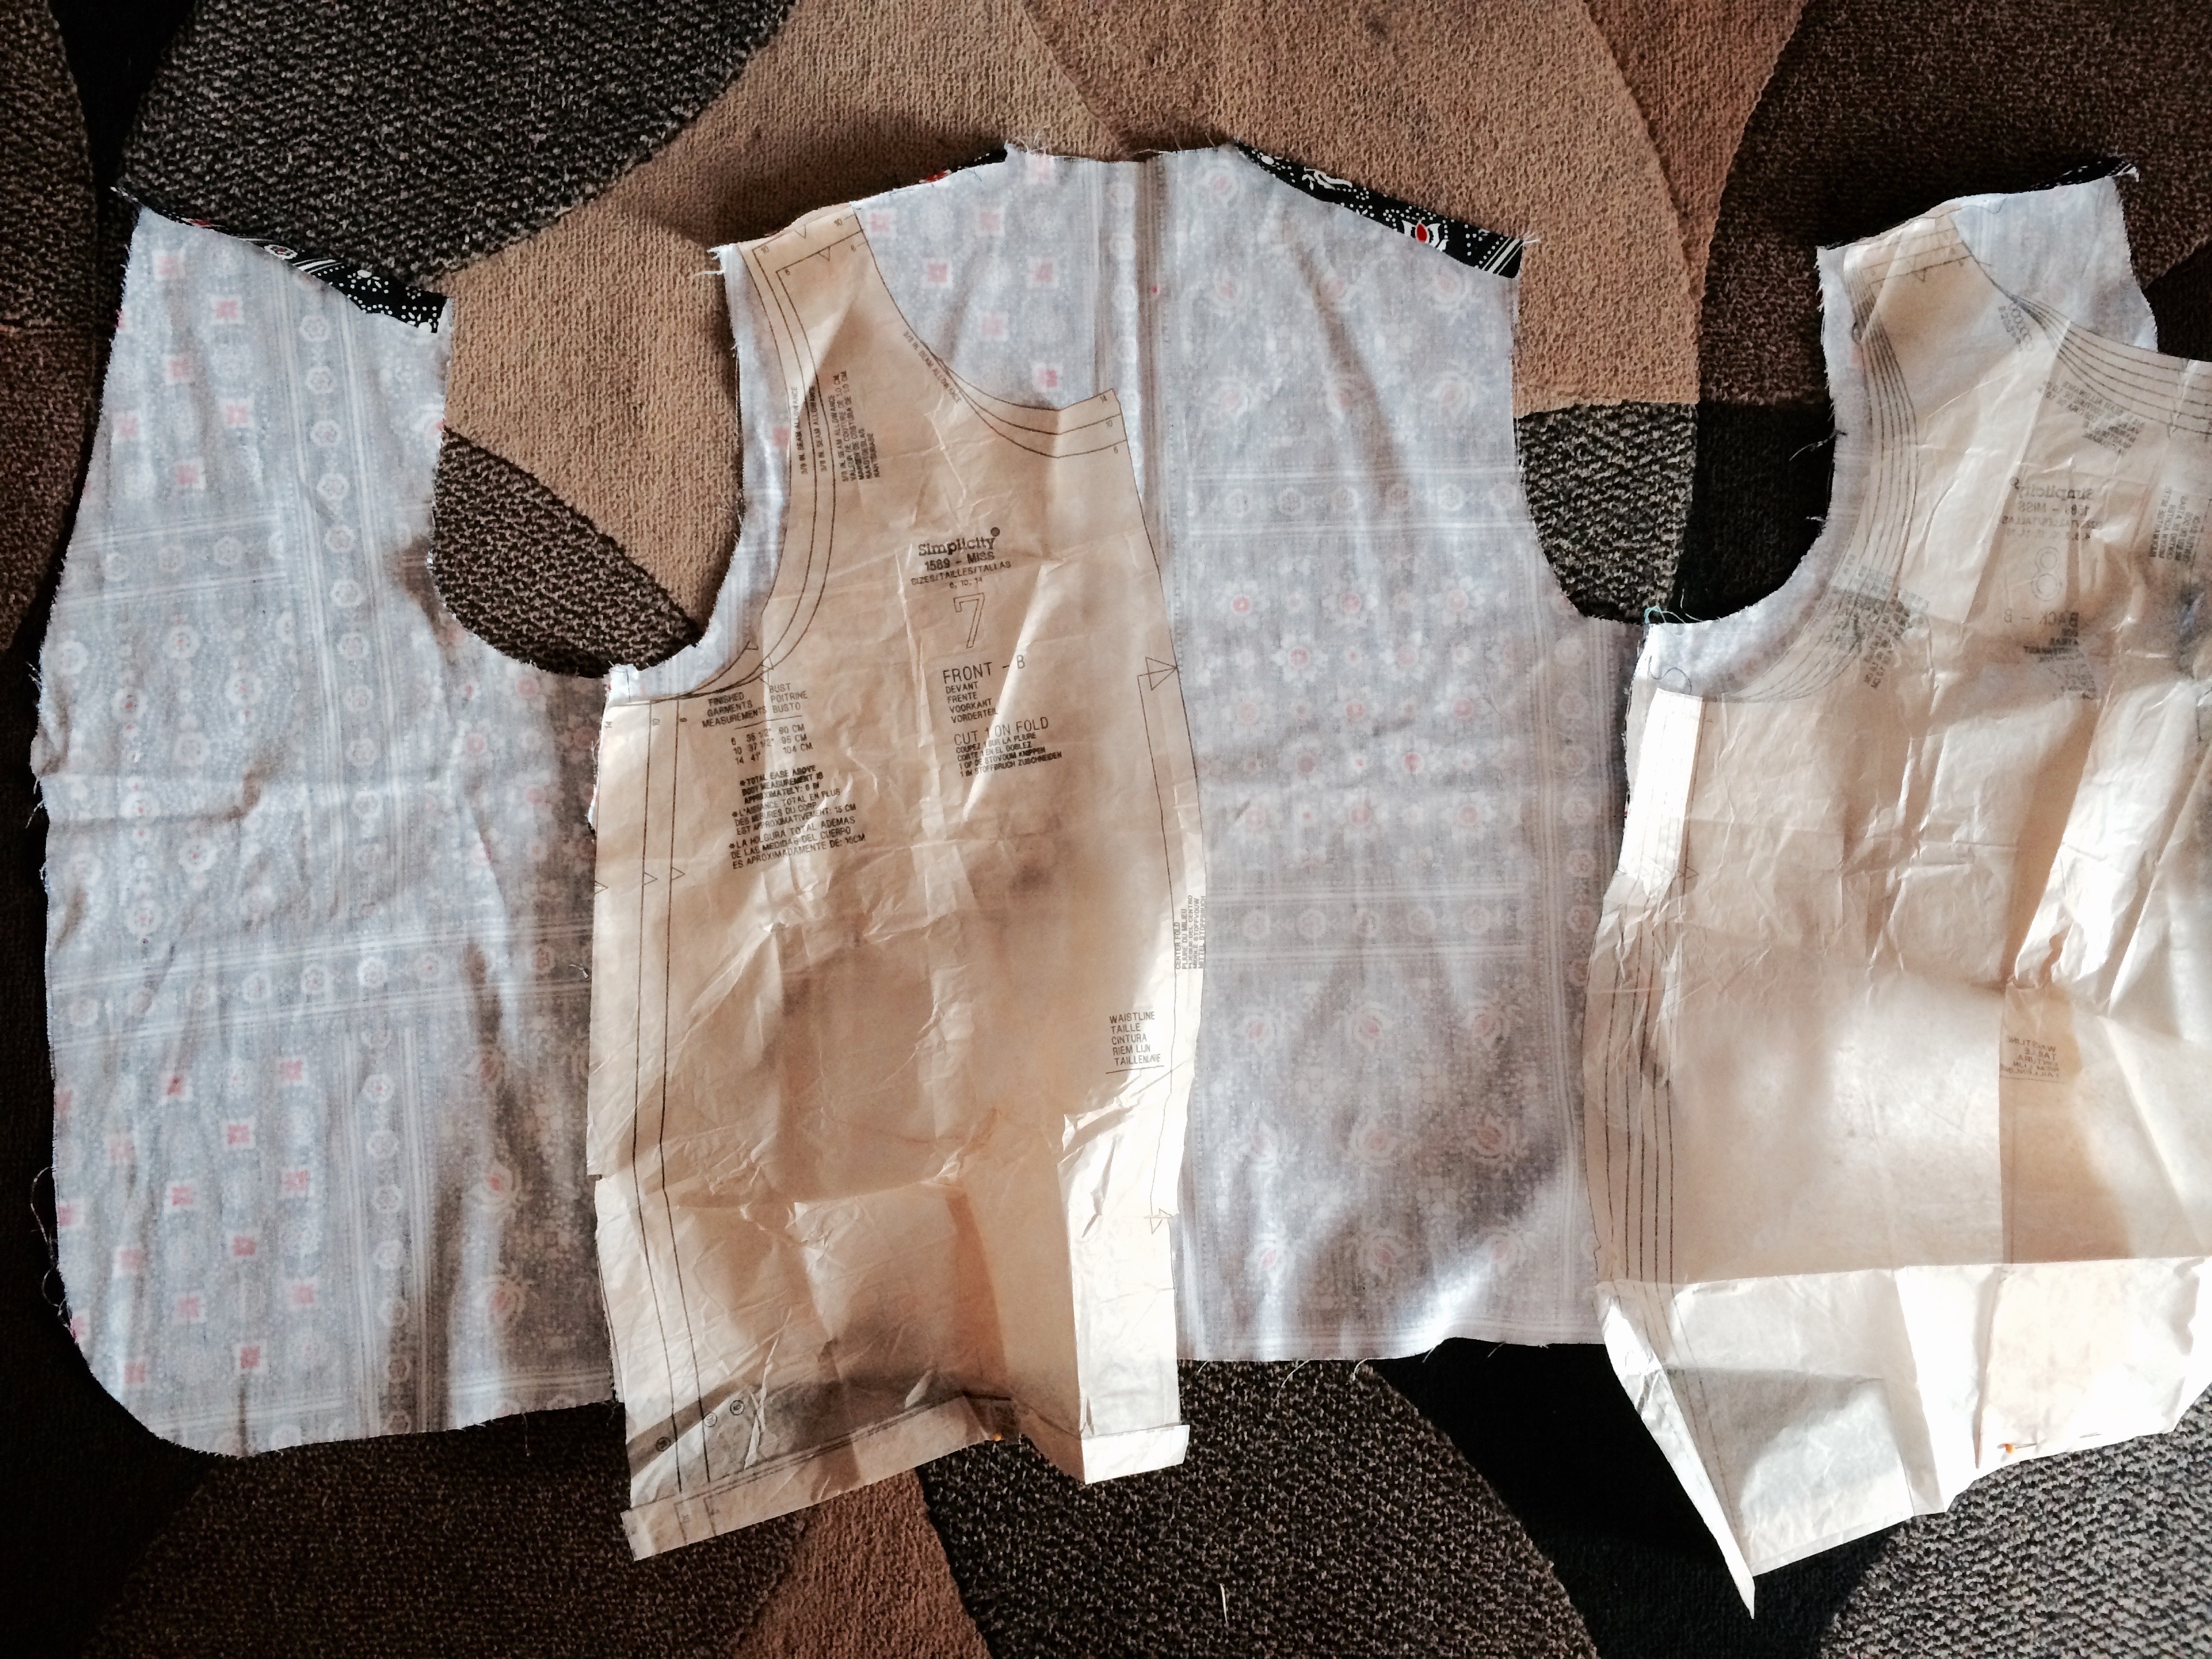
My Gram, a continual source of sewing inspiration (mentioned here), found this half-finished vest in her fabric stash. I loved the fabric but didn’t need a vest. Because I have been on a back-interest tank kick (like these here) I immediately imagined cutting a deeper neckline and crossing the vest front into a flyaway back. Of course, unless you also stumble upon an unfinished vest in your sewing stash, this can’t really be considered a tutorial. It is really a demonstration of using creativity and bias tape to turn something unusable and undesirable (sorry, but I’m not rocking a vest to school…at least not a floral one…yet) into something cute. Here’s how I did it: I took out my pattern piece used (here) and cut (I eyeballed, but you should use a pencil. Do as I say, not as I do, as my mother always said 😉 the neckline and armholes to match. If you don’t have a pattern piece handy you could use a tank you already own in a similar fabric type if you are attempting a similar project. I didn’t slim down the sides because I planned on crossing the back into a flyaway back. This decision took a lot of trying on and off in front of the mirror and pinning the back at the base of the neck to figure out if that would work. It was fun to figure out, and if you think it would be too, then you’re a girl after my own heart for sure. Because this is a woven fabric, the back of the vest, which I used as the front, was not about to provide a flattering shape to my front. I added darts about an inch from the top of the side seam. This gave the front a more structured and pleasing appearance. The vest arrived in me with the side seams and the shoulder seams already are sewn. I pressed open the left side seam (ladies’ zippers, seams, etc, go on the left most of the time) and sewed in a salvaged black zipper (from you guessed it, my Gram). After the zipper was sewn in, I used a seam ripper to open the seam sewn by Heaven only knows who sometime in the ’80s. This isn’t a fancy way to put in a zipper but it is simple and effective. Because it is under my arm, in a dark color, and it was a salvaged (free!) project, I didn’t feel compelled to install an invisible zipper. A zipper also allows the garment to be more fitted, which is what I was going for.
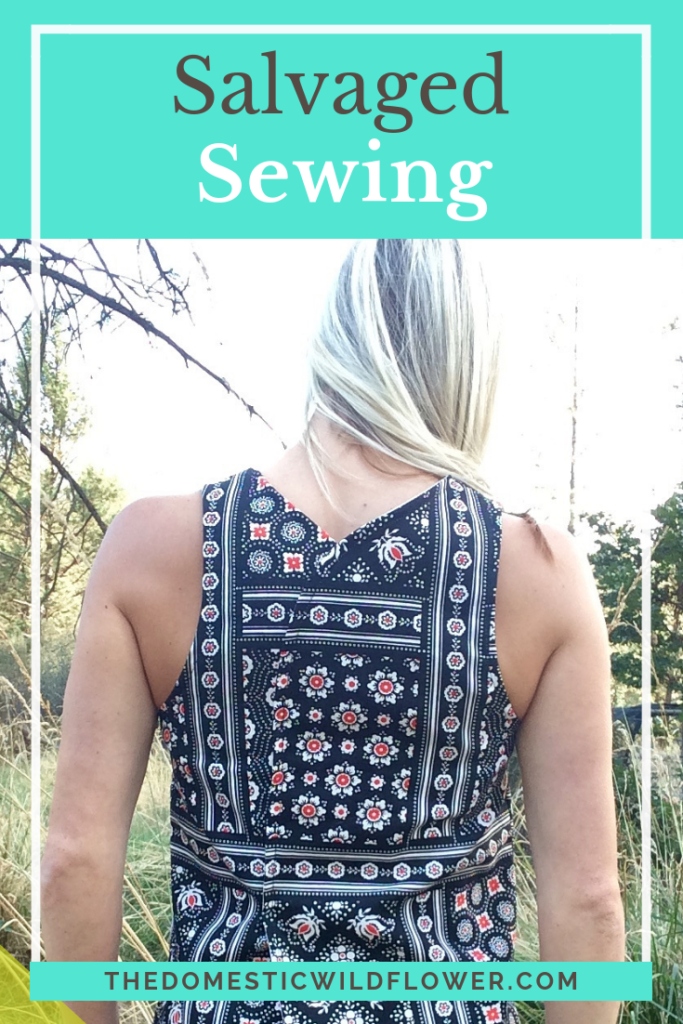
 Then came my first real roadblock. Once it was on, the front (the old back) was a bit too short. I had zero extra fabric except for the curve I cut from the neckline. Look closely- that’s what I attached to the bottom front of the top. Don’t look too closely- it’s not perfect but there were few options since the fabric is about as old as I am and at this point, I was super excited (read: impatient) to get it done. To finish the edges I used bias tape. Bias tape is very handy indeed and gave a smooth, professional finish to the edge of my project without adding bulk. FYI, bulk is nearly always a bad thing in sewing. My mom rustled up two packages of the white single fold for me (more free sewing notions= winning!) and I attached as shown in the photo. You stitch in the crease of the tape, right next to the edge of the garment. Once you sew all the way around, then you fold the tape over and create a smart looking topstitch around once again. This is one time to be careful with your stitching. It shows pretty easily if you were swerving all over the road if you know what I mean. I had to do the bias tape when my kids were napping and it looks pretty sharp as a result. Bias tape is perfect for finishing the edge like this and is easy to use. A regular hem would have been bulky and nearly impossible to make smooth. Finally, I sewed the top edges of the vest together in the back and sewed about ⅔ of the way down my back. That’s it, Wildflowers! See how a little out-of-the-pattern-envelope thinking gave me a new school top? Share any similar successful project ideas in the comment section below!
|
Handmade Food & Craft Tutorials for Beginners
Footer
Shrubology Ebook

Leave a Reply