This post will explain indigo dye and the technique of dyeing with indigo known as shibori.
I had the distinct pleasure of attending a shibori workshop at the start of the summer and in addition to learning all about the shibori technique and the amazing indigo dye, I got to meet some lovely makers including the host, Allie. She shared with me the following information during and after the workshop.
Shibori is a resist dye technique that was developed in Japan. The philosophy of shibori is that rather than the maker force the fabric to result in the image of the mind’s eye, but rather the cloth, dye, and maker work together to make the unexpected, which of course is better than what we makers could dream up alone anyway. The philosophy of ‘wabi-sabi’ was explained at the workshop as well and its tenets of embracing imperfection and appreciating the organic outcome were very welcome to my generally rushed, stressed, and way too busy mama’s heart.
The idea with shibori is wherever you fold or crease the fabric, that is where the dye will not reach it and thus will remain the original color of the fabric.
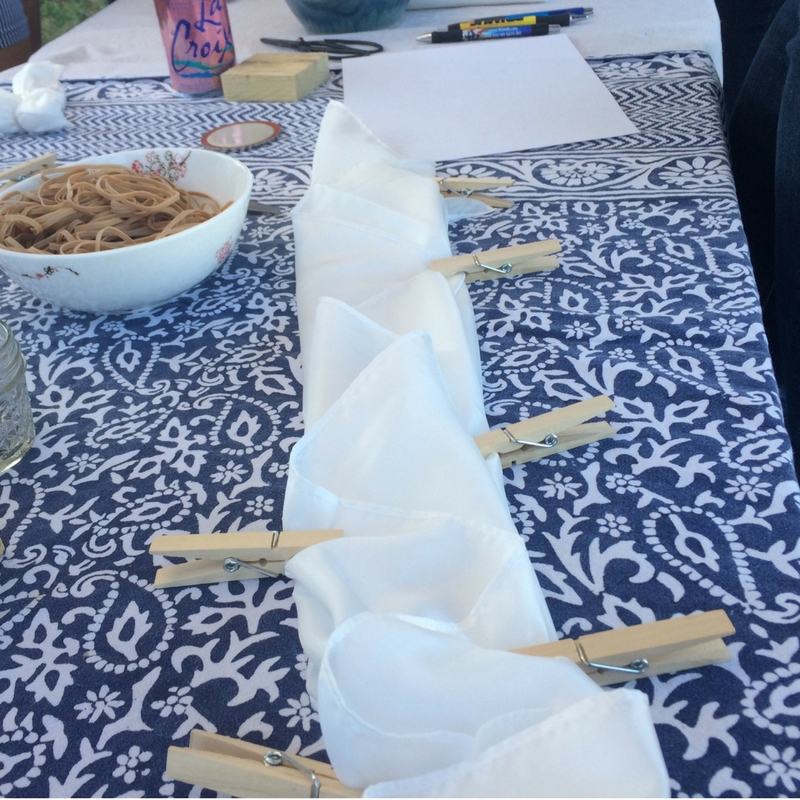
One method of shibori, or folding, is Kumo Shibori. This is basically accordion folding your fabric (in my case a white, silk scarf) in a Z shape.
Another method you could experiment with is the Arashi Shibori or “storm” where you use a PVC or similar pipe or pole. Accordion fold your fabric so it is the length of the pole, and bind the fabric to the pole with rubber bands. Imagine trying to dress a giraffe’s neck. The result is a stormy-ocean type of pattern, hence the storm denomination.
The method that most Westerners would recognize looks the most like tie-dying. This is called Kanoko, or “bound” shibori. The maker pinches a spot on the fabric, form a stem or center of the round design. Then rubber bands or string can be used to be wrapped around the stem. The more bands mean a larger circle. A little pinch of fabric bound just once will create a type of polka dot pattern, whereas a larger pinch of fabric bound several times will look more like the classic tie-dye.
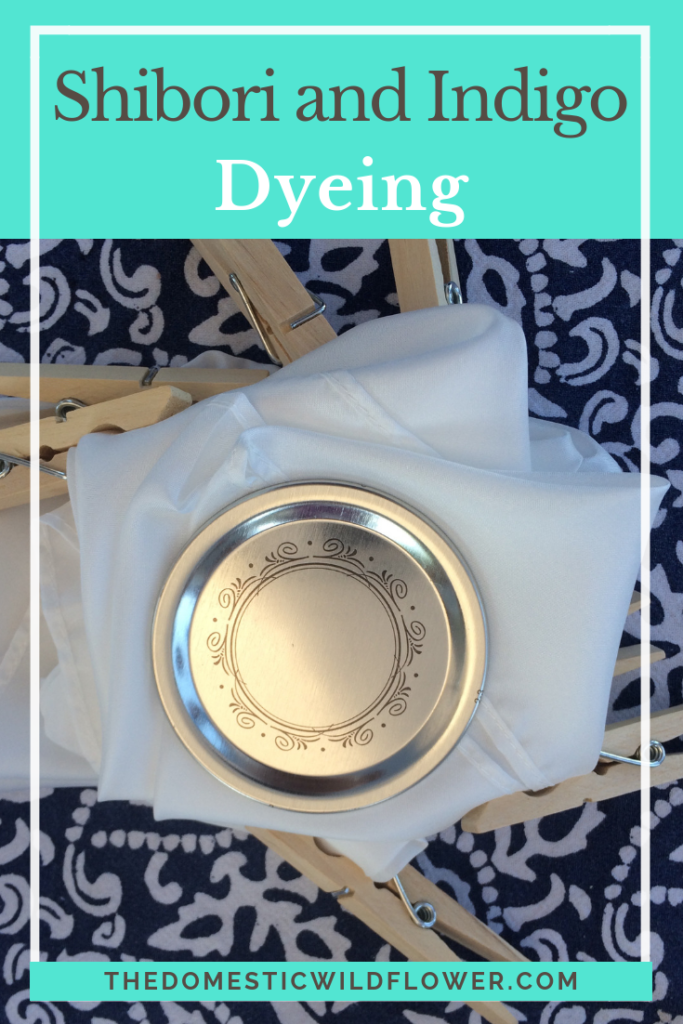
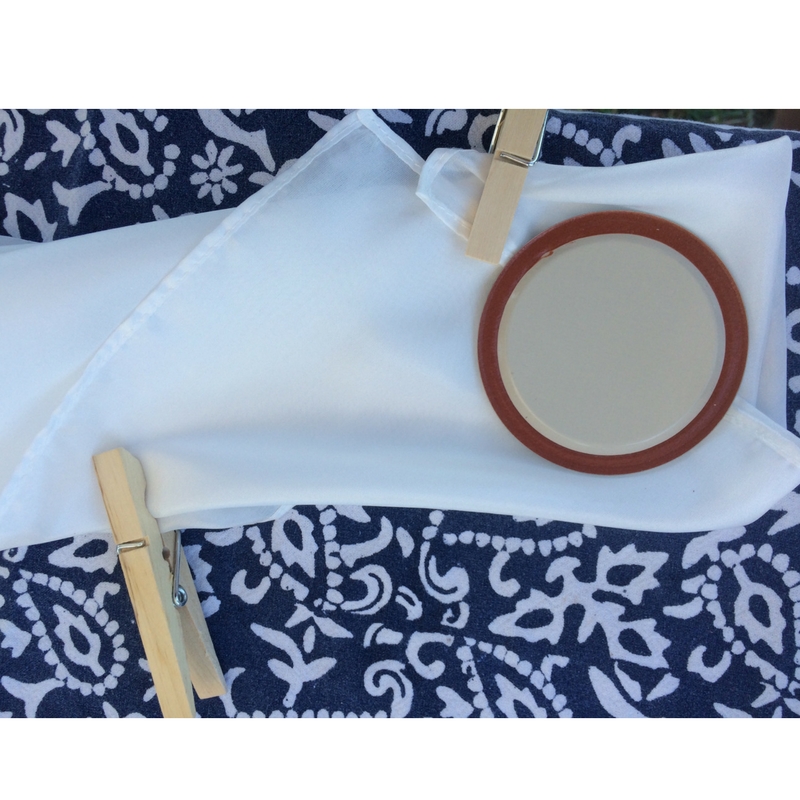
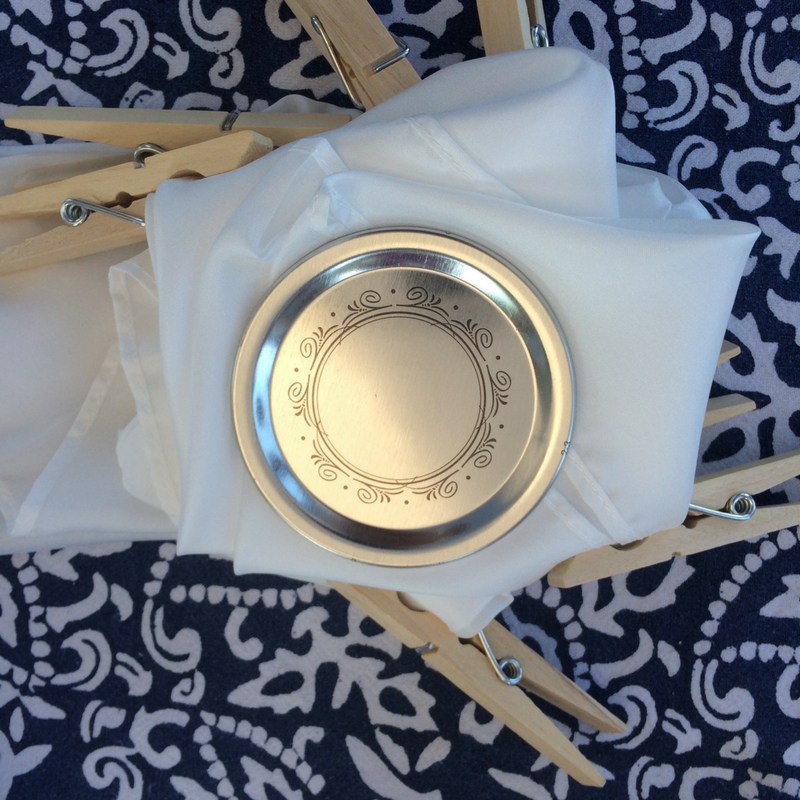
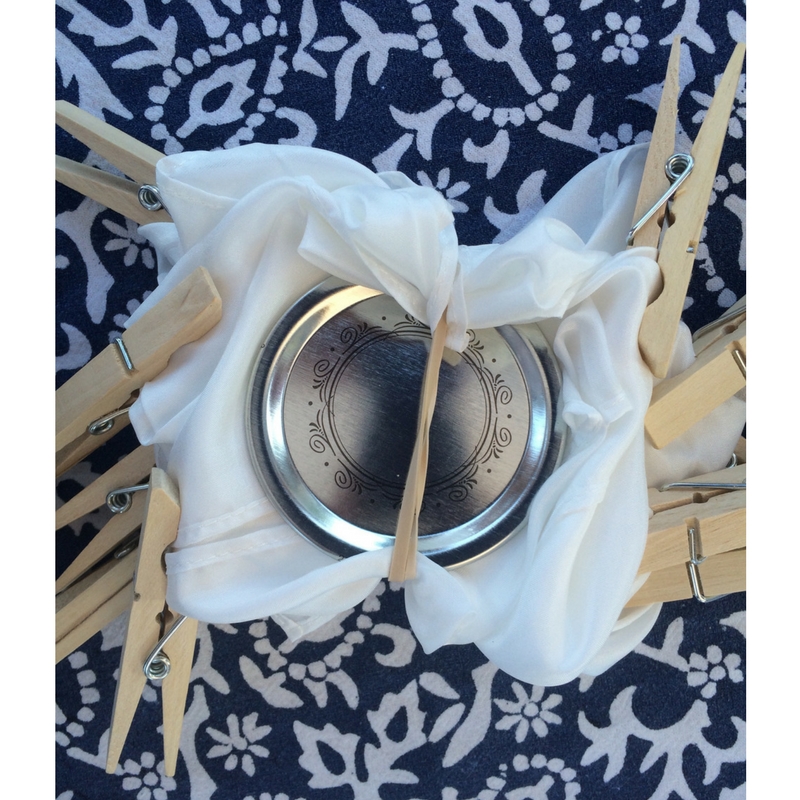
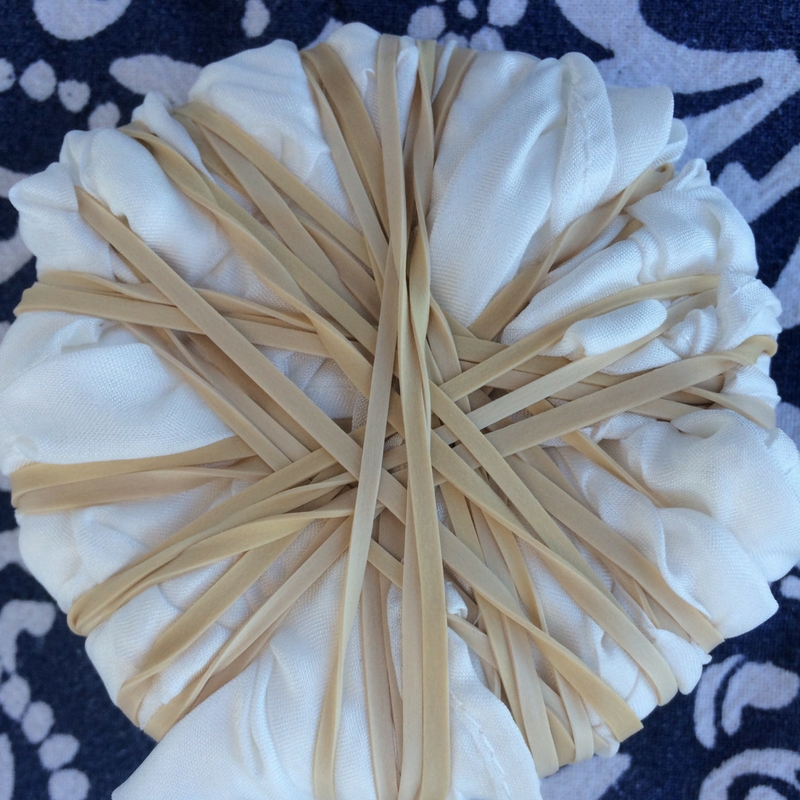
The final method covered in the shibori workshop was Itajime, or “shape” shibori. This is where 2 flat objects (wood blocks, or canning lids, as in my example) press folded and pressed fabric within. The idea with this method is that by binding tightly, the shape of the object will remain undyed, and only the exposed edges will touch the dye.
The dye was actually the most fascinating part of the workshop to me. I have used Rit dye, I am read about using other plants for dying fiber, but I have never used indigo.
Indigo is made from the leaves of the indigo plant. It has been being used as such for over 3000 years. The plant prefers hotter, humid climes. Indigo is unique because most dyes are water-soluble (will dissolve in water) and all you need to get the dye to “take” is heat and perhaps a little agitation. Not indigo. Indigo is NOT water soluble, and to be used it must be reduced with a chemical reaction to remove all the oxygen from the liquid. The resulting dye is rather ugly, kind of oily looking, NOT pretty blue the way you’d expect, and very alkaline, at about 10 or 11 pH. As this chemical process is occurring, a coppery scum form on the top of the liquid (and it is indeed kind of algae looking) and should be skimmed off to the side when you are ready to submerge your fabric. The scum is called the “flower.”
Indigo can be purchased on Amazon among many other locations and while you definitely should follow the directions, it is not a difficult process to mix up in a 5-gallon bucket outside on a warm day.
After the dye is mixed, take care to not splash or agitate the liquid as such would introduce oxygen which is what you don’t want.
While wearing gloves, submerge your fresh- water-dampened item and swish it gently around in the dye. This allows the color to bond to the fabric. After about a minute, pull from the dye carefully.
This is where the real magic is. The item will be a greenish-yellow and as it is exposed to the oxygen, it literally turns blue before your eyes. I watched example after example as workshop attendees folded their silk scarves in a variety of the above methods and unfolded it after a short swim in the dye. It turned deep blue as we watched; it reminded me of in Sleeping Beauty, when the fairies change Aurora’s dress from blue to pink and back again.
Once you have rinsed and dried the fabric, you can refold and redye up to 3 times. After that, the dye won’t stick anymore and will bleed.
In the spirit of ‘wabi-sabi’, I suggest you get some of your own indigo by clicking the affiliate link below and trying it out. It was THE ideal way to craft outside on the lawn on a hot evening. Embrace the imperfections, try something new, and put a pair of used canning lids to use the way I did to create a beautiful and completely unique textile.

Leave a Reply