This beginner-friendly post will share how to make delicious blackberry jam without any of the seeds.
Blackberries are a funny thing. They are probably my favorite berry, definitely, if we are talking about eating out of hand, and of course, they have the worst thorns. I suppose we can complain that a blackberry bush has thorns, or rejoice that a thorn bush has blackberries. Because they are so, so good, I’ll go with the later.
The only little complaint I have had about blackberry jam I have made in the past was that it was a little seedy. The seediness (or ratio of seeds to a pulp) is dependent on lots of things, including the weather, outside of my control. Much easier to manage is pushing the berry pulp through the food mill to remove the seeds.
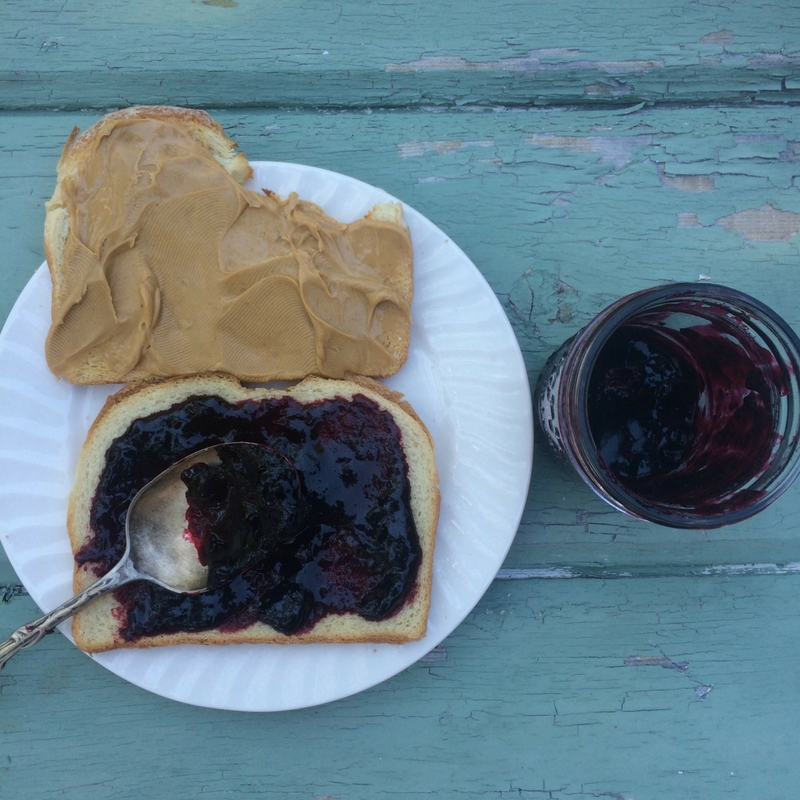
You can absolutely skip the step of milling the berries and I would if I ate enough of the berries to think they weren’t particularly seedy. I was glad I did it because this perfectly smooth, spreadable jam has a wonderful flavor and because I added a box of pectin, is plenty stiff enough to stand up on a PB&J. And I don’t get seeds in my smile; canning for the win!
Not sure if you have the equipment you need to make this recipe? Watch this!
10 cups of berries sound like a lot, and it kind of is but I picked 10 cups in about an hour with two small children milling about, asking questions, eating out of my bucket a bit, and being an average level of distracting.
If you need the canning equipment list, grab it here!
Smooth Blackberry Jam
10 cups blackberries
1 cup of water
3 cups of sugar
1 box powdered pectin
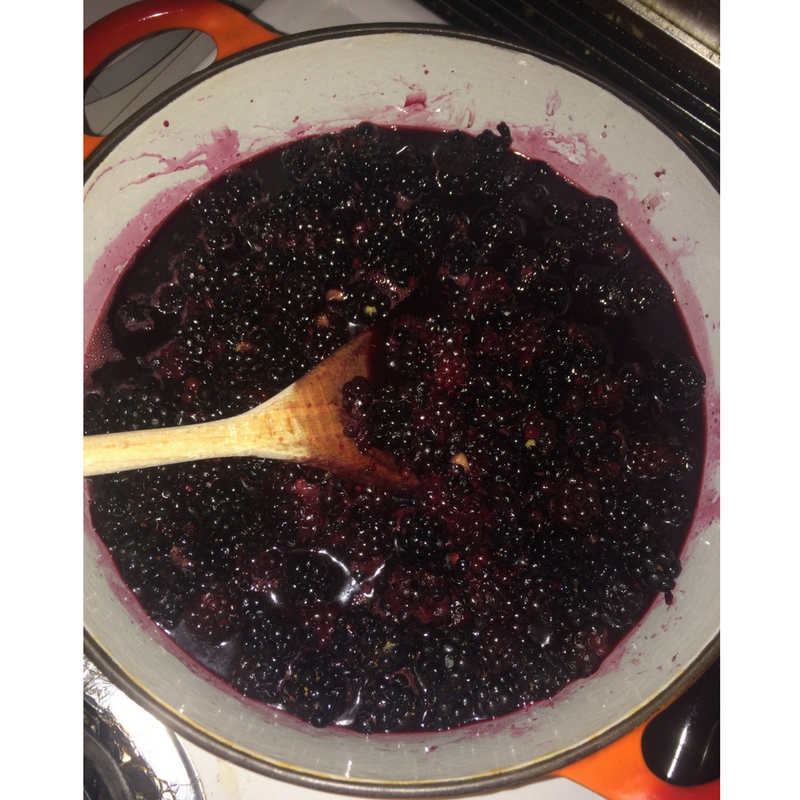
Combine blackberries and water in a preserving pan, and bring to a simmer until the berries are falling apart and are very juicy.
While the berries come to a boil, prepare your water bath processing pot. This recipe will yield about 6-7 measuring cups of jam On top of the silicone trivet or metal canning rack, place 4-5 pint jars or the equivalent. Fill the jars one by one with hot tap water, fill the rest of the pot with water, and add a splash of white vinegar if you have hard water as I do. It will prevent an unsightly but harmless film from forming. Bring processing pot to a boil.
Fill a saucepan halfway full with tap water and submerge a corresponding number of lids and rings. Bring to a simmer.
On the towel-covered countertop nearby, have ready your jar lifter, lid lifter, funnel, and ladle.
Pour the berries into the hopper of a food mill (like the one in the affiliate link below) and process into a large bowl or another preserving pan if you have it.
Return the berry puree to the stove. Add 3 cups of sugar for what should be about 8 cups of blackberry. Bring to a boil, stir often, and after about 15 minutes of boiling, it will have thickened a bit, and you can add a box of powdered pectin. Whisk it in and be sure to break up any lumps. It bears mentioning that seeds, skins, etc, have natural pectin in them and removing them makes the preserve softer, and not as stiff, which is why I added the pectin and was very pleased with the result.
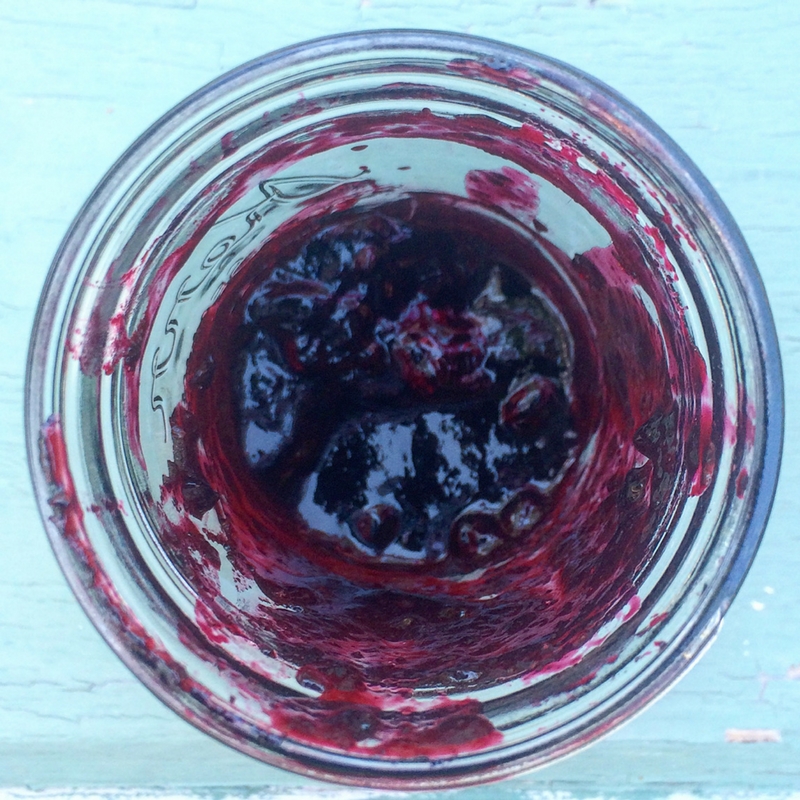
Remove one jar from the boiling water with the jar lifter. Pour the hot water from the jar back into the preserving pan, into the saucepan, or into the stove. Set it carefully on the towel covered countertop. Ladle hot jam into the hot jar. Use the funnel and wipe the rim of the jar carefully if you get even a smidge of jam on the edge. Fill to a ¼ inch headspace. Use the lid lifter to add a new lid and ring to the jar, tighten, and return to the boiling water bath.
When all the jars are filled, return the processing pot to boil. Process for 15 minutes, and add 5 minutes for every 1000 feet you live above sea level. When the time is up, remove the jars carefully to the towel covered countertop. Label cooled jars and store.
That’s it! Wildflowers, I hope you can pick some berries this season, wherever you are, and enjoy every moment you are picking. Let’s rejoice that those thorn bushes have berries, shall we?

What a great tip…I’ve been making jam for years but I never thought of using the canning bath water to sterilize the jars…and the vinegar to mitigate the dusty film is another problem I never knew had a solution. Plus, the jars are hot when they receive the jam, which is probably one of those cooking chemistry things that never dawned on me. I learn something new everytime I read one of your blogs, Jenny! Thank God for thorn berries!
Well thank you for reading, Madeleine! I’m so glad you enjoy it. I hold your opinion in the highest regard. Happy canning!