• Skip to secondary menu
  • Skip to main content
  • Skip to primary sidebar
  • Skip to footer
  • The Pressure Canning Cookbook
  • Blog
    • Subscribe
    • Welcome!
  • Perfectly Preserved Podcast
  • About
    • ADW Manifesto
    • Work With Me
      • Read
  • Shop
    • My Account
    • Cart
    • Checkout

The Domestic Wildflower

Handmade Food & Craft Tutorials for Beginners

  • Courses
    • Free Canning Basics
    • Everything Canning Course
    • Steam Canning Workshop
    • Free Homemade Cocktail Mixers
    • Wildflower Mixology
    • Crochet Basket Workshop
  • Can & Preserve
    • Never Canned?
    • Steam Canner Equipment Bundle
    • Shrubs Course
  • Sew
  • Cook
  • Craft
    • Crochet Step-by-Step Guides
      • Crochet Basket
      • Giant Yarn Throw
      • Thick & Thin Throw
  • Living
    • Creativity Challenge
    • Clean
    • Kids
  • Rentals

Jenny Gomes

Perfectly Preserved Podcast Episode 3 Acid & Canning

September 14, 2022 by Jenny Gomes Leave a Comment

Perfectly Preserved Podcast Episode 3 podcast art

Acid is a keystone element in canning. Anna and Jenny dive deep in this episode to explain exactly why acid is so important in safe home canning practices.

All foods have an acid value. Lemons are highly acidic, for example, and area about a 2.2 on the pH scale. Veggies like green beans are around 6.6. Water is about a 7. Recipes that are safe for water bath canning are 4.6 or MORE acid, which is a LOWER number (a little confusing, I know!). That means that all water bath canning recipes are somewhere between a 2 to 4.6 in acid value. If a recipe is MORE alkaline/LESS acid/HIGHER number, that means the MUST be pressure canned.

Water bath canning is done at the temperature of boiling water. That heat coupled with the acid present in a high acid water bath canning recipe makes the environment inside the jar of preserves inhospitable to spoilers that could make us sick. That means that a jar of raspberry jam (very high in acid!) would NEVER grow the botulism toxin, which requires a LOW acid environment (among other things) to survive. You simply do not have to worry about food poisoning when you water bath can water bath canning recipes- because of ACID!

Download the free Acid and Canning Chart that lists all the pH values of foods you’d possibly preserve here!

Filed Under: Podcast

Perfectly Preserved Podcast Episode 1 Canning Equipment

September 14, 2022 by Jenny Gomes 1 Comment

Water bath canning equipment doesn’t have to be overwhelming. In this episode, Water Bath Canning Equipment, we’re explaining every item you need to start canning. 

This page contains affiliate links.

The items you need to begin water bath canning at home include: 

A pan to cook your preserves in. This doesn’t have to be expensive, can be a pot you already own, and should be wide and shallow, especially for jam making. A saucepan works well. This is a great one below.

The water bath canning processing pot can be a large stock pot you already own with a rack or trivet at the bottom

OR the large black and white speckled pots with the wire rack. 

Alternatively, all water bath canning can also be done in a steam canner (read this post for more info on why I love steam canners). 

Canning jars that can be used, but need to be free of chips. I like wide mouth pints (read more about my favorite jars here). 

Metal rings/bands. These can be used, but need to be free of rust and dents. 

NEW canning lids that fit the size of jar you’re using. 

A ladle (listen in to hear which of us doesn’t use a ladle at all!) will make it easier to keep the food from preventing a seal from forming on the edge of the jar. 

A funnel is really helpful- this is the one that Anna loves! 

A jar lifter. This is so important for safe canning.

This episode explains in detail the gear you need to get started preserving at home, safely and easily. To learn even more, you can join my Free Canning Basics Course!

Filed Under: Podcast

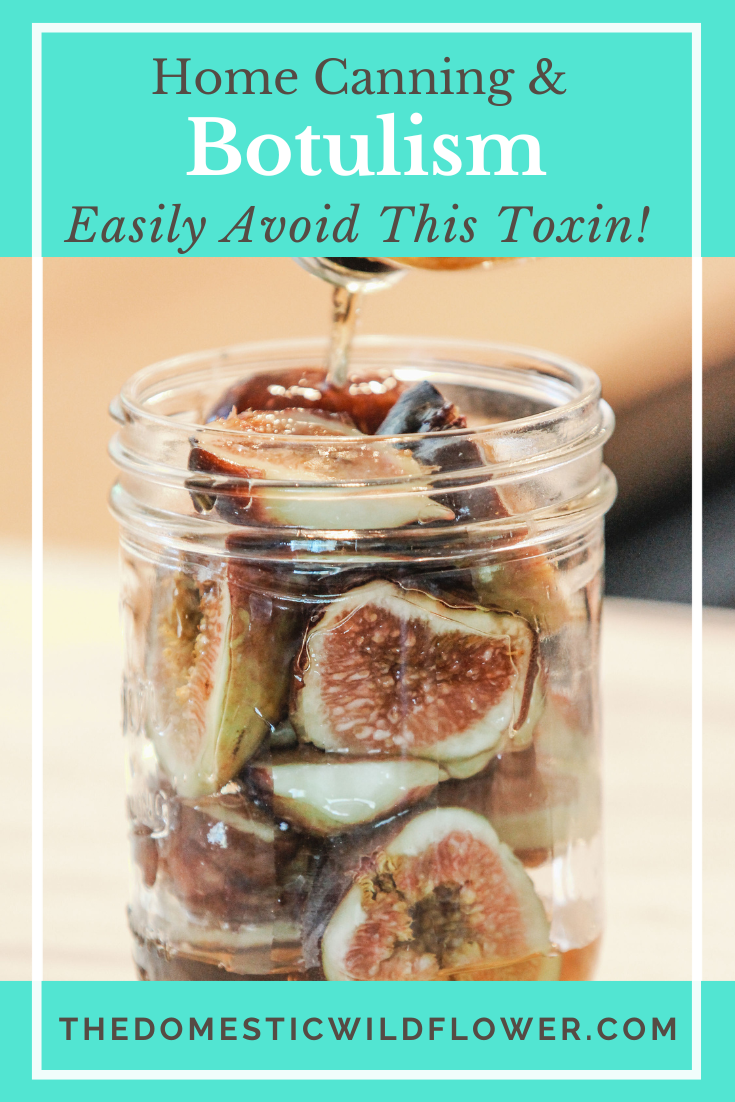
Home Canning and Botulism

July 28, 2022 by Jenny Gomes Leave a Comment

This post will share what the botulism toxin is and how it is easily avoided by using safe home canning procedures.

C Botulinum grows its toxin ONLY in a no-oxygen (anaerobic) AND low acid environment. That means you’ll not get it on your leftover pizza in the fridge, nor in raw milk for example because those environments have oxygen present. Many #rebelcanning recipes create a perfect environment for the botulism toxin to grow because they add diary (can’t be heated hot enough in the home canning process to kill plus it turns out gross), or pasta/flour (there’s a canning-safe starch called ClearGel– use that!) or they use a canner that cannot, no matter what, get hot enough (Instant Pots or a water bath canner for low acid recipes) to kill the bot spore. It requires a heat of at least 240 F to be killed. A water bath canner can ONLY get as hot as boiling water, which is 212F (even a rapid boil is only this hot, same as a simmer!). Instant Pots have been tested extensively by cooperative extensions and they simply don’t get hot enough inside the jars. 

High acid water bath canning recipes WORK because the acid prevents the growth of the bot toxin (as well as molds). Acid is amazing! High acid recipes include jams, jellies, and pickles. There’s a free Acid and Canning chart you can download here!

You do NOT need to be afraid of getting sick with botulism because you’ll never can a low acid recipe in a lower temp process and you’ll never can dairy and pasta. Canning is simple and easy. The rules aren’t made to ruin your fun nor are they politicized. They are simple facts. When I was at the Master Preserver Course we watched this wonderful video about a woman who got botulism from her improperly canned green beans. I suggest you watch it. 

Fear not and use science as your touchstone! Learn more safe home canning techniques from me, a Master Food Preserver, in my Free Canning Basics Course.

Filed Under: Can

The Best Chicken Coop

May 18, 2022 by Jenny Gomes Leave a Comment

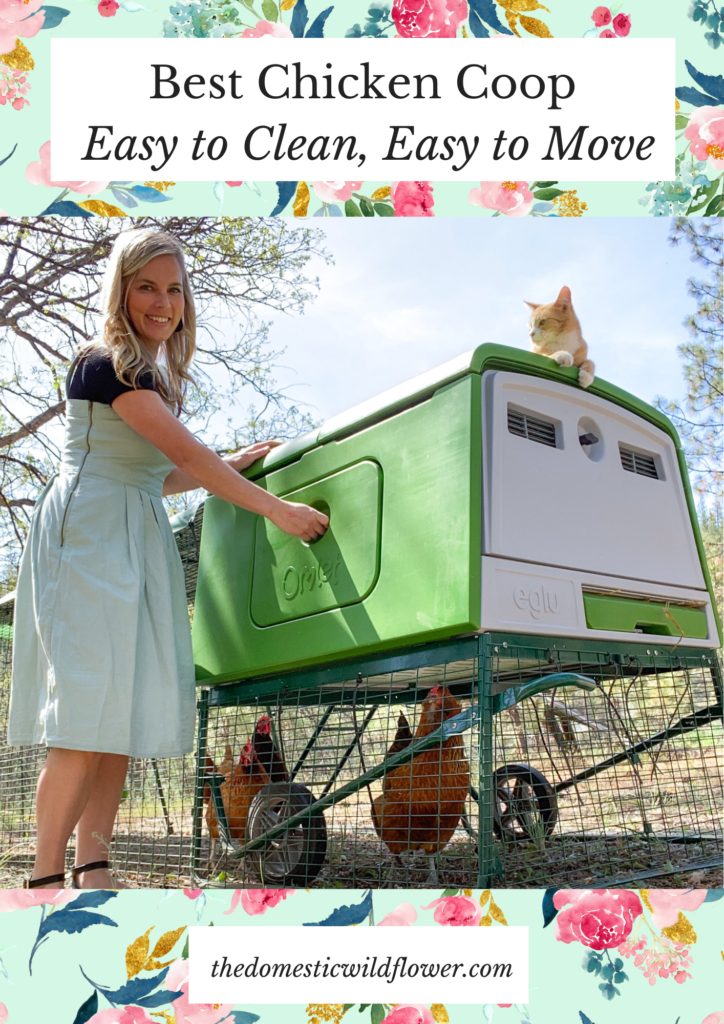
Best Chicken Coop: Easy to Clean, Easy to Move!

This post will share the absolute best chicken coop that is easy to clean and easy to move.

This post contains affiliate links. This is NOT a sponsored post. I just love this coop!

I started shopping for a chicken coop a few months ago and quickly realized that what I was looking for almost didn’t exist. I wanted a coop that was:

  • Easy to clean
  • Easy to move

And it appeared, initially, there was no such thing. 

I wanted these attributes because I’d slowly, over the course of the school year, been around a friend’s coop and realized what she had was a CLEAN coop. A clean coop doesn’t stink. A clean coop has happy chickens. A clean coop is a place where you can enjoy watching chickens be funny and charming and where you can collect eggs. My whole life I had thought that chickens were gross and I was completely wrong. 

What is gross is poor animal husbandry practices, often practiced in coops that never move and are hard or impossible to clean. 

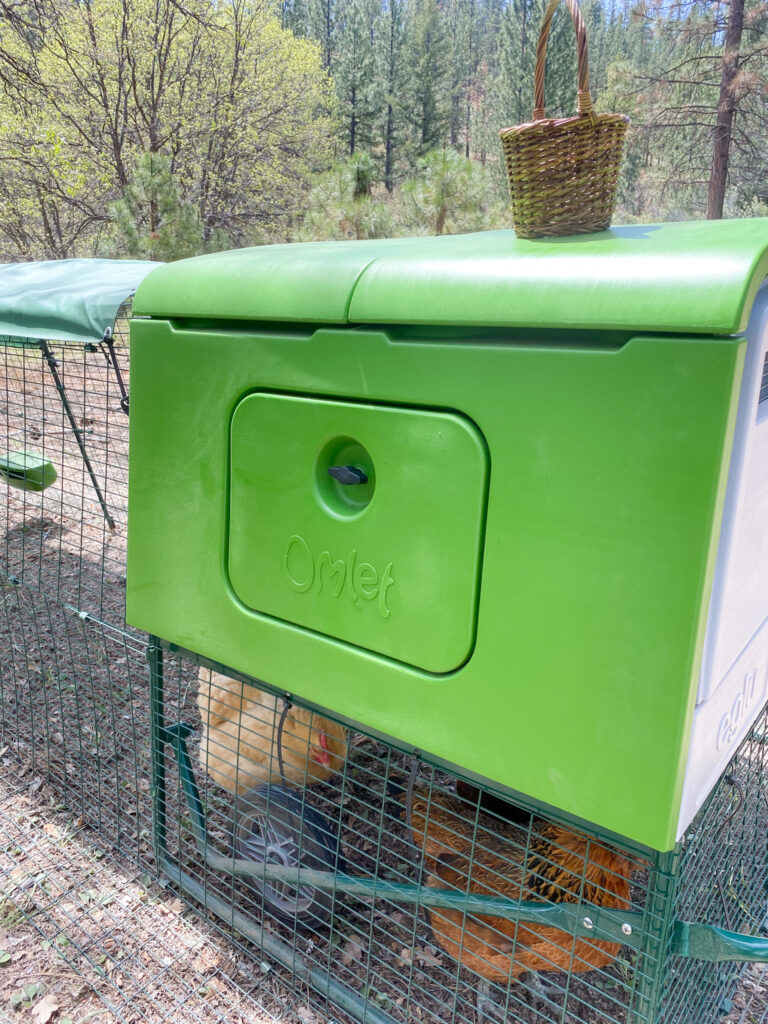
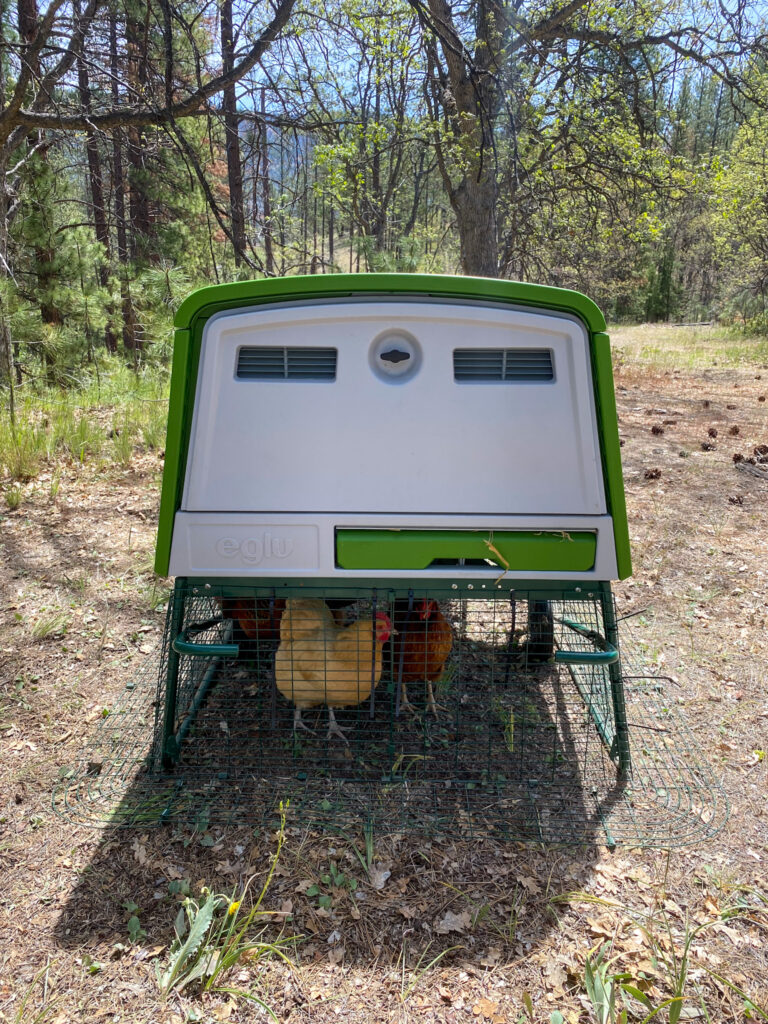
I found the Omlet Eglu Coop and realized that while totally unusual-looking (it is kind of modern, and plastic!) it met every criteria I had in mind. 

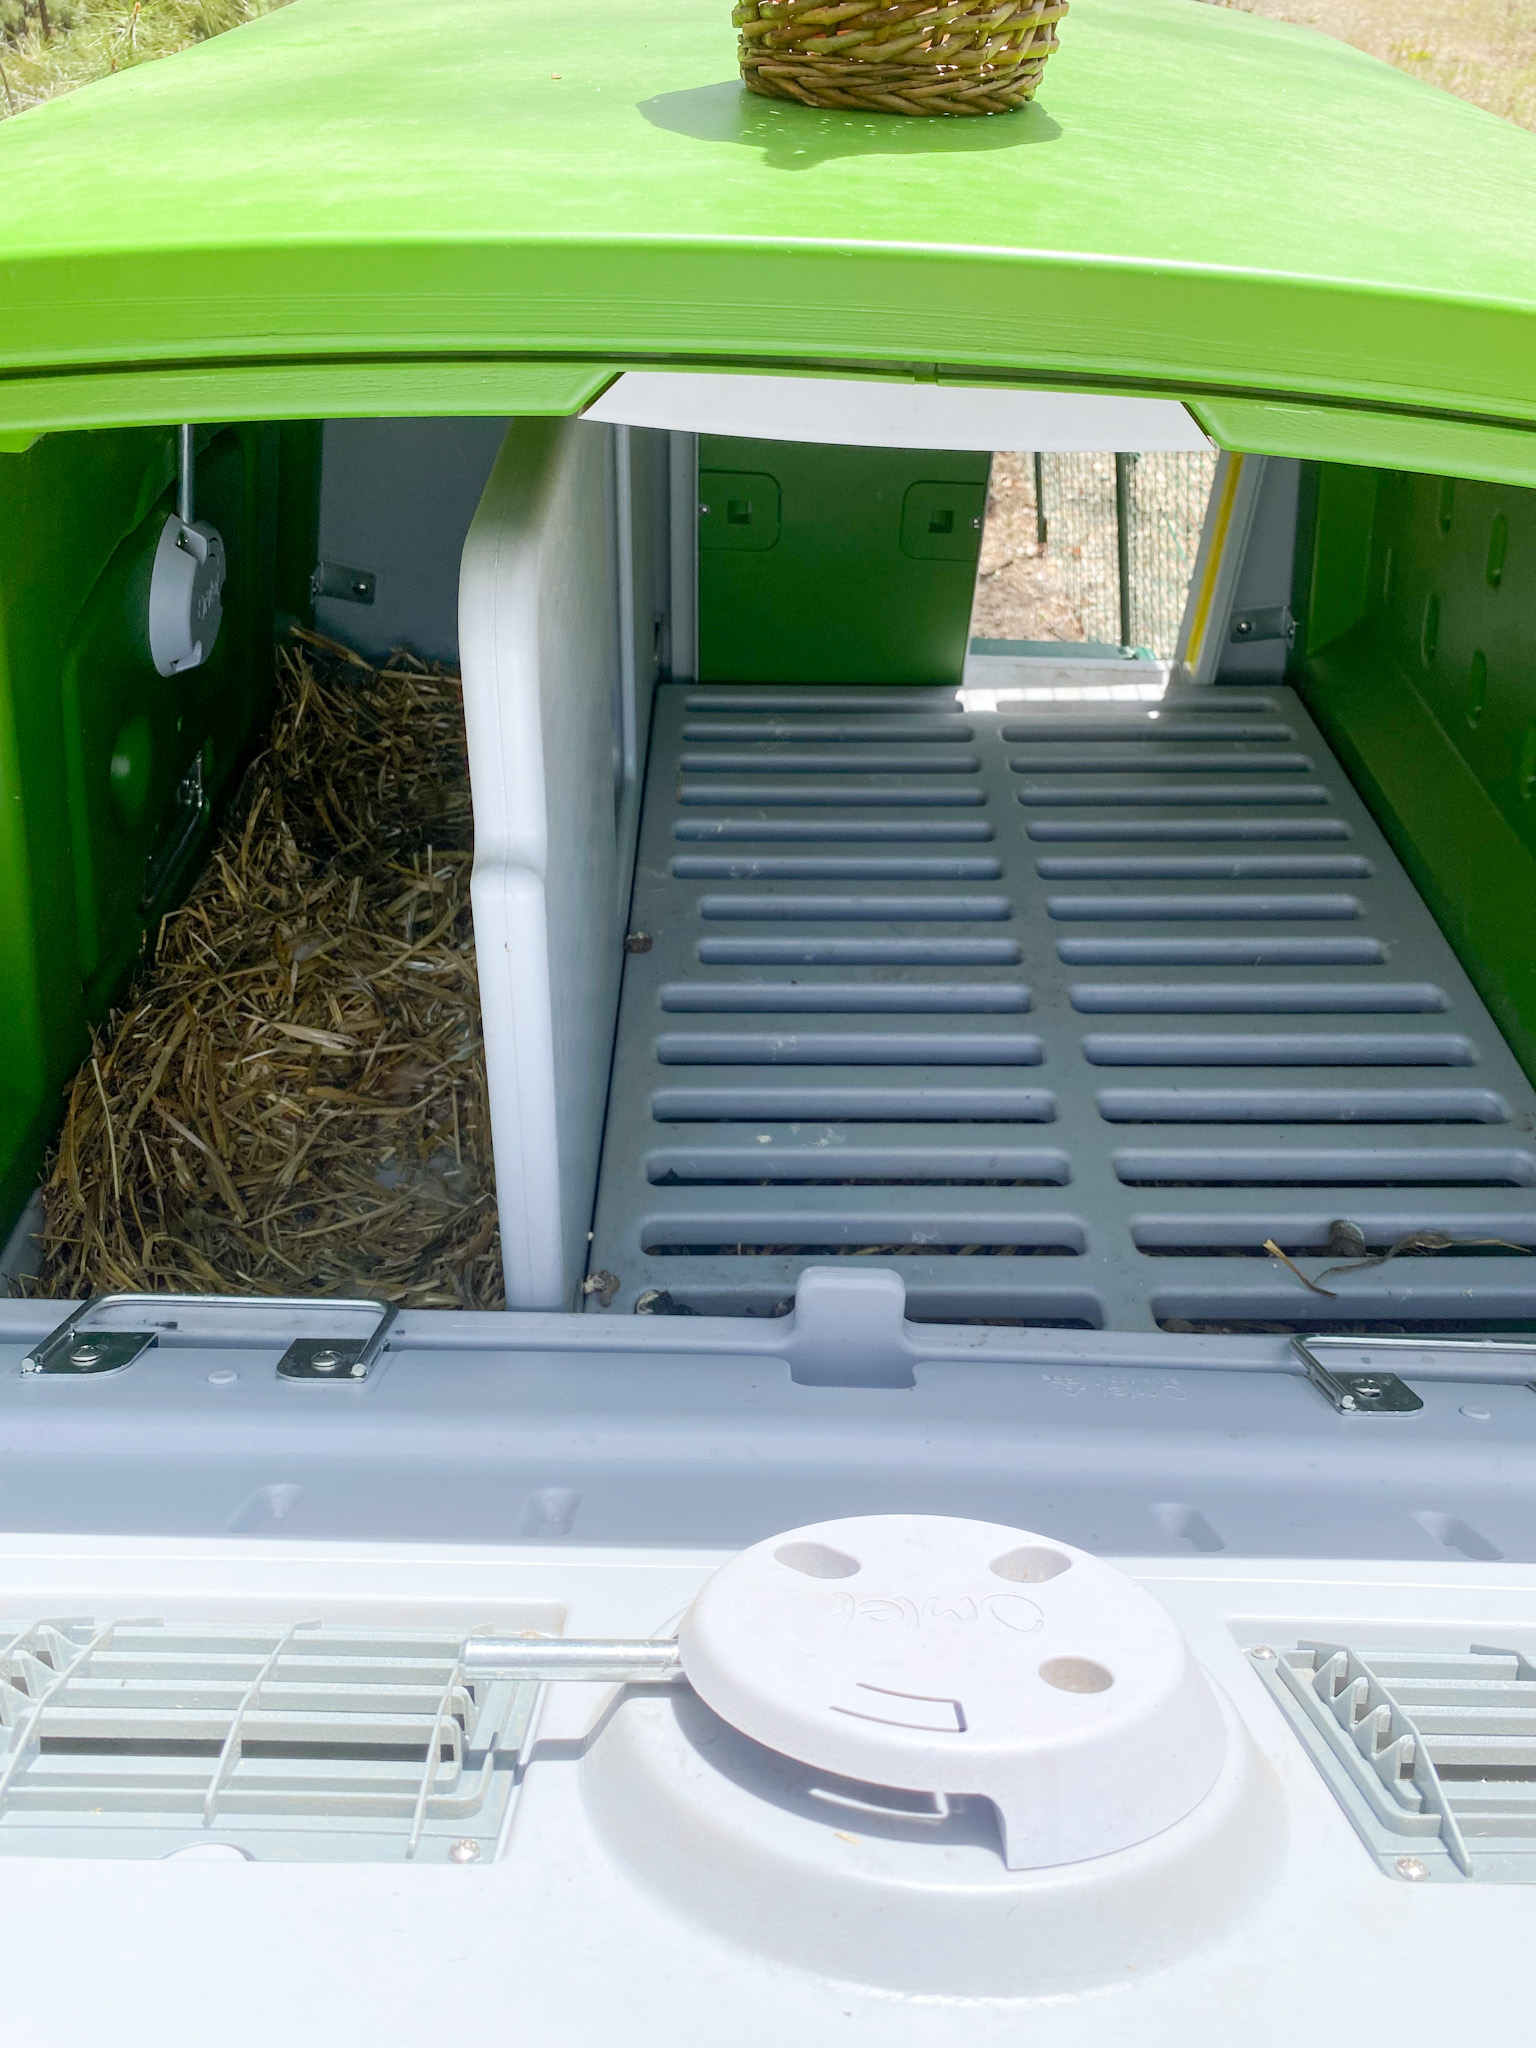
The coop itself (where the hens sleep at night and where they lay their eggs) is elevated off the ground which meets a chicken’s desire to find safety up high. Inside the coop, the back door easily opens and a tray slides out to allow for simple cleaning. The tray is where you’d place moisture-absorbing pine shavings, straw, etc and when you dump it in your compost pile, everything slides right off. It is easy to hose off or wipe clean with cleanser because the plastic is heavy duty and NON POROUS. This is hugely helpful. It is visibly, obviously better than wood because it can be easily cleaned. The smooth plastic is easily cleaned! 

The roosting bars are removable (one-handed, even!) and easy to hose off as well. I’ll often remove them, give them a hose off, and let them dry just while I’m feeding the hens during the day. 

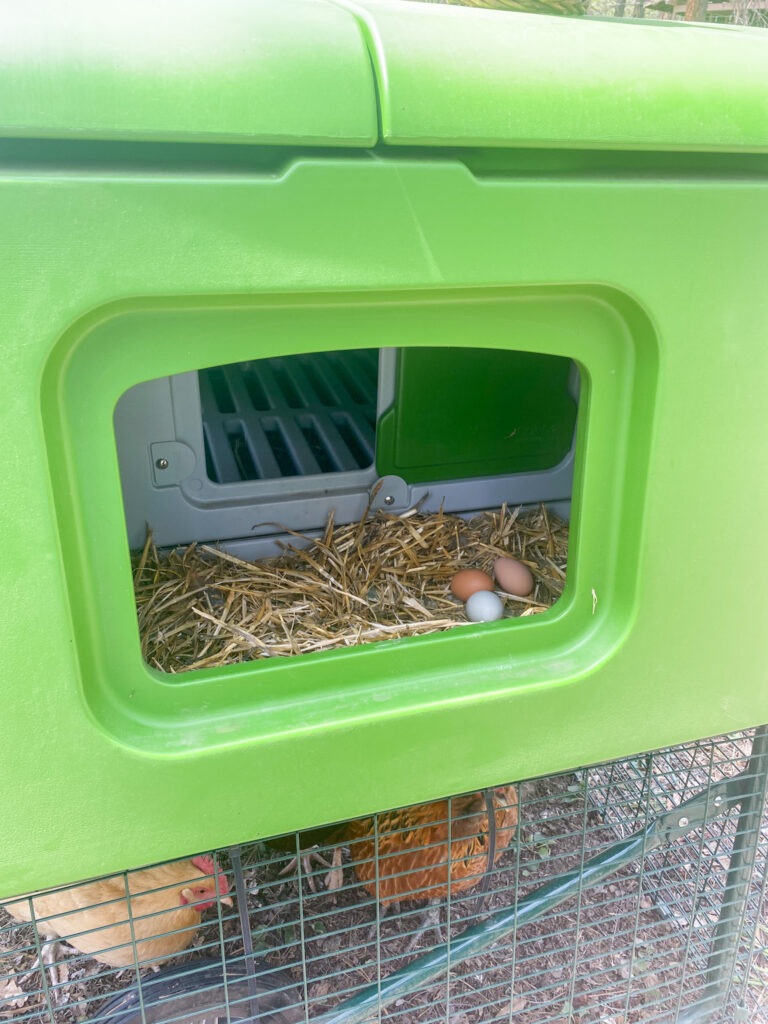
The coop has a separate door to open to check for eggs in the nesting box. This area has a little sliding door you could shut to prevent hens from sleeping where they lay (you don’t want that, and my hens in this coop don’t have that issue so far). 

The nesting box door is easy enough for kids to open but secure and weather tight.

We bought the automatic door which was a splurge that I’m grateful we chose. It closes automatically based on the light in the sky, or on the time of day (my 10 year old programmed it). It eliminates the rush to get home after sports practice or supper at friend’s to shut it. The door is also easy to affix to other coops – consider it if you have an existing coop! We love it. 

The wheels beneath the coop allow for the run to be lifted a few inches for moving. My kids can move the wheels so the run is “up” and they are 8 and 10 years old. 

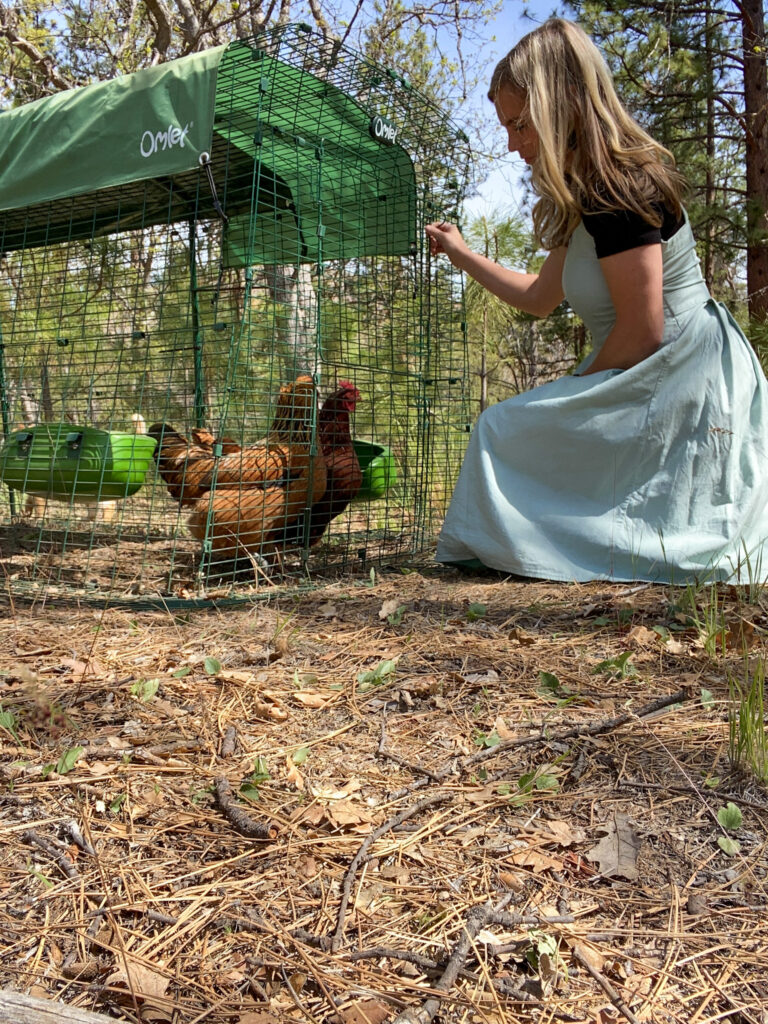
The attached run is strong (much stronger than chicken wire) and assembled without power tools. It did take me and the kids all day to assemble the run and the second half of the coop (my husband only had time to assemble the base of the coop, the wheels, and the front coop wall before the work week began). The run clips together with strong clips and it was easy for the kids and I to see how it was supposed to go together. 

I do wish the instruction manual had WORDS. It has clear illustrations, but I’m a reader and would have appreciated some written instructions. Their YouTube video was actually the best help, especially in assembling the coop. The kids would play it, we’d figure out exactly what we needed, and pause it for me when I was doing the next step. 

There’s a door to the run that opens like a Dutch door and is easy to operate.

The smart feature on the run that I don’t see on other runs/coops is the wire ‘skirt’ that lays flat on the ground about 8 inches out. A predator doesn’t know to start digging in back away from the run wall; they want to start digging right where the skirt and run wall meet, which is impossible. It is really a smart design. When I move the coop (daily, or even twice daily) I have to kick the pinecones out of the way because they prevent that skirt from laying flat on the ground- you want it flat to prevent digging by predators. 

UPDATE: Bear Resistance: 3 months after getting this coop, we suffered a bear attack. A younger black bear of under 200 pounds (not a huge bear at all for our area, but a bear nonetheless) pulled the whole coop plus the run onto it’s side with a crash (the point where I woke and my husband and I ran outside), and the crash plus the bear’s force ripped the top, back section of the roof of the coop off. In those fateful 90 or so seconds, he ate 2 of the 4 hens. 1 escaped by being hidden in the coop rubble (it really looked like a car wreck rollover- the roosting bars were on top of our Rhode Island Red) and our cute Orpington managed to flee in the dark and she returned in the morning unscathed, clucking hello by our cars.

This type of attack is what I would suspect any coop would struggle to defend against and the Omlet was no match. Bears are incredibly strong, they are fast, and they are persistent.

We moved the remaining hens into a dog crate for the night, and for a week or so while we got our bearings we kept them in a horse trailer, which makes an excellent, in a pinch option. Horse trailers are strong, and surely the most bear-resistant option most people could access quickly.

NOW: We put up an electric fence (a trapper told us to drizzle honey or syrup on the wires as a shock through bear fur, as you can imagine, isn’t as strong. A tongue shock is more instructive.). My husband and his father put the coop back together and wrapped ratchet straps all the way around the coop. Ratchet straps are what we use locally to keep bears out of dumpsters. The run was bent back to shape (it was a little cattywhompus) but moving it isn’t very easy because the base the Omlet sits on was pretty seriously bent in the attack. It works, but before I was moving it a couple times a day sometimes, over fairly uneven ground, and now, I don’t think I’ll be doing that. It very much feels like the coop is like a car that’s been in a car wreck. There’s a lot of little things out of wack as a result. We continue to see fox poop around our property and I think it is impossible for him to get into the run. I have concluded that the only other predator that could get it would be possibly a snake. We’ve not tested that yet, thank goodness.

GOING FORWARD: I plan to get a very large, welded wire and metal post run built (I’m dreaming of a 40×80 foot pen, where I can have a garden inside as well) that will have an electric fence around it, and will have 2 omlet coops inside it. It will have a metal roof/wire top to prevent aerial predators as well. The Omlet still has so many excellent qualities and even though it isn’t bear resistant I’m still a convert. I will keep the one I have with the run attached as it creates a really great secondary run space. I plan to get pullets in the fall and they can be in the main Fort Knox style pen but IN an Omlet + run so they are safe to grow without bossy hens bothering them but where they can be safe from bears, too. I want the gate of this new pen to be wide enough for me to wheel the Omlet + run out for daytime use, too.

MORE GREAT OMLET ELEMENTS: The included feeder and waterer are really simple but really smart (like the rest of the coop). They keep food dry, water in, and are easy for my kids to manage. 

There’s a variety of cool add-ons you could get like a walk in run attachement, perches and swings, and peck toys. 

I think the only inherent drawback to the Omlet Eglu Coop is the size. The coop is large enough to house 6 hens comfortably (more if you have bantams). The run would be snug, I think, with that many. You want the chickens to have plenty of space to themselves to dig, dust bathe, eat, etc. I have 4 and I’d consider adding just one more as I keep them in the run nearly all the time. So, Omlet would need to maybe add one more run extension, I think, for me to feel good about having 6 hens in that space. Of course, another extension to the run would make it heavier and more unwieldy to move so I’m sure that’s why that isn’t an option currently. 

My family of 4 is loving the eggs that 6 hens are giving us this spring (I have two other hens in a wooden coop- check out my Instagram highlight to see the difference- the wooden coop pales in comparison).  They are robust layers (2 Rhode Island Reds, 2 Ameracaunas, 1 Buff Orpington, and one Welsummer) and I have enough to give my Gram a dozen every week or so. We eat a lot of eggs (one of the many reasons we decided to get chickens) and this amount is working well for us. 

My final recommendation is to warmly recommend the Omlet Eglu Coop to anyone who wants to keep 6 or fewer full size chickens safely contained and tractored around. It is easy to clean, easy to move, and is clearly the best chicken coop for this size of flock. 

<iframe scrolling="no" style="width: 728px; height: 90px; margin: 0 auto; overflow: hidden; border: none;" src="https://www.omlet.us/banner/display?cid=89&type=1&baid=WWWTHEDO"></iframe>

Filed Under: Living, Uncategorized

Sourdough Book Review

February 7, 2022 by Jenny Gomes Leave a Comment

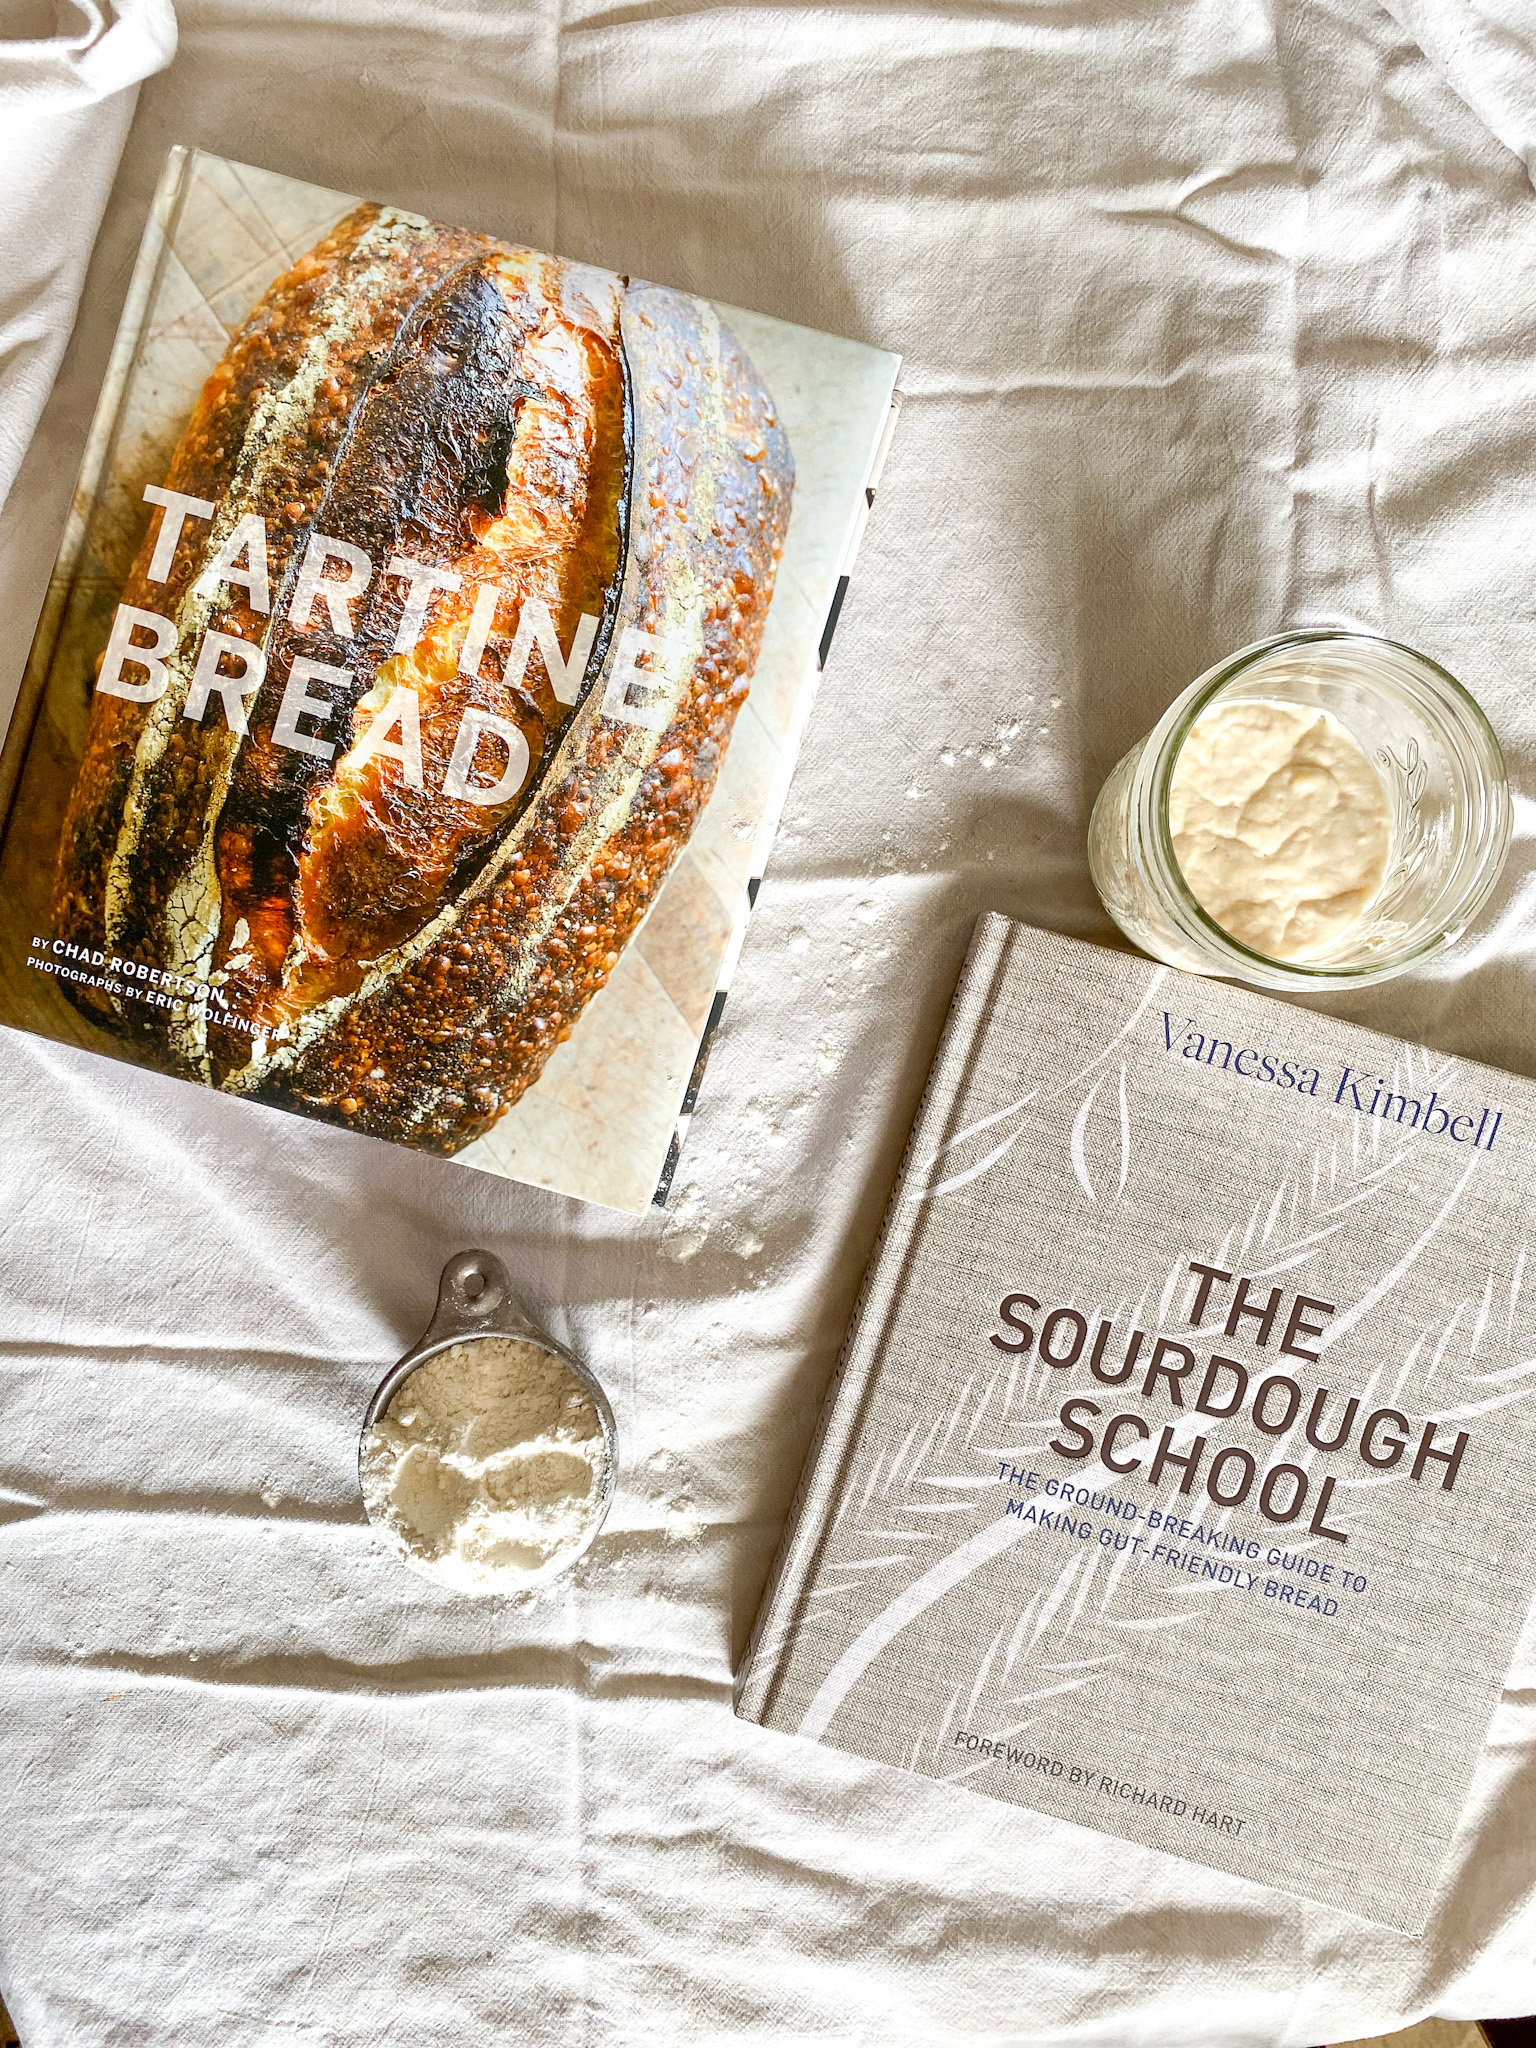
Sourdough Book Review: Comparing The Sourdough School and Tartine Bread

This post will share my thoughts on which book is best for a beginning baker, and which is best for an experienced baker, and pros and cons of each sourdough book. 

This post contains affiliate links. 

The Sourdough School by Vanessa Kimbell is well-rated, very popular book. It has very pretty photography done in a very modern style (chipped bowls, rough-hewn wood, moody tones, etc) and the introductory chapters are very well written. I will say that it is clear to me (as an English teacher) that her first language is not American English as there are many spots sprinkled throughout that cause small spots of confusion- referring to “jugs” for example when in America, a jug probably isn’t what’s meant. This is fine of course if you’ve made sourdough in Europe, but it was one of many issues I had with this book. 

There’s many headings in the book that indicate it’s attempt to be beginner friendly. It couldn’t be less beginner friendly, unfortunately. The “recipes” are a selection of ingredients that an experienced baker can assemble into bread if they know how to do that. There’s no directions for how to do that IN the recipe section. It feels absolutely intermediate-advanced to have this arrangement. 

The next giant problem with The Sourdough School is that there’s no helpful photography whatsoever. There are NO photos that are truly HELPFUL. There’s lots of photos of vaguely European kitchens and homey bowls of dough (what stage is the dough in? Is this when it should be turned? The photo isn’t going to say) but there’s no INSTRUCTIONAL photography. 

My takeaway is this is a pretty book with an engaging intro that got me jazzed to bake and the last ¾ of the book are appropriate for an intermediate baker. 

Tartine Bread couldn’t be more different in ways that matter. The photos are also beautiful, but are brighter, and much clearer in terms of what you’re actually looking at. The intro was also engaging, interesting, and energizing. 

Tartine Bread teaches with MANY step by step photos how to make a basic country loaf (of all our dreams, frankly) in clear, understandable directions. With this loaf as a base, there are recipes after it that build/add on that basic one (adding olives, for example) and there are again, MANY EXCELLENT PHOTOS that help a beginner understand what the dough should look like, what cues to look or feel for, etc. 

The jargon used is limited, meaning a person who is really new to the baking scene would understand the directions. This was an important departure from The Sourdough School. 

The recipes beyond are all clear and easy to understand and are things you’d be excited to make and they don’t use obscure ingredients.

My takeaway is that Tartine Bread is a far superior book in terms of clarity of direction, helpful photography, and recipe arrangement and inclusion. It is ideal for a beginner and surely would be valuable even to an advanced intermediate. That said, The Sourdough School is beautiful, and the “recipes” DO look tempting. Gift this book if you know a skilled baker. 

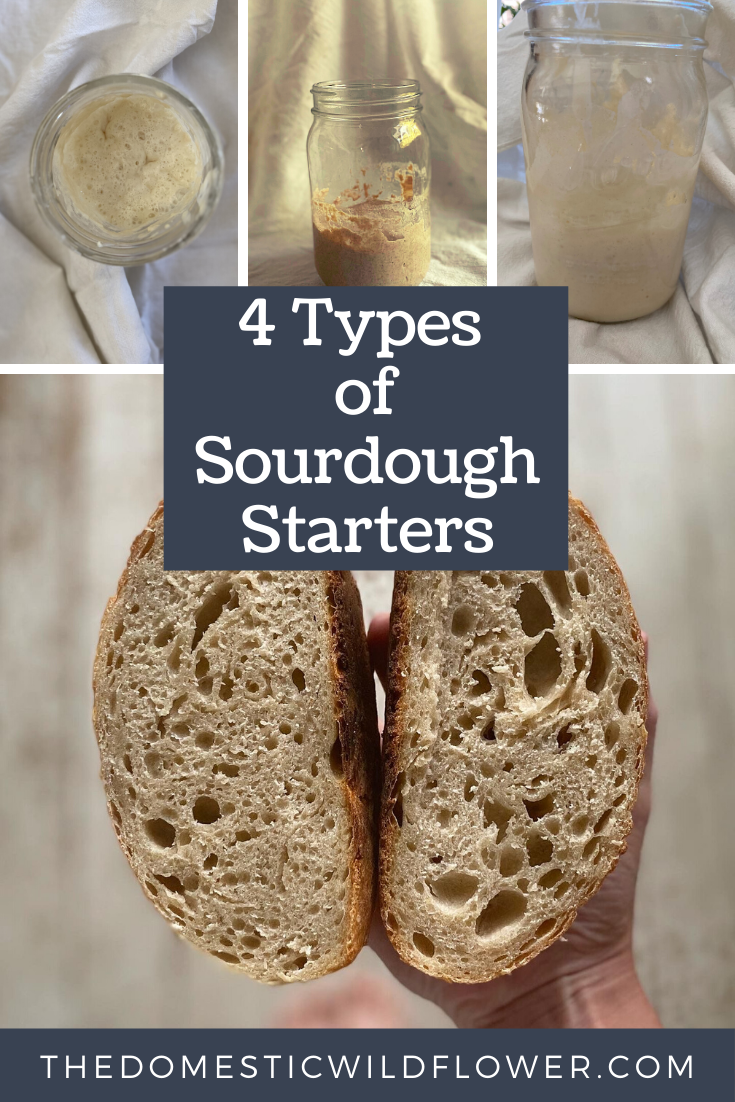
Ready to make your own sourdough starter? Read this post where I share the 4 types of sourdough starter with step by step directions. 

4 Types of Sourdough Starters

Filed Under: Uncategorized

  • « Go to Previous Page
  • Page 1
  • Interim pages omitted …
  • Page 12
  • Page 13
  • Page 14
  • Page 15
  • Page 16
  • Interim pages omitted …
  • Page 66
  • Go to Next Page »

Primary Sidebar

Categories

Follow me here, there, & everywhere!

  • Email
  • Facebook
  • Instagram
  • Pinterest
  • RSS
  • Twitter
  • YouTube

Search

Get The Pressure Canning Cookbook

Get 10 Free Recipes Now!

Best Chicken Coop

Footer

Get Started Pressure Canning

Shrubology Ebook

Shrubology: Refreshing Homemade Fruit and Vinegar Syrups for Cocktails
Make easy, no-cook fruit & vinegar syrups for cocktails & mocktails! This ebook shares crowd pleasing recipes and simple to understand ratios so you can make a shrub on your countertop any time- without a recipe. Dive into these Prohibition Era drinks today!

Copyright

Copyright 2019
The Domestic Wildflower
www.thedomesticwildflower.com.
All content created by Jennifer Gomes unless otherwise noted.

Copyright © 2026 · Lifestyle Pro on Genesis Framework · WordPress · Log in