• Skip to secondary menu
  • Skip to main content
  • Skip to primary sidebar
  • Skip to footer
  • The Pressure Canning Cookbook
  • Blog
    • Subscribe
    • Welcome!
  • Perfectly Preserved Podcast
  • About
    • ADW Manifesto
    • Work With Me
      • Read
  • Shop
    • My Account
    • Cart
    • Checkout

The Domestic Wildflower

Handmade Food & Craft Tutorials for Beginners

  • Courses
    • Free Canning Basics
    • Everything Canning Course
    • Steam Canning Workshop
    • Free Homemade Cocktail Mixers
    • Wildflower Mixology
    • Crochet Basket Workshop
  • Can & Preserve
    • Never Canned?
    • Steam Canner Equipment Bundle
    • Shrubs Course
  • Sew
  • Cook
  • Craft
    • Crochet Step-by-Step Guides
      • Crochet Basket
      • Giant Yarn Throw
      • Thick & Thin Throw
  • Living
    • Creativity Challenge
    • Clean
    • Kids
  • Rentals

Jenny Gomes

Maximizer Apple Grinder

October 10, 2019 by Jenny Gomes Leave a Comment

This post will share why you need an apple grinder for making homemade apple juice. Read on why the maximixer apple grinder will triple or quadruple the juice output when making homemade apple cider or juice! 
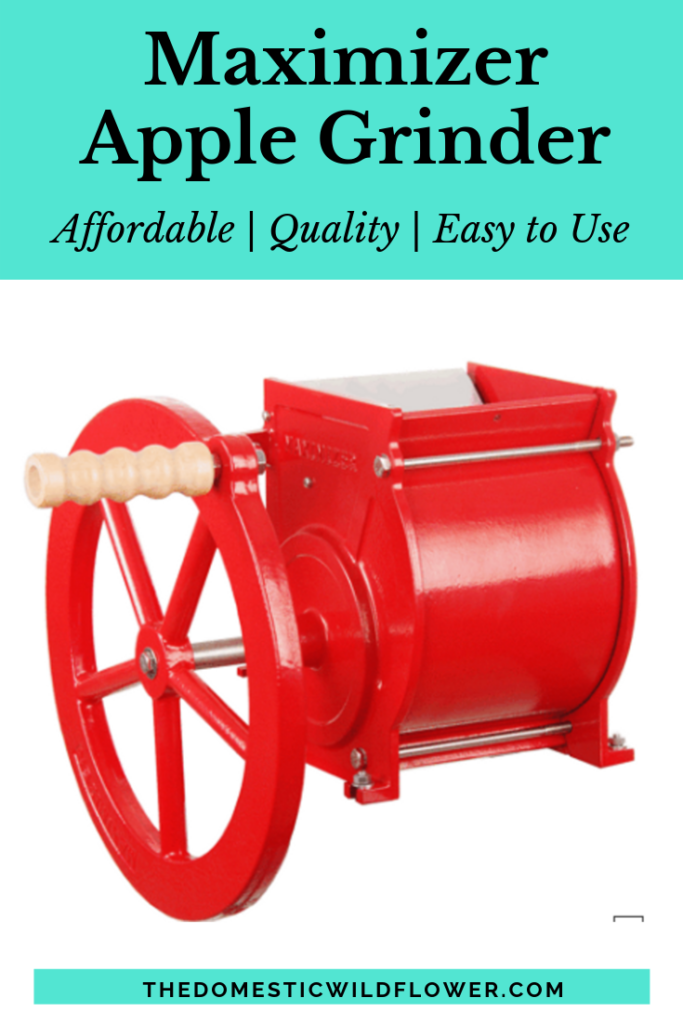
Maximizer Apple Grinder | Why you need an apple grinder to make homemade apple juice and which grinder is the best!

This post is not sponsored but the Maximizer Apple Grinder was gifted. All opinions remain my own.  

When I was shopping for an apple press with which I plan to press apple and grape juice, I saw that most presses recommend you get an apple grinder. I thought, “Geez, another thing?!” It turns out you don’t have to have an apple grinder, but you’d be silly to not get one. 

An apple grinder, specifically the Maximizer Apple Grinder which I ultimately chose, triples if not quadruples the juice output. 

That means you get at least three times as much juice by putting the apples through the Maximizer Apple Grinder first! 

Honestly, if it was a 10% increase, I’d probably skip it. But 4x your output?! That’s a HUGE difference! 

The apple grinder makes all your apple growing and/or picking efforts yield so much more juice. If you’re bothering to put them through the press in the first place, it would be a mistake to skip grinding them. 

The Maximizer Apple Grinder basically rough chops the apples so they can be dumped as a pulp into the press and the juice is much more available. Running the press is much easier, too! 

It’s absolutely worth it to get a Maximizer Apple Grinder and I love this specific one because it’s all metal, and easy to use. You can grind the apples into a bucket, or directly into the press- the Maximizer Apple Grinder allows for both. It’s an heirloom quality grinder that my kids can use with their kids. 

The Maximizer Apple Grinder needs to be mounted to a wall (a corner of a building) or to a table with a hole in it. Or, it can be mounted natively to the more expensive apple press.

These things are very important considerations when choosing how to set up your apple pressing station.

What we ended up doing was mounting the Maximizer Apple Grinder to an old sewing machine table that used to have a sewing machine that flipped down and out of sight (the machine is long gone). That table had the hole in the middle for the apple pulp to fall through and was fairly sturdy (it needs to be really sturdy because the Maximizer Apple Grinder is really heavy and grinding it generates a ton of motion).

This was not my idea. My dad is a really handy guy and it was his idea. He’s a rancher and that means he’s great at making something useful out of something that he’s kept around “just in case.”

This is my dad. To his back is his gun safe and to his right is his fully operational beer fridge- notice the taps. He’s making me an apple press table out of a sewing machine table and he’s not annoyed at all that this cat is in his work space. That’s the kind of guy he is 🙂

I won’t be including specific directions for how Dad made this table because I’m not a DIY blogger but he used 2 1×6 scraps for the far side of the Maximizer Apple Grinder to be mounted to.

This sewing machine table was a great work around. It took several hours to decide how we’d do it, and do it (with me doing little more than holding screws and affirming that yes, that would work).

I honestly think that it is worth seriously considering purchasing the more expensive apple press that the Maximizer Apple Grinder mounts to natively because this sewing machine table project was more than I expected in terms of hassle and isn’t without drawback.

The Maximizer Apple Grinder is SO EFFECTIVE (seriously pulping those apples in seconds!) that the pulp doesn’t fall gently from the bottom- the pulp is flung out and in the first run my Dad and I did, we had apple pulp all over the floor of the woodshed because the bucket to collect the pulp was too far below.

This discovery affirmed that mounting the Maximizer Apple Grinder to a wall would have required we mouth some sort of removable bucket directly beneath…and I don’t know what that would have looked like or how we would have done it so it was effective and easy.

Final Thoughts on the Maximizer Apple Grinder

Overall the Maximizer Apple Grinder is a well built (my husband exclaimed, “this is hell for stout!”) and will last a lifetime. It mounts natively to this press https://pleasanthillgrain.com/maximizer-fruit-apple-cider-press-stainless-basket which is not the press I got. It can be mounted to a wall or a table with a hole in it, and either option better be sturdy as all get-out. Getting an apple grinder is not an optional add on if you get an apple press- they are a must! The amount of juice that poured effortlessly from the press because the apples were pulped first was incredible.

Do you need to use pickling salt? Read this post to find out when to use it and when you can skip it!

My great grandma Nona planted the apple trees I’ll be picking for use with this grinder and press. She wrote to her brother, living out of state, and asked that he send her starts for apple, pear, apricot, plum, raspberry, cherry, and more. Those trees are still growing on the family ranch with very little care from my dad other than water. Pretty amazing, right? 
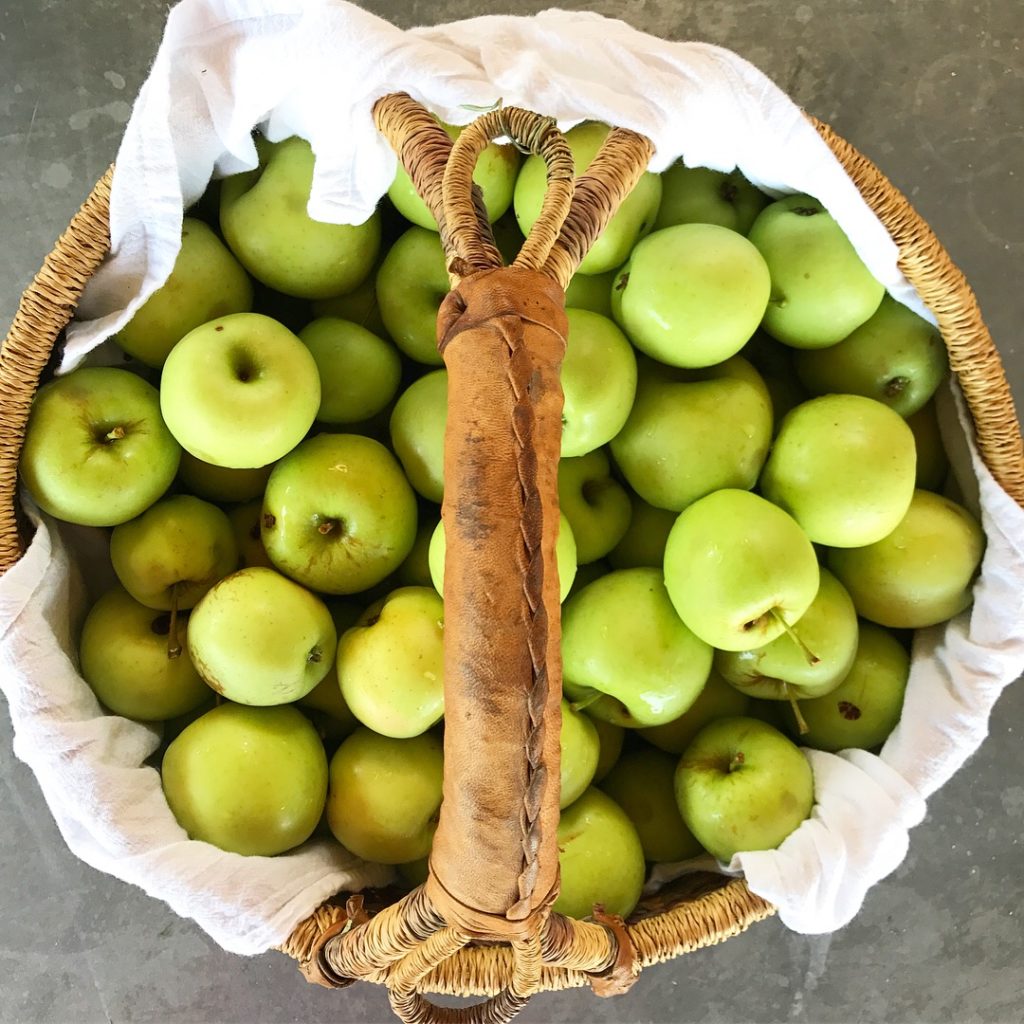
Apples for applesauce and apple butter- kid pleasers and easy to can!

Pair the Maximizer Apple Grinder with the Macintosh Apple Press for homemade apple juice- use this recipe! 

Want to make the juice but aren’t sure about canning? Join my Free Canning Basics Course! I’ll share valuable lessons straight in your inbox that will help you get started canning the easiest way! 

Overrun with apples? Read the 3 Easy Apple Recipes for Beginners Post– In is is my applesauce recipe, the apple shrub recipe, and the BEST applesauce muffins!
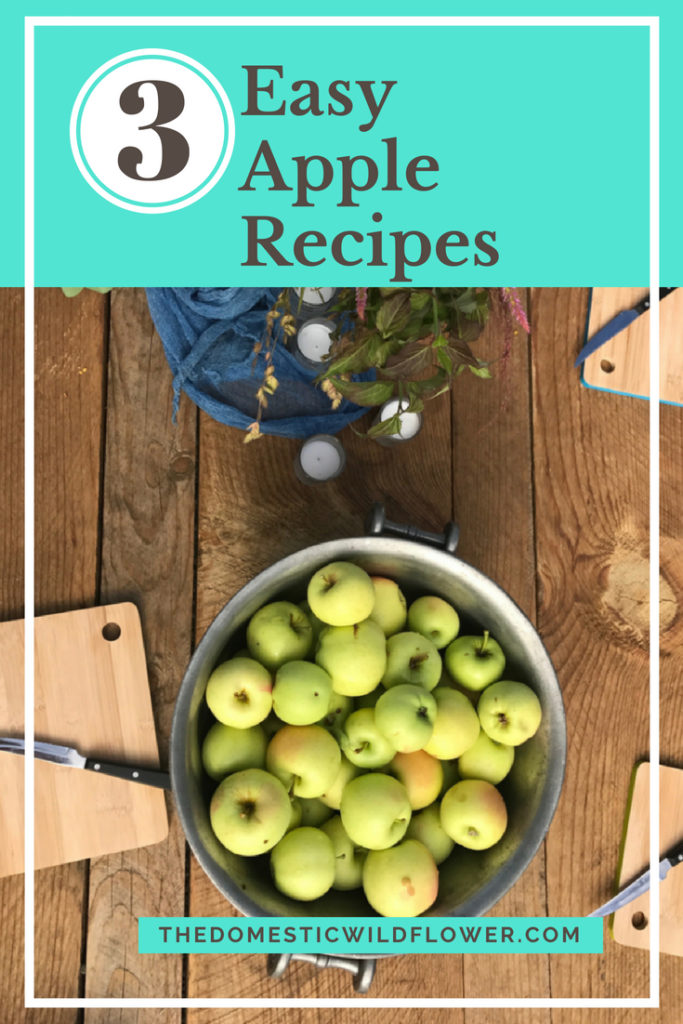
3 Easy Apple Recipes that anyone can make!


Filed Under: Cook

Bug Gummies

October 2, 2019 by Jenny Gomes Leave a Comment

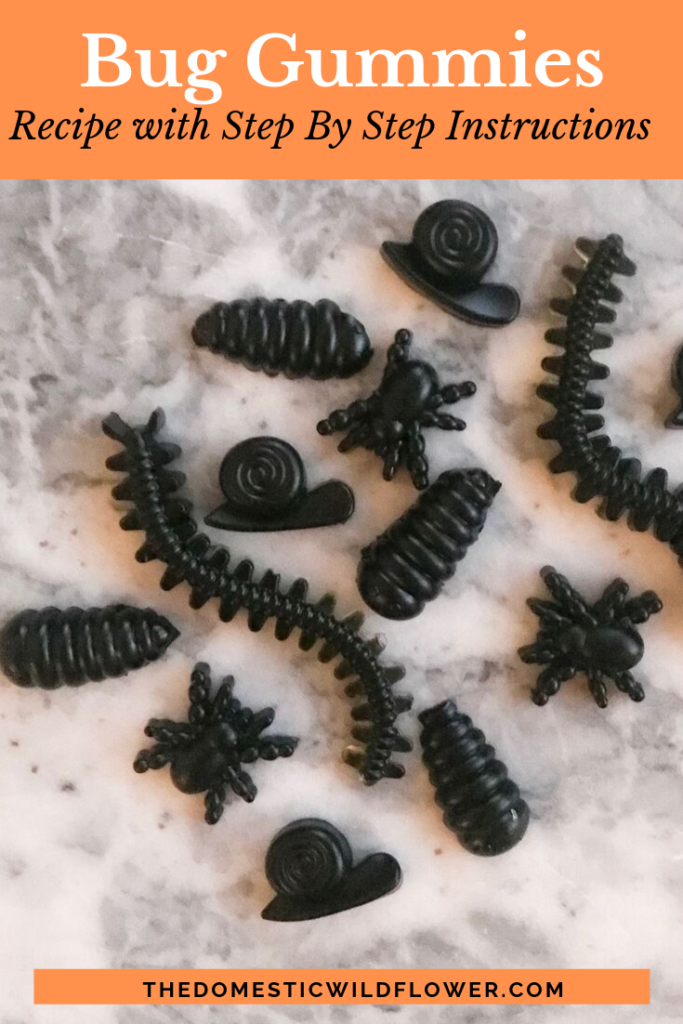
This recipe is for creepy crawly, black as night gummies made from fruit juice and gut-healing beef gelatin for a fun treat that you’ll want to make year round. Think birthday party, science-themed get together, and more! Read on for the Bug Gummies recipe and complete tutorial! 

This post contains affiliate links.

Gummies are easy, simple, and fast to make. They are so fun to make, I know you’ll want to hang out in the kitchen with me, watch me make them, and start out on the right foot so your first (and every!) batch is a complete success! I have a fun video mini lesson inside the Free Homemade Gummies Course you can jump into here- join me! You’ll get exclusive gummy recipes and video lessons on how to get perfect gummies no matter what mold you have. And it’s free!

Jump in and watch STEP BY STEP as I make gummies on video. I share in detail exactly HOW to make these nutritional powerhouses. It’s a free mini course and you’ll get access to 3 super helpful videos that show you

the equipment

the ingredients

and the process

of making healthy homemade gummies. Dive in here!

Halloween Gummies Recipe | Make amazing creepy crawly Halloween gummies with this easy recipe!

The trick to making these black as sin Bug Gummies is adding a secret ingredient. Note, you don’t HAVE to add it, but it definitely makes the gummies opaque, and completely black. You can’t taste it and it creates a fantastic effect that’s sure to delight. 

The ingredient that makes these gummies SO black is activated charcoal. 

That’s right. Just a few teaspoons and it turns grape juice (a lovely purple on its own) into a wonderful ebony. 


Note: Enjoying too much activated charcoal can potentially cause some medicines to be absorbed and could render them ineffective. Consult your doctor if you or your child takes medicines that could be affected by activated charcoal. I read this article on
Women’s Health for more information on this topic. I think that in moderation for a healthy person who is not taking daily medicine, activated charcoal is fine, but please consult a professional.

Tools You Need For Making Bug Gummies

You’ll need a saucepan and a whisk (crucial for mixing in the gelatin- you can see how I do it in the Free Homemade Gummies Course) but most importantly, of course, are the Bug Molds. These are made of silicone and can’t believe how well the bugs pop out of them (even the spider legs!).

Pro Tip: You MUST let the gummies cool till they are cold, preferably in the fridge, in order to get the centipede legs and spider legs out without tearing. Press up from the bottom of the mold and press the outside edge of the mold first- the legs on the spider for example- and then the middle of the shape to loosen. They will pop right out!

Bug Gummies Recipe

You Will Need:

1 cup grape juice

2 teaspoons activated charcoal

3 tablespoons sugar (optional but makes the faint taste of the charcoal completely disappear)

1/4 cup beef gelatin

How to Make Bug Gummies

Combine the 1 cup grape juice with the charcoal and the sugar in a saucepan.

Whisk over low-medium heat (a 3 on a electric stove that goes to 8, for example).

When the mixture is hot, and nearing a simmer (not quite simmering yet, but getting close, and steam is rising from it) SLOWLY start to whisk in, bit by bit, the 1/4 cup gelatin. Turn the whisk over, reverse direction, and whisk with vigor to discourage lumps. The grape juice mixture will be sweet, fragrant, black, and starting to look thicker. Remove from heat.

Using included droppers from mold set, fill the bug mold.

Pro Tip: Set the mold on a perfectly flat tray (not a plate that has curved edges) to fill.

When the bug mold is filled, place in a very cool place like the fridge until gummies are very firm, likely 30 minutes or so.

If you have extra, you can pour the remaining gummy liquid into a silicone ice cube tray or cupcake mold, or in a glass casserole dish to cool.

OR you can keep it warm on the stove, stirring often, until the first batch of gummies are cooled and removed from the mold. Repeat process.

Bug Gummies Recipe & Step By Step Tutorial! Make these fun bug gummies for the insect lover in your life. They have very little sugar, a secret ingredient that makes them as black as night, and the post links to the best bug mold ever!

How to Store Bug Gummies

These aren’t shelf stable and should be stored in the fridge and if so will keep for months. These are a great thing to make ahead of time and enjoy all year long!

I made these for the first time and didn’t tell my kids. I packed them in their lunch as a fun October surprise. Imagine their faces when they saw black centipedes and spiders in their lunchbox!

Halloween Gummies Recipe | Make amazing creepy crawly Halloween gummies with this easy recipe!

You will also enjoy

Elderberry Gummies! Get the recipe here.

Healthy Elderberry Gummies Recipe

Filed Under: Cook

Halloween Gummies

October 2, 2019 by Jenny Gomes Leave a Comment

This recipe is for spooky, creepy crawly, black as night gummies made from fruit juice and gut-healing beef gelatin for a Halloween treat that you’ll want to make year round. Read on for the Halloween Gummies recipe and complete tutorial! 

This post contains affiliate links.

Gummies are easy, simple, and fast to make. They are so fun to make, I know you’ll want to hang out in the kitchen with me, watch me make them, and start out on the right foot so your first (and every!) batch is a complete success! I have a fun video mini lesson inside the Free Homemade Gummies Course you can jump into here- join me! You’ll get exclusive gummy recipes and video lessons on how to get perfect gummies no matter what mold you have. And it’s free!

Jump in and watch STEP BY STEP as I make gummies on video. I share in detail exactly HOW to make these nutritional powerhouses. It’s a free mini course and you’ll get access to 3 super helpful videos that show you

the equipment

the ingredients

and the process

of making healthy homemade gummies. Dive in here!

Halloween Gummies Recipe | Make amazing creepy crawly Halloween gummies with this easy recipe!

The trick to making these black as sin Halloween Gummies is adding a secret ingredient. Note, you don’t HAVE to add it, but it definitely makes the gummies opaque, and completely black. You can’t taste it and it creates a fantastic effect that’s sure to delight. 

The ingredient that makes these gummies SO black is activated charcoal. 

That’s right. Just a few teaspoons and it turns grape juice (a lovely purple on its own) into a wonderful ebony. 


Note: Enjoying too much activated charcoal can potentially cause some medicines to be absorbed and could render them ineffective. Consult your doctor if you or your child takes medicines that could be affected by activated charcoal. I read this article on
Women’s Health for more information on this topic. I think that in moderation for a healthy person who is not taking daily medicine, activated charcoal is fine, but please consult a professional.

Tools You Need For Making Halloween Gummies

You’ll need a saucepan and a whisk (crucial for mixing in the gelatin- you can see how I do it in the Free Homemade Gummies Course) but most importantly, of course, are the Bug Molds. These are made of silicone and can’t believe how well the bugs pop out of them (even the spider legs!).

Pro Tip: You MUST let the gummies cool till they are cold, preferably in the fridge, in order to get the centipede legs and spider legs out without tearing. Press up from the bottom of the mold and press the outside edge of the mold first- the legs on the spider for example- and then the middle of the shape to loosen. They will pop right out!

Halloween Gummies Recipe

You Will Need:

1 cup grape juice

2 teaspoons activated charcoal

3 tablespoons sugar (optional but makes the faint taste of the charcoal completely disappear)

1/4 cup beef gelatin

How to Make Halloween Gummies

Combine the 1 cup grape juice with the charcoal and the sugar in a saucepan.

Whisk over low-medium heat (a 3 on a electric stove that goes to 8, for example).

When the mixture is hot, and nearing a simmer (not quite simmering yet, but getting close, and steam is rising from it) SLOWLY start to whisk in, bit by bit, the 1/4 cup gelatin. Turn the whisk over, reverse direction, and whisk with vigor to discourage lumps. The grape juice mixture will be sweet, fragrant, black, and starting to look thicker. Remove from heat.

Using included droppers from mold set, fill the bug mold.

Pro Tip: Set the mold on a perfectly flat tray (not a plate that has curved edges) to fill.

When the bug mold is filled, place in a very cool place like the fridge until gummies are very firm, likely 30 minutes or so.

If you have extra, you can pour the remaining gummy liquid into a silicone ice cube tray or cupcake mold, or in a glass casserole dish to cool.

OR you can keep it warm on the stove, stirring often, until the first batch of gummies are cooled and removed from the mold. Repeat process.

How to Store Halloween Gummies

These aren’t shelf stable and should be stored in the fridge and if so will keep for months. These are a great thing to make ahead of time and enjoy all October long!

I made these for the first time and didn’t tell my kids. I packed them in their lunch as a fun October surprise. Imagine their faces when they saw black centipedes and spiders in their lunchbox!

Halloween Gummies Recipe | Make amazing creepy crawly Halloween gummies with this easy recipe!

Filed Under: Cook

Elderberry Juice Recipe

September 26, 2019 by Jenny Gomes 1 Comment

This recipe for elderberry juice does not have any added sugar. Instead I add a little honey and cranberry juice. Elderberry juice is a great alternative to elderberry tincture or capsules or gummies, which are great but juice is awesome for when you want to sip rather than snack your elderberry goodness. Read on for the easy elderberry juice recipe with step by step canning instructions for canning, elderberry juicing, and no added sugar!


This post contains affiliate links.

Elderberries are classically made into heavily sweetened syrup and jellies, which are delicious, a beautiful purple color, but full of sugar. Their flavor is tasty but so tart, it’s hard to find a way to consume it without adding something to make it palatable. This recipe is my answer to this problem.

Elderberry Juice Recipe

You Will Need

8 cups elderberry juice (methods of juicing explained below)

1 bag/about 2 cups cranberries OR 2 cups cranberry juice (ok if berries are frozen from Thanksgiving)

1/4-3/4 cup honey, to taste

1/2 cup apple cider vinegar

1/4-1/2 teaspoon ground ginger, optional

cinnamon stick, optional

Juicing Elderberries

You can juice fresh elderberries a few ways. You can use the traditional steamer for juicing elderberries where the berries go in the top compartment, the water is in the very bottom, and the juice flows to the middle and down a tube into your preserving pan. They are cool pots that do one job- steam & juice- and if you have lots of juice-y fruits and plan on making lots of juice and you have the room to store it, I’d recommend them. Be sure to not let the bottom run dry.

If you don’t have a juicer steamer, you can line a pasta pot (the colander part) with cheese cloth and load it with the elderberries and cranberries if using. Make a large parcel of berries by wrapping a string around the bundle of berries and tying a knot, like a giant tea bag.

You’ll add enough water to go 1/2 – 3/4 of the way up the sides of the berries and you’ll be making a diluted juice this way. This is neither positive nor negative- it is just juice with added water. This may be helpful if you don’t have a ton of elderberries, or if you want to make a lot of jars, or both. I prefer this method personally because I share my juicer steamer with my mom and sister and sometimes it is handy to just use the pasta pot.

Juicing Elderberries | How to Juice Elderberries

Wild elderberries are going to vary dramatically in terms of how much juice they yield and tartness, so you may have to add more honey, cranberry, or water to get a palatable result with either juicing method.

Begin juicing with either the juicer steamer or the pasta pot and cheese cloth method and when the berries seem deflated, steamed limp, and don’t release much if any juice when pressed with a spoon, they are juiced.

Ready to start canning? Do you need a canning equipment list before you begin?

Elderberry Juice Recipe: After Juicing Elderberries

Prepare your water bath canning pot or your steam canner. Fill the water bath canning pot with water, add 5 pint (2 measuring cups total each) jars, and bring to a boil OR fill the steam canner to fill line and turn on low with the 5 pint jars nearby on a towel-covered counter top. 

Measure out the juice you steamed into the preserving pan. If you are adding cranberry juice, add it here. If you steamed the berries together, add 10 cups of elderberry-cran juice to the pan.

If you steamed only elderberries, add just 8 cups of elderberry juice to the pan and add in the 2 cups storebought cranberry juice.

Add the optional cinnamon stick if desired, and turn heat to medium.

Add the apple cider vinegar and ginger if desired.

Add honey, stirring to dissolve and tasting at quarter cup intervals. Be sensitive to the idea that maybe what you need is a cup of water, not necessarily honey, if the taste of the elderberry is strong.

Elderberries have a strong taste, and in comparison, I think chokecherries have a strong, bitter taste. That said, sometimes you just need the elderberry juice to be diluted a bit with cranberry or water rather than simply sweetened. I’ve tried the same with chokecherries and haven’t been successful; chokecherries are too bitter without loads of white sugar to be palatable.

Ladle into jars one at a time, apply lids and rings, and either submerge into the boiling water of the boiling water bath with a jar lifter  OR set gently on the rack of the steam canner. 

Process for 10 minutes PLUS 5 minutes for every 1000 ft above sea level. Remove from heat, rest jars carefully on towel covered countertop. Label cooled jars and store for up to 1 year. 

Want to try this recipe, but not sure about the canning part? Join my completely free Canning Basics Email Course! I’ll send you super simple lessons to your inbox to get you started on the right foot.

If you love Elderberry, be sure to check out the Elderberry Gummies Recipe!

Healthy Elderberry Gummies Recipe

Filed Under: Can

Easy Sourdough Starter

September 20, 2019 by Jenny Gomes Leave a Comment

This post will teach you how to make your own sourdough starter simply and easily at home. You can use your sourdough starter to make sourdough bread and sourdough pancakes, and you can keep your sourdough starter for years.

This post contains affiliate links.

Sourdough is a fermented food, did you know that? It’s a delicious and easy way to include the health benefits of fermentation into your diet and sourdough starter is the first step to making sourdough bread at home.

Sourdough starter is simple to make and I’ll share my best tips for success.

How to Make Easy Sourdough Starter

2 Cups All Purpose Flour – I’ve been liking the King Arthur White Whole Wheat for the added protein

2 1/4 teaspoons Active Dry Yeast – I like this kind because it comes in a glass jar that’s easily recycled and the lid closes really tightly for in between uses!

16 ounces (2 cups) warm water, 70-80 degrees F (Not hot enough to take a bath in, a warm room temperature)

Combine the ingredients in a glass bowl (see note about bowl below). Mixture may be lumpy and that’s ok. Cover with a thin kitchen towel, rubber band in place, and let sit for 2-3 days.

Stir daily and notice the bubbles and fermentation happening as soon as a few hours after combining. Sourdough will smell sour and will have many bubbles, and will more than double in size the first day.

If you notice any pink growth, discard and start over.

Note this bowl is likely the one the starter will live in for years. It will also double (or more!) in size so it must have a capacity of about 8 cups. Also choose a bowl that has a wider surface area rather than a tall and skinny shape. A mason jar is not the best choice; I chose this jar because it has a lid I can use when the starter is resting in the fridge and it is easy to rubber band a cloth around when it’s warming and growing on the counter.

Pro Tips for Successful Sourdough Starter

Use wooden utensils (or plastic) as metal reacts with the starter negatively. Do not use a metal spoon to make this or any easy sourdough starter.

Leave the starter in a warm place on the countertop when it is getting started. A cold countertop will slow or stop yeast growth.

Use a post-it note on the side of your jar or bowl telling you the day you need to return it to the fridge. I had trouble remembering until I started writing “put in fridge on Wednesday” on a note for myself.

To Store Easy Sourdough Starter

Covered in the refrigerator is a great place for the starter. Alternatively, a very cool place will suffice.

To Use Easy Sourdough Starter

Just measure out how much the recipe calls for, cover the jar back up, and return to the fridge. You’ll likely want to replenish the starter, however, as described below.

To Replenish Sourdough Starter After You’ve Used Some In a Recipe

If your recipe for bread or pancakes called for 1 cup of sourdough starter, add 1 cup flour and 1 cup warm water to the remaining starter and mix well. The same applies if the recipe called for 1 1/2 cups- replace with equal parts 1 1/2 flour and warm water. Leave sourdough in a warm place for about 6 hours, until mixture is bubbly, and return to refrigerator or other cool place.

You’ll Love My Recipe For Bread Machine Cinnamon Rolls

Bread Machine Cinnamon Roll Recipe | Super simple recipe that's perfect for making the night before!

Filed Under: Cook

  • « Go to Previous Page
  • Page 1
  • Interim pages omitted …
  • Page 16
  • Page 17
  • Page 18
  • Page 19
  • Page 20
  • Interim pages omitted …
  • Page 66
  • Go to Next Page »

Primary Sidebar

Categories

Follow me here, there, & everywhere!

  • Email
  • Facebook
  • Instagram
  • Pinterest
  • RSS
  • Twitter
  • YouTube

Search

Get The Pressure Canning Cookbook

Get 10 Free Recipes Now!

Best Chicken Coop

Footer

Get Started Pressure Canning

Shrubology Ebook

Shrubology: Refreshing Homemade Fruit and Vinegar Syrups for Cocktails
Make easy, no-cook fruit & vinegar syrups for cocktails & mocktails! This ebook shares crowd pleasing recipes and simple to understand ratios so you can make a shrub on your countertop any time- without a recipe. Dive into these Prohibition Era drinks today!

Copyright

Copyright 2019
The Domestic Wildflower
www.thedomesticwildflower.com.
All content created by Jennifer Gomes unless otherwise noted.

Copyright © 2026 · Lifestyle Pro on Genesis Framework · WordPress · Log in