• Skip to secondary menu
  • Skip to main content
  • Skip to primary sidebar
  • Skip to footer
  • The Pressure Canning Cookbook
  • Blog
    • Subscribe
    • Welcome!
  • Perfectly Preserved Podcast
  • About
    • ADW Manifesto
    • Work With Me
      • Read
  • Shop
    • My Account
    • Cart
    • Checkout

The Domestic Wildflower

Handmade Food & Craft Tutorials for Beginners

  • Courses
    • Free Canning Basics
    • Everything Canning Course
    • Steam Canning Workshop
    • Free Homemade Cocktail Mixers
    • Wildflower Mixology
    • Crochet Basket Workshop
  • Can & Preserve
    • Never Canned?
    • Steam Canner Equipment Bundle
    • Shrubs Course
  • Sew
  • Cook
  • Craft
    • Crochet Step-by-Step Guides
      • Crochet Basket
      • Giant Yarn Throw
      • Thick & Thin Throw
  • Living
    • Creativity Challenge
    • Clean
    • Kids
  • Rentals

Jenny Gomes

Best Fall Blog Posts

September 3, 2019 by Jenny Gomes Leave a Comment

Fall is such a fun season, and I have a ton of wonderful recipes, tutorials, and projects to take you all the way to winter. Enjoy these best Fall Blog Posts!

This post contains affiliate links.

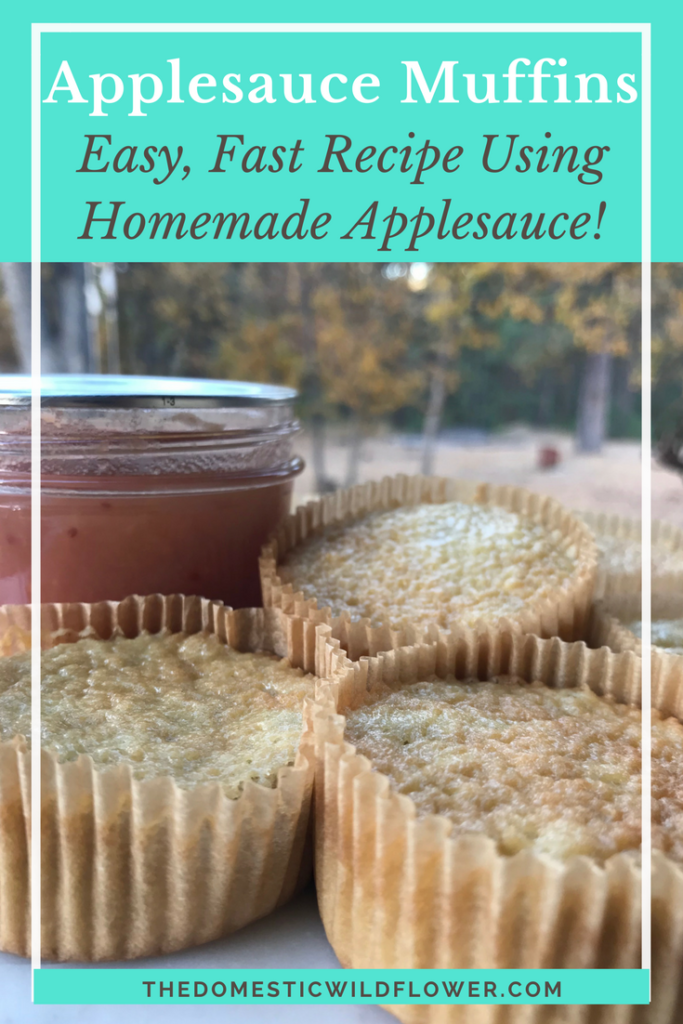
Applesauce Muffins

This recipe for applesauce muffins is is a great way to use a healthy ½ cup of your homemade applesauce (or store-bought if you haven’t learned how to make it from me yet!) into a portable snack.
Canning Pumpkin

I’m a big fan of doing things at home, making food for yourself, and generally believe homemade is best. There are a few situations where you cannot make something at home and one of those is canned pumpkin puree.
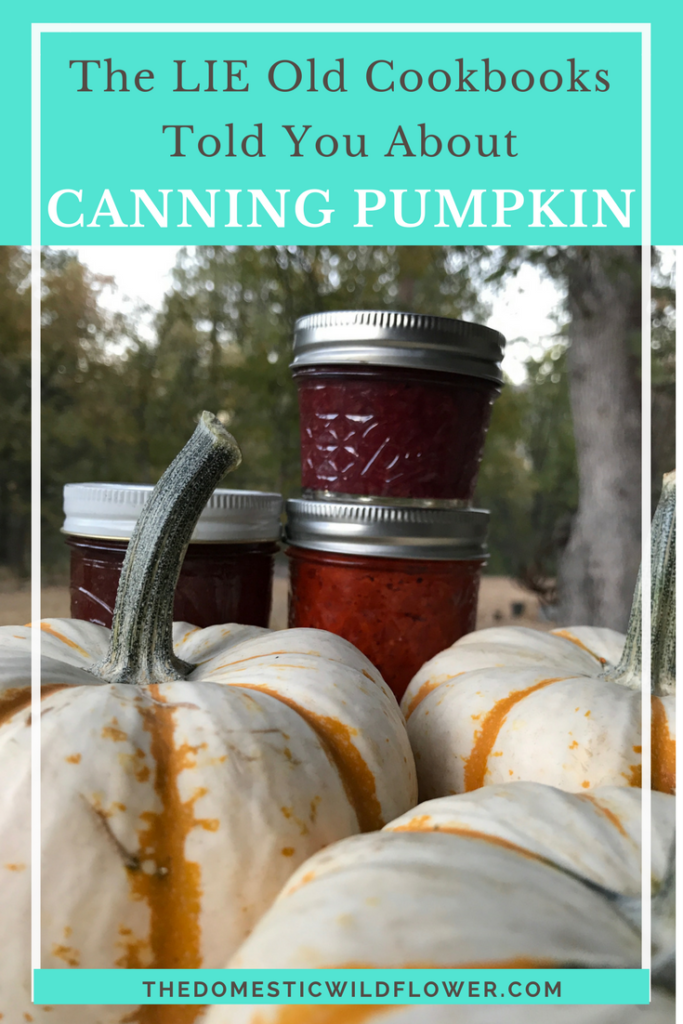
Canning Pumpkin | This post explains why canning pumpkin is not safe and why old cookbooks said you could. Great info in this post!

Felted Wool Dryer Balls

This post, featuring a guest post from my friend Amika will teach you how to make felted wool dryer balls at home and have you fighting static, wrinkles, and toxic dryer sheets like a superhero. Read on for the full felted dryer ball tutorial!
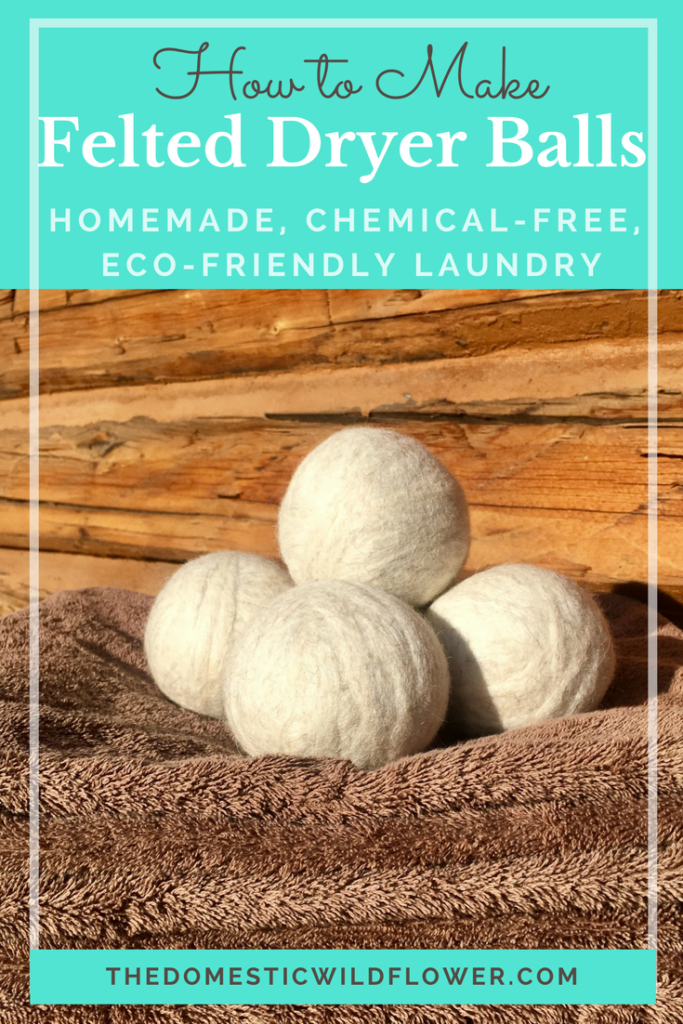
How to Make Felted Wool Dryer Balls for Homemade, Chemical Free Laundry! Read the post for the super clear tutorial!

Free Canning Basics Course

When I started canning, this was the part that caused me the most grief. A good cookbook is a helpful start, but there’s no way for it to SHOW you what happens when. There’s no shame in admitting that, hey, you don’t really cook all that often and having 3 pots going on the stove at once is kind of overwhelming. I am here to tell you (and explain, in detail in the course) that canning is WAY LESS COMPLICATED than cooking a big family dinner.
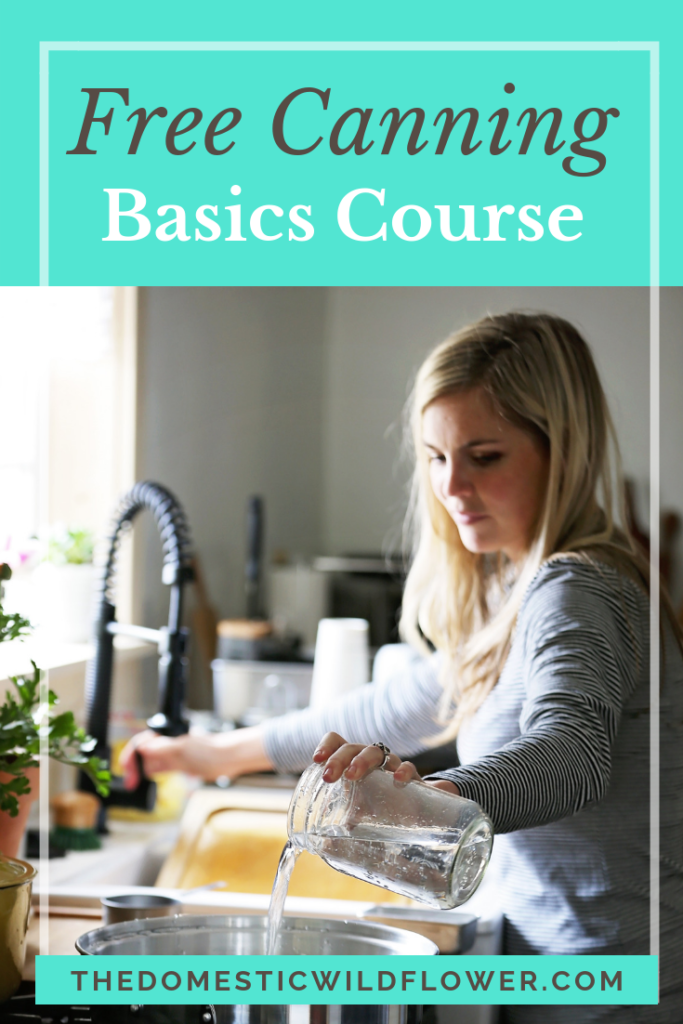
Free Canning Basics Course

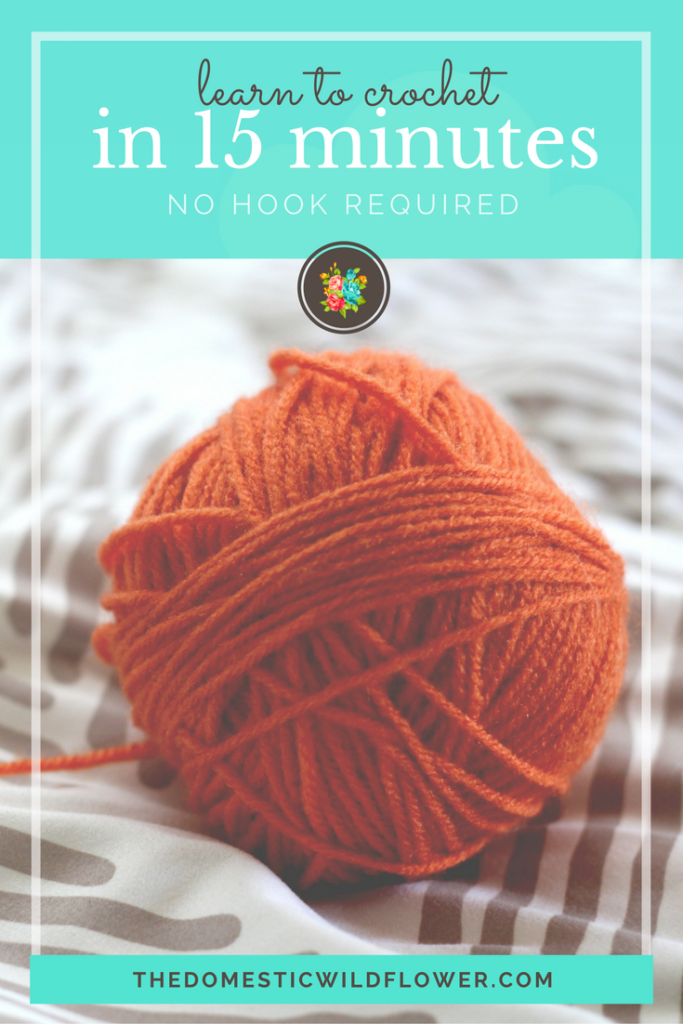
How To Crochet in 15 Minutes

This post will show you how to crochet in 15 minutes. It will demonstrate how to make a slip knot, how to chain, and how to crochet a versatile, simple stitch. The best part? You don’t even need a hook. Read on for the tutorial, beginner, and you’ll be crocheting in no time!
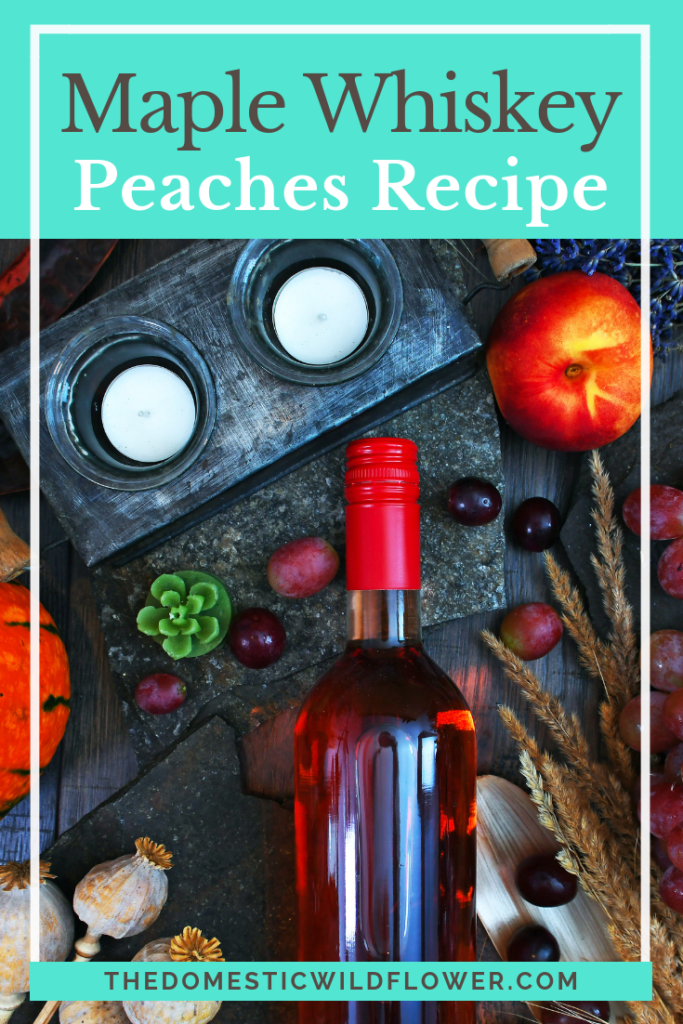
Maple Whiskey Peaches

This post will show you step by step how to can peaches in vanilla syrup with a splash of whiskey. The resulting preserve can be eaten out of the jar plain, are perfect on top of a cheesecake, waffles, or ice cream, or are a flavorful alternative to plain ol’ peaches in a pie or crisp. Read on for the tutorial!
10 Easy to Grow Vegetables in Your Fall Garden

10 Easy to Grow Vegetables for your Fall Garden is a post that will help you decide what to plant for the easiest, best yield for a successful Fall garden. Read on for the list and for some helpful resources perfect for beginners!
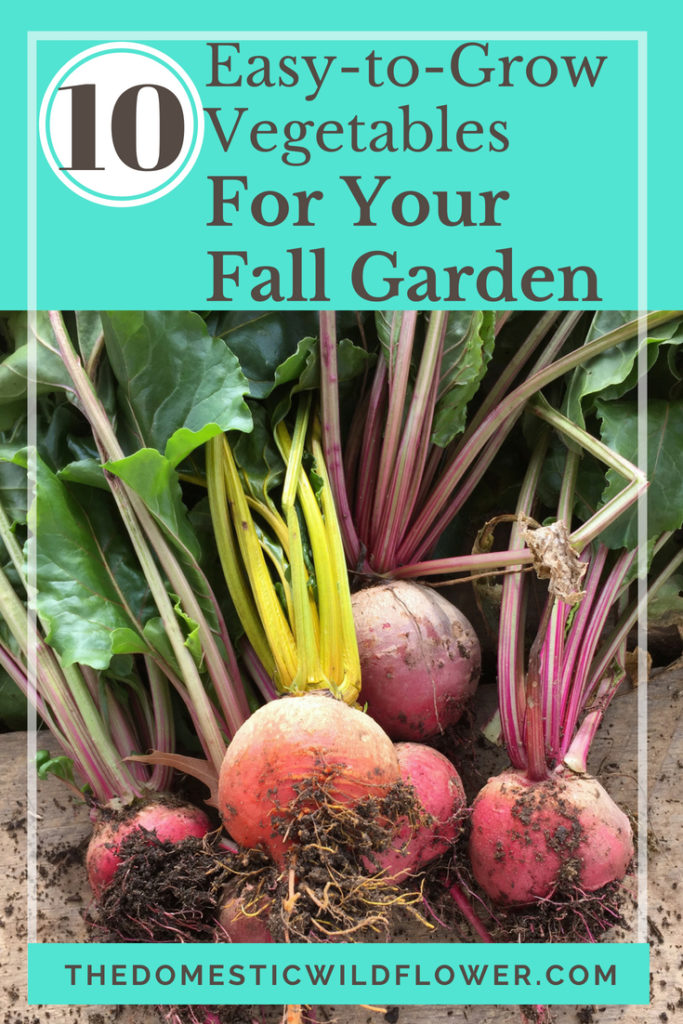
10 Easy to Grow Vegetables for Your Fall Garden This post has tons of great tips for a successful and easy fall gardening experience!

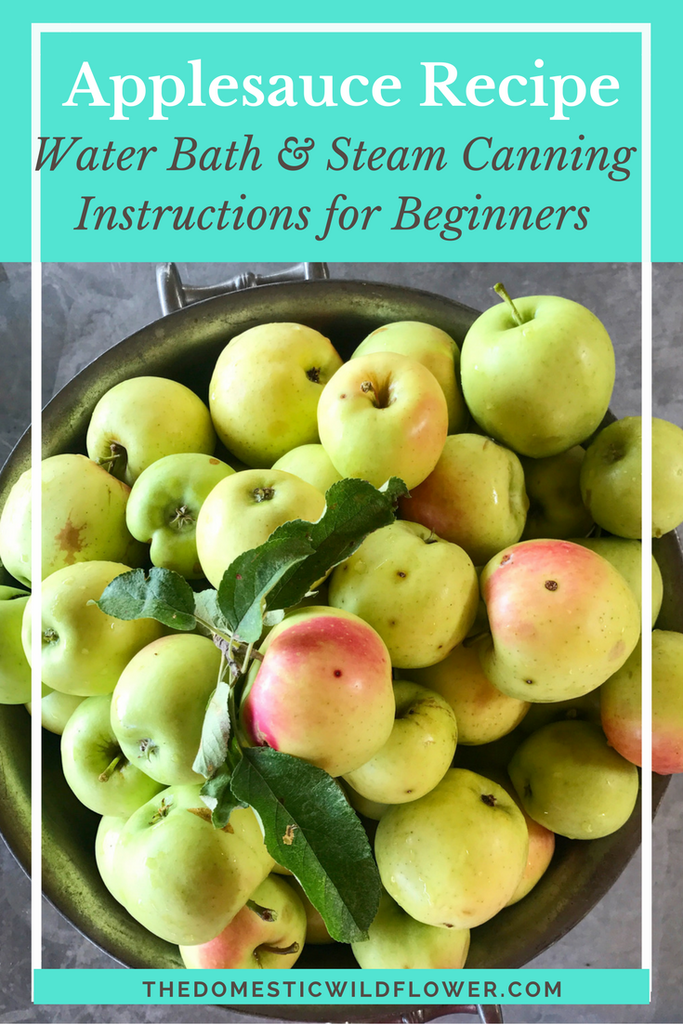
Applesauce Canning Recipe

This post will share an easy homemade applesauce recipe that you can preserve in jars with the traditional water bath instructions OR the steam canning directions. I’ll also share my favorite jars for lunch box size portions of this healthy snack!
Kombucha for Beginners: 7 Easy Steps

This tutorial will explain how to make kombucha, what the heck a scoby is, and how to get yeasty now!
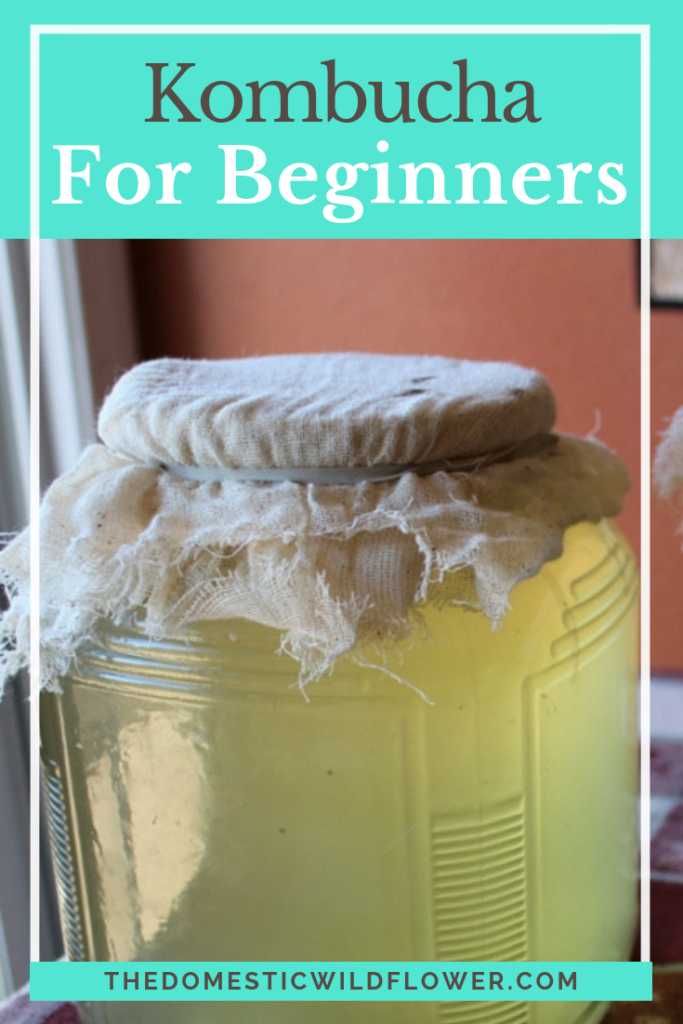
Kombucha for beginners

Learn How To Sew

This post will share my best recommendations for learning how to sew with the best expert advice I can round up for my readers. Sewing saves money, is creative, fun, and is much easier than people think. Learn how to sew below!
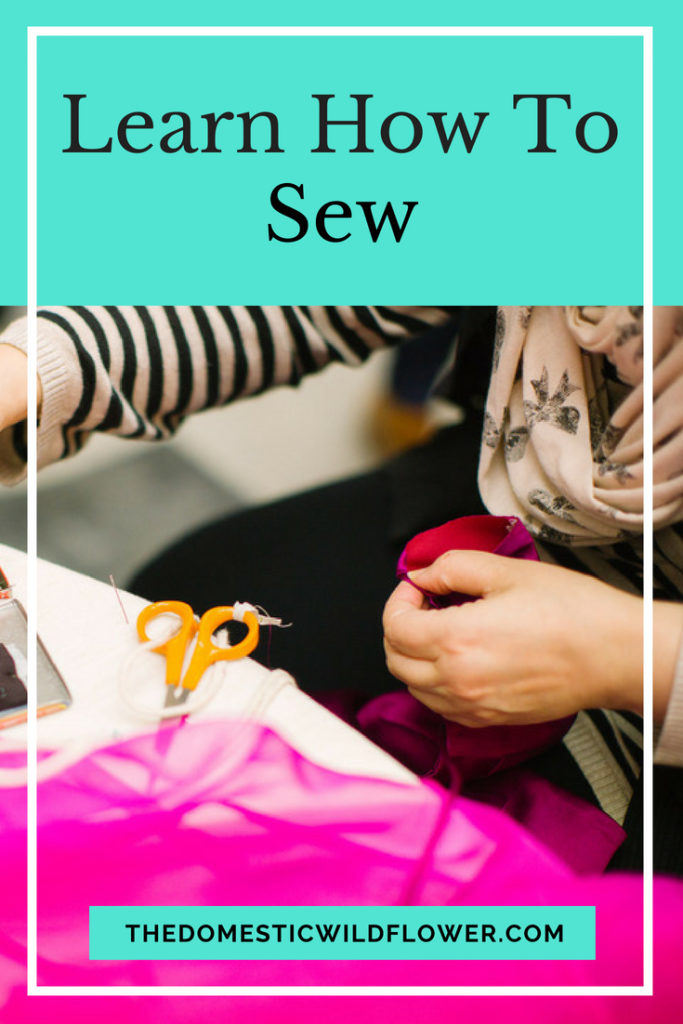
Learn How to Sew

20 Back to School Recipes

Back to school time means packing lunches, after school snacks, eating on the go, and getting back into the routine. This collection of recipes is perfect for back to school!
There you have it, my Best Fall Blog Posts! Which will you try first?
7 Best Fall Blog Posts from The Domestic Wildflower

Filed Under: Living

Canning with Stevia

August 23, 2019 by Jenny Gomes Leave a Comment

Canning with Stevia is safe because Stevia is heat stable and is approved by UC Extensions. It works best in these recipes outlined below, and this post will explain how best to replace sugar with Stevia when canning.

This post contains affiliate links.

Canning with Stevia

Canning with Stevia can be done safely and we know this because it’s been tested by University Extensions like the University of Oregon, not because I *think* it’s ok.

I’ll be the first to say that sugar is a powerful preservative, and that’s something to bear in mind as you begin canning without it. Imagine those gummy bears you find under a car seat, years old, and preserved so well. That’s sugar at work.

I started thinking about removing more and more sugar from my diet because of my migraine headaches. The jury is still out, but I know for me personally, reducing the sugar I eat is probably a step in the right direction.

Sugar is a powerful thickening agent, so you’ll want to consider that as well. If you are counting on sugar to thicken your jam or applesauce, Stevia isn’t going to thicken for you and there’s other ways to achieve the thickness you’re looking for without sugar.

Thickening Without Sugar

Liquid pectin has been a huge help, as has using a wide, shallow preserving pan to cook fruit quickly, rather than cooking for a really long time which cooks away the natural pectin.

How to Can with Stevia

Stevia is concentrated, so it is a LOT sweeter than regular table sugar. It’s also a lot more costly than regular cane sugar. To me, it is worth the trade off because I’m always canning inexpensive or free fruit, and the potential benefits of reducing sugar intake overall is worth it to me. But I’d be remiss to admit that it is more expensive than regular sugar.

In a jam recipe, for example, it’s common to see a cup-for-cup ratio of sugar to fruit. 5 cups fruit and 5 cups sugar, for example. I’ve went through a sack of sugar in a few batches of jam, at that rate. In contrast, the recipes I’ve shared (like this amazing Lime Cherries one here and the No Sugar Blood Orange Cherries, or the Peach Sauce here) you’d use a tablespoon or two of liquid Stevia.

Canning with Stevia is Safe

While sugar is a powerful preservative, that doesn’t mean it is necessary to preserve high acid fruits that you’d can in a water bath canning recipe. The Extension service has made it clear that Stevia is safe for canning because it is heat stable AND because high acid fruits don’t need sugar to be canned safely. That’s the two-part answer to the safety question.

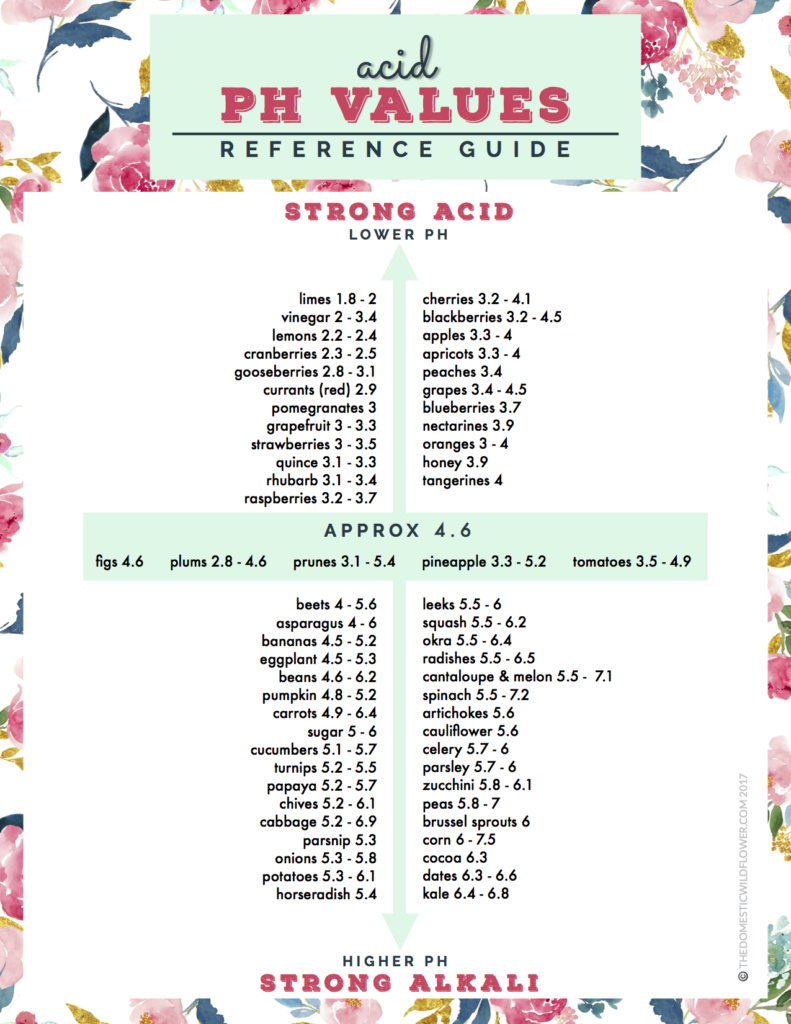
How do you know if your fruit is high in acid?

Most fruit is naturally high in acid. The reason we associate traditional water bath canning recipes into two groups- fruit jams and veggie pickles is because fruit is naturally high in acid and veggies become acidified by the addition of vinegar.

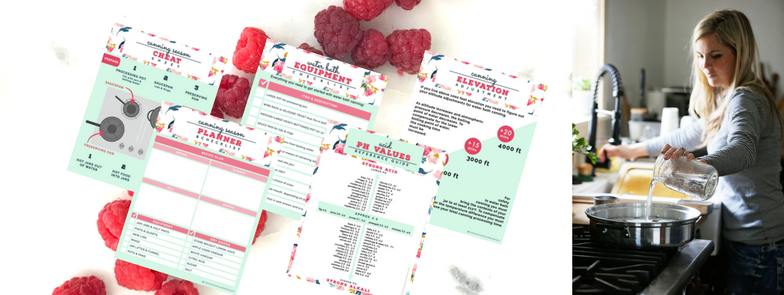
Download this free, beautiful, and easy to use chart to see which fruits and veggies are high in acid (low numbers) and which are low in acid (higher than a 4.6) here!

Download the acid & canning pH guide for free here! This amazing chart will help you understand the critical role of acid in water bath canning and steam canning AND how to make safe substitutions! Download this free PDF here!

Liquid or Powdered Stevia?

I like liquid Stevia because it mixes so well in whatever you’re canning- chunks of chopped fruit, smooth fruit sauce, or something in between. I’ve been really working hard on making every step of the canning process FASTER and EASIER and liquid Stevia is part of that.

Sugar Free Canning Recipes

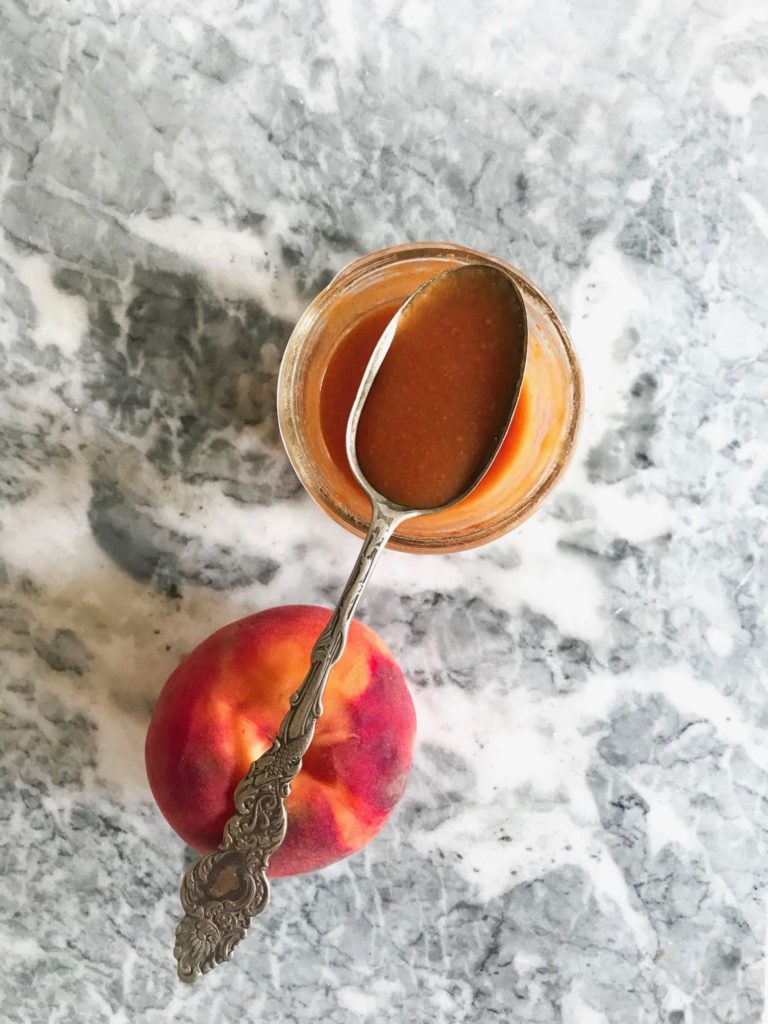
Canned Peach Sauce

Canned Peach Sauce

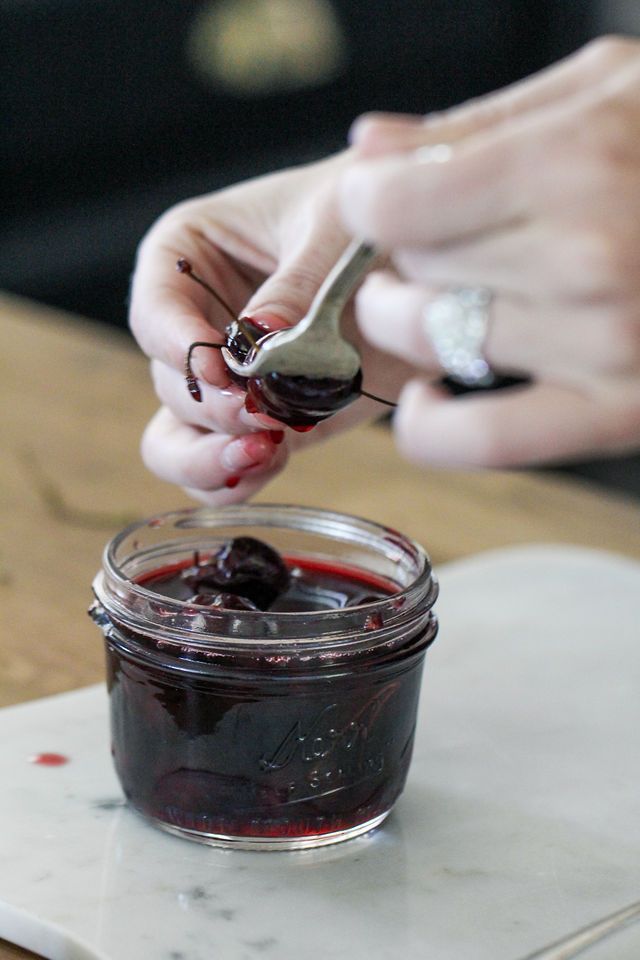
Lime Cherries

Lime Cherries Canning Recipes

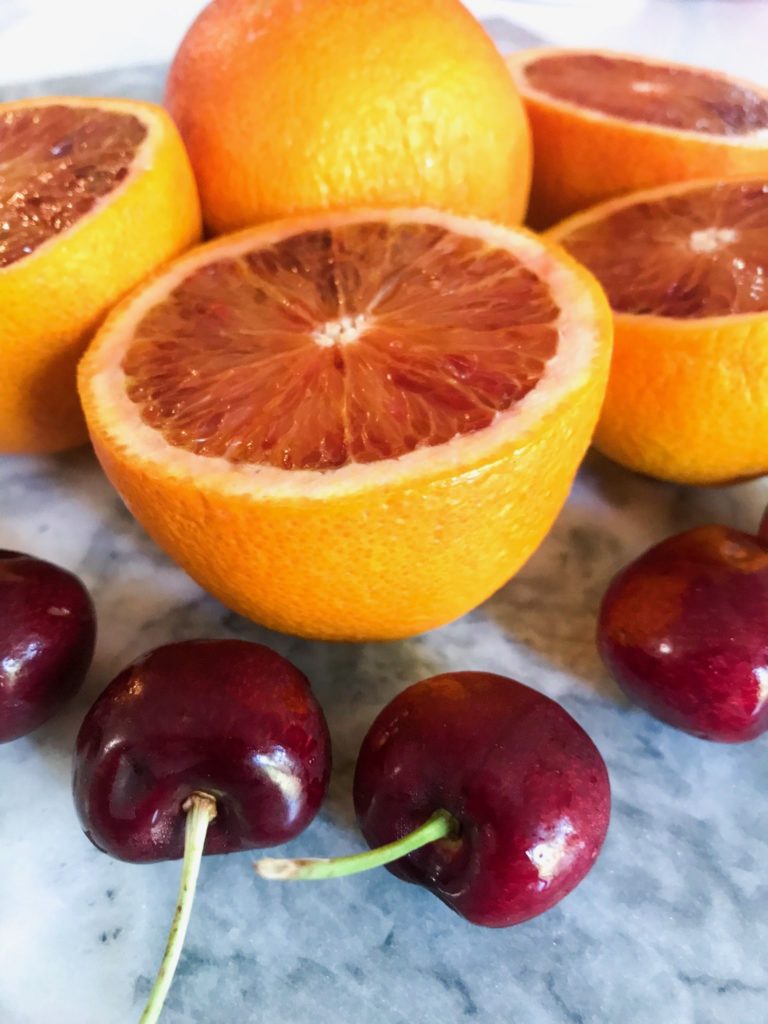
No Sugar Blood Orange Cherries

No Sugar Blood Orange Cherries Canning Recipe

Learning How to Can Food For Beginners

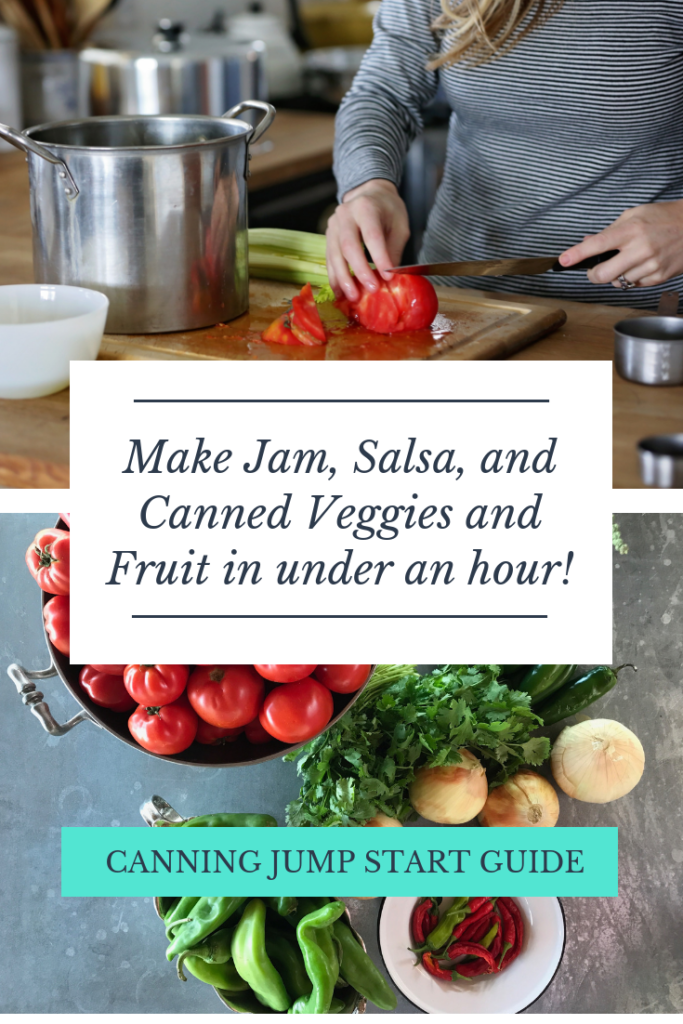
Get the Canning Jump Start Guide! This collection of visual guides will help you get started confidently. You’ll SEE exactly what you should be doing, when, so you can make these delicious, healthy recipes. Get it HERE.

Canning Jump Start Guide | Make jam, salsa, and canned veggies and fruit in under an hour!

Filed Under: Can

Canned Peach Sauce

August 19, 2019 by Jenny Gomes Leave a Comment

We’ve all heard of applesauce but what about peach sauce? This recipe will share a great way of making peaches into a sauce that even babies can enjoy that’s thicker than just plain peach puree. Read on for the easy canning recipe with instructions for water bath canning AND steam canning! 

The trouble with other plain peach sauce recipes out there is they are honestly not as thick as applesauce. Peaches are just juicier and cooking them for hours and hours can change the flavor and be a pain in the neck. The trick I’ve found with canning peaches into lunch box perfect peach sauce, with or without a little maple syrup, is to add liquid pectin. 

I really like liquid pectin for this application because it mixes seamlessly, and thickens the peach puree enough that it’s kid-friendly and spoon-ready, as opposed to smoothie consistency. It’s also plant-based, sugar-free, and prevents you from cooking for hours and hours.

You’ll notice that I forgo peeling the peaches in this recipe. I wanted a recipe that was primo for the busy mom- no time for peeling peaches here! Just cut the pits out, plop into the blender, puree till very smooth, cook with the other ingredients, add the liquid pectin, ladle into the warm jars, and process. Done!

First, if you’re new to canning, don’t worry. It’s easier than you think. The basic idea is you put hot food into warm jars, put a lid on, and put them into a hot water bath or on a steam canner rack for a set amount of time. I’m a teacher in my day job so I created a visual guide to help beginners SEE how canning works in my Canning Essentials Workbook, which you can grab here!

Canning Essentials Workbook

Canning With Stevia

Yes, you can can with Stevia. The Oregon State Extension explains more here but I’ve had great success with liquid Stevia.

Stevia is much sweeter than sugar, BUT in canning recipes, you often need to add a lot of sweetness (sometimes cups and cups of sugar) so this recipe calls for a tablespoon of liquid Stevia.

Stevia works well when sugar isn’t needed as a thickening agent, like in my fruit cup recipes.

How to Make Canned Peach Sauce

First pit the peaches into halves or quarters.

Prepare your steam canner or water bath canner. If you haven’t heard of steam canners, they are amazing and I explain more about them here but they are ready in 5 minutes, while a traditional water bath canner is ready in 25. They are what I use almost exclusively and what I’d recommend to any canner.

You’ll combine the peaches, lemon juice, water, in a blender. Blend smooth.

Add peach puree and stevia in the preserving pan and bring to a simmer.

Whisk in the liquid stevia (2 packets, which come in 1 box).

Ladle into jars. Add new lids and rings, and place on canner (steps for specific canner below).

Process for 15 minutes at sea level.

Want to know more about these steam canners? You can download the free Steam Canner Fact Sheet here!

You Will Need

8 cups halved or quartered peaches

1 cup water

1/2 cup lemon juice

1 teaspoon cinnamon

1 tablespoon liquid stevia if desired

2 packets of liquid pectin

Canned Peach Sauce Recipe

Pit peaches and halve or quarter and add to a blender. I love this one.

Add the 1 cup water, the 1/2 cup lemon juice, and 1 teaspoon cinnamon. Puree very smooth.

Prepare your water bath or steam canner pot. You’ll need about 8 half pint jars for this recipe.

A. For the traditional water bath method, fill the pot with hot water, filling the jars so they don’t float, and bring to a boil.

B. For the recommended steam canner method, fill the steam canner to the mark (just over the handles, using 2.5 quarts) with water, set the jars on the rack, and turn to low.

NOTE: for both methods, you don’t need to simmer your lids nor sterilize your jars. Both steps are not required by the USDA. Read more about simmering lids here and about sterilizing jars here. Both steps waste time and you won’t find any time wasting steps on my blog 🙂

Combine the peaches, lemon juice, water, in a blender. Blend smooth.

Add peach puree and stevia in the preserving pan and bring to a simmer.

Whisk in the liquid stevia (2 packets, which come in 1 box).

Ladle into jars with 1/2 inch headspace (the space between the food and the top edge of the jar).

Add new lids and rings, and place on steam canner rack OR submerge carefully into boiling water bath.

A. For traditional water bath, make sure the jars are covered by at least 1 inch of boiling water. Then start the processing time of 15 minutes. When the time is up, remove the jars onto a towel covered countertop.

B. For the steam canner method, place the lid on the steam canner pot. Turn the heat to medium high and the dial will climb to the green zone of your elevation. Then, adjust the heat of the stove to be such that it is just high enough that the dial remains in the green zone. There is no advantage to it boiling rapidly inside. This means you may turn it to medium, or simply keep it at medium high, depending on your stove. Then start the processing time of 15 minutes. When the time is up, turn the stove off. You can leave the lid on indefinitely, OR remove the jars to a towel covered countertop while still hot. Use caution when lifting the lid.

Label jars and store.

You Will Also Love

Maple Whiskey Peaches

Applesauce Canning Recipe

Canning Jump Start Guide

Filed Under: Can

Lime Cherries Canning Recipe

August 7, 2019 by Jenny Gomes 1 Comment

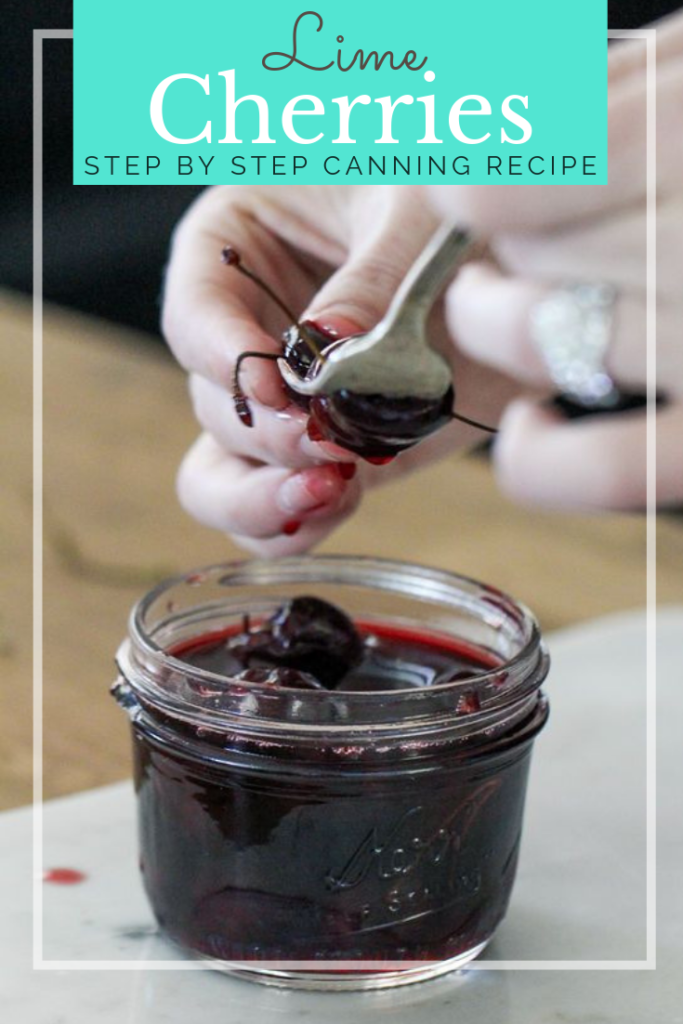
This easy canning recipe calls for stevia instead of sugar, which makes it keto friendly, paleo friendly, and most importantly, family friendly. It’s a great lunch box option when canned in half pint jars and is fast and delicious.

Lime Cherries Canning Recipes

This recipe contains affiliate links.

This recipe part of a partnership with Northwest Cherry Growers and I can’t thank them enough for the tasty cherries. You’ll find them in your grocery stores. Thank you for allowing me to be a Canbassador!

First, if you’re new to canning, don’t worry. It’s easier than you think. The basic idea is you put hot food into warm jars, put a lid on, and put them into a hot water bath or on a steam canner rack for a set amount of time. I’m a teacher in my day job so I created a visual guide to help beginners SEE how canning works in my Canning Essentials Workbook, which you can grab here!

 Canning Essentials Workbook

Canning With Stevia

Yes, you can can with Stevia. The Oregon State Extension explains more here but I’ve had great success with liquid Stevia.

I started brainstorming canning recipes with my cousin who has lost a ton of weight safely and successfully on the Code Red (kind of like Keto) program. My cousin Dea and I are both experienced canners and she wanted to put up pantry staples that were both no sugar AND family friendly and this recipe was one that resulted from our text brainstorm sessions.

One website that we’ve loved as a Keto resource is Keto Focus. Annie has tons of delicious recipes that families love and are easy to make. I have started cutting out sugar to help with my migraine headaches and her site has been a huge help.

Stevia is much sweeter than sugar, BUT in canning recipes, you often need to add a lot of sweetness (sometimes cups and cups of sugar) so this recipe calls for a tablespoon of liquid Stevia.

Stevia works well when sugar isn’t needed as a thickening agent, like in my fruit cup recipes.

How To Make Lime Cherries

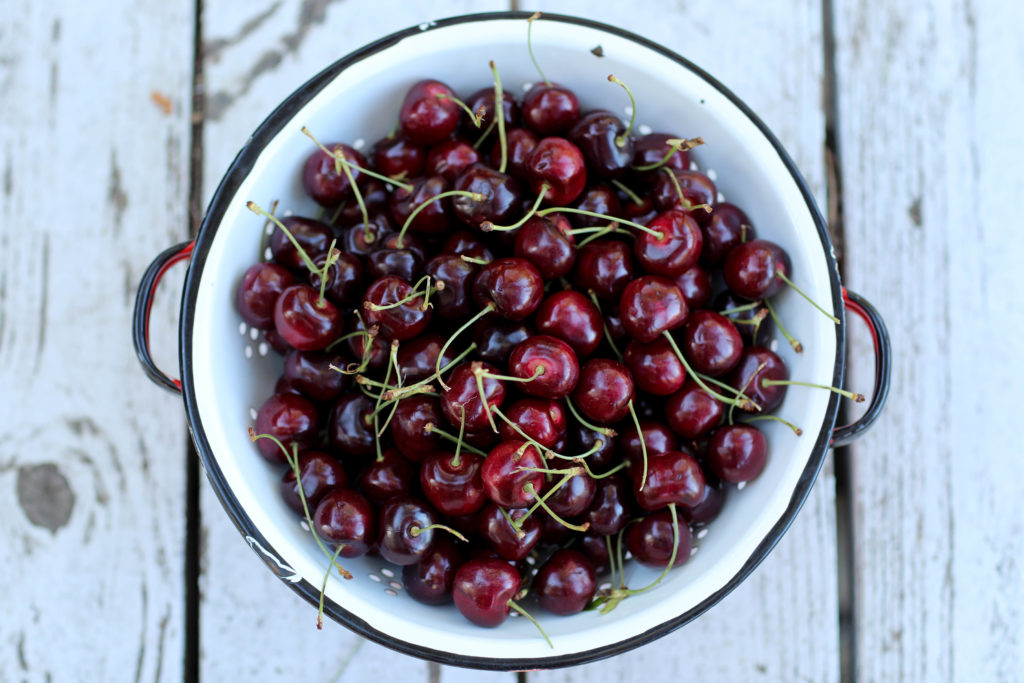
First, you’ll pit your cherries. That will take a few minutes and can be done a day in advance.

Prepare your steam canner or water bath canner. If you haven’t heard of steam canners, they are amazing and I explain more about them here but they are ready in 5 minutes, while a traditional water bath canner is ready in 25. They are what I use almost exclusively and what I’d recommend to any canner.

You’ll combine the cherries, lime juice, water, and stevia in the preserving pan and bring to a simmer.

Then you’ll ladle the cherries and liquid in an even mix into your jars, leaving 1/2 inch headspace, add lids and rings, and put them in the water bath OR the steam canner. You’ll process for 15 minutes at sea level and then you’re done!

Want to know more about these steam canners? You can download the free Steam Canner Fact Sheet here!

Lime Cherries Canning Recipes

You Will Need

4 cups cherries, pitted

1 cup store bought lime juice

2 cup water

2 tablespoons liquid stevia

Lime Cherries Canning Recipe

Lime Cherries Canning Recipes

Pit your cherries and set aside. This step can be done a day in advance.

Prepare your water bath or steam canner pot. You’ll need about 6 half pint jars for this recipe.

A. For the traditional water bath method, fill the pot with hot water, filling the jars so they don’t float, and bring to a boil.

B. For the recommended steam canner method, fill the steam canner to the mark (just over the handles, using 2.5 quarts) with water, set the jars on the rack, and turn to low.

NOTE: for both methods, you don’t need to simmer your lids nor sterilize your jars. Both steps are not required by the USDA. Read more about simmering lids here and about sterilizing jars here. Both steps waste time and you won’t find any time wasting steps on my blog 🙂

Combine the pitted cherries, the lime juice, the water, and the 2 tablespoons of stevia in your preserving pan.

Bring to a simmer.

Ladle the cherries and juice mixture into your warm jars one by one. Leave 1/2 inch headspace and apply new lids and new or used rings, tightening only as tight as you’d tighten a bathroom faucet (not too tight!) and either submerge in the water bath again OR set on the steam canner rack.

Bring your traditional water bath up to boil if using that method OR put the steam canner lid on and turn to medium high.

A. Water bath canners: Wait till the water is boiling to start your 15 minutes at sea level processing time.

B. Steam canners: Wait until the dial is in the green zone for your elevation to start your 15 minutes at sea level processing time.

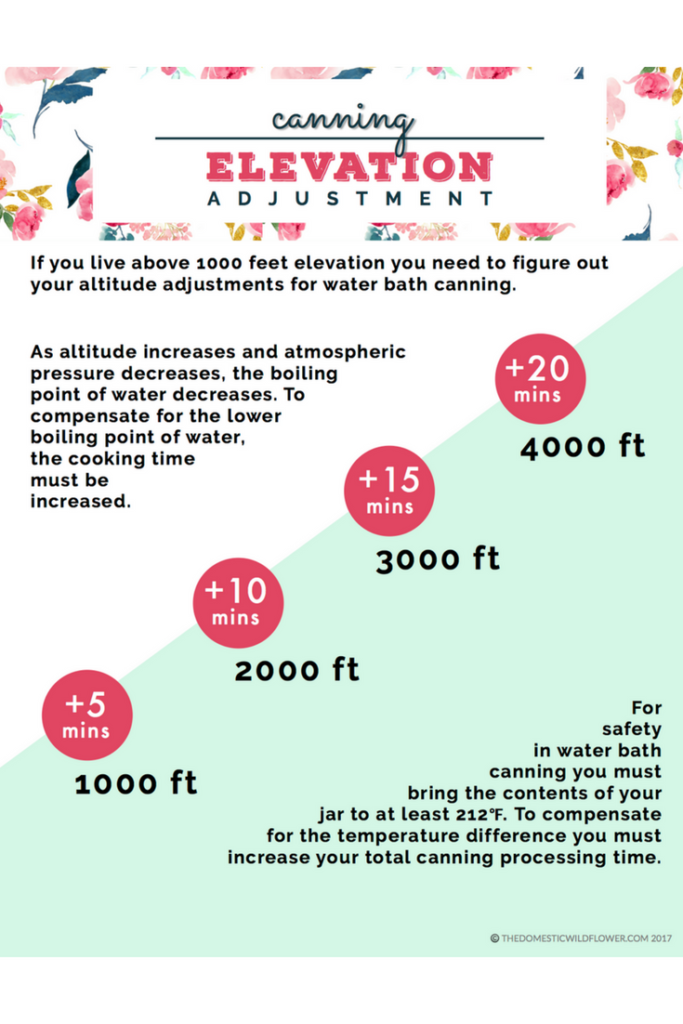
Process for 15 minutes at sea level (download the free adjusting for altitude chart here!)

How to Adjust for Altitude When Canning This post explains how to adjust your processing times clearly, and there's a great visual guide in the post as well!

This No Sugar Lime Cherries Canning Recipe yields about 6 half pint jars. Label and store jars for up to one year.

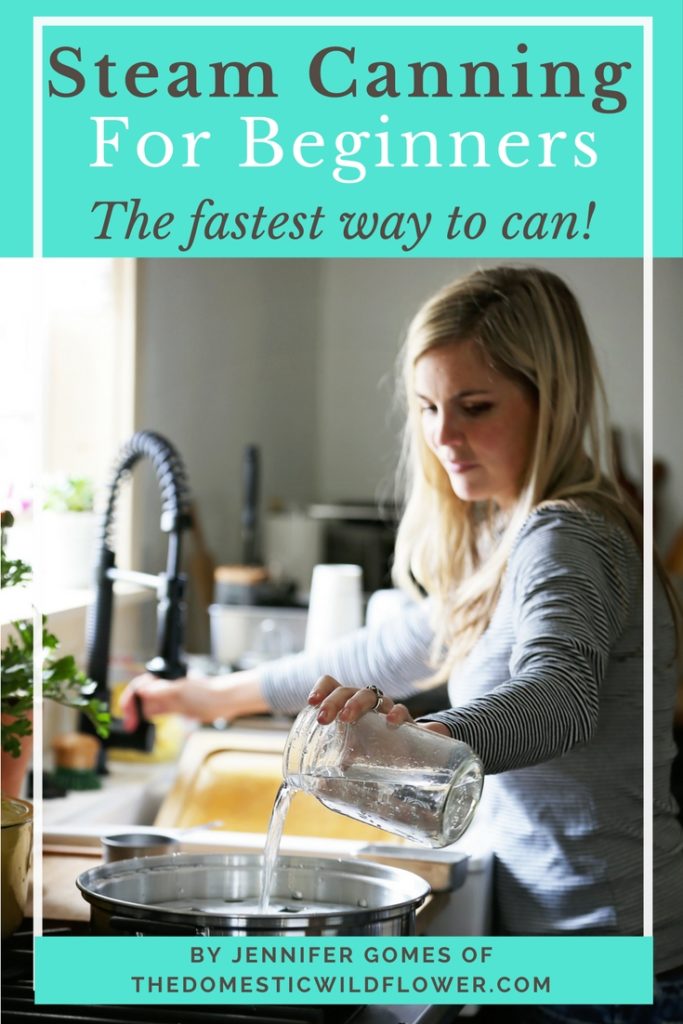
If you are interested in using the steam canner, you’ll love the Steam Canning for Beginners Ebook– it’s just $5 and will help you start canning the fastest way, the easiest way!

Steam Canning for Beginners this post explains steam canning for beginners and shares the ebook that will explain step by step how to use the fastest tool in canning!

Filed Under: Can

No Sugar Blood Orange Cherries Canning Recipe

August 2, 2019 by Jenny Gomes 2 Comments

This easy canning recipe calls for stevia instead of sugar, which makes it keto friendly, paleo friendly, and most importantly, family friendly. It’s a great lunch box option when canned in half pint jars and is fast and delicious.

This recipe contains affiliate links.

This recipe part of a partnership with Northwest Cherry Growers and I can’t thank them enough for the tasty cherries. You’ll find them in your grocery stores. Thank you for allowing me to be a Canbassador!

First, if you’re new to canning, don’t worry. It’s easier than you think. The basic idea is you put hot food into warm jars, put a lid on, and put them into a hot water bath or on a steam canner rack for a set amount of time. I’m a teacher in my day job so I created a visual guide to help beginners SEE how canning works in my Canning Essentials Workbook, which you can grab here!

 Canning Essentials Workbook

Canning With Stevia

Yes, you can can with Stevia. The Oregon State Extension explains more here but I’ve had great success with liquid Stevia.

I started brainstorming canning recipes with my cousin who has lost a ton of weight safely and successfully on the Code Red (kind of like Keto) program. My cousin Dea and I are both experienced canners and she wanted to put up pantry staples that were both no sugar AND family friendly and this recipe was one that resulted from our text brainstorm sessions.

One website that we’ve loved as a Keto resource is Keto Focus. Annie has tons of delicious recipes that families love and are easy to make. I have started cutting out sugar to help with my migraine headaches and her site has been a huge help.

Stevia is much sweeter than sugar, BUT in canning recipes, you often need to add a lot of sweetness (sometimes cups and cups of sugar) so this recipe calls for a tablespoon of liquid Stevia.

Stevia works well when sugar isn’t needed as a thickening agent, like in my fruit cup recipes.

How To Make No Sugar Blood Orange Cherries

First, you’ll pit your cherries. That will take a few minutes and can be done a day in advance.

Juice your blood oranges. This is a quick step because blood oranges are very juicy and sweet and juice easily.

Prepare your steam canner or water bath canner. If you haven’t heard of steam canners, they are amazing and I explain more about them here but they are ready in 5 minutes, while a traditional water bath canner is ready in 25. They are what I use almost exclusively and what I’d recommend to any canner.

You’ll combine the cherries, juice, water, and stevia in the preserving pan and bring to a simmer.

Then you’ll ladle the cherries and liquid in an even mix into your jars, leaving 1/2 inch headspace, add lids and rings, and put them in the water bath OR the steam canner. You’ll process for 15 minutes at sea level and then you’re done!

Want to know more about these steam canners? You can download the free Steam Canner Fact Sheet here!

No Sugar Blood Orange Cherries Canning Recipe

You Will Need

4 cups cherries, pitted

2 cups blood orange juice squeezed from 6+ blood oranges

1 cup water

1 tablespoon liquid stevia

Blood Orange Cherries Canning Recipe

Pit your cherries and set aside. This step can be done a day in advance.

Juice blood oranges and discard or compost peels.

Prepare your water bath or steam canner pot. You’ll need about 6 half pint jars for this recipe.

A. For the traditional water bath method, fill the pot with hot water, filling the jars so they don’t float, and bring to a boil.

B. For the recommended steam canner method, fill the steam canner to the mark (just over the handles, using 2.5 quarts) with water, set the jars on the rack, and turn to low.

NOTE: for both methods, you don’t need to simmer your lids nor sterilize your jars. Both steps are not required by the USDA. Read more about simmering lids here and about sterilizing jars here. Both steps waste time and you won’t find any time wasting steps on my blog 🙂

Combine the pitted cherries, the blood orange juice, the water, and the tablespoon of stevia in your preserving pan.

Bring to a simmer.

Ladle the cherries and juice mixture into your warm jars one by one. Leave 1/2 inch headspace and apply new lids and new or used rings, tightening only as tight as you’d tighten a bathroom faucet (not too tight!) and either submerge in the water bath again OR set on the steam canner rack.

Bring your traditional water bath up to boil if using that method OR put the steam canner lid on and turn to medium high.

A. Water bath canners: Wait till the water is boiling to start your 15 minutes at sea level processing time.

B. Steam canners: Wait until the dial is in the green zone for your elevation to start your 15 minutes at sea level processing time.

Process for 15 minutes at sea level (download the free adjusting for altitude chart here!)

How to Adjust for Altitude When Canning This post explains how to adjust your processing times clearly, and there's a great visual guide in the post as well!

This No Sugar Blood Orange Cherries Canning Recipe yields about 6 half pint jars. Label and store jars for up to one year.

If you are interested in using the steam canner, you’ll love the Steam Canning for Beginners Ebook– it’s just $5 and will help you start canning the fastest way, the easiest way!

Steam Canning for Beginners this post explains steam canning for beginners and shares the ebook that will explain step by step how to use the fastest tool in canning!

Filed Under: Can

  • « Go to Previous Page
  • Page 1
  • Interim pages omitted …
  • Page 18
  • Page 19
  • Page 20
  • Page 21
  • Page 22
  • Interim pages omitted …
  • Page 66
  • Go to Next Page »

Primary Sidebar

Categories

Follow me here, there, & everywhere!

  • Email
  • Facebook
  • Instagram
  • Pinterest
  • RSS
  • Twitter
  • YouTube

Search

Get The Pressure Canning Cookbook

Get 10 Free Recipes Now!

Best Chicken Coop

Footer

Get Started Pressure Canning

Shrubology Ebook

Shrubology: Refreshing Homemade Fruit and Vinegar Syrups for Cocktails
Make easy, no-cook fruit & vinegar syrups for cocktails & mocktails! This ebook shares crowd pleasing recipes and simple to understand ratios so you can make a shrub on your countertop any time- without a recipe. Dive into these Prohibition Era drinks today!

Copyright

Copyright 2019
The Domestic Wildflower
www.thedomesticwildflower.com.
All content created by Jennifer Gomes unless otherwise noted.

Copyright © 2026 · Lifestyle Pro on Genesis Framework · WordPress · Log in