This post will share an easy, beginner friendly canning recipe for carrot pickles.
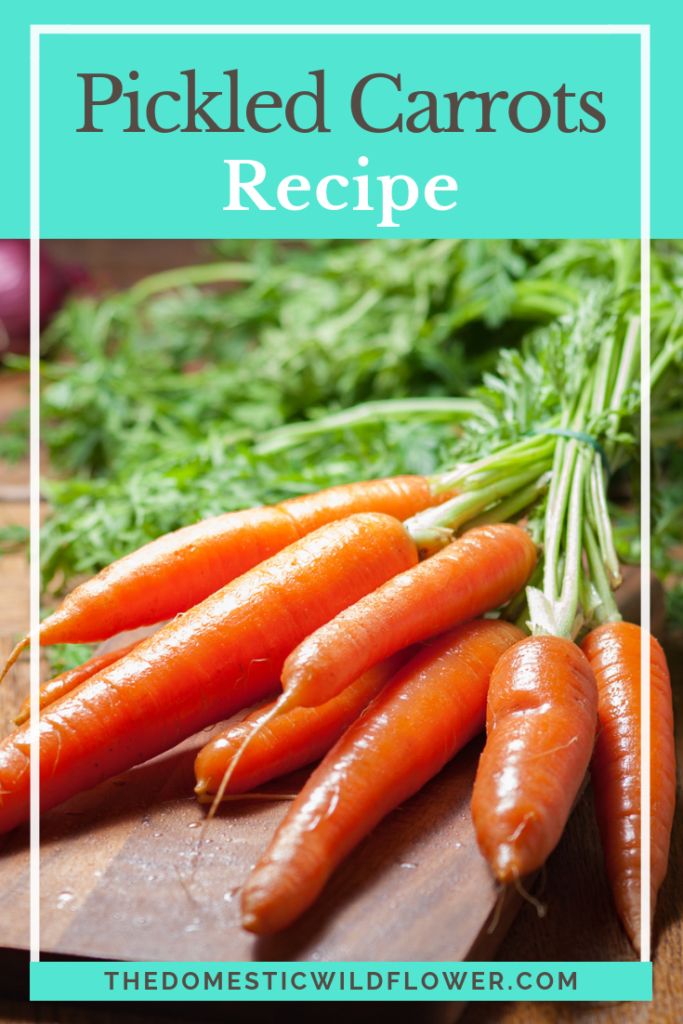
Carrot pickles are one of my favorite pickles because they aren’t cucumbers 🙂 I actually don’t care for cucumbers much, to be honest, which I know is really silly but they just don’t light my fire. Canning them isn’t as easy as you might think; cucumbers for pickles should be small, very firm, and very different than what you’d want sliced-up in a salad. Because of their mild flavor, you have to choose vinegar that really is tasty because it’s taste is what shines or screams. You have to use caution against boiling them too hard or too long for fear of making them mushy, and God knows no one wants a mushy pickle. This isn’t meant to discourage you but rather to educate and to offer an alternative if cucumbers aren’t your jam anyway.
Carrot pickles are my answer to those concerns. Carrots are deliciously pickled in vinegar; they are salty and crisp and they plate beautifully. They are easy to spice up or keep simple for those pickier eaters in your charge.
These are easy to keep crisp, & are a healthy, savory snack!
If you are feeling hesitant about canning, I have the perfect resource to help!
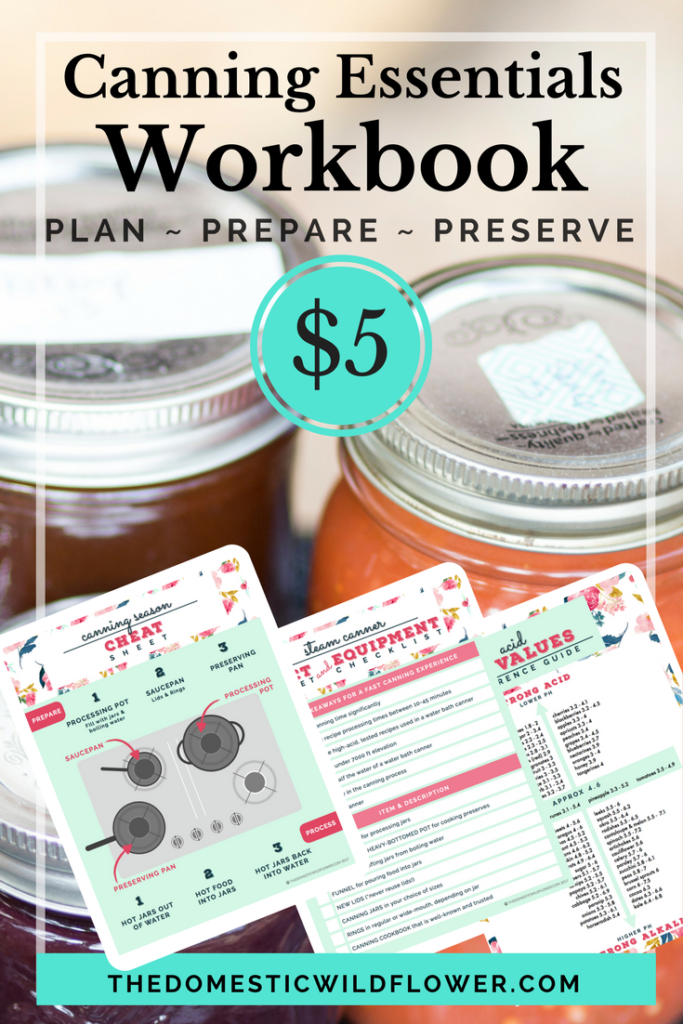
Get the Canning Essentials Workbook for $5 and be guided every step of the way making this recipe, and every recipe this season! The Workbook includes
- Canning Season Planner
- Pantry Checklist
- Equipment Checklist
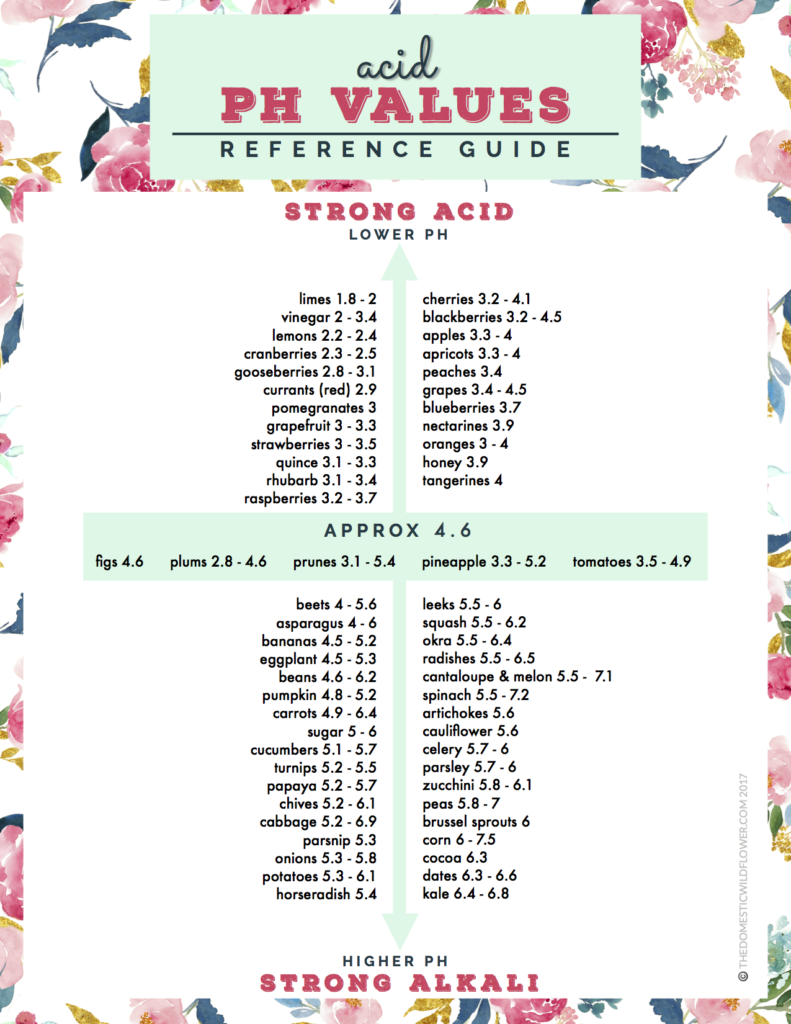
- Acid & Canning Guide
- Canning Log
- Process Cheat Sheet
- Elevation Adjustment Guide
- Bonus Recipes
You will need:
2 pounds good quality carrots, scrubbed.
5 1/2 cups apple cider vinegar
1 tablespoon salt
3 tablespoons sugar
4 cloves garlic, sliced
1/2 small white onion sliced thin, or diced
1 cup of water
Optional seasoning:1/2 teaspoon black pepper, 1 bay leaf per jar, 1 sprig thyme or dill per jar, shake of red pepper flakes to taste, about 1/2 teaspoon per jar– choose any or all of the above to suit your taste!
Get the canning equipment list HERE!
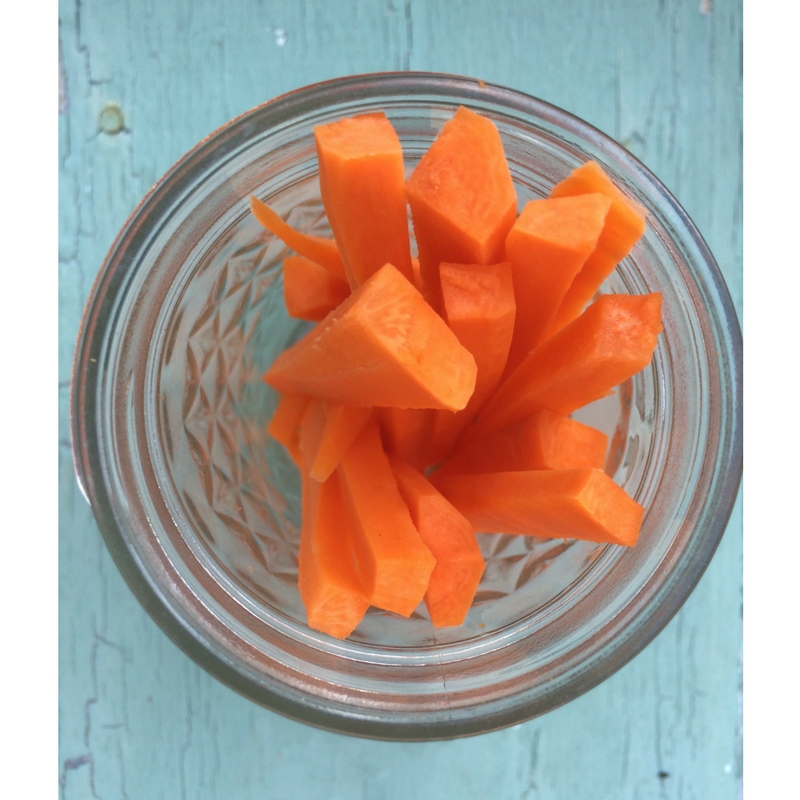
Cut carrots into sticks that are about 1/2 inch thick and no more than 4 inches tall if you are using pint jars. Let rest in ice water while you prepare your pots.
Heat the processing pot full of 4-5 pint jars and water to a boil. Bring a saucepan of lids and rings to a simmer.
In the preserving pan combine the vinegar, 1 cup of water, salt, sugar, and any seasonings. Bring to a simmer and then add the carrots until they are just tender about 9 minutes.
Use the jar lifter to carefully remove a hot jar from the boiling water bath. Pour the hot water back into the pot, into the saucepan, or into the sink.
Using the funnel, pack the hot carrots into the jars (not tight, just full), and then ladle the hot brine carefully over the carrots, giving it a chance to seep to the bottom. You may have to distribute pieces of onion and garlic and seasonings jar by jar using a clean, long-handled spoon.
After one jar is filled with carrots and covered with brine, put the lid and ring on and return it to the boiling water bath carefully.
Repeat with remaining jars.
When all the jars are filled with carrots and brine, bring the pot back up to boil and process for 15 minutes, and add 5 minutes for every 1000 feet you live above sea level.
When the time is up, remove the jars carefully to rest and seal on the towel covered countertop. Label cool jars and store.
That’s all! Pretty easy, right?
Not sure you have the equipment to make this recipe? Watch this!

 I wrote all the instructions out in a fun PDF that I’d love to share with you completely for free, you crafty readers!