This easy canning recipe calls for stevia instead of sugar, which makes it keto friendly, paleo friendly, and most importantly, family friendly. It’s a great lunch box option when canned in half pint jars and is fast and delicious.
This recipe contains affiliate links.
This recipe part of a partnership with Northwest Cherry Growers and I can’t thank them enough for the tasty cherries. You’ll find them in your grocery stores. Thank you for allowing me to be a Canbassador!
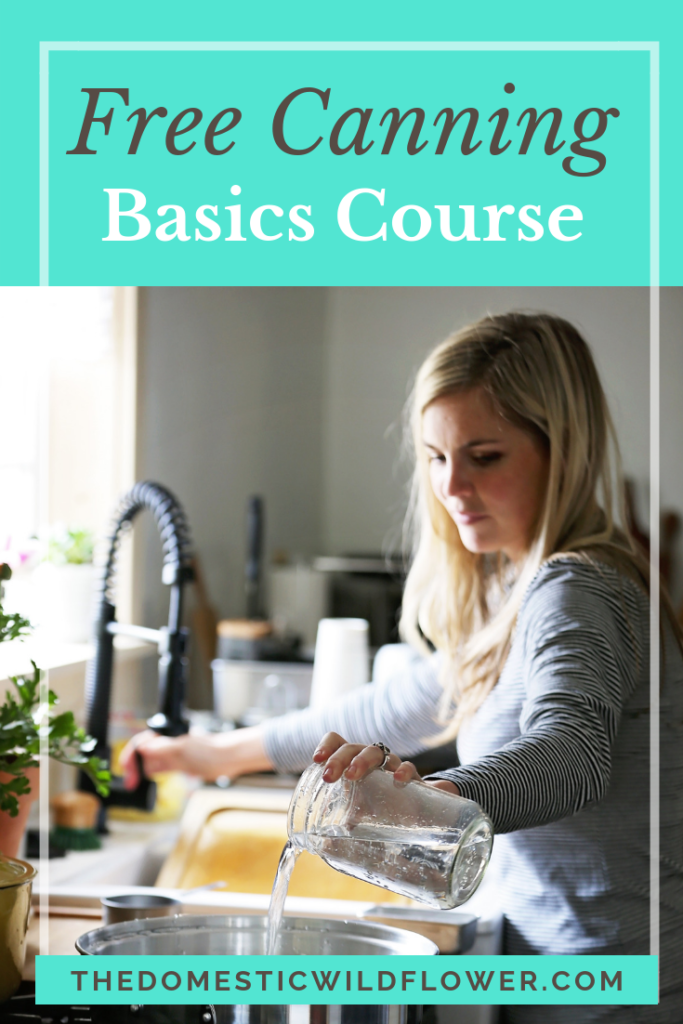
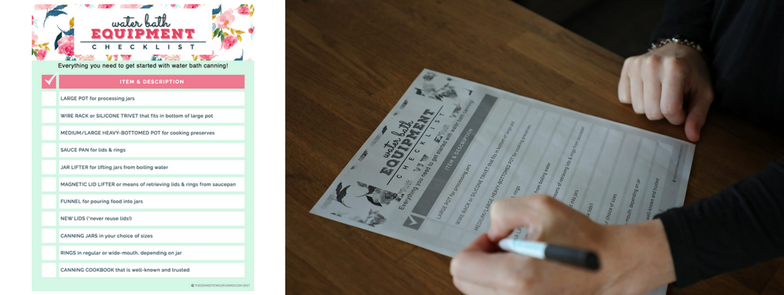
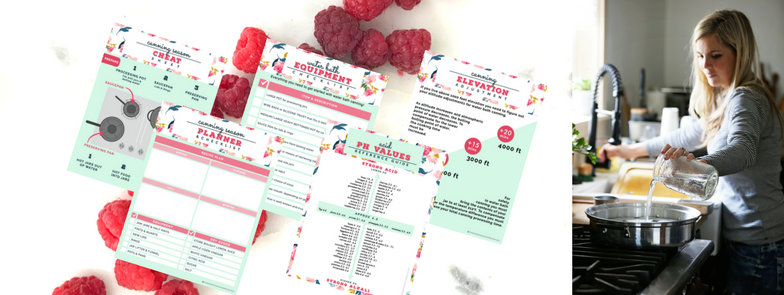
First, if you’re new to canning, don’t worry. It’s easier than you think. The basic idea is you put hot food into warm jars, put a lid on, and put them into a hot water bath or on a steam canner rack for a set amount of time. I’m a teacher in my day job so I created a visual guide to help beginners SEE how canning works in my Canning Essentials Workbook, which you can grab here!
Canning With Stevia
Yes, you can can with Stevia. The Oregon State Extension explains more here but I’ve had great success with liquid Stevia.
I started brainstorming canning recipes with my cousin who has lost a ton of weight safely and successfully on the Code Red (kind of like Keto) program. My cousin Dea and I are both experienced canners and she wanted to put up pantry staples that were both no sugar AND family friendly and this recipe was one that resulted from our text brainstorm sessions.
One website that we’ve loved as a Keto resource is Keto Focus. Annie has tons of delicious recipes that families love and are easy to make. I have started cutting out sugar to help with my migraine headaches and her site has been a huge help.
Stevia is much sweeter than sugar, BUT in canning recipes, you often need to add a lot of sweetness (sometimes cups and cups of sugar) so this recipe calls for a tablespoon of liquid Stevia.
Stevia works well when sugar isn’t needed as a thickening agent, like in my fruit cup recipes.
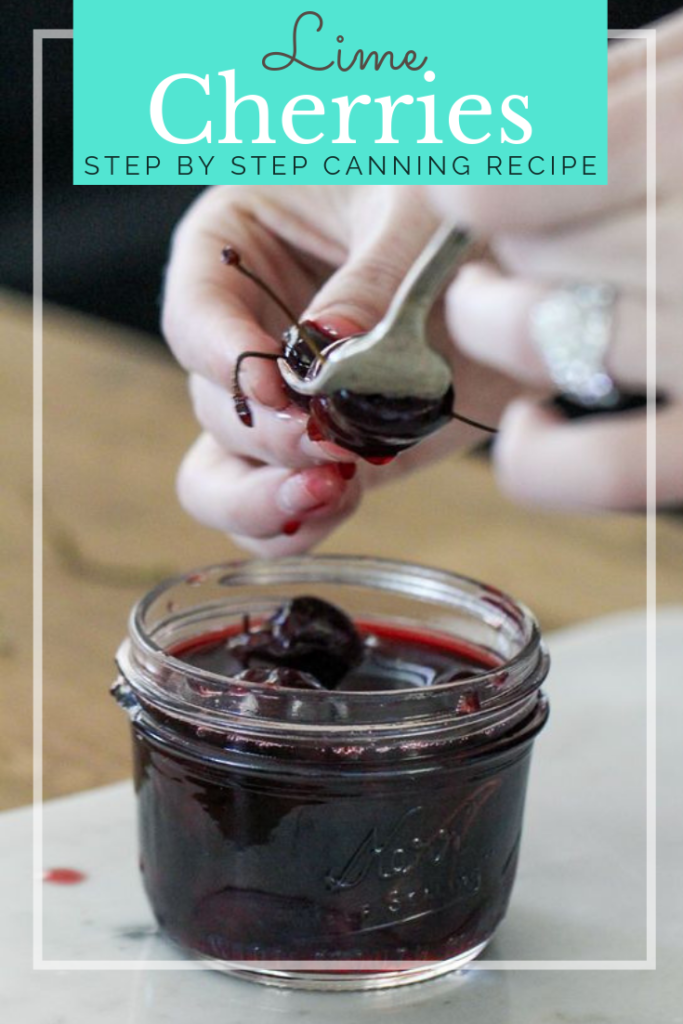
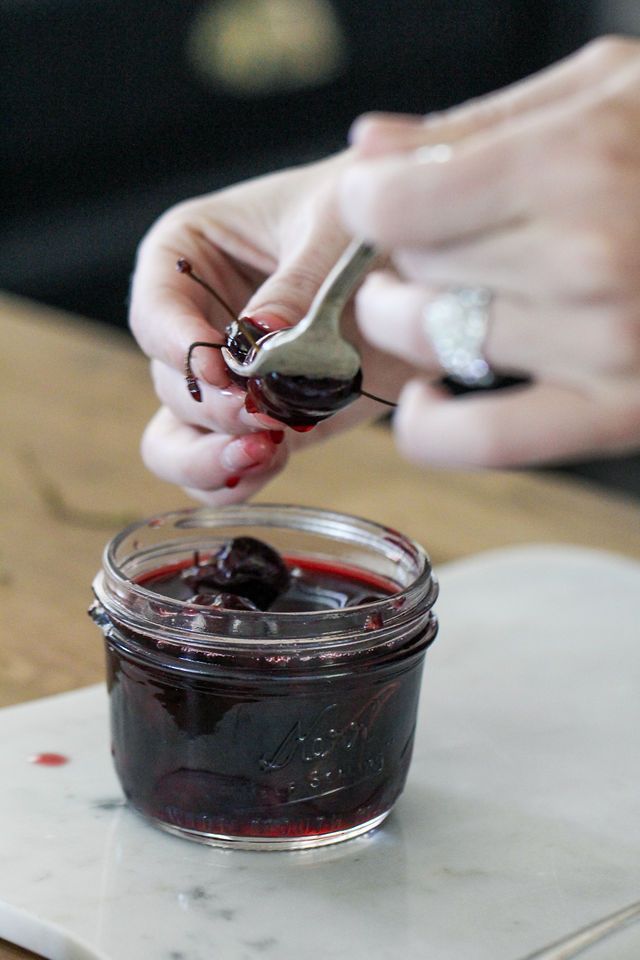
How To Make Lime Cherries
First, you’ll pit your cherries. That will take a few minutes and can be done a day in advance.
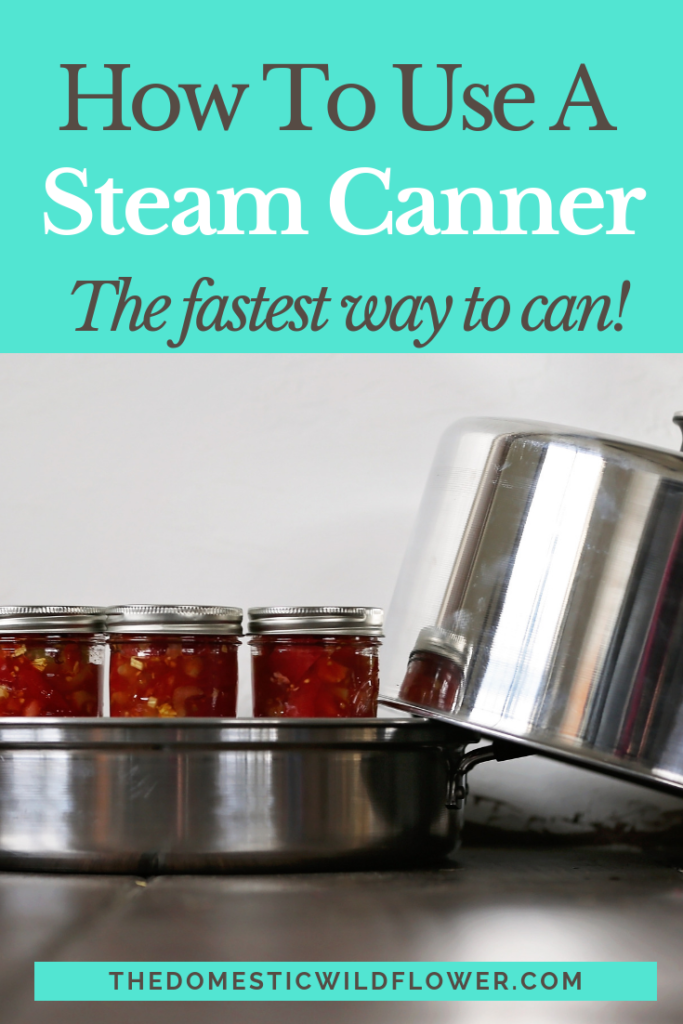
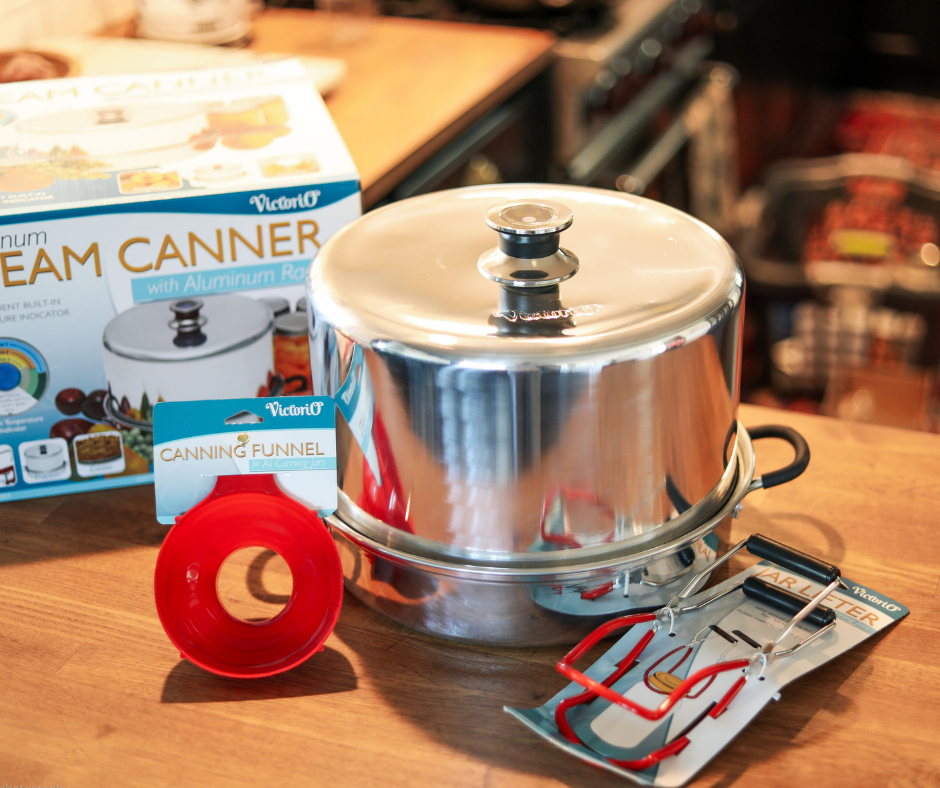
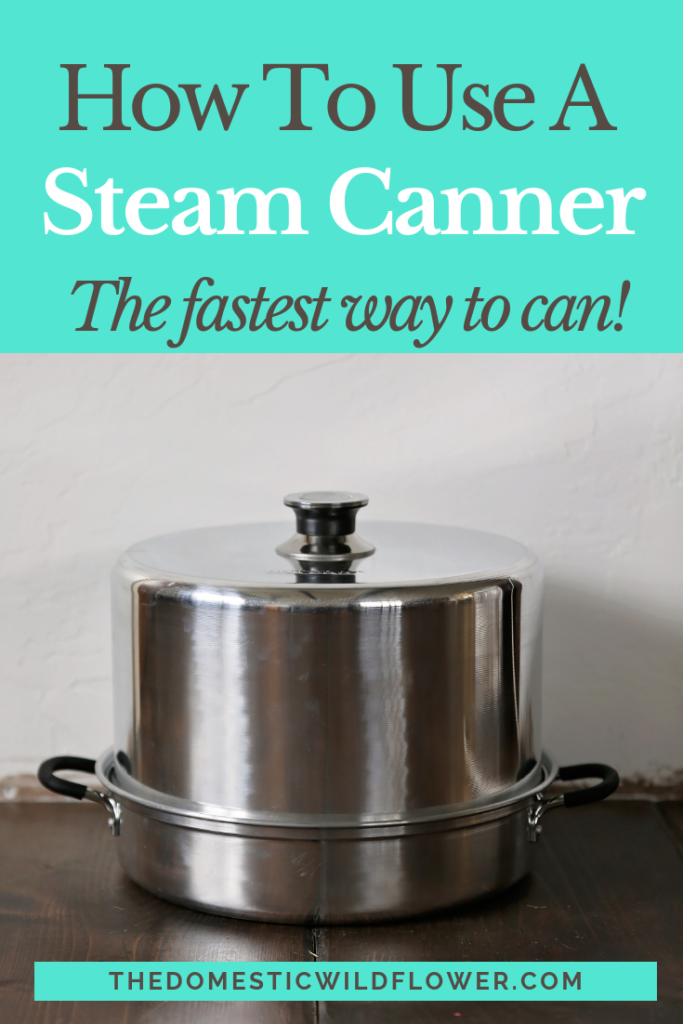
Prepare your steam canner or water bath canner. If you haven’t heard of steam canners, they are amazing and I explain more about them here but they are ready in 5 minutes, while a traditional water bath canner is ready in 25. They are what I use almost exclusively and what I’d recommend to any canner.
You’ll combine the cherries, lime juice, water, and stevia in the preserving pan and bring to a simmer.
Then you’ll ladle the cherries and liquid in an even mix into your jars, leaving 1/2 inch headspace, add lids and rings, and put them in the water bath OR the steam canner. You’ll process for 15 minutes at sea level and then you’re done!
Want to know more about these steam canners? You can download the free Steam Canner Fact Sheet here!
You Will Need
4 cups cherries, pitted
1 cup store bought lime juice
2 cup water
2 tablespoons liquid stevia
Lime Cherries Canning Recipe
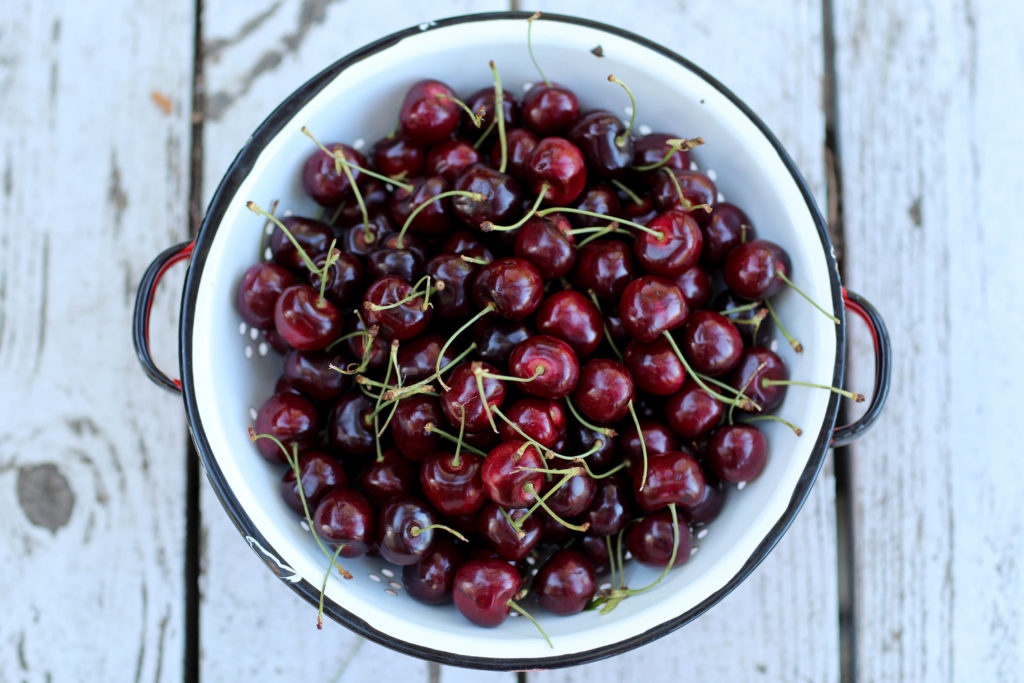
Pit your cherries and set aside. This step can be done a day in advance.
Prepare your water bath or steam canner pot. You’ll need about 6 half pint jars for this recipe.
A. For the traditional water bath method, fill the pot with hot water, filling the jars so they don’t float, and bring to a boil.
B. For the recommended steam canner method, fill the steam canner to the mark (just over the handles, using 2.5 quarts) with water, set the jars on the rack, and turn to low.
NOTE: for both methods, you don’t need to simmer your lids nor sterilize your jars. Both steps are not required by the USDA. Read more about simmering lids here and about sterilizing jars here. Both steps waste time and you won’t find any time wasting steps on my blog 🙂
Combine the pitted cherries, the lime juice, the water, and the 2 tablespoons of stevia in your preserving pan.
Bring to a simmer.
Ladle the cherries and juice mixture into your warm jars one by one. Leave 1/2 inch headspace and apply new lids and new or used rings, tightening only as tight as you’d tighten a bathroom faucet (not too tight!) and either submerge in the water bath again OR set on the steam canner rack.
Bring your traditional water bath up to boil if using that method OR put the steam canner lid on and turn to medium high.
A. Water bath canners: Wait till the water is boiling to start your 15 minutes at sea level processing time.
B. Steam canners: Wait until the dial is in the green zone for your elevation to start your 15 minutes at sea level processing time.
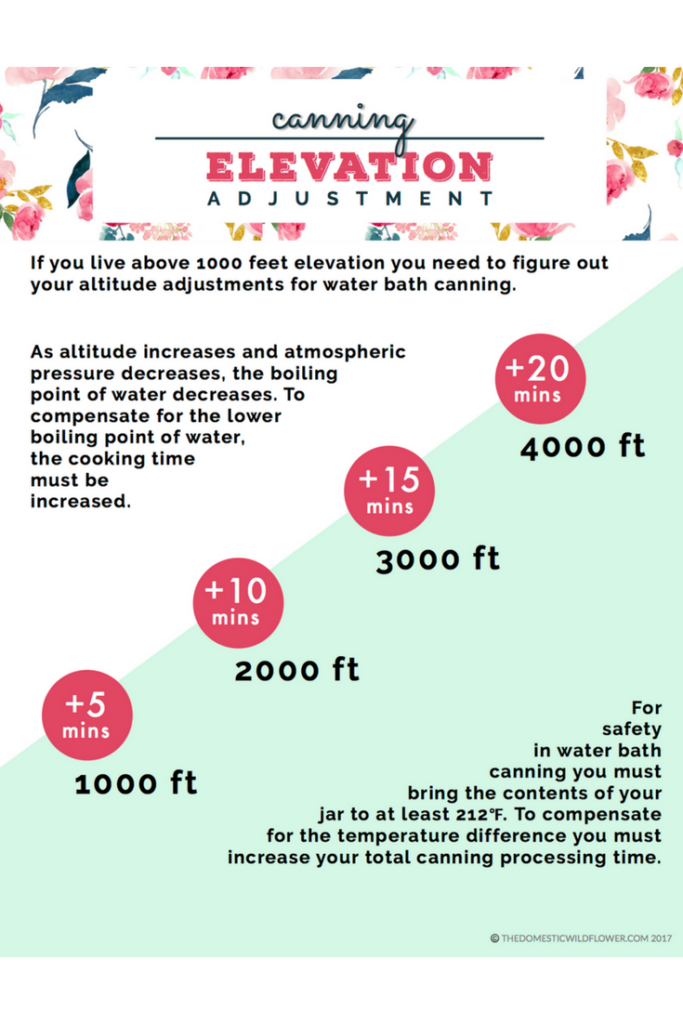
Process for 15 minutes at sea level (download the free adjusting for altitude chart here!)
This No Sugar Lime Cherries Canning Recipe yields about 6 half pint jars. Label and store jars for up to one year.
If you are interested in using the steam canner, you’ll love the Steam Canning for Beginners Ebook– it’s just $5 and will help you start canning the fastest way, the easiest way!