This post will teach you exactly the how to can vegetables the easiest and best way for a beginner, plus will share the best recipes for canning vegetables with water bath canning and steam canning. Read on for how to can vegetables!

This post contains affiliate links.
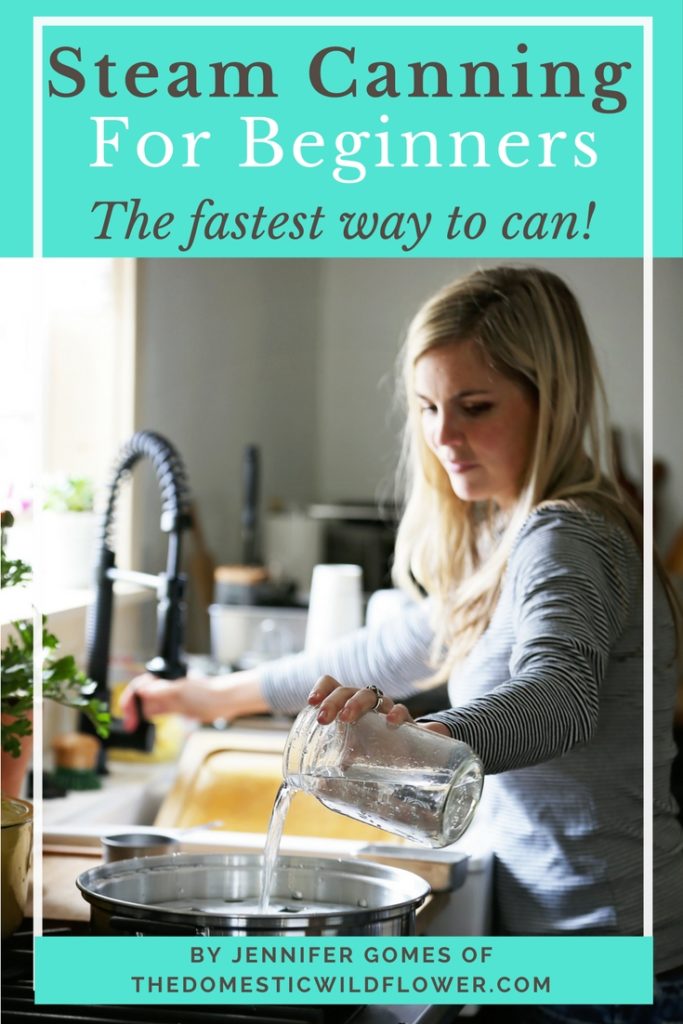
Canning vegetables begins by choosing HOW you’ll preserve the vegetables. Will you use a traditional water bath (like grandma probably did) OR will you use the more modern, much faster steam canner? You can learn more about steam canning in this blog post, but in short, steam canning cuts 25 minutes off every batch and is much lighter, safer, and easier than traditional water bath canning. You can use the same recipes as you would with a traditional water bath canning process and they speed the whole process up considerably.
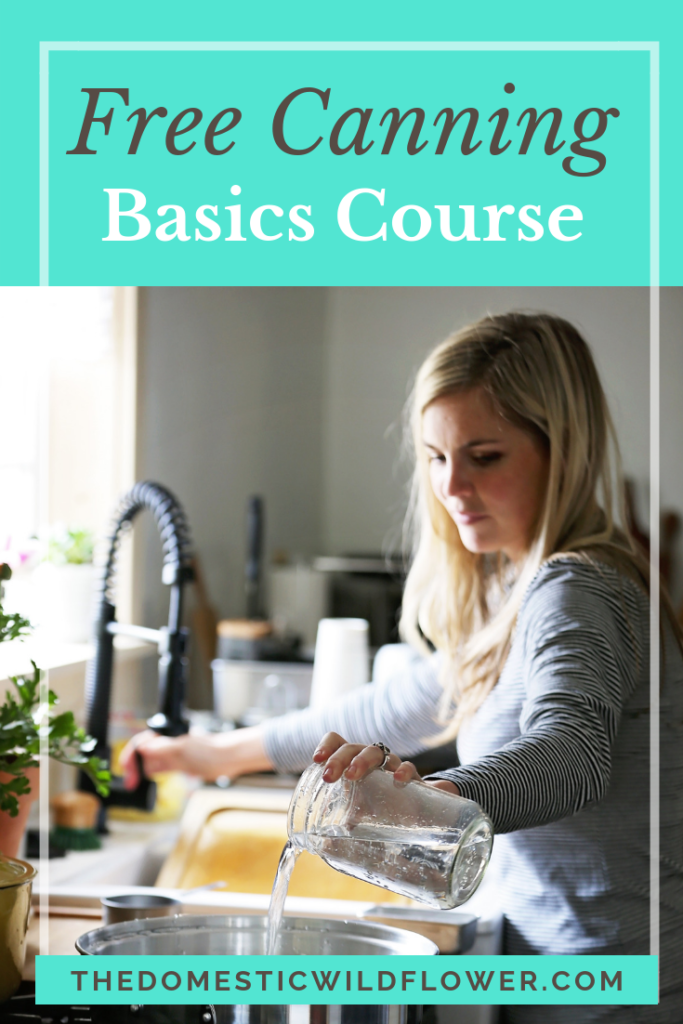
When getting started canning, you might want to jump into my Free Canning Basics Course. I’ll share easy to follow lessons in your inbox to get you started confidently!
Free Canning Basics
If you have wondered about canning, thought maybe you’d like to try it out, but didn’t know how to start, this post, and free canning basics course is for you.
You can watch the How To Can Vegetables Blog Post video version below!
If you want to learn more about canning jars, I have a post that explains the Best Canning Jars and simplifies the selection process for you. I have 2 main favorite jars that are the most versatile and one “special” jar for a few types of recipes you might love. Check out The Best Canning Jars post here
The equipment for canning is something people really stress about but I’ve simplified the list. I’m all about no-frills, no-fuss simplicity.
Download the Free Canning Equipment Checklist
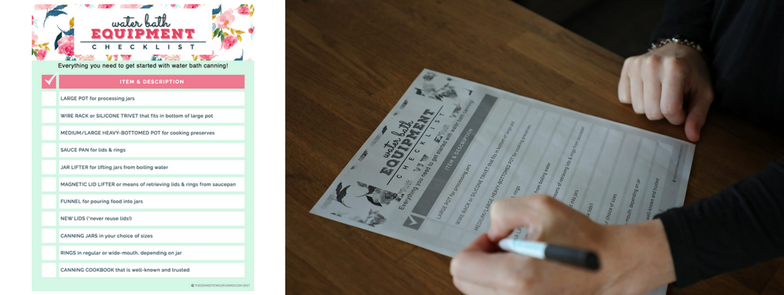
Now that you’ve downloaded the canning equipment checklist, you are ready to dive into the canning process.
The Canning Process for How to Can Vegetables
The idea is that you put food into jars, put the lid on, and put the jars into either a traditional water bath (like a hot tub for your jars) or on the rack of a steam canner (like a sauna for your jars). You can download the free visual guide of where I like to put the preserving pan, the water bath pot, etc, below!
How to Can Vegetables Using a Traditional Water Bath Method
First, you must prepare the big water bath processing pot in which your jars will warm up. Fill it and the jars with hot tap water, turn the stove on high, and bring to a boil.
Prepare the preserving pan. In the preserving pan, you will be cooking the fruit into jam, the tomatoes into sauce, or bringing a brine to a boil.
Then it is time to PROCESS. This is where the action happens. Your food is cooked according to the recipe, and your jars are warm from being in the water bath.
The process begins with you pulling one jar out of the processing pot at a time. Pour the boiling water out, place the hot jar on a towel on the countertop. Fill the hot jar with hot food according to your recipe (your cooked jam, applesauce, etc). Put a lid and ring on to the jar. Return the hot jar (now full of food) into the boiling water bath. Pull your next empty jar from the pot and repeat the process. Here’s what you need to keep in mind as you repeat the process:
- You may need to lower the heat on the processing pan. As the amount of food decreases (because you are putting it into the jar) the remaining food will boil faster. Keep an eye on the preserves and stir often. You want it hot but not burning or scorching on the bottom.
- As you fill hot jars with hot food and return them to the processing pot, you will notice the water level rising. Avoid overflowing by pulling a jar from the boiling water and pouring the water from it into the sink.
- This water level issue is compounded a bit by the vigor of the boil and the amount of water that is lost to steam. There are plenty of times where I have had to dump water in the sink to only have to add a bit more once all the jars are filled with food. The jars need to be covered by a minimum of 1 inch of boiling water in order to process.
Once all the jars are filled with food and submerged in the boiling water bath, bring the pot back up to boil. This is when you may have to add hot water to the pot to cover the jars sufficiently. I have filled a drinking glass with hot tap water or used water from the tea kettle. It isn’t advisable to move the very heavy pot full of boiling water and jars from the stove. Use a vessel to fill it.
Once the water is boiling, set a timer for the time specified in the recipe, be sure to adjust for your elevation. Because of the change in atmospheric pressure the higher you get in altitude, you must add 5 minutes of processing time for every 1000 feet you are canning above sea level. I go through my cookbook with a pencil and change all the processing times so I never have to think about it.
Download the Free Altitude Adjustment Guide below!
If during the canning process the water stops boiling (if you turned the stove down a bit too much, or you lost power) stop the timer, and once the boil is resumed, resume timing.
Once the time required has passed, turn the stove off and use the jar lifter to pull one jar at a time from the boiling water bath and set each jar carefully on a towel covered countertop.
Listen and watch for the lids to make a ping, ding, or click type of noise, and to become firmly concave on the jars. It may take up to 12 hours for the lid to seal and that is perfectly okay. Sometimes the lids seal while they are still in the air, clasped in the jar lifter. That is also okay. Don’t disturb the jars until they are cool and sealed, at least 12 hours later. Label and store in a cool, dark spot.
How To Can Vegetables in a Steam Canner
The process of canning in a steam canner is simpler because you don’t have to wait for the large pot of water to come to a boil.
First, fill the steam canner with the required 2 – 2.5 quarts of water (much less than a traditional water bath!) and set it on the stove. Turn to low. Set the jars you’ll be using for that recipe on the rack to warm, with the steam canner lid on top.
Next prepare your preserve according to the recipe. You’ll cook your jam, your salsa, or your applesauce. If the recipe you’re preparing takes a while to cook (more than 20 minutes) you might cook it first, then prepare the steam canner.
Then, one by one, take the warm jars from the steam canner rack and using the funnel, fill the jars as the recipe indicates. Add lids and rings, and set on the steam canner rack again. Repeat until all the jars are full.
Put the lid on the steam canner. Turn the stove to medium high and watch the dial climb to the correct altitude for where you are canning. When you are in the green/GO zone, set your timer for the time indicated in your recipe.
When the time is up, turn the stove off. You have the option of leaving the steam canner jars on the rack indefinitely, OR you can carefully use hot pads and lift the lid AWAY from you, as steam will surely come billowing out, and lift the jars using the jar lifter and place them on a towel covered countertop to cool.
Listen and watch for the lids to make a ping, ding, or click type of noise, and to become firmly concave on the jars. It may take up to 12 hours for the lid to seal and that is perfectly okay. Sometimes the lids seal while they are still in the air, clasped in the jar lifter. That is also okay. Don’t disturb the jars until they are cool and sealed, at least 12 hours later. Label and store in a cool, dark spot.
The recommended method for canning vegetables
I exclusively can with a steam canner. They are ready to can in about 25 minutes FASTER than a traditional water bath, they are lighter and safer to use than lugging a heavy pot of hot water around the kitchen, and I can start my second (or third or fourth!) batch immediately, while in a water bath, I have to refill the pot with tepid water, and wait for it to come up to a boil again. You can learn more about the differences between water bath canning and steam canning in this post and if you’re ready to dive into steam canning, I have an ebook, Steam Canning for Beginners you’ll love.
Recipes for Canning Vegetables
The following recipes are easy for beginners, delicious, and quick. They all make great additions to the pantry and you’ll be so glad you dove into canning when your shelves are stocked with these nutritious jars.
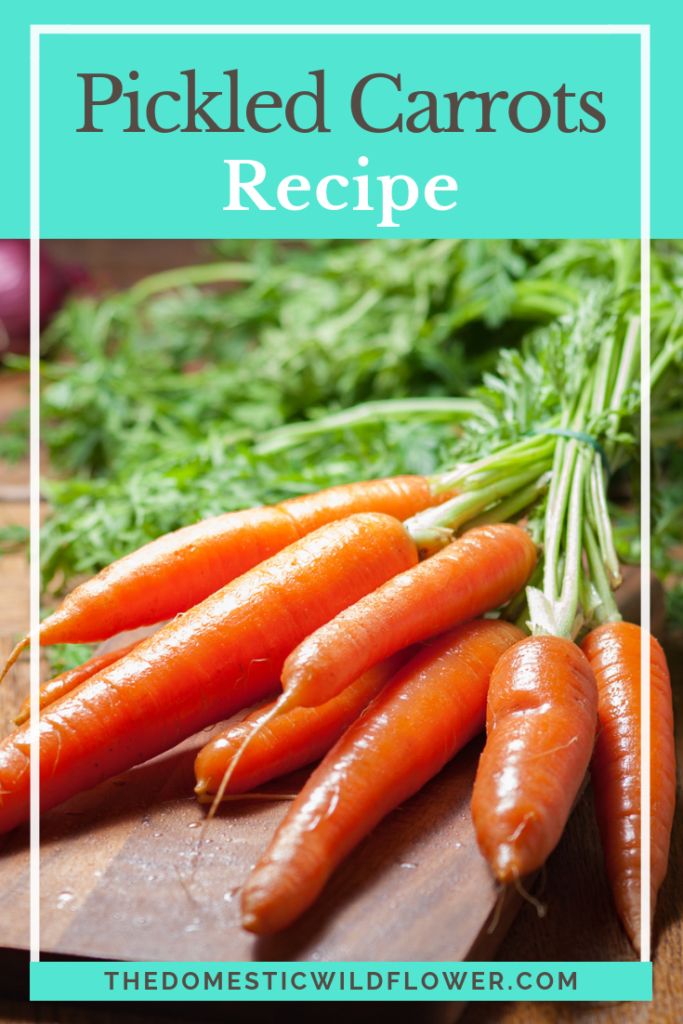
Carrot Pickles
Carrot pickles are one of my favorite pickles because they aren’t cucumbers 🙂 I actually don’t care for cucumbers much, to be honest, which I know is really silly but they just don’t light my fire.
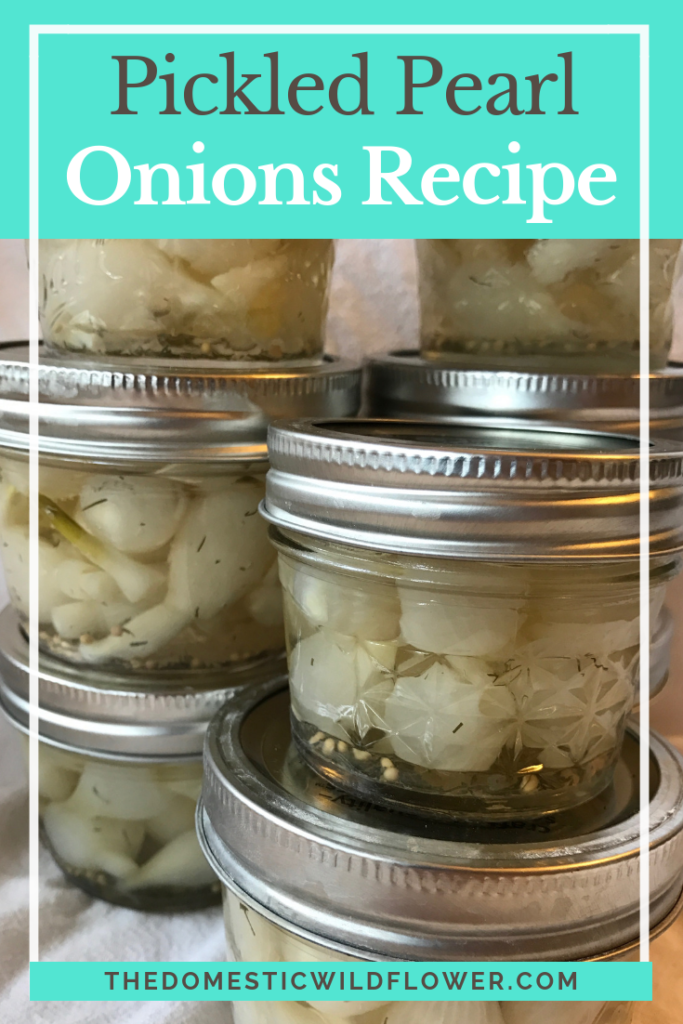
Pickled Pearl Onions
This post will share a recipe for a beautiful, fast preserve that is perfect for use in a steam canner which maximizes it’s time-saving benefits and is also well suited for a water bath canner too! Read on for a savory, quick preserve.
Pickled pearl onions are an ideal recipe for steam canning, so I’ll include instructions for both steam canners and water bath canners.
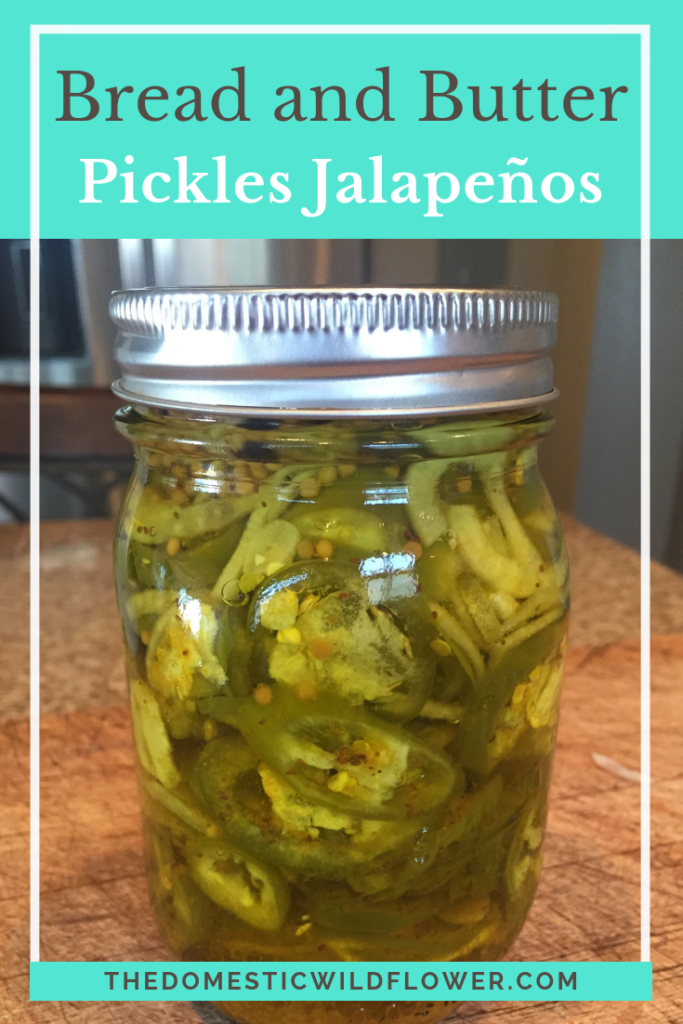
Bread and Butter Pickled Jalapenos
Bread and butter pickled jalapenos are delicious right out of the jar and on sandwiches. Try them and you’ll be lucky to keep any for later!
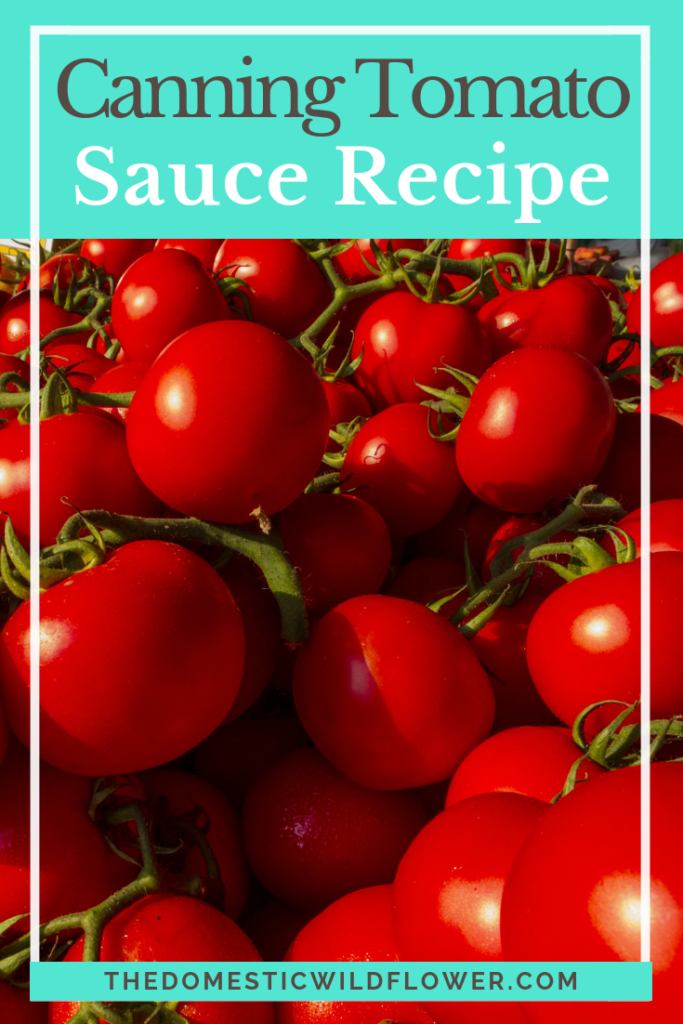
Tomato Sauce
This post will share the recipe and a complete tutorial for canning tomato sauce at home. It is and continues to be one of my most popular posts and I have updated it for you all with additional instructions AND another video to help you even more.
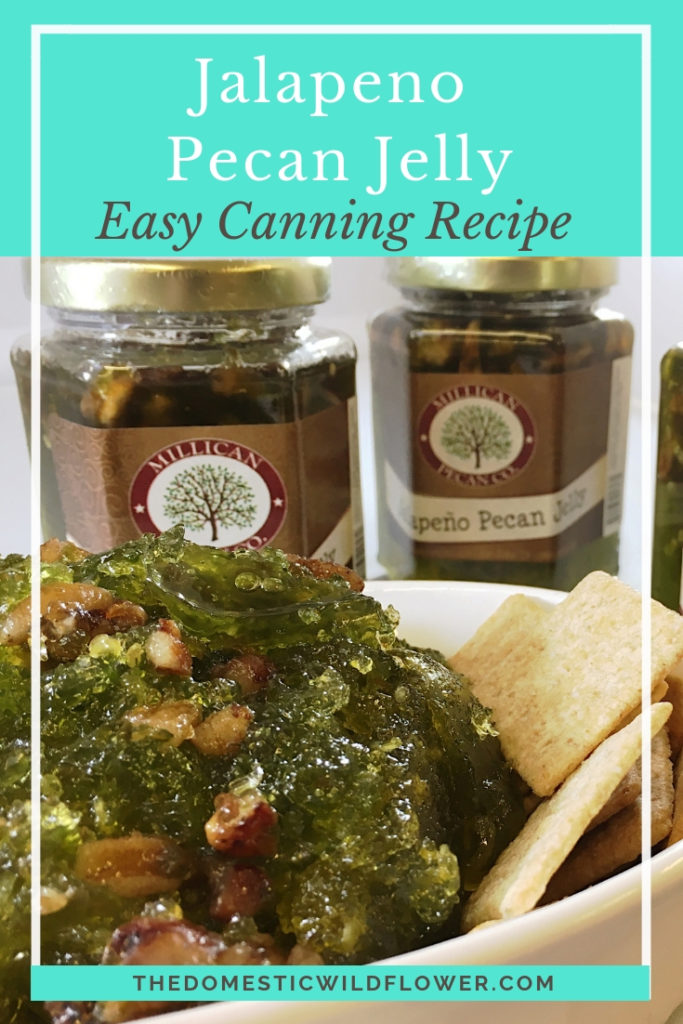
Jalapeño Pecan Jelly
Jalapeno Pecan Jelly Easy Canning Recipe is delicious, spicy and sweet, and quick to make. This recipe is from a 5th generation pecan farmer friend, Kristen, from Texas, and she’s been kind enough to share her family’s jalapeño pecan jelly canning recipe with us all. You won’t believe how FAST this jelly recipe is…it might even be faster than my raspberry jam recipe! Read on for the easy recipe!
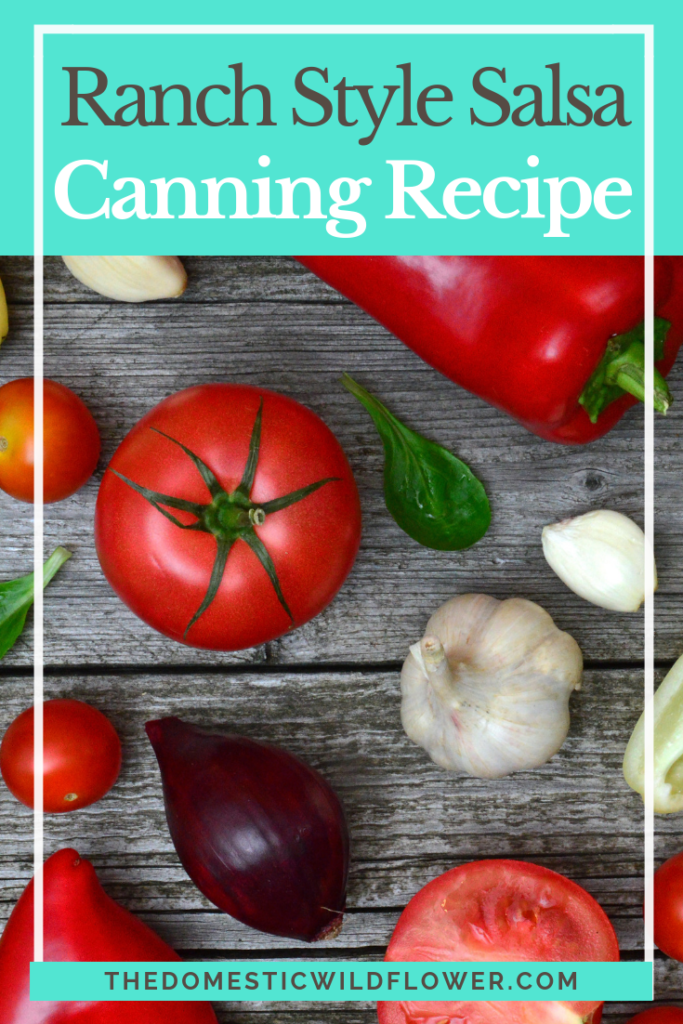
Ranch Style Salsa Recipe
This salsa recipe is ranch-style because the onions, tomatoes, and peppers are roasted either under a broiler or on a grill until charred (blackened). The tomato skins and pepper skins slip right off after being charred, and the flavors are amazing with this added step. Peeling the tomatoes this way avoids dropping them in boiling water (I explain how to peel tomatoes a couple of ways in this tomato sauce post here) and thus saves time and mess.
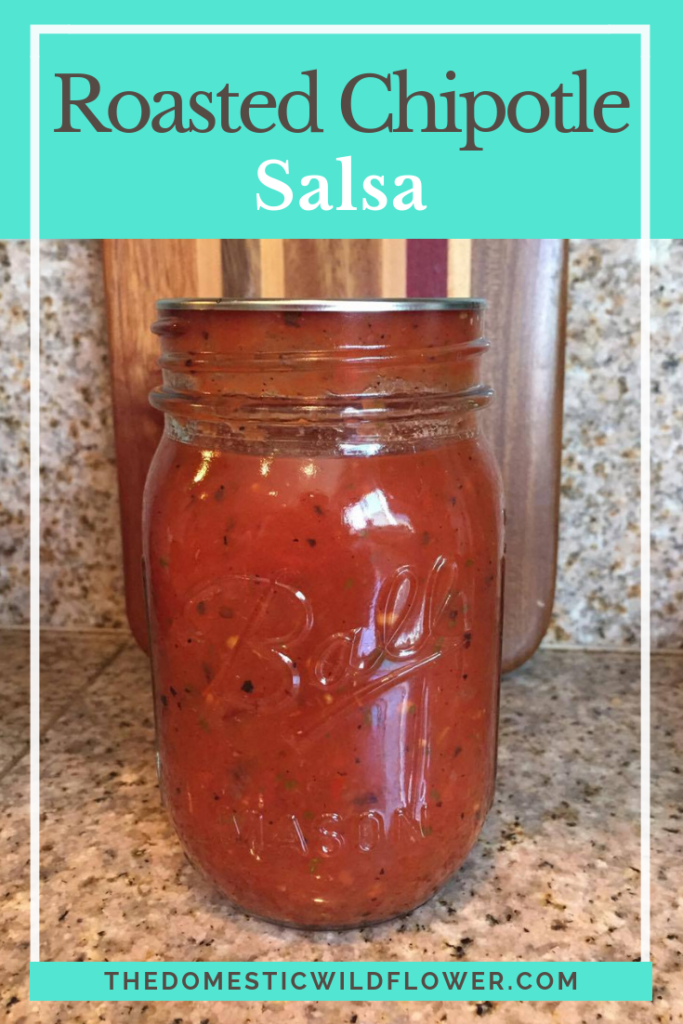
Roasted Chipotle Salsa
For this recipe, we Wildflowers have the distinct pleasure of enjoying another guest post from my friend and fellow canning enthusiast. Kimmy is an experienced canner, a lover of all things spicy, author of the Bread & Butter Pickled Jalapeno recipe, and is an active member in our Grow Like a Wildflower Facebook Group. Kimmy and I will be sharing recipes for years to come, I’m sure. There’s no one I’d rather have to help me educate you in your canning pursuits. Here’s Kimmy!
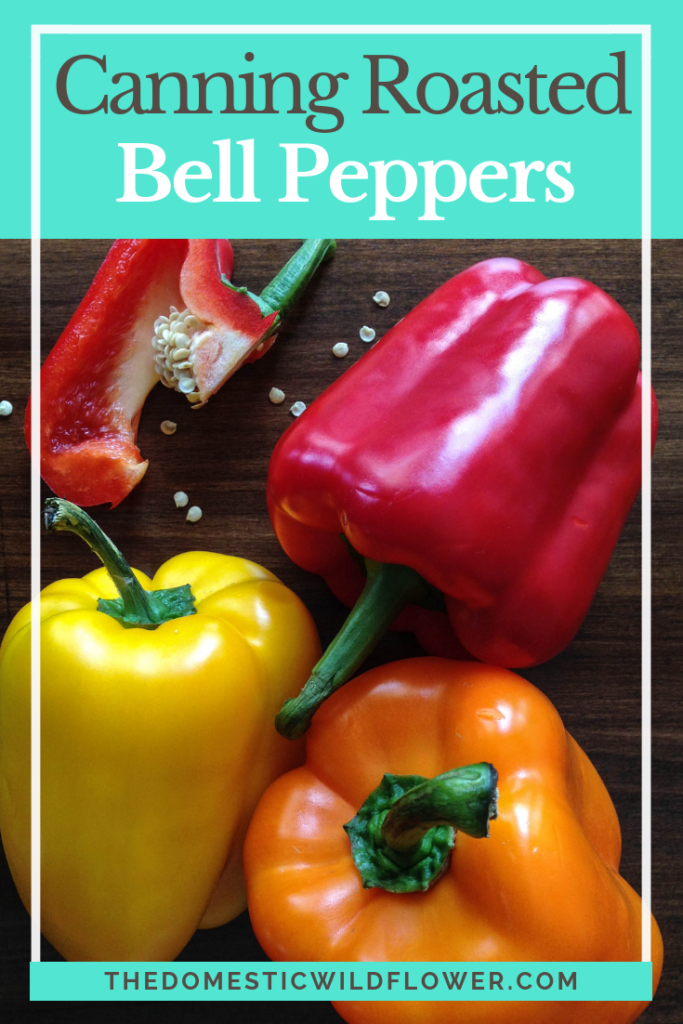
Canning Roasted Bell Peppers
This is a versatile, simple, and easy recipe. Roasted bell peppers are divine on a toasted cheese sandwich, indispensable in Mexican dishes, right at home in Mediterranean meals, and so utterly useful that I run out every year way before canning season returns and I always wish I had made time to can more.

How do I water bath carrots?
In a pressure canner!