Canning with Stevia is safe because Stevia is heat stable and is approved by UC Extensions. It works best in these recipes outlined below, and this post will explain how best to replace sugar with Stevia when canning.

This post contains affiliate links.
Canning with Stevia
Canning with Stevia can be done safely and we know this because it’s been tested by University Extensions like the University of Oregon, not because I *think* it’s ok.
I’ll be the first to say that sugar is a powerful preservative, and that’s something to bear in mind as you begin canning without it. Imagine those gummy bears you find under a car seat, years old, and preserved so well. That’s sugar at work.
I started thinking about removing more and more sugar from my diet because of my migraine headaches. The jury is still out, but I know for me personally, reducing the sugar I eat is probably a step in the right direction.
Sugar is a powerful thickening agent, so you’ll want to consider that as well. If you are counting on sugar to thicken your jam or applesauce, Stevia isn’t going to thicken for you and there’s other ways to achieve the thickness you’re looking for without sugar.
Thickening Without Sugar
Liquid pectin has been a huge help, as has using a wide, shallow preserving pan to cook fruit quickly, rather than cooking for a really long time which cooks away the natural pectin.
How to Can with Stevia
Stevia is concentrated, so it is a LOT sweeter than regular table sugar. It’s also a lot more costly than regular cane sugar. To me, it is worth the trade off because I’m always canning inexpensive or free fruit, and the potential benefits of reducing sugar intake overall is worth it to me. But I’d be remiss to admit that it is more expensive than regular sugar.
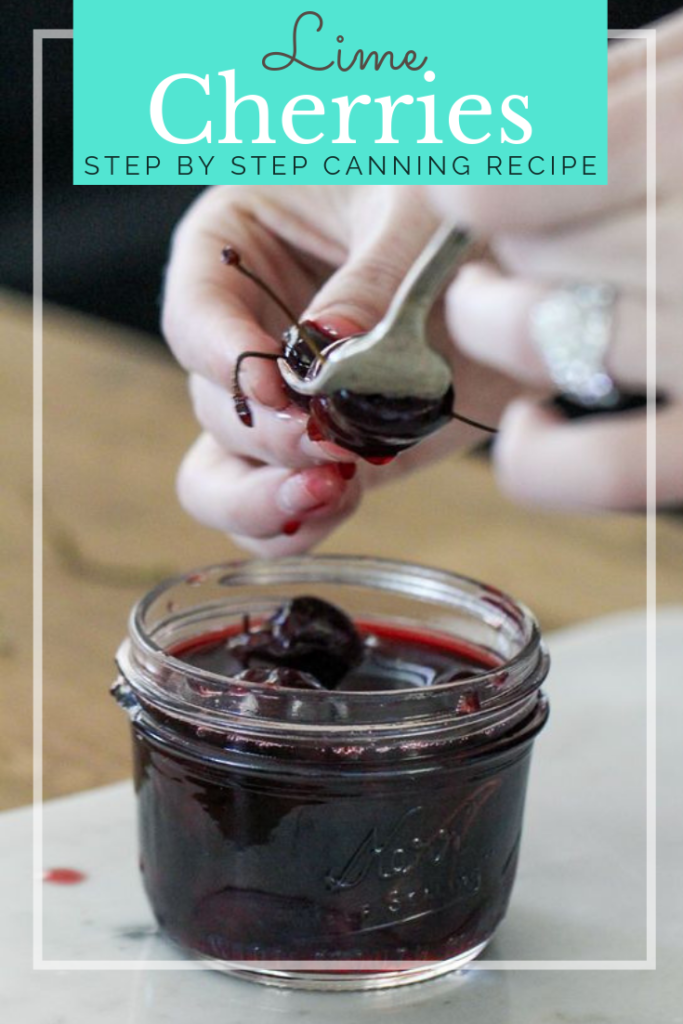
In a jam recipe, for example, it’s common to see a cup-for-cup ratio of sugar to fruit. 5 cups fruit and 5 cups sugar, for example. I’ve went through a sack of sugar in a few batches of jam, at that rate. In contrast, the recipes I’ve shared (like this amazing Lime Cherries one here and the No Sugar Blood Orange Cherries, or the Peach Sauce here) you’d use a tablespoon or two of liquid Stevia.
Canning with Stevia is Safe
While sugar is a powerful preservative, that doesn’t mean it is necessary to preserve high acid fruits that you’d can in a water bath canning recipe. The Extension service has made it clear that Stevia is safe for canning because it is heat stable AND because high acid fruits don’t need sugar to be canned safely. That’s the two-part answer to the safety question.
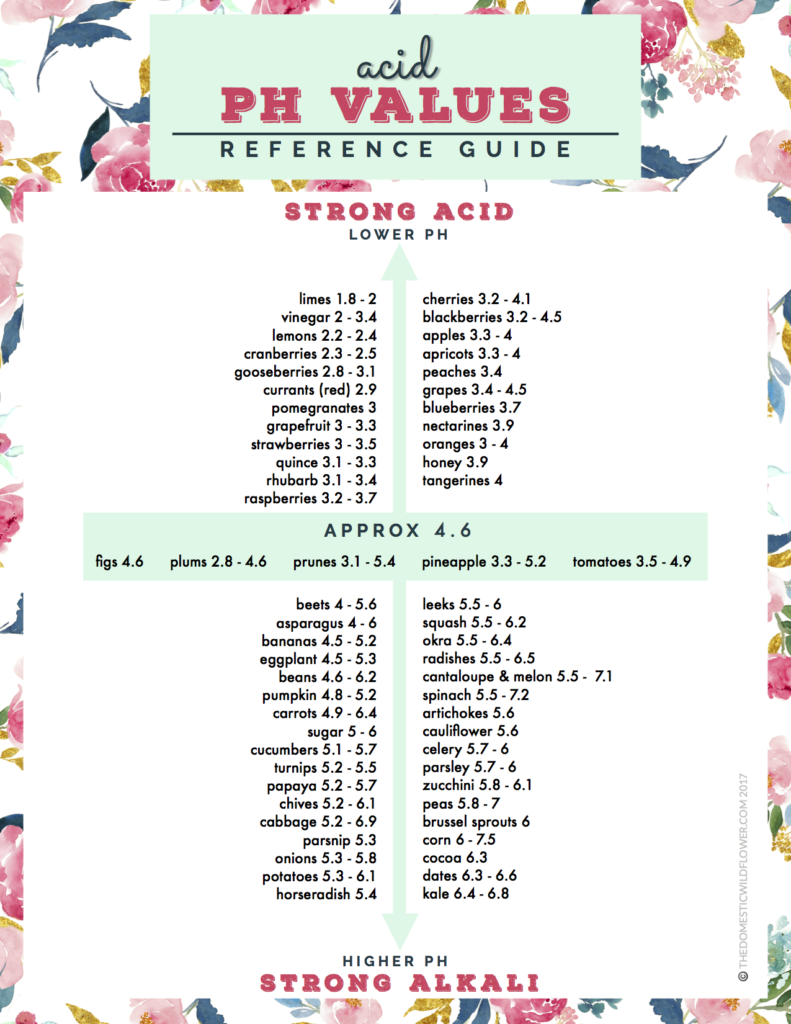
How do you know if your fruit is high in acid?
Most fruit is naturally high in acid. The reason we associate traditional water bath canning recipes into two groups- fruit jams and veggie pickles is because fruit is naturally high in acid and veggies become acidified by the addition of vinegar.
Download this free, beautiful, and easy to use chart to see which fruits and veggies are high in acid (low numbers) and which are low in acid (higher than a 4.6) here!
Liquid or Powdered Stevia?
I like liquid Stevia because it mixes so well in whatever you’re canning- chunks of chopped fruit, smooth fruit sauce, or something in between. I’ve been really working hard on making every step of the canning process FASTER and EASIER and liquid Stevia is part of that.
Sugar Free Canning Recipes
Canned Peach Sauce

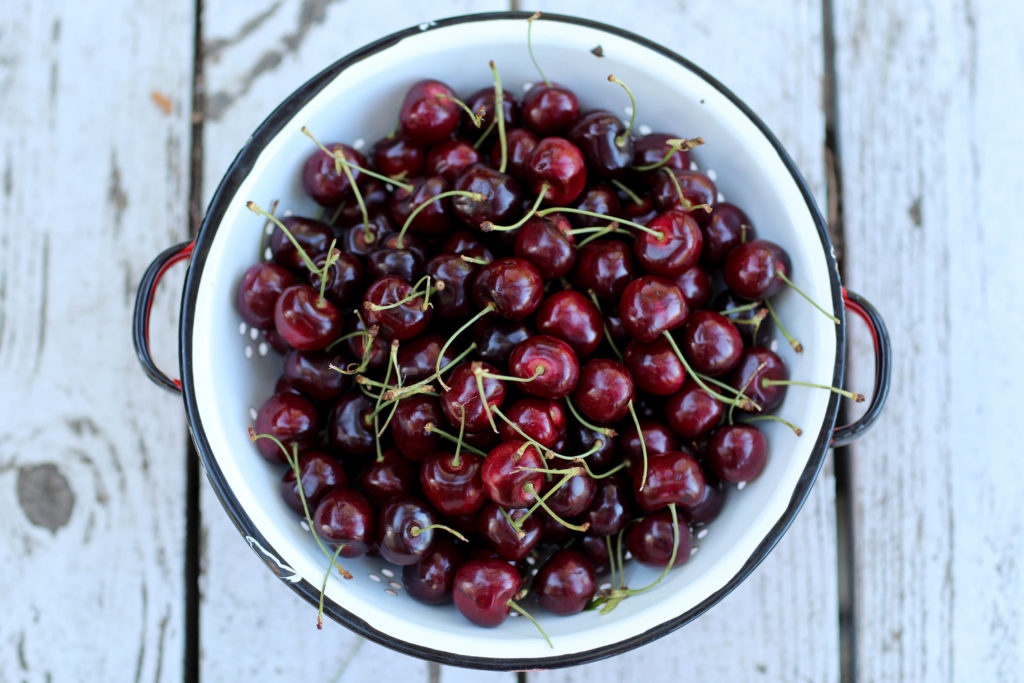
Lime Cherries
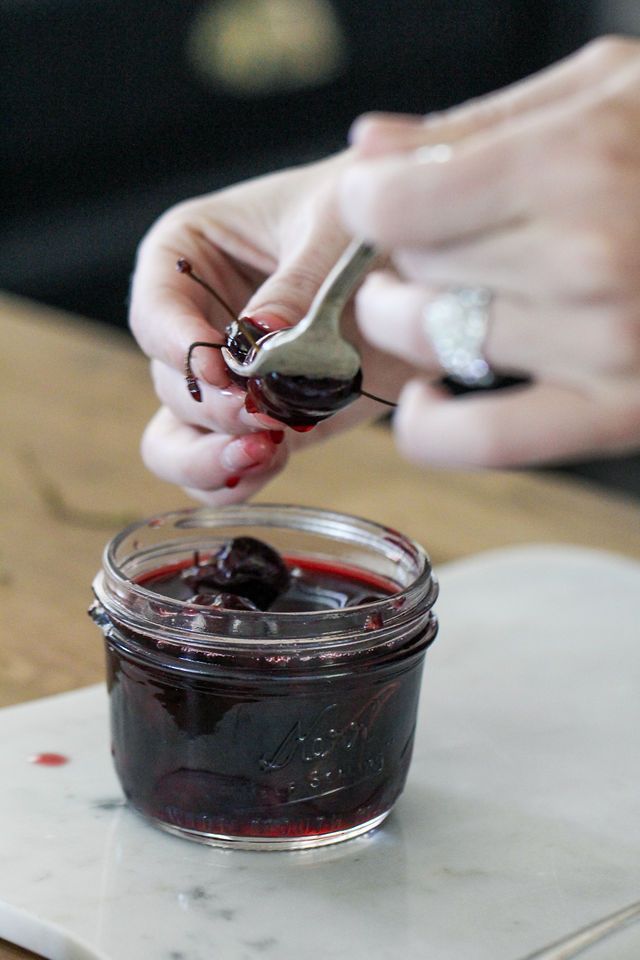
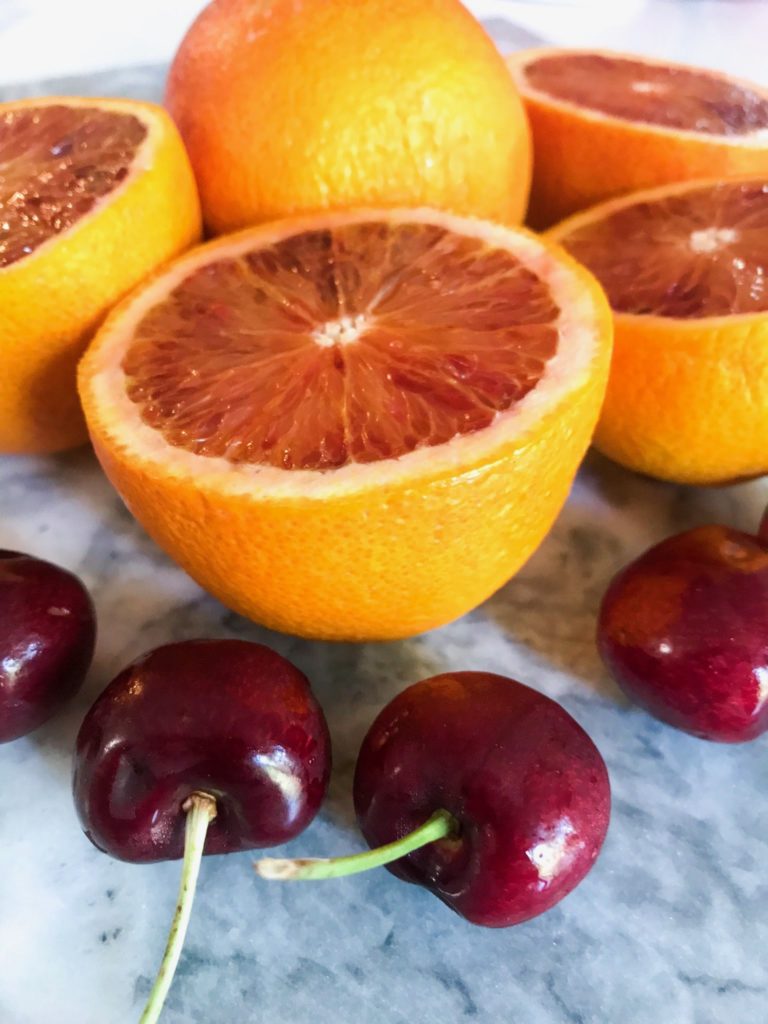
No Sugar Blood Orange Cherries
Learning How to Can Food For Beginners
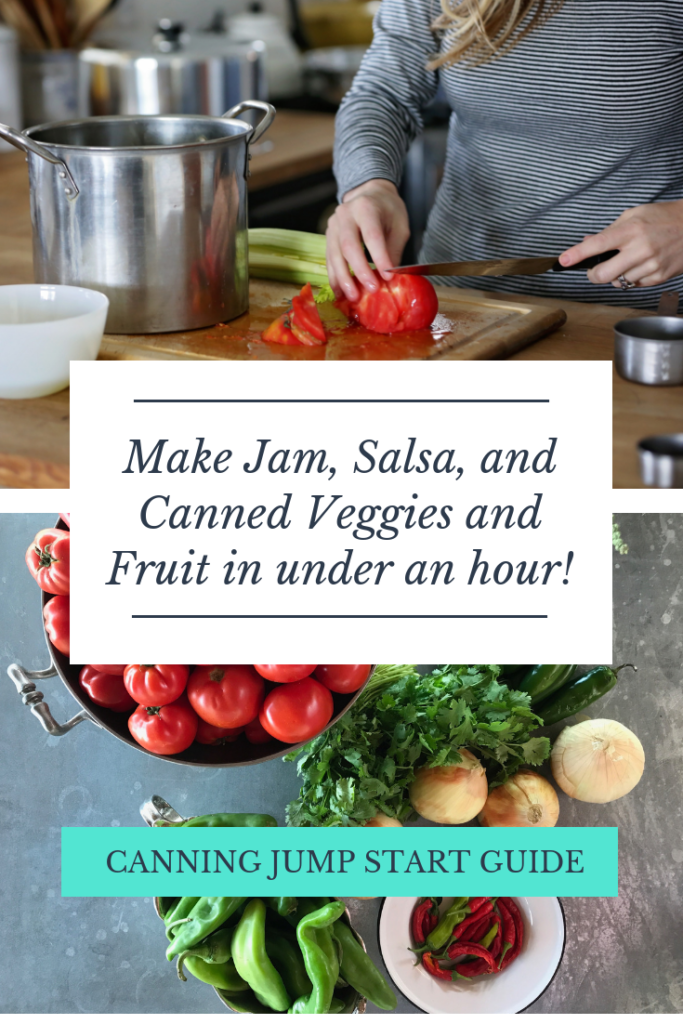
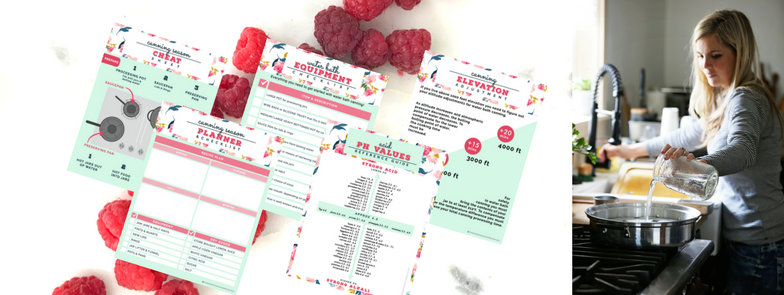
Get the Canning Jump Start Guide! This collection of visual guides will help you get started confidently. You’ll SEE exactly what you should be doing, when, so you can make these delicious, healthy recipes. Get it HERE.