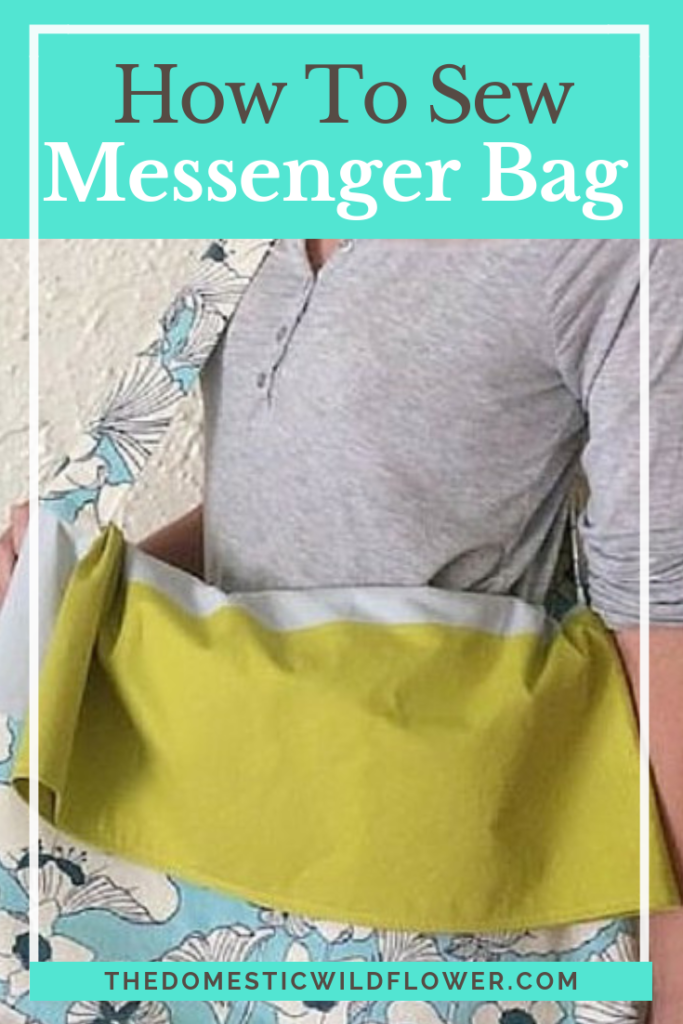
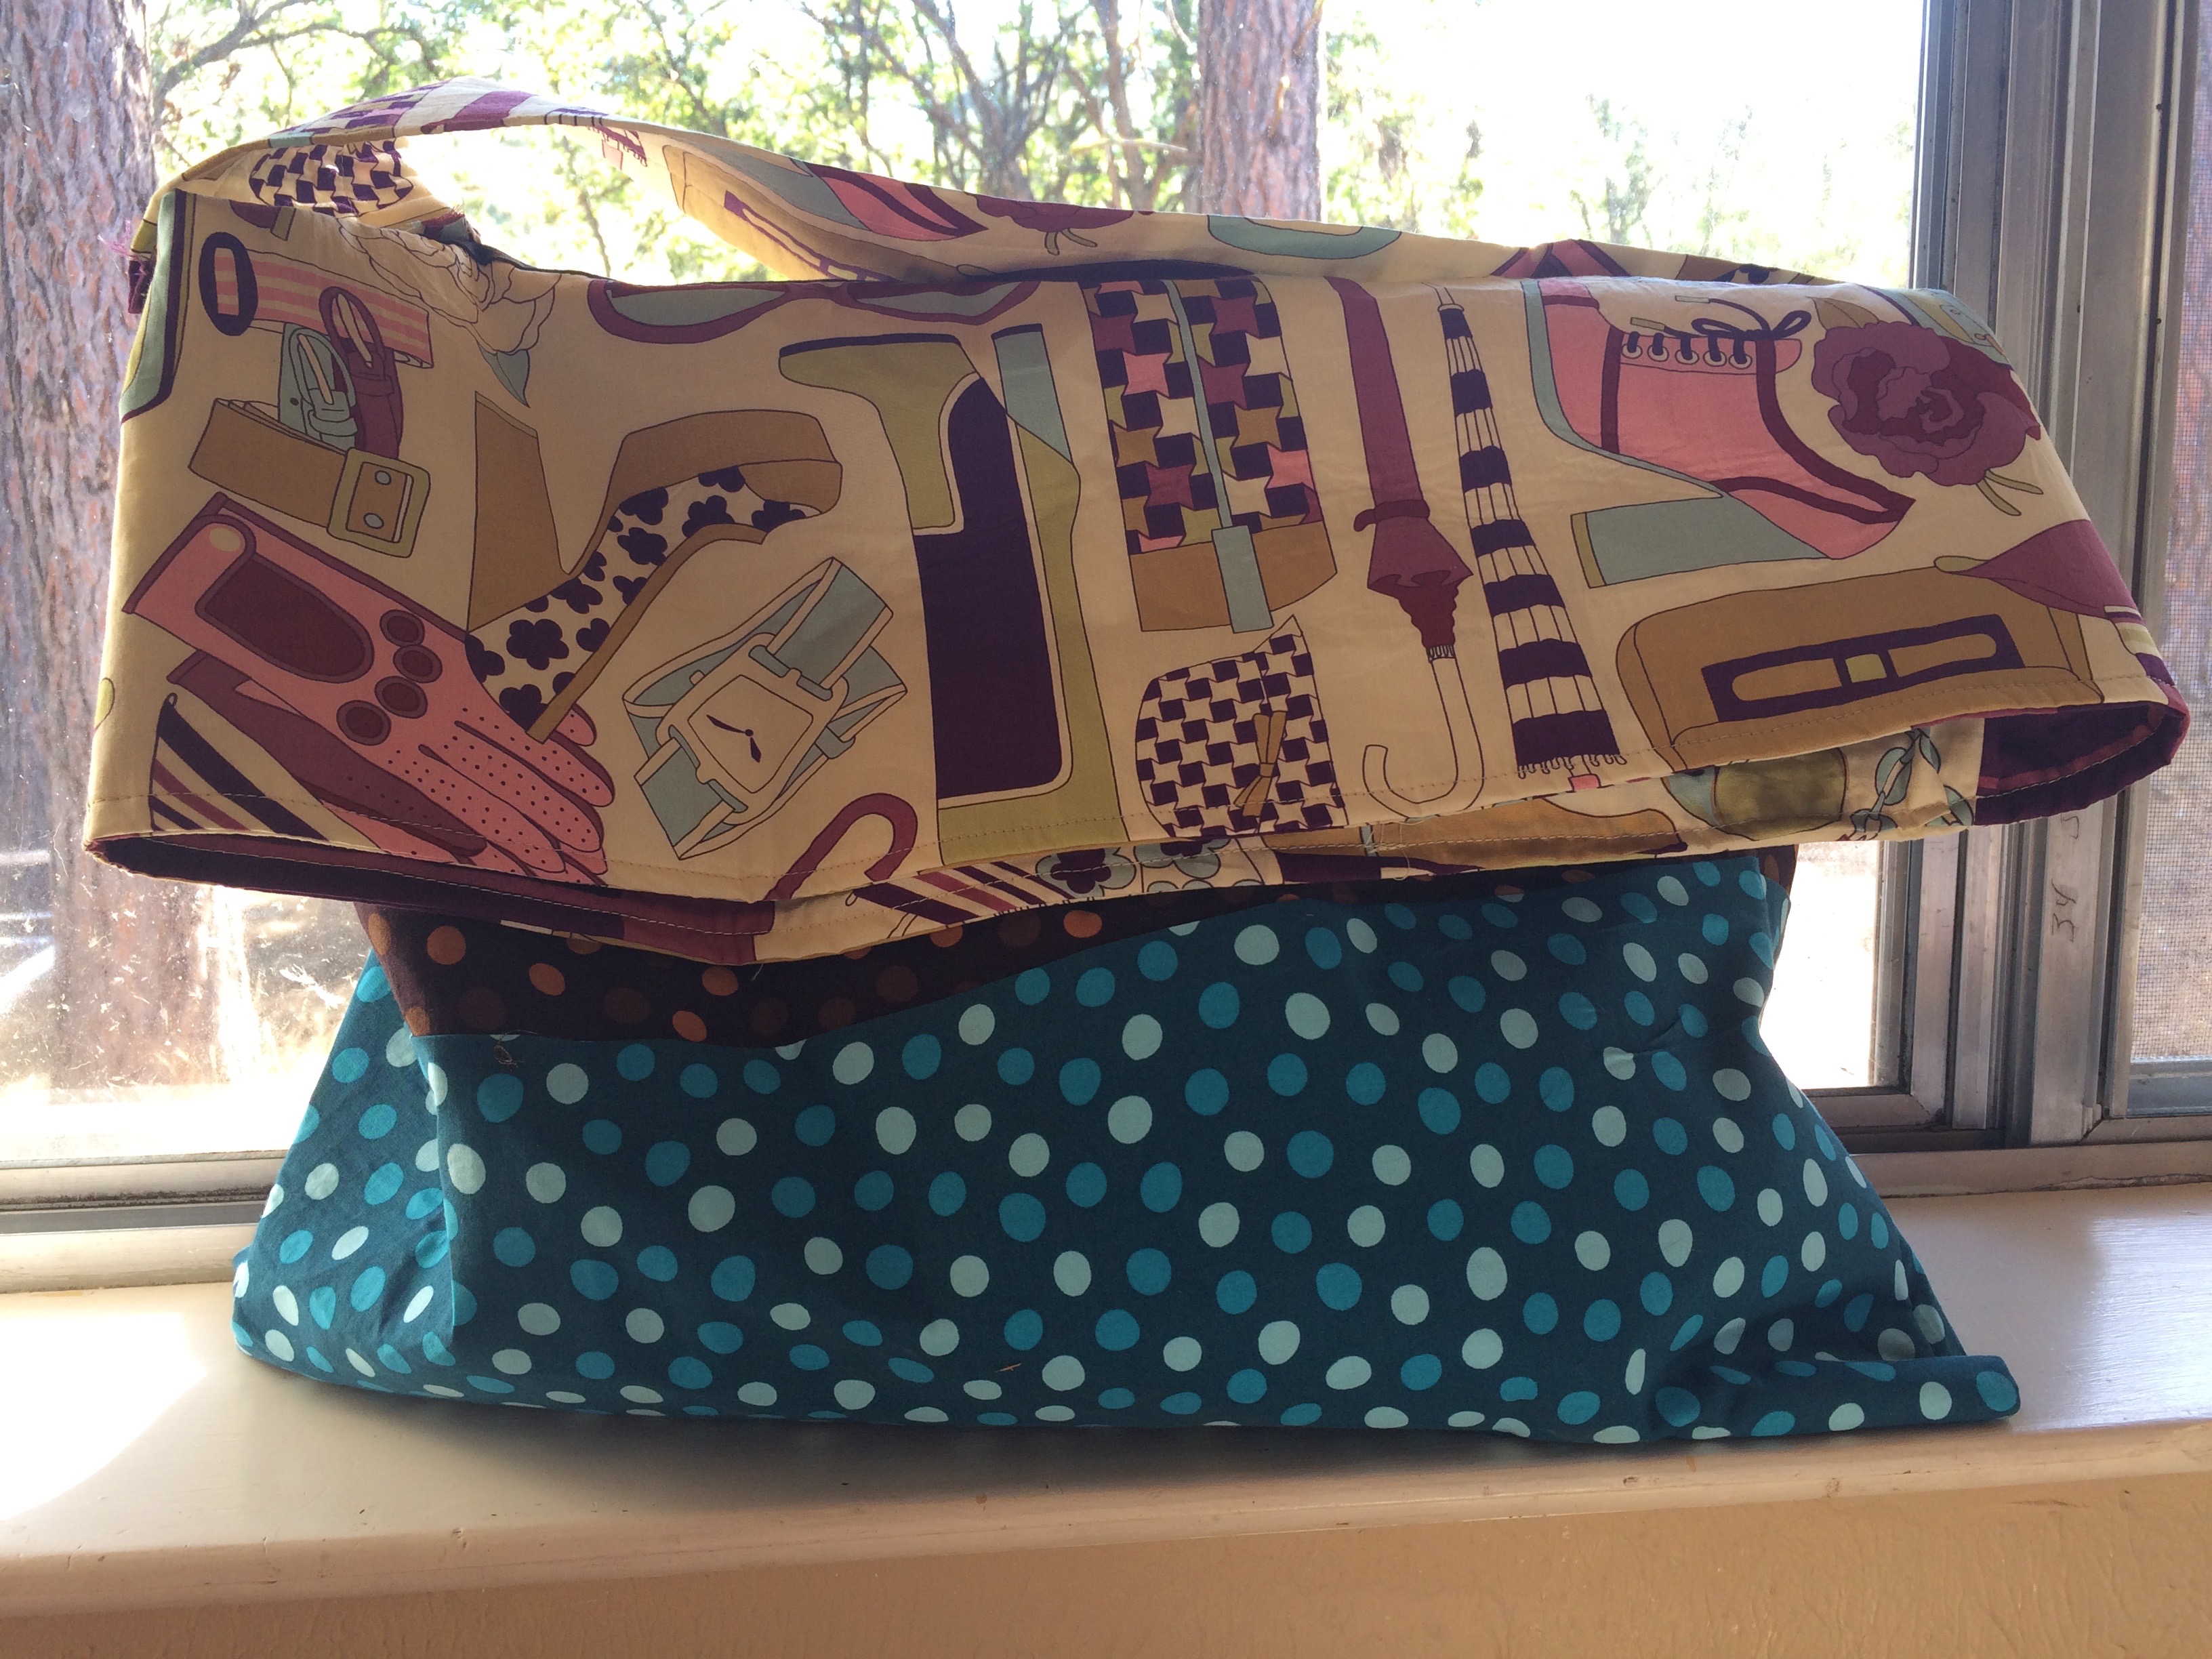
 Messenger Bag Pattern from Palindrome Dry Goods I made this beginner friendly messenger bag using a pattern from the Palindrome Dry Goods blog and Etsy shop using easy-to-sew cotton that I purchased before I had my first child, over 4 years ago. Once you have been sewing a while you may experience the thrill of finding fabric that you forgot you have purchased and/or forgot how much you love the way I did. This bag was also easy enough to whip up while the children were awake, and in between stirring supper on the stove. I used a super stiff decor bond interfacing that the pattern designer didn’t call for but I had on hand and used on a whim with good success. Read on for the super easy tutorial! This post may contain affiliate links. All opinions are my own.
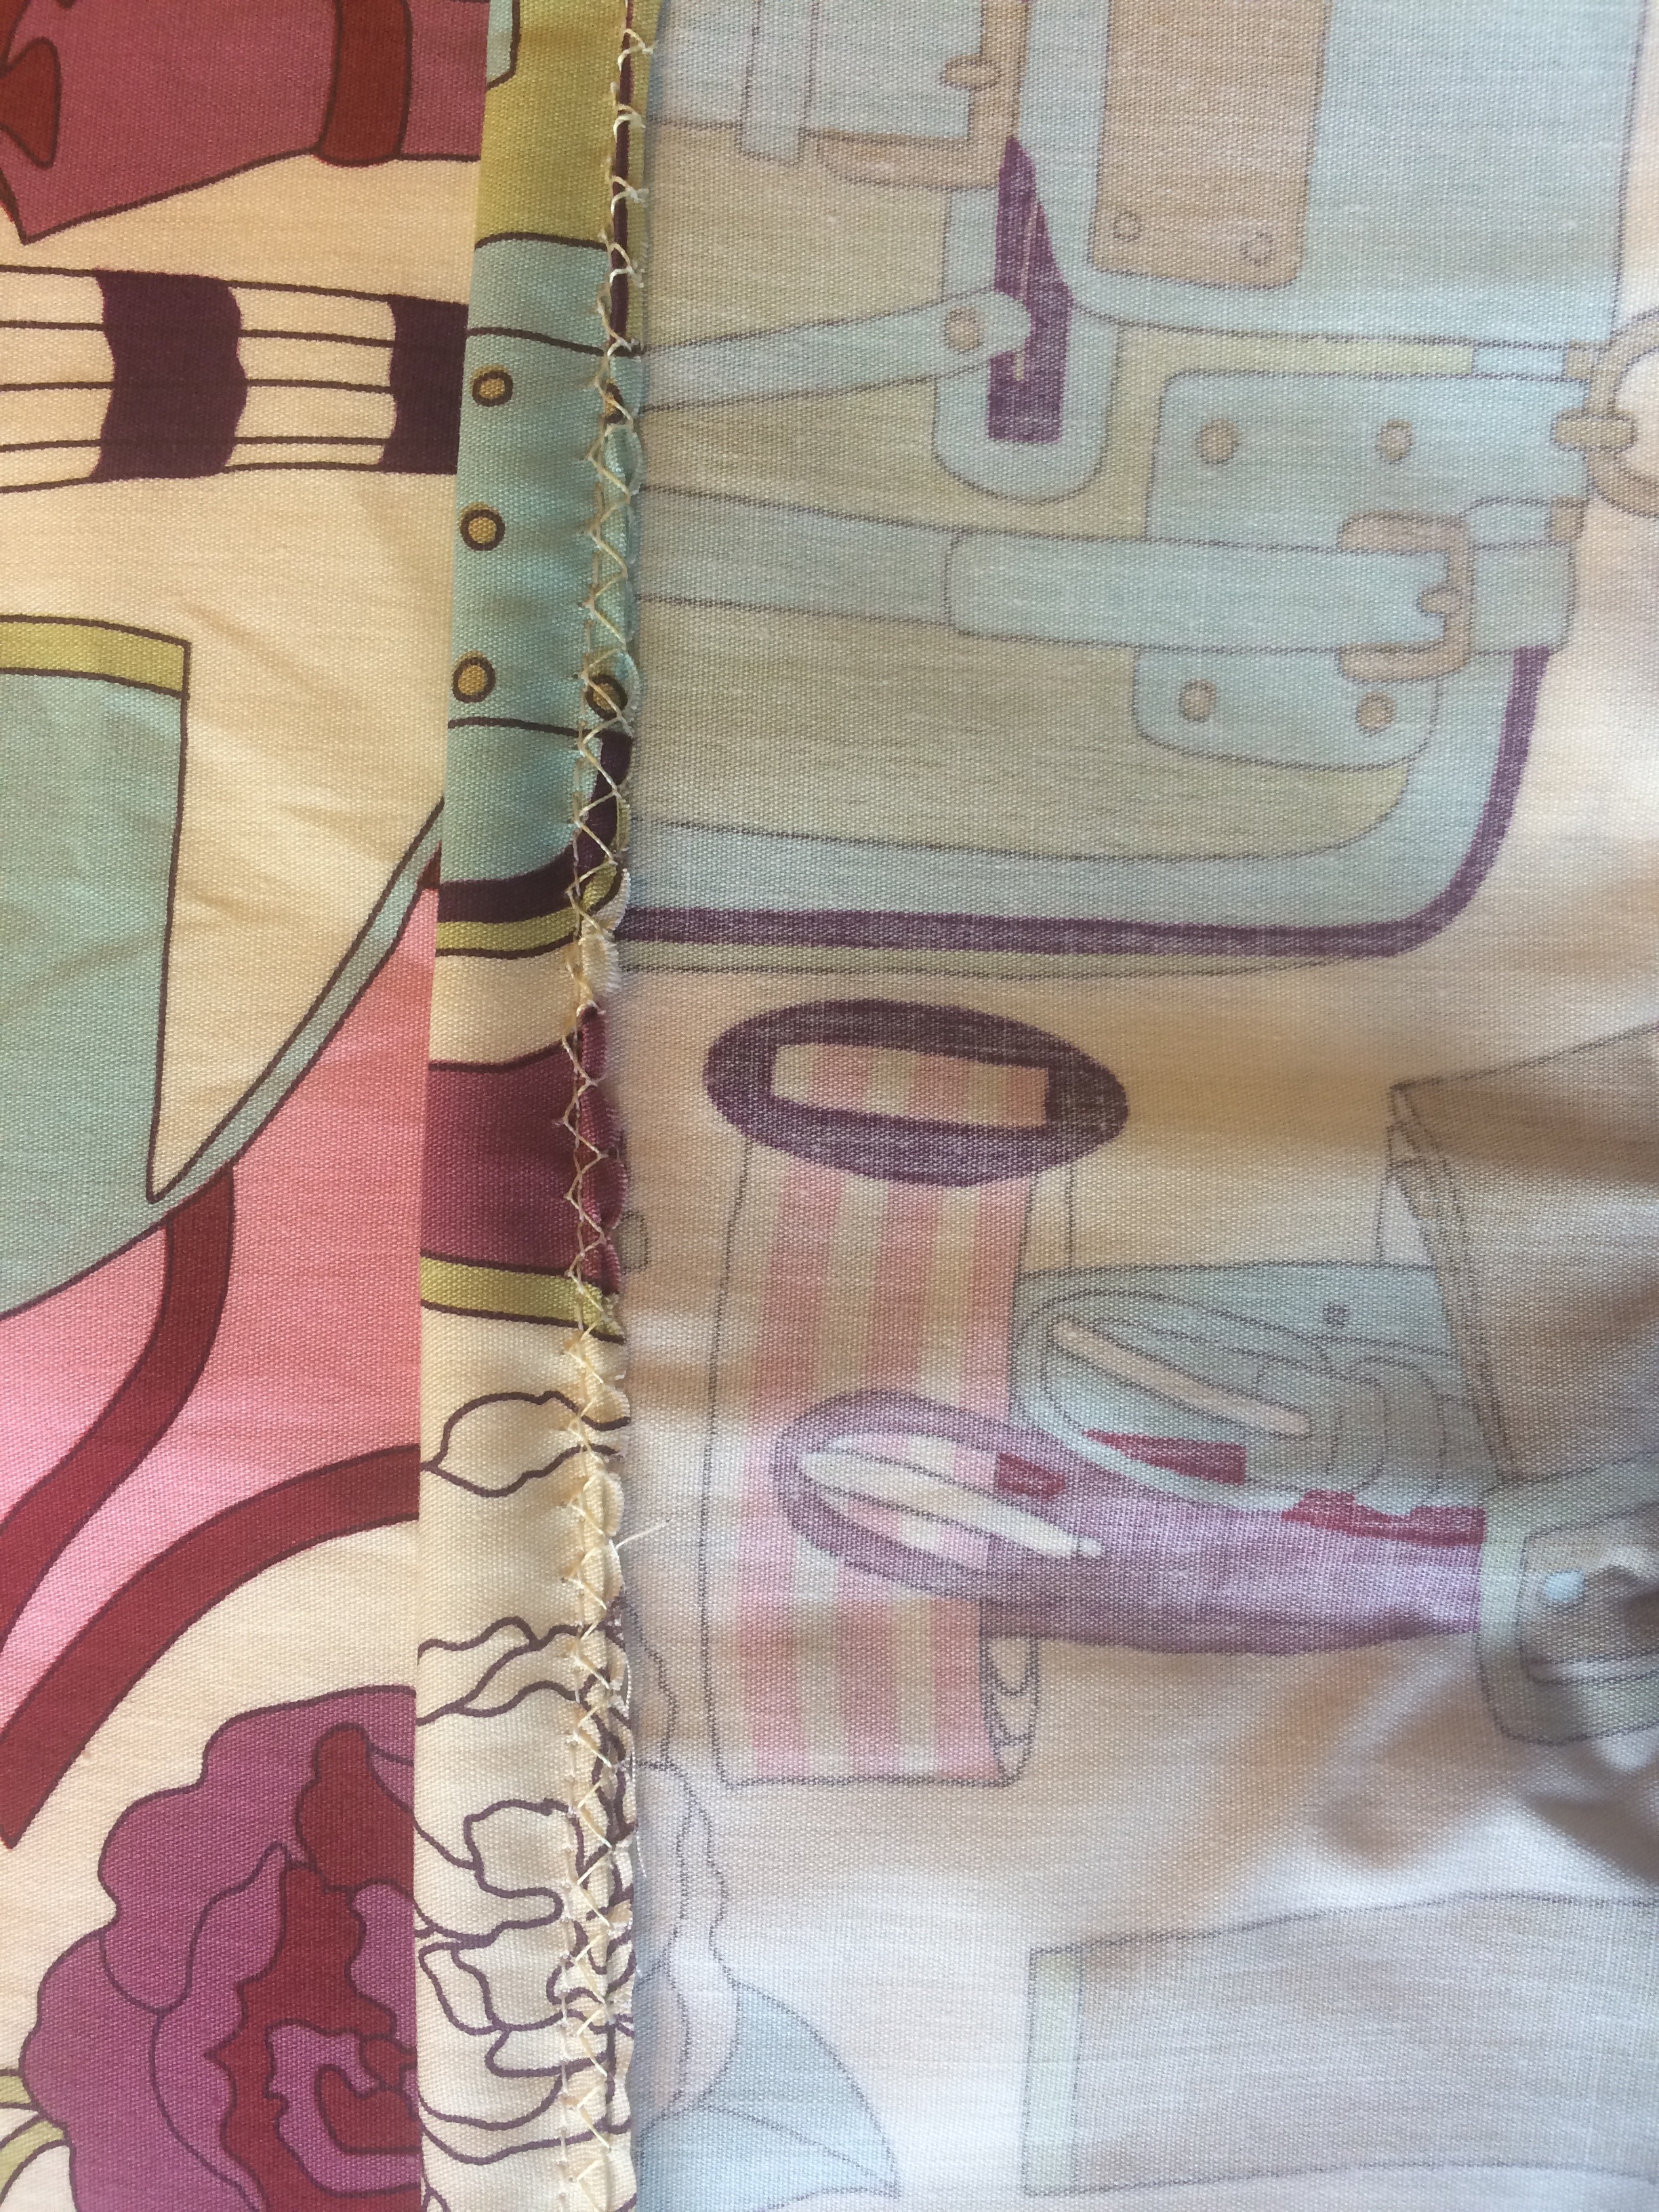
First: Get your pattern here at Palindrome Dry Good’s Etsy Shop. Blogging this short while has helped me “meet” several superstars and this gal Hannah is one of them. She found me and nominated me for the Very Inspiring Blog Award, about which I blushed and blogged about and then we kept communicating and discovering things we share in common. We are both Chico State alumni, we both are lovers of power linemen (which ultimately means lots of denim mending) and are from smaller places in California. Her taste in fabric is top notch and I doubt any of you can visit her Etsy shop without swooning over her darling aprons or pillowcases. Next: Choose 3 coordinating fabrics. She lists needing a ¼ yard of fabric A, a ¼ yard of fabric B, and 1 ¼ yard fabric C. I appreciate how her pattern uses up almost every bit of fabric. I hate having ⅛ yd left over that I hate to keep and hate to toss. Waste not, want not, Wildflowers! Cut: Follow the pattern directions to cut your fabric into a few simple rectangles. Sew: Sew the rectangles into a set of three stripes, thus forming the basis for the outside of the messenger bag. Sew the lining of the bag and apply the pocket (which uses up the bit of fabric you didn’t use in the strap: Smart! Iron: Interface the outside of the bag and the strap. I used Decor Bond, available by clicking the picture below, and found it to give serious substance to the bag. The difference between this interfacing and regular interfacing is a bag that will stand up on its own if you use Decor Bond. It gives body to the bag and when I open it up to dig my yoga clothes out of it, the opening stays open. Regular interfacing won’t give a bag that is as stiff and it won’t quite stand up the way Decor Bond does. It is a matter of personal preference and truthfully, if the regular interfacing wasn’t absent from my stash, I wouldn’t have thought about the really cool Decor Bond option. If you don’t find Pellon’s Decor Bond in your local sewing store, you can purchase it on Amazon by clicking the photo below.  Sew: pin and sew the straps to the sides of the bag outside. Match right sides with right sides of the outside of the bag and the lining and sew around the top of the bag, leaving a 4 or 5-inch opening. Turn bag right side out and sew the seam closed. I chose to continue sewing all the way around the top of the bag, topstitching and giving the top edge a nice, finished look. Impress: Friends, classmates, family, and fellow yogis with your super cute homemade messenger bag.
Want to learn to sew? This is the course that I recommend and love!
The fabric I chose is an Alexander Henry print, which is my favorite fabric designer, ever.
If you want to learn how to sew, check out the courses HERE!
|
Handmade Food & Craft Tutorials for Beginners
Footer
Shrubology Ebook

Leave a Reply