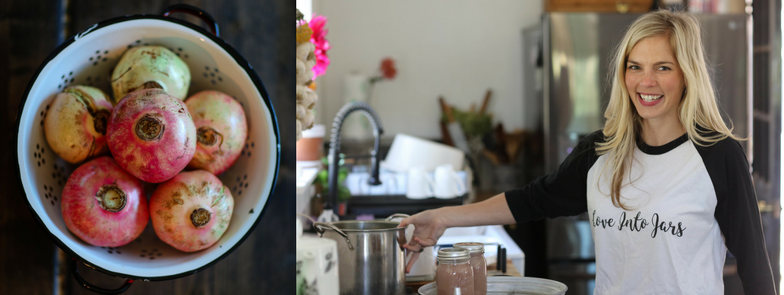
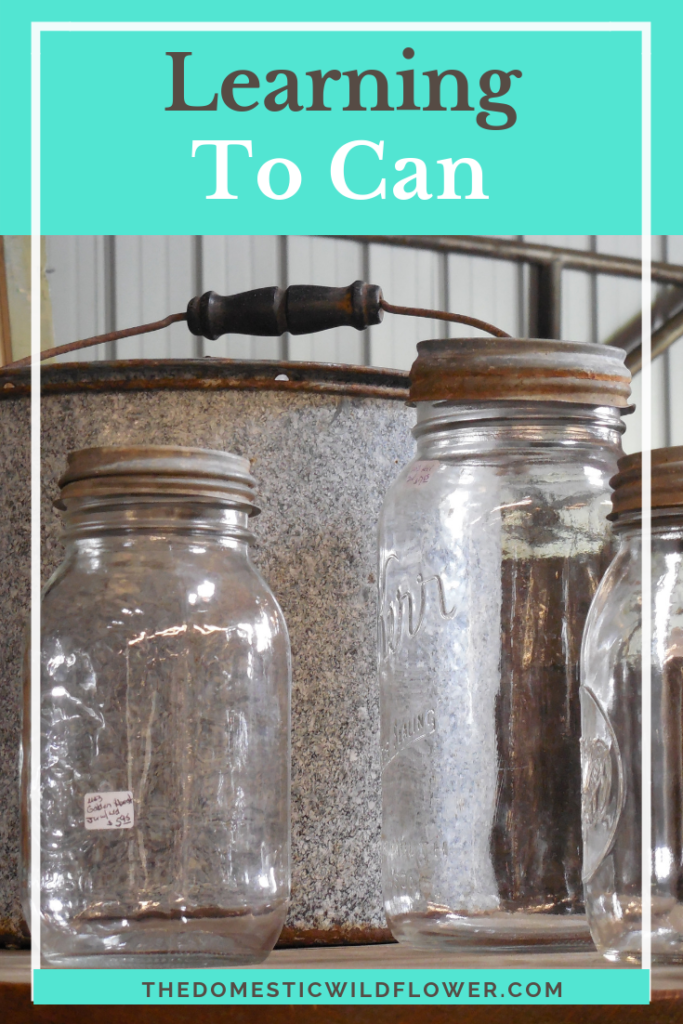
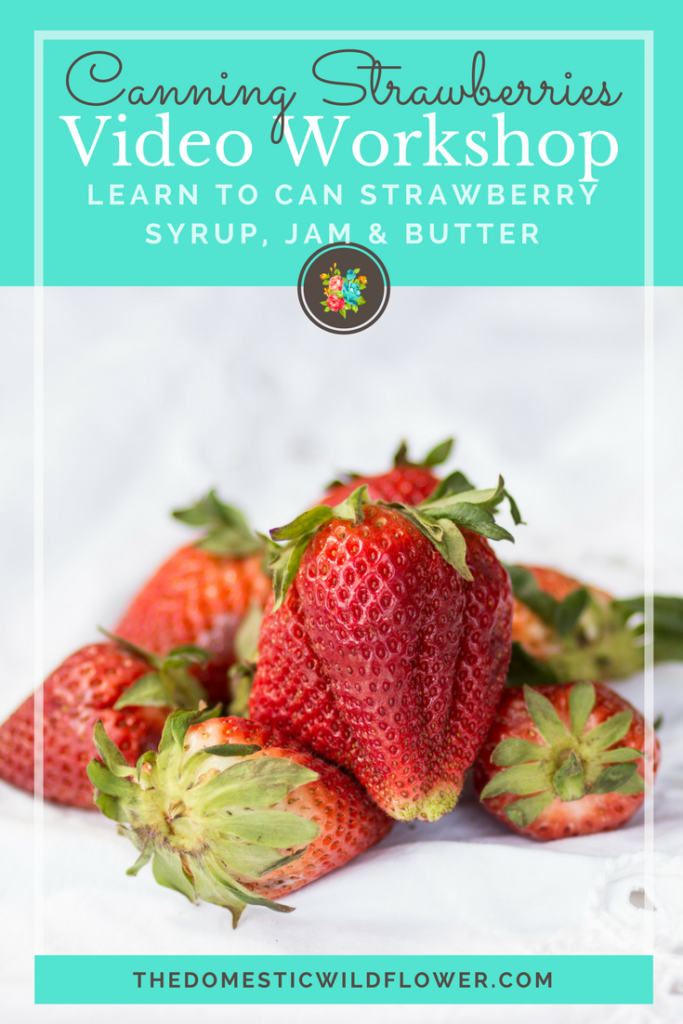
If you have wondered about canning, thought maybe you’d like to try it out, but didn’t know how to start, this post, and free canning basics course is for you.
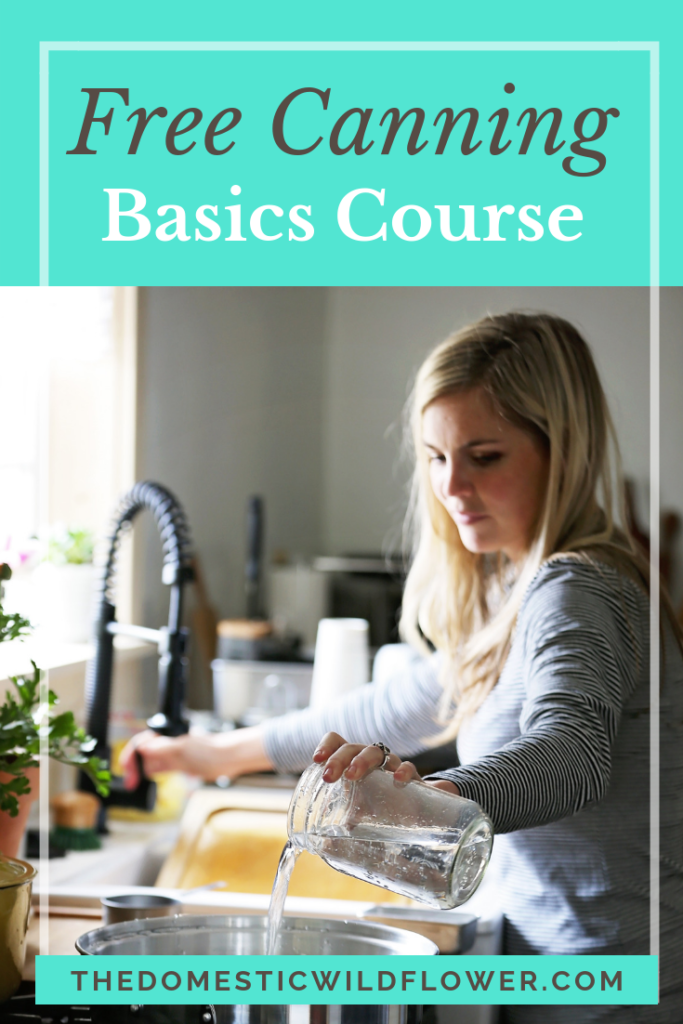
I have created and updated a rad little course that teaches a beginner the basics of canning and it is completely free.
There are three main areas that cause a newbie trouble when learning about canning and this course addresses all three.

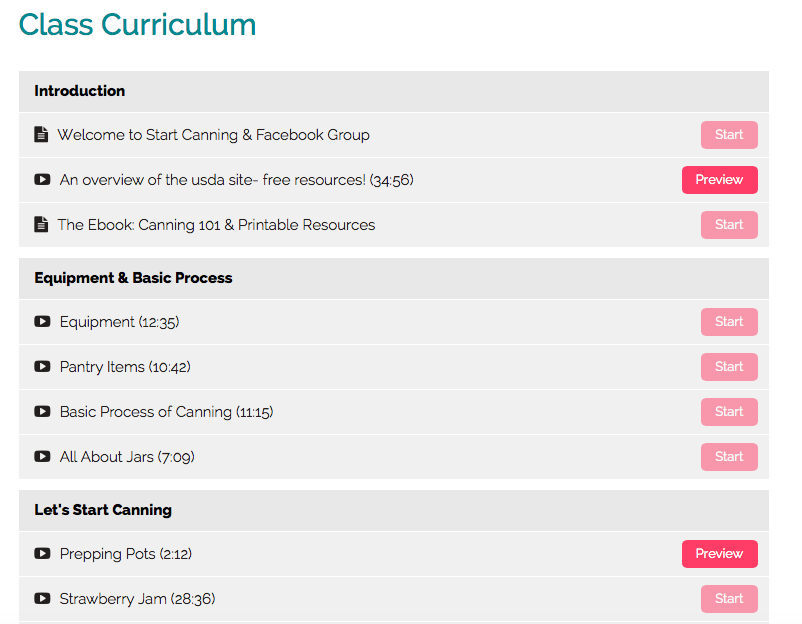
The Free Canning Basics Course teaches the canning process which is essentially what happens when, and for how long.
When I started canning, this was the part that caused me the most grief. A good cookbook is a helpful start, but there’s no way for it to SHOW you what happens when. There’s no shame in admitting that, hey, you don’t really cook all that often and having 3 pots going on the stove at once is kind of overwhelming. Really, no shame from this girl. I am here to tell you (and explain, in detail in the course) that canning is WAY LESS COMPLICATED than cooking a big family dinner.
I always say that I’d rather can every single day than cook Thanksgiving dinner once. The basics course teaches you what is supposed to happen when and how to be efficient with your time at the stove.

The Free Canning Basics Course teaches a beginner about safety. This is one reason that lots of people don’t decide to learn more about canning; they are afraid of making themselves sick. For good reason, too: You could make yourself sick if you just made up a recipe in your head, poured it into some canning jars and stuck in on a shelf. In this course, I explain the 3 amazing elements that are indeed a science, not an art, that are actually really comforting for a beginner to understand, that make canning work. Canning requires high temperatures, high acid foods (like strawberries, tomatoes, vinegar, etc), and the absence of oxygen (created by the submersion in the boiling water bath) to create an other-planetary-like environment inside the jars where no germs can grow. This trifecta is proven and tested by the USDA and you and I will ONLY be using safe recipes and procedures.
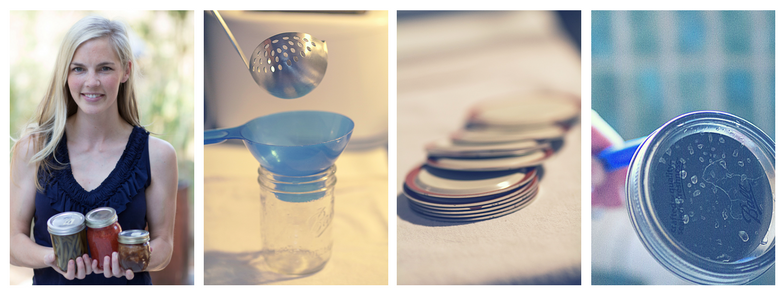
The Free Canning Basics Course will detail (in a helpful video with pictures 🙂 the equipment you’d need to get started. This is a valid concern many newbies have; they think they won’t have all the gear you need to get going. I really love this module for two reasons. I have a couple savvy little tips that save you from buying the gear you don’t need AND I think it leaves most people feeling like they already have most of what they need…because they do. You don’t need 25 different pots and pans to start canning…you just need 2 pots and a saucepan. The course will explain exactly what you can use, what you can skip, and smart ways of avoiding space-hogging equipment.
It also will teach you which items you need to order from Amazon or grab at your local grocer to have on your shelf for when you are ready to can your first…second….and every batch thereafter. What the heck is canning salt? What kind of vinegar do you need?
I’ll tell you in The Free Canning Basics Course 🙂
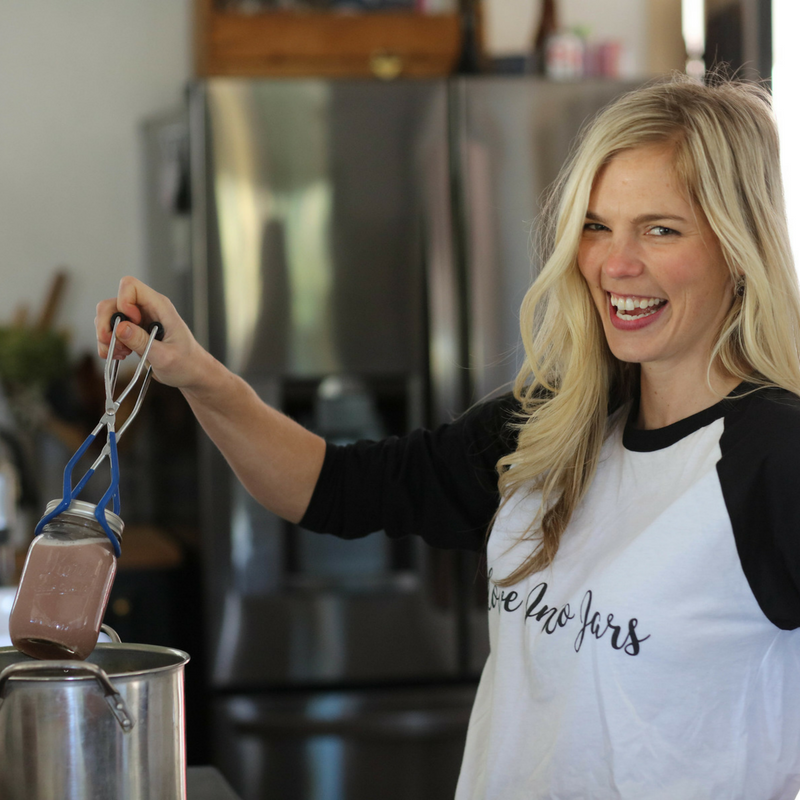
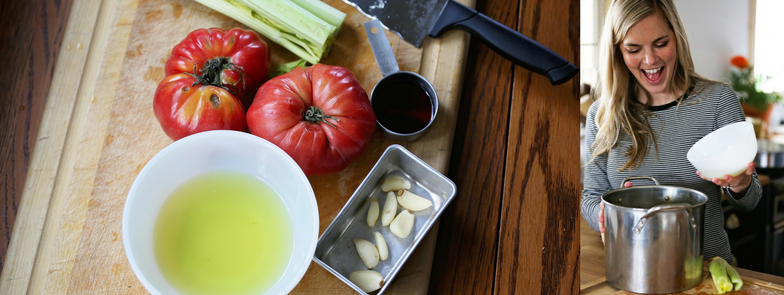
Canning is preparing hot foods that are high in acid (either naturally or by the addition of high acid ingredients like vinegar…hello pickles!) and putting them into hot jars. You then put a lid on and submerge the hot jars into hot water and let them boil for a specific length of time. Then, a vacuum seal is created and no air can get in and no germs that that might have been inside are able to live.
What can you can? Well, it will be hard to rein in my enthusiasm as I list so bear with me.
You can preserve in jars things like…
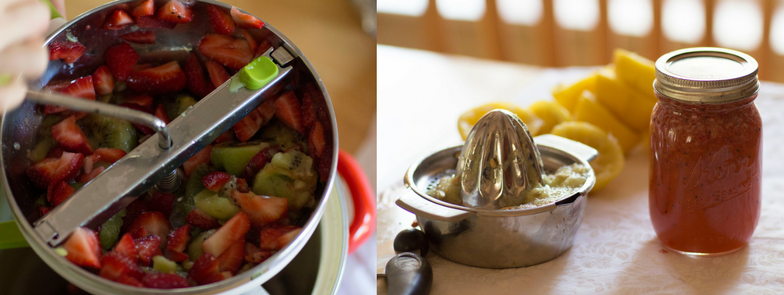
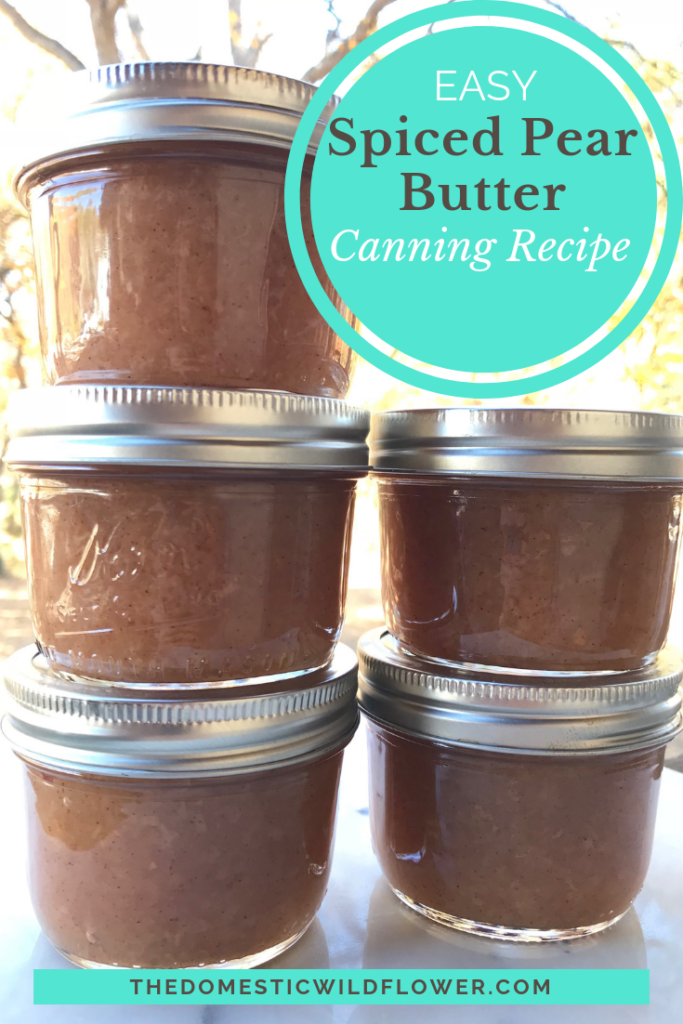
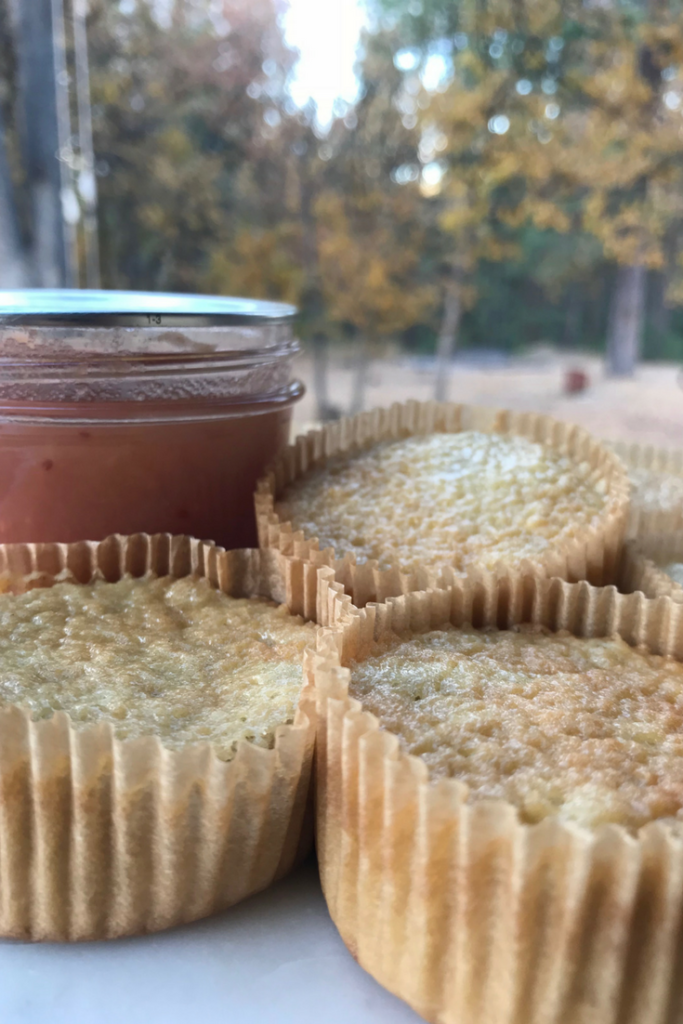
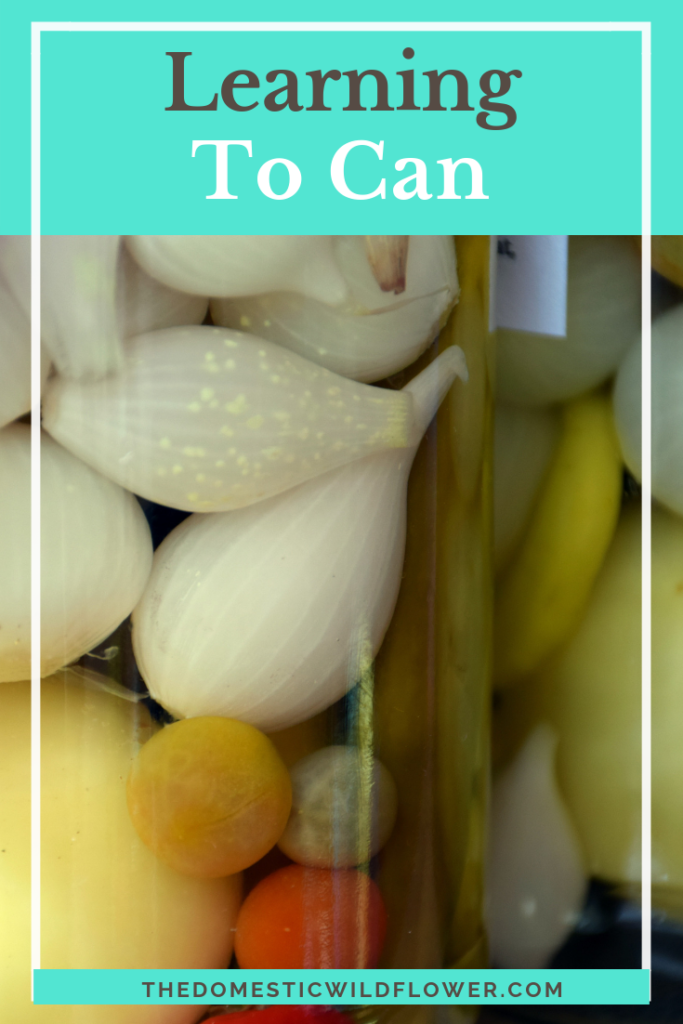
jam | jelly | syrup – not just for pancakes- think in drinks, on ice cream… | conserves (fruit & nuts!) | fruit & alcohol (like cherries in wine!) | pickles | pickled pearl onions for garnishing a cocktail | applesauce | fruit butter | slices of peaches, pears, etc. | shrubs | marmalade | pickled mixed & spiced vegetables like escabeche | hot sauce | salsa | marinades for meat | tomato sauce and every incarnation of tomato you can think of | roasted bell peppers | bread & butter pickles | and MORE
Canning is NOT using a pressure COOKER like an instant pot (though I hear those are great for tough cuts of meat!), it is NOT just putting food into jars and sticking it in the fridge, and it is NOT fermenting sauerkraut on your counter in a jar (great idea though!).
There are countless advantages to canning your own produce but here is the short list of why I LOVE it and why I know you will too:
-
Canning saves a ton of time.
-
Canning saves money.
-
Canning allows you to have wholesome produce ready to eat year round.
-
Canning helps you eat sustainably.
-
Canning eliminates the worry about mystery ingredients or allergens– canning jars are literally and metaphorically clear.
-
Canning is easy. Hot food goes into hot jars, which goes into a hot water bath. Done.
-
Canning helps you eat more produce, that tastes better, that you got to CHOOSE.
-
Canning gives an enormous sense of accomplishment and satisfaction.
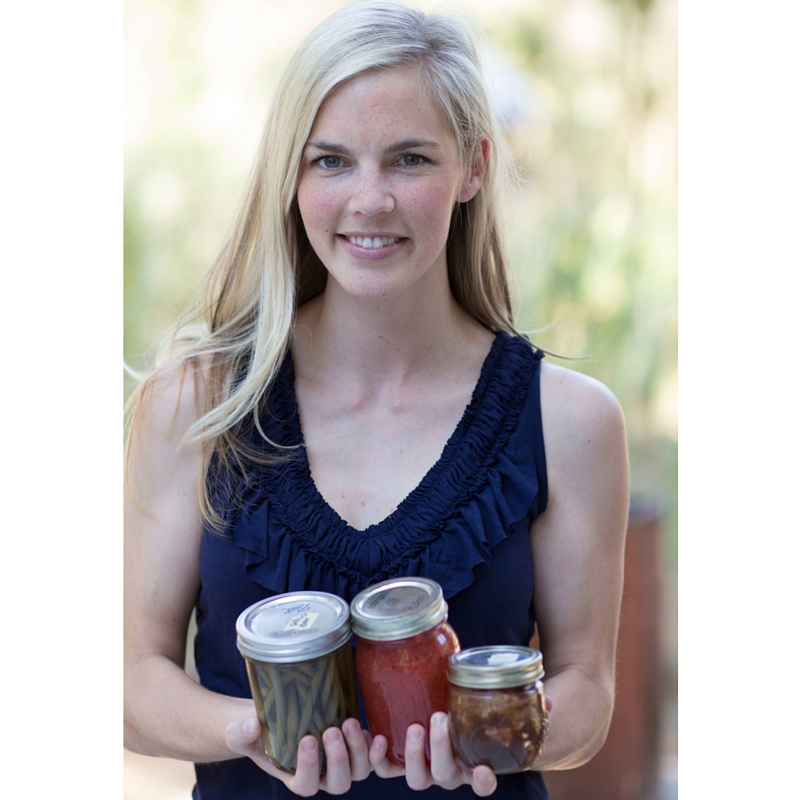
I want to invite you all to join this super valuable, FREE online course now!
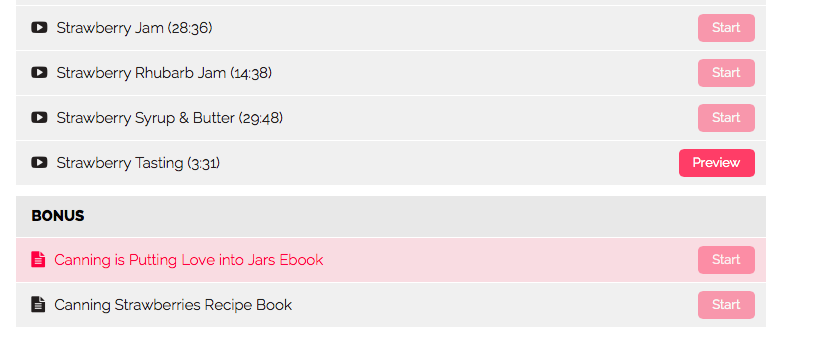
If you’re not sure about the whole “online course thing” I don’t blame you. Here’s a little walkthrough of what it will look like inside. There’s no homework, no deadlines, and you don’t have to enter your credit card information or anything like that.
Join me today and learn how to can your own jams, salsa, applesauce, pickles, roasted veggies, and more!
This post is featured on my favorite blog hop!
 I am ALL about teaching you how to make the most of your time at the stove canning, and this video is devoted specifically to that.