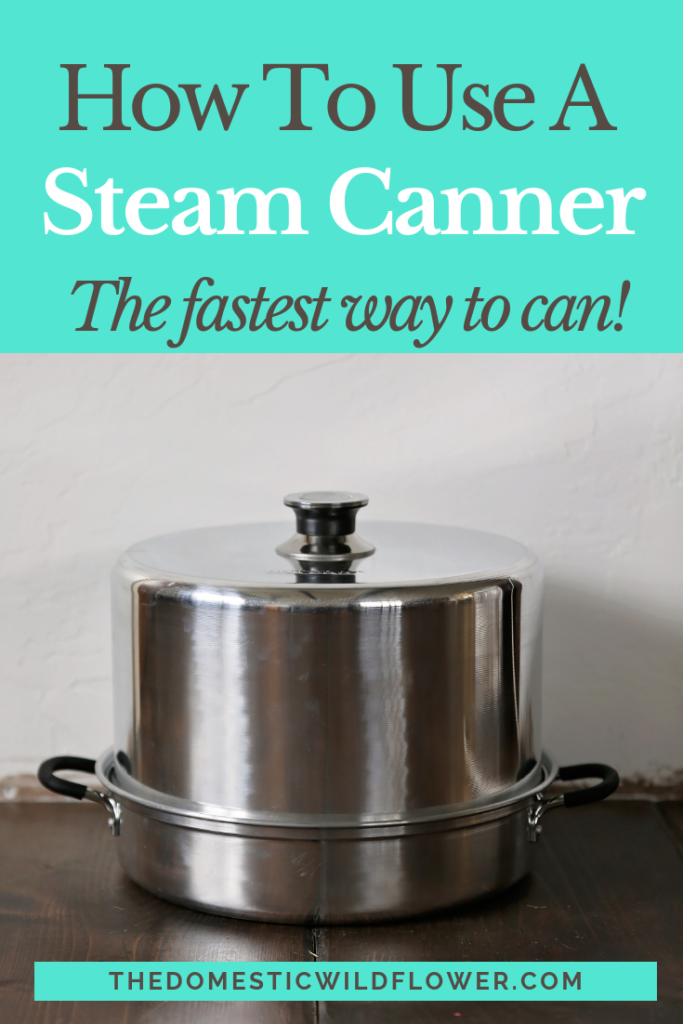
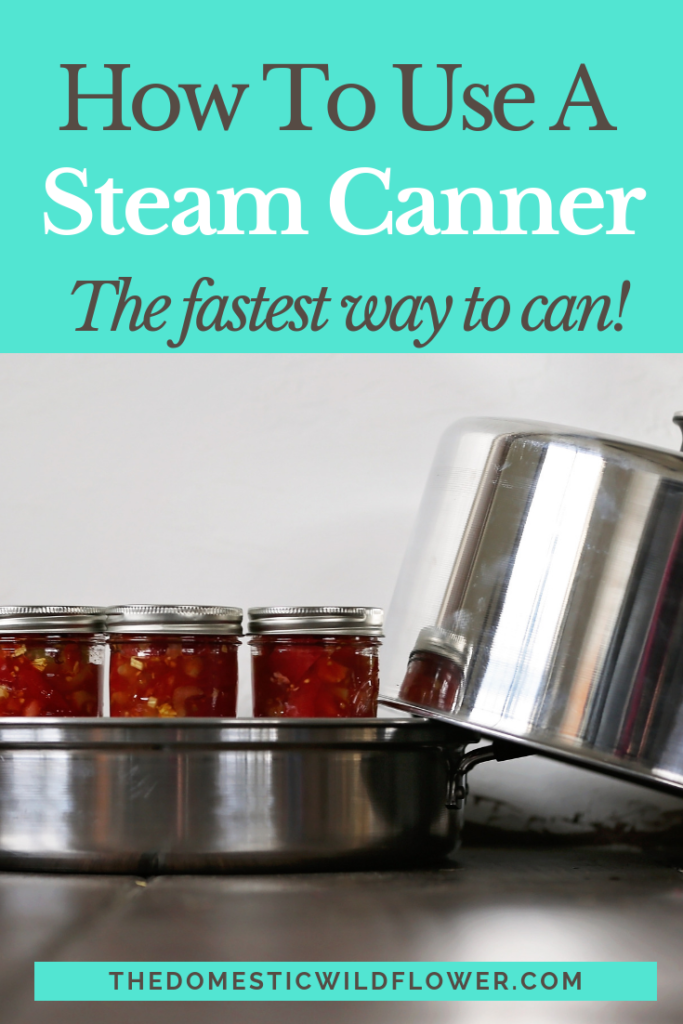
Steam canners are faster than traditional canners and are much easier. They can be used for any water bath canning recipe and save 25 minutes per batch. Learn how to use a steam canner in this post!
This post contains affiliate links.
The process of canning in a steam canner is simpler because you don’t have to wait for the large pot of water to come to a boil.
You can watch the YouTube video version of this post below!
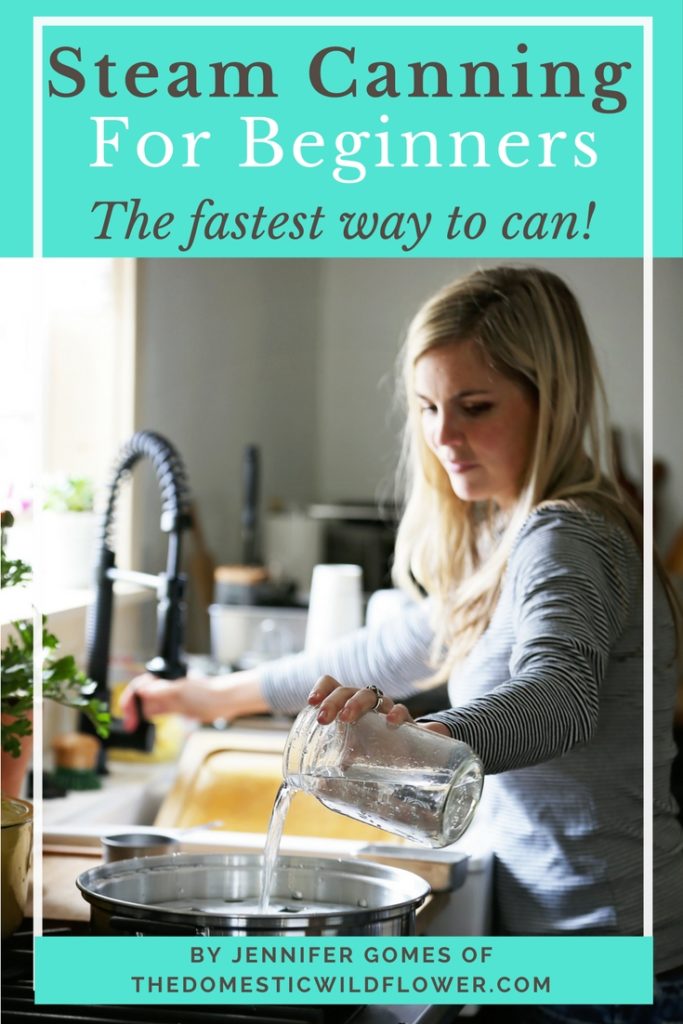
First, fill the steam canner with the required 2 – 2.5 quarts of water (much less than a traditional water bath!) and set it on the stove. Turn to low. Set the jars you’ll be using for that recipe on the rack to warm, with the steam canner lid on top.
Next prepare your preserve according to the recipe. You’ll cook your jam, your salsa, or your applesauce. If the recipe you’re preparing takes a while to cook (more than 20 minutes) you might cook it first, then prepare the steam canner.
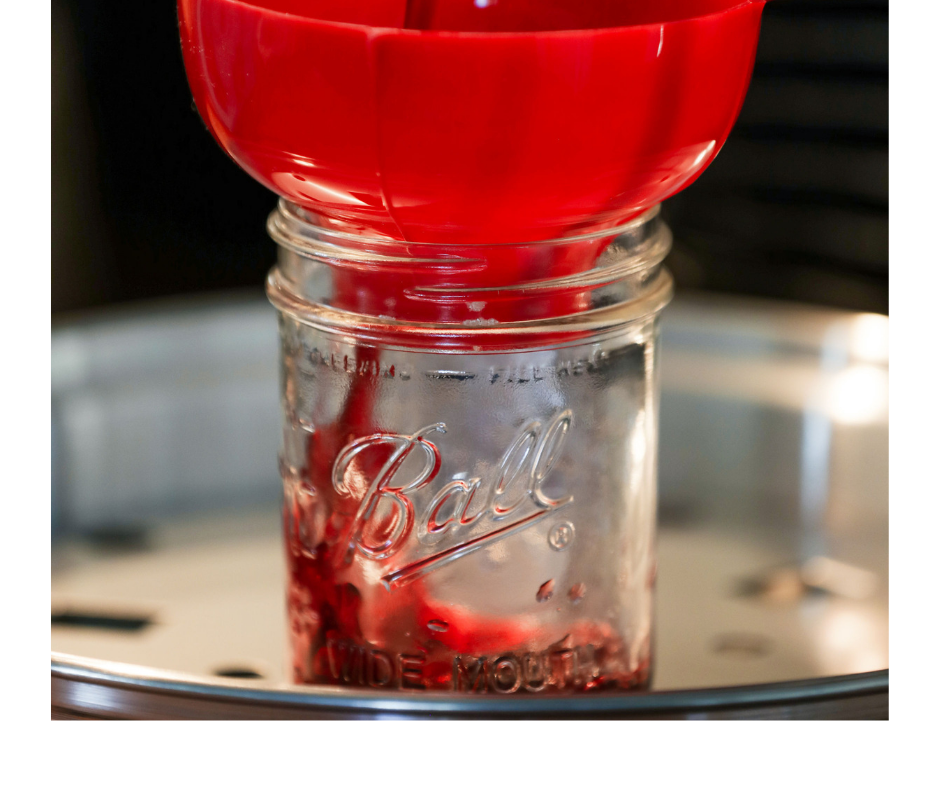
Then, one by one, take the warm jars from the steam canner rack and using the funnel, fill the jars as the recipe indicates. Add lids and rings, and set on the steam canner rack again. Repeat until all the jars are full.
Put the lid on the steam canner. Turn the stove to medium high and watch the dial climb to the correct altitude for where you are canning. When you are in the green/GO zone, set your timer for the time indicated in your recipe.
When the time is up, turn the stove off. You have the option of leaving the steam canner jars on the rack indefinitely, OR you can carefully use hot pads and lift the lid AWAY from you, as steam will surely come billowing out, and lift the jars using the jar lifter and place them on a towel covered countertop to cool.
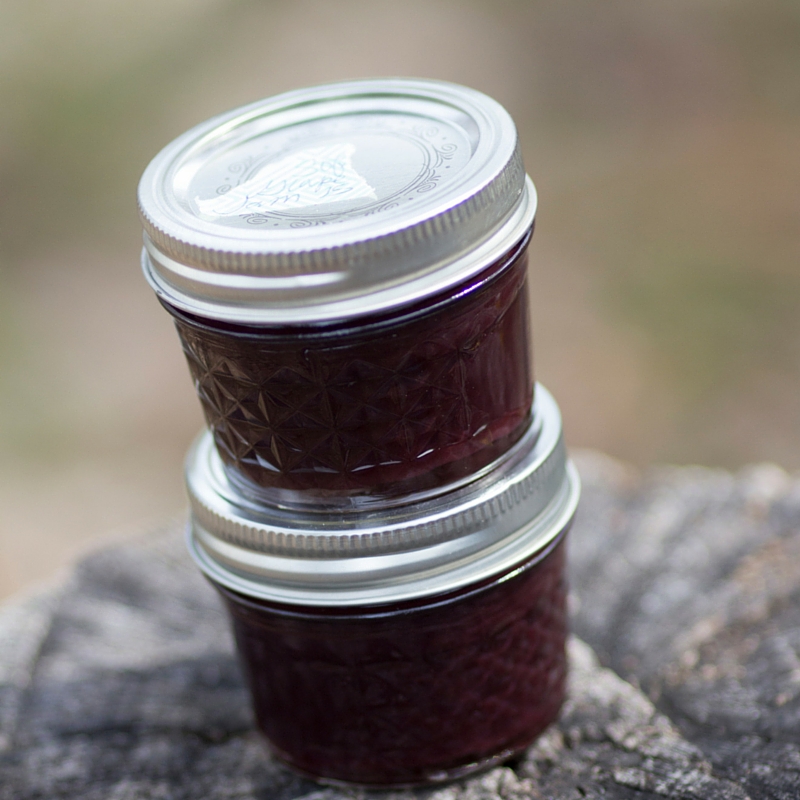
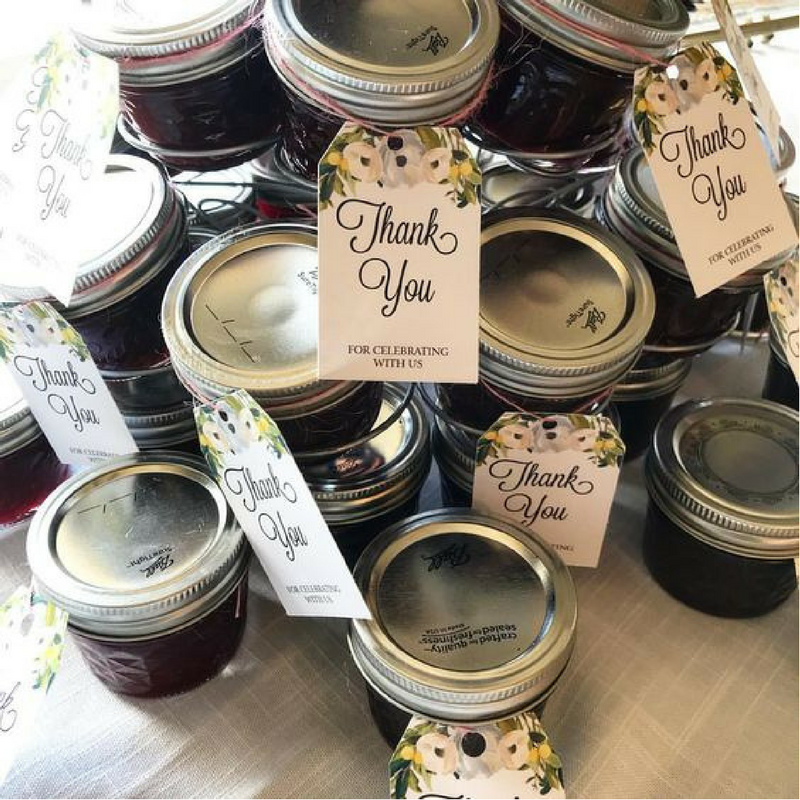
Listen and watch for the lids to make a ping, ding, or click type of noise, and to become firmly concave on the jars. It may take up to 12 hours for the lid to seal and that is perfectly okay. Sometimes the lids seal while they are still in the air, clasped in the jar lifter. That is also okay. Don’t disturb the jars until they are cool and sealed, at least 12 hours later. Label and store in a cool, dark spot.
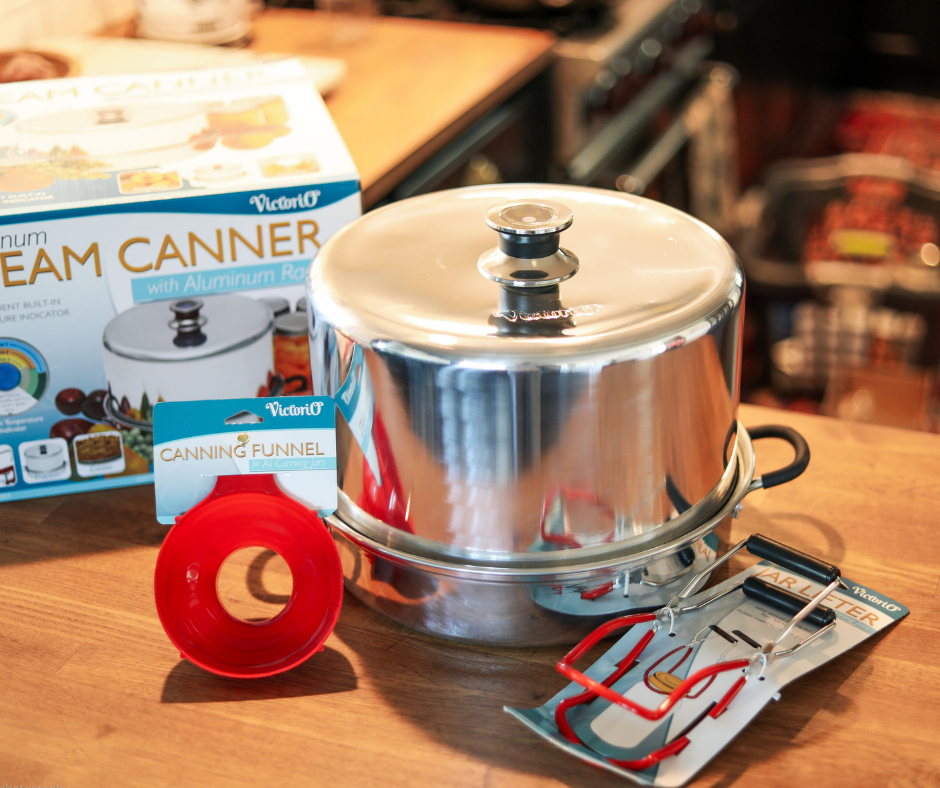
You can read more about why steam canning is the Absolute Best Way to Get Started Canning in this post but if you’re ready to dive in, get your steam canner, funnel, and jar lifter (everything you’d need that you won’t already have in your kitchen HERE for cheaper than on Amazon and with free shipping. It’s an exclusive bundle from my friends at Victorio and it is just for my blog readers! It’s our way of helping you get started the best way.
Once you have your steam canner you’ll want to grab the ebook, Steam Canning for Beginners. I explain the answers to your every question – you’ll be canning confidently the fastest way possible!
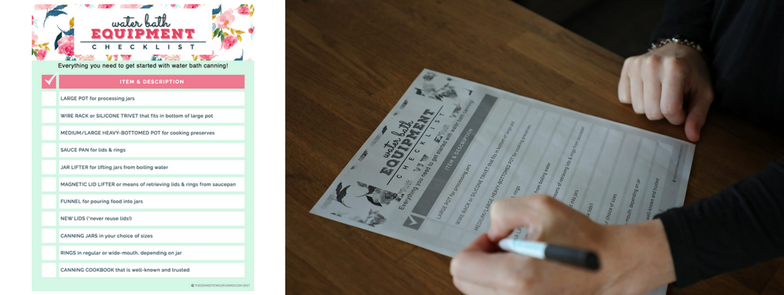
If you’re not quite ready to grab the ebook, download the free Steam Canning Equipment Checklist and Fact Sheet!
And if you’re wondering more about the differences between water bath canning and steam canning, I have a blog post about that as well. Can you tell I REALLY love steam canners?!