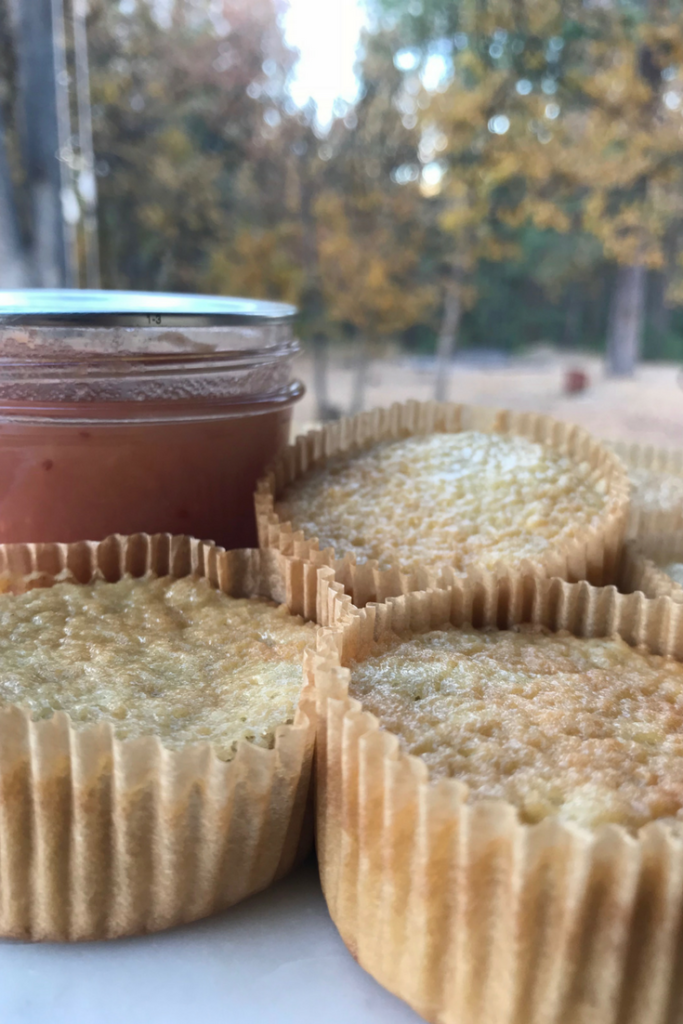
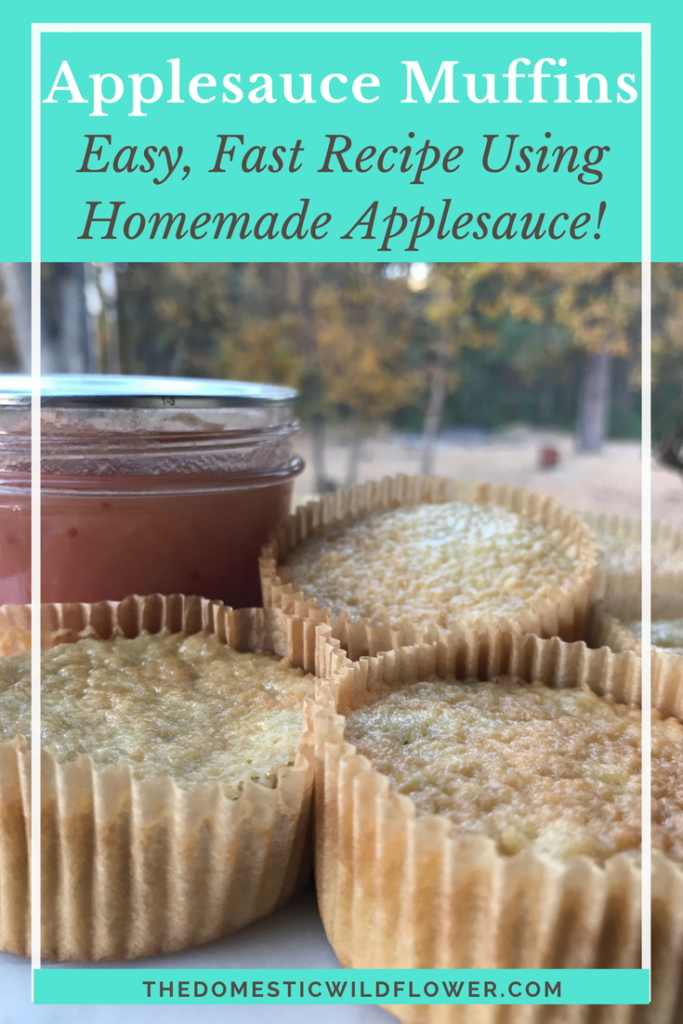
This recipe for applesauce muffins is is a great way to use a healthy ½ cup of your homemade applesauce (or store-bought if you haven’t learned how to make it from me yet!) into a portable snack.
This post contains affiliate links.
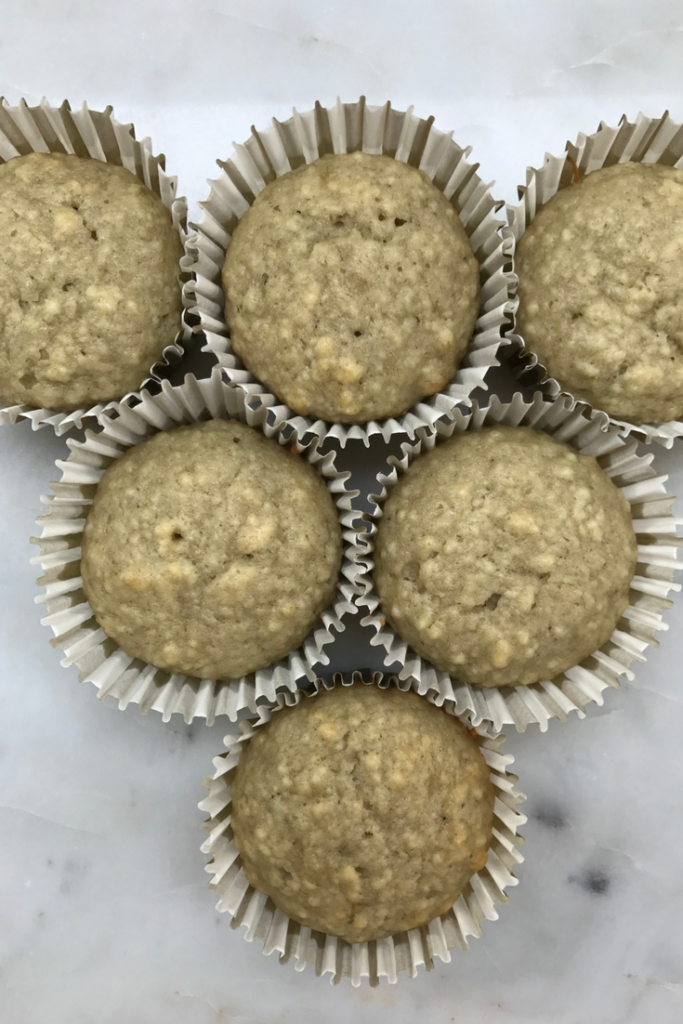
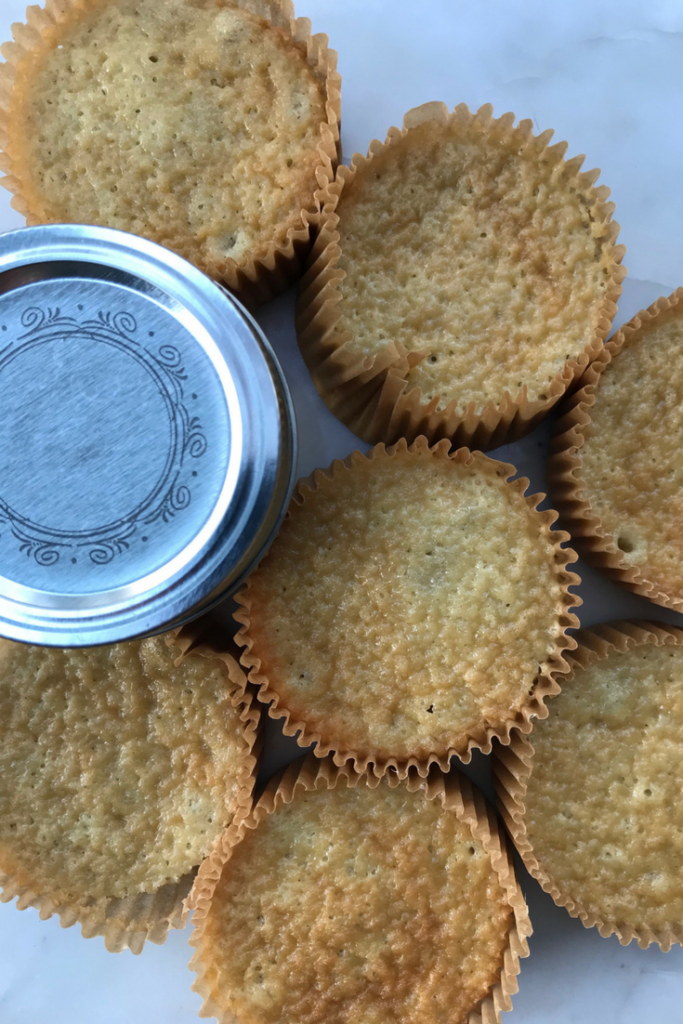
They are tender, moist and almost cake-like. I won’t tell anyone if you frost them 😉
I took half of the recipe for Sunday Morning Breakfast Cake from The Good Housekeeping Cook Book from 1942 and then made up the rest.
I was intrigued by the technique of adding hot milk, which worked marvelously, ditched the nuts (because: picky kids), changed a few other things, and added copious applesauce, and the result are these perfect muffins.
If you haven’t made your own applesauce, you need to get my recipe here. It’s fast, simple, and there’s a free download to print off too!
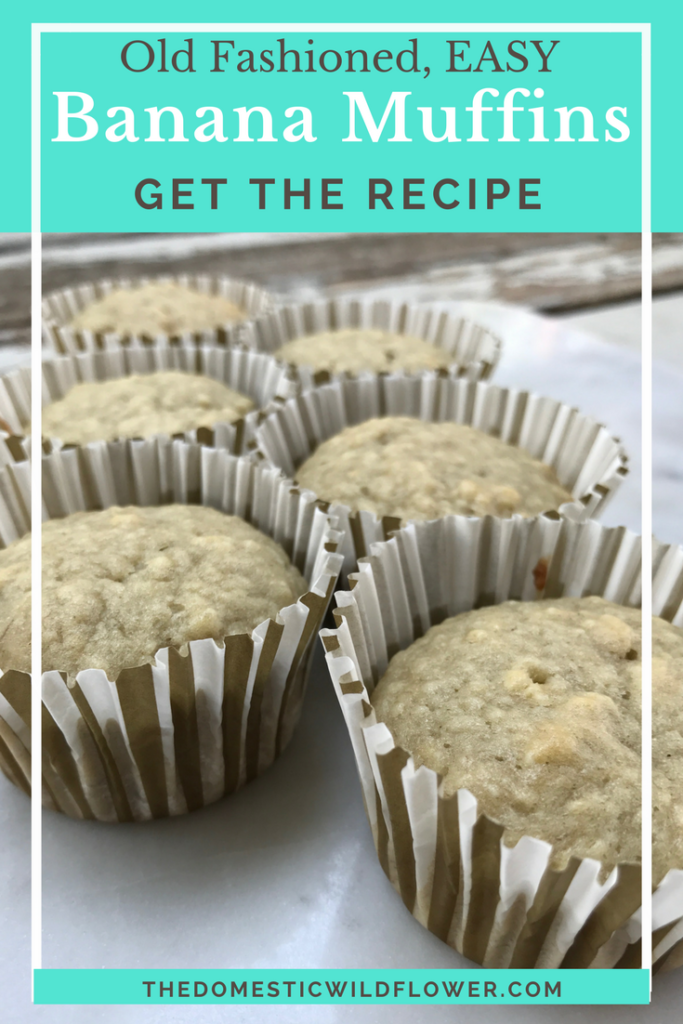
Here’s the Applesauce Muffins Recipe!
You’ll need
2 eggs
1 cup sugar
1 teaspoon vanilla extract (here’s my easy homemade vanilla extract recipe!)
1 cup + 2 tablespoons flour
1 teaspoon baking powder
½ teaspoon salt
½ applesauce (see my recipe here)
½ cup milk (preferably whole) heated until just about to boil
2 tablespoons butter, melted in the milk as milk is heated
In your electric mixer (this is the one I use daily and love) beat 2 whole eggs on high until they are thick and bright yellow- about 5 minutes.
Add sugar while continuing to beat. Mix in vanilla.
Mix in dry ingredients on low speed. Add applesauce.
Heat milk and butter in a small saucepan until just about to simmer and add to the mixer and incorporate.
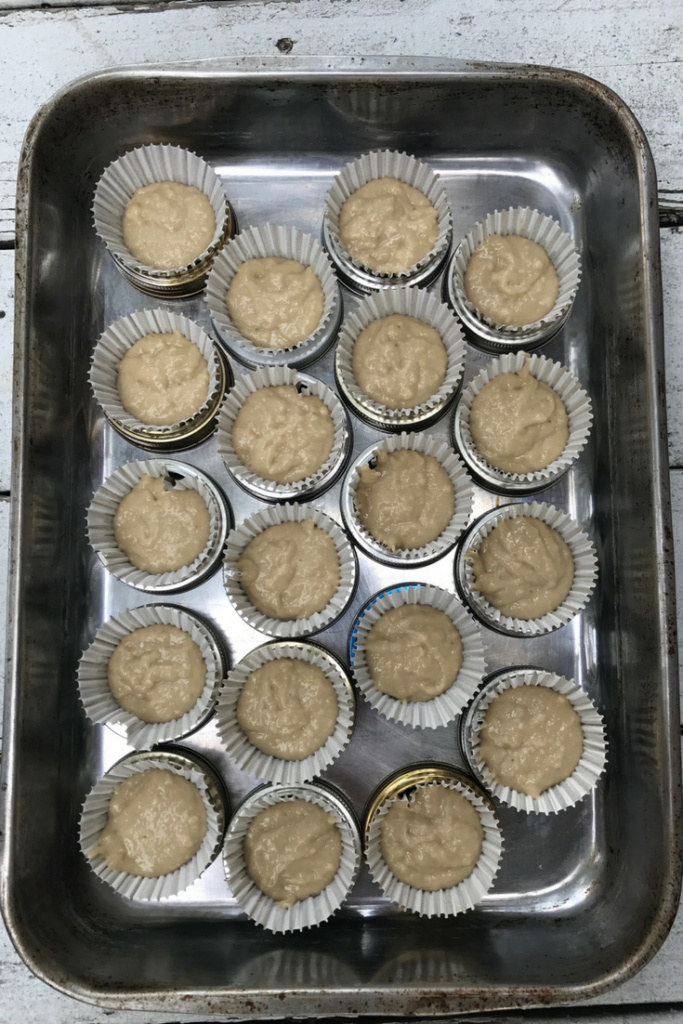
Bake in ⅔ full muffin papers at 350 oven for 20 minutes or until a toothpick inserted comes out clean.
Delicious, right? Download the recipe below, and be sure to pin it so you have it digitally on Pinterest too!