• Skip to secondary menu
  • Skip to main content
  • Skip to primary sidebar
  • Skip to footer
  • The Pressure Canning Cookbook
  • Blog
    • Subscribe
    • Welcome!
  • Perfectly Preserved Podcast
  • About
    • ADW Manifesto
    • Work With Me
      • Read
  • Shop
    • My Account
    • Cart
    • Checkout

The Domestic Wildflower

Handmade Food & Craft Tutorials for Beginners

  • Courses
    • Free Canning Basics
    • Everything Canning Course
    • Steam Canning Workshop
    • Free Homemade Cocktail Mixers
    • Wildflower Mixology
    • Crochet Basket Workshop
  • Can & Preserve
    • Never Canned?
    • Steam Canner Equipment Bundle
    • Shrubs Course
  • Sew
  • Cook
  • Craft
    • Crochet Step-by-Step Guides
      • Crochet Basket
      • Giant Yarn Throw
      • Thick & Thin Throw
  • Living
    • Creativity Challenge
    • Clean
    • Kids
  • Rentals

Jenny Gomes

Tomato Jam Easy Canning Recipe

July 15, 2019 by Jenny Gomes 3 Comments

This tomato jam easy canning recipe is savory, herbal, and rich. It is amazing when paired with meat, goat cheese, pasta, and salty snacks. Read on for the step by step tutorial to make your own tomato jam!
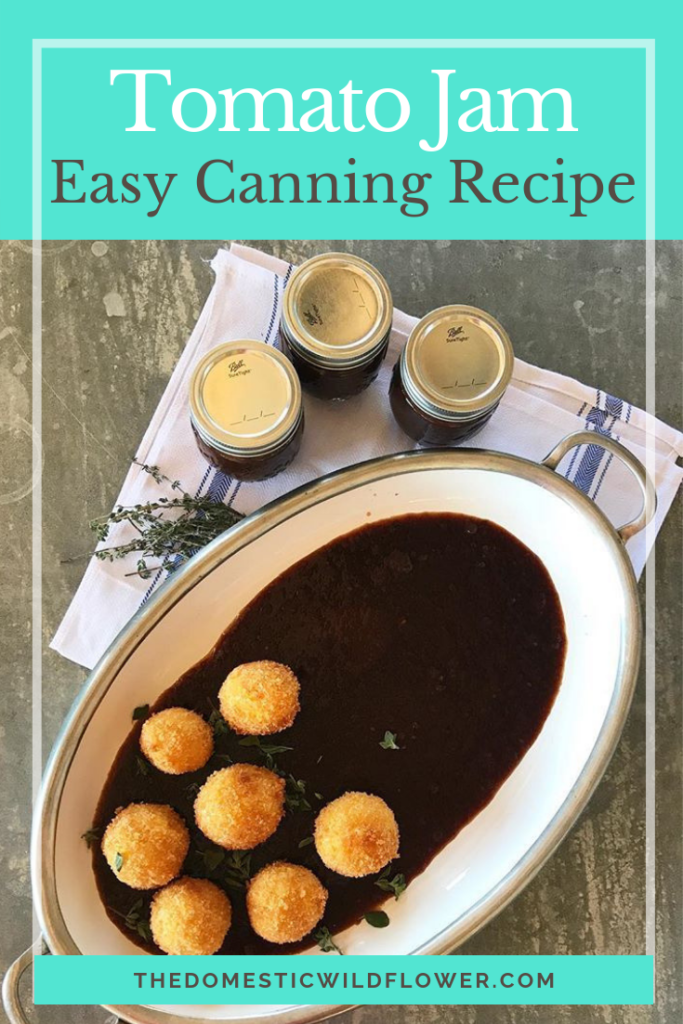
Tomato Jam Easy Canning Recipe

This post contains affiliate links.

This recipe is much more savory than it is sweet, and is one that if I were you, I’d can a double batch of NOW, in tiny jars like these

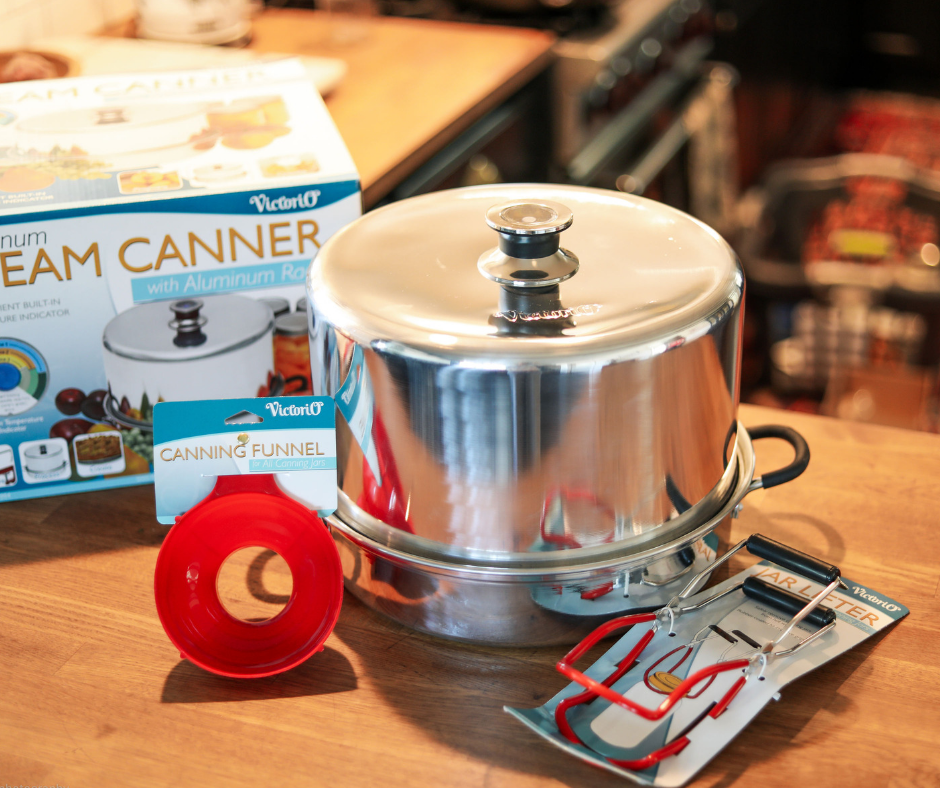
4-ounce jars from Ball and set them aside and gift them during the holidays. You can preserve much faster using a steam canner like this Victorio brand version.

If you haven’t read my post about why you should be using these time-saving canners, read this post here.

But the main idea is that these pots are ready to can in 5 minutes, while a traditional water bath canning pot takes about 30 minutes to be ready. They also make canning a subsequent batch instantaneous, while waiting for a traditional water bath pot to come back up to boil for batch #2 takes an additional 20-30 minutes. They save so much time, and I warmly recommend them.

Tomato jam easy canning recipe!

The recipe calls for Roma tomatoes, which are typically denser and thus cook into a thicker sauce a bit faster. You can use whatever tomato you have on hand, however, and this is a great recipe to use a variety if that is what you have.

Here’s the recipe, with BOTH traditional water bath and steam canning instructions, and you can download it here!
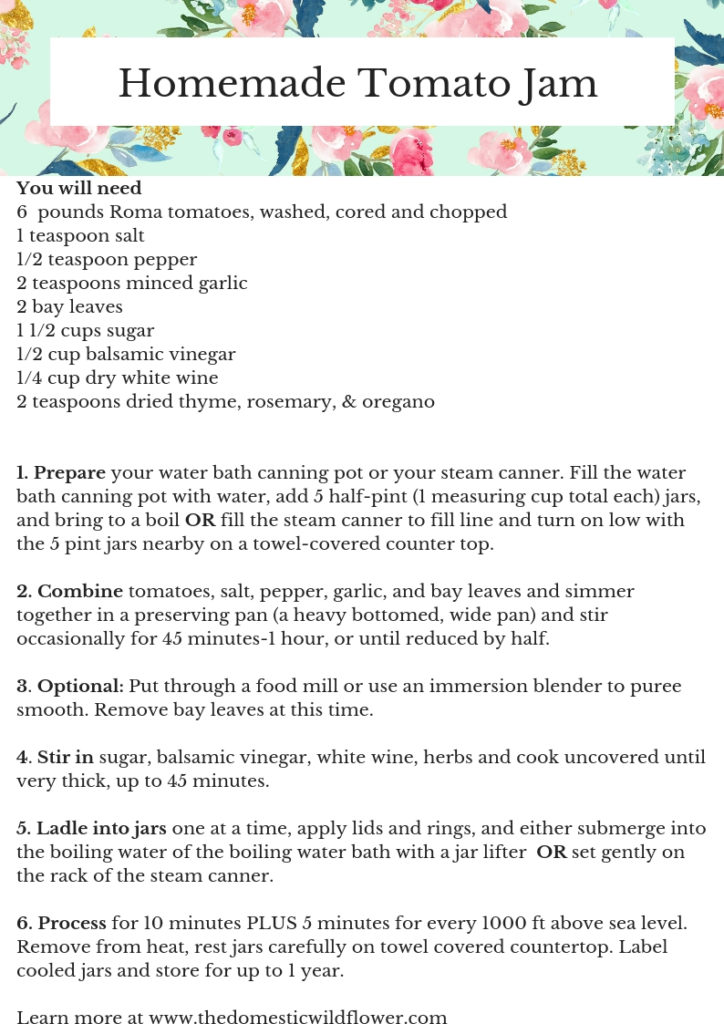
 

Tomato Jam Easy Canning Recipe

How to enjoy this tomato jam easy canning recipe

This is is more of a condiment than a jam. I love it with

  • goat cheese on top of pasta
  • on an everything bagel with cream cheese
  • to replace fresh tomatoes when it is winter/out of season

Don’t think “jam”-  think “sauce” and you’ll find so many uses for this savory pantry staple! These fried risotto balls are dressed with the tomato jam and they were divine. The sky is the limit!
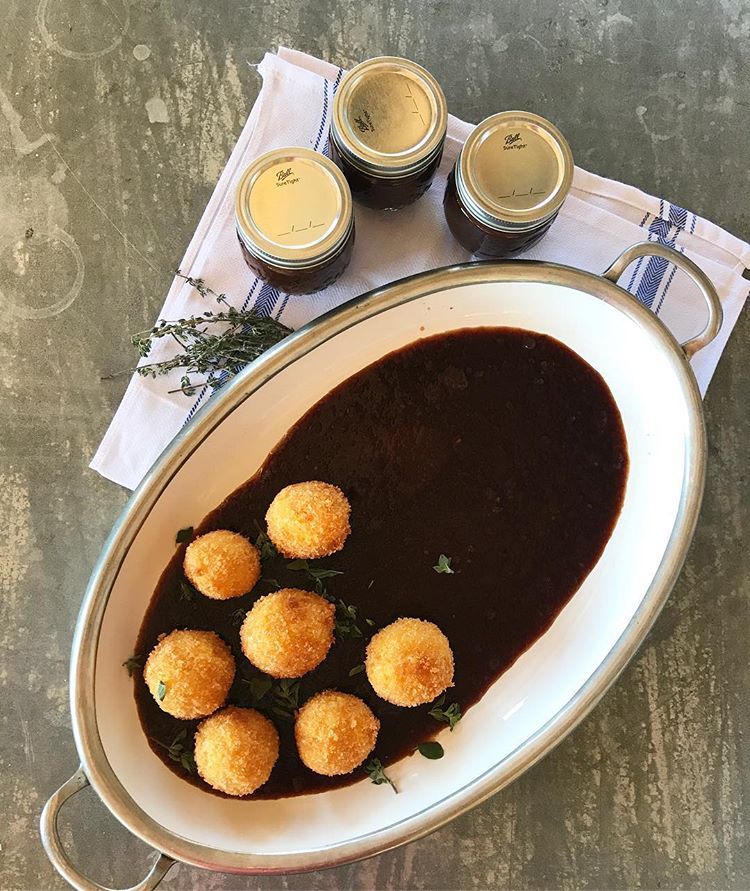
Tomato Jam Easy Canning Recipe

Download the recipe & tutorial for free here!

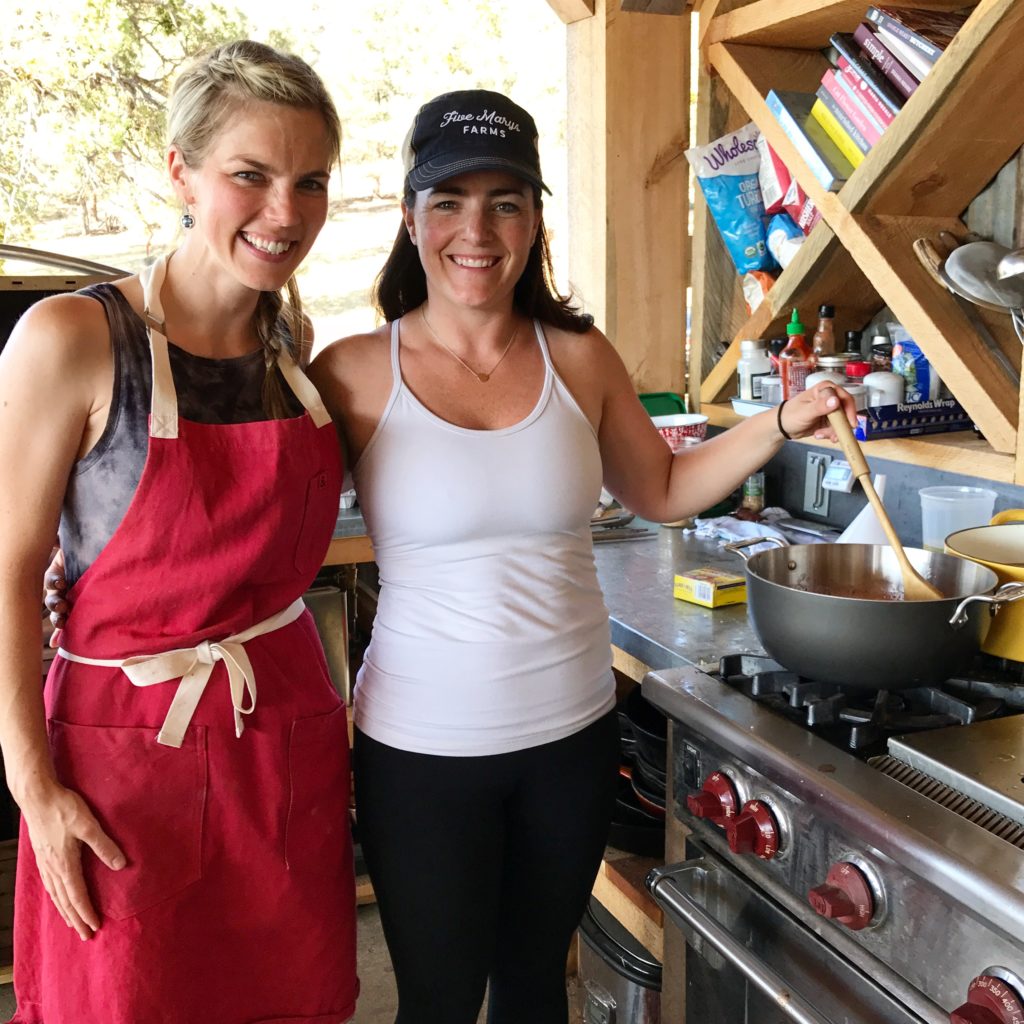
I had the great pleasure of demonstrating this recipe LIVE at an amazing event hosted by my friend, Mary, at her pastured-everything ranch. She hosted a retreat at Five Mary’s Farms of nearly 20 women a few days ago and we canned SIX batches of tomato jam, plus a few batches of raspberry jam and cherry jam for good measure. I showed them the difference between water bath and steam canning, and it was really fun to see how each compared side by side on the stove.
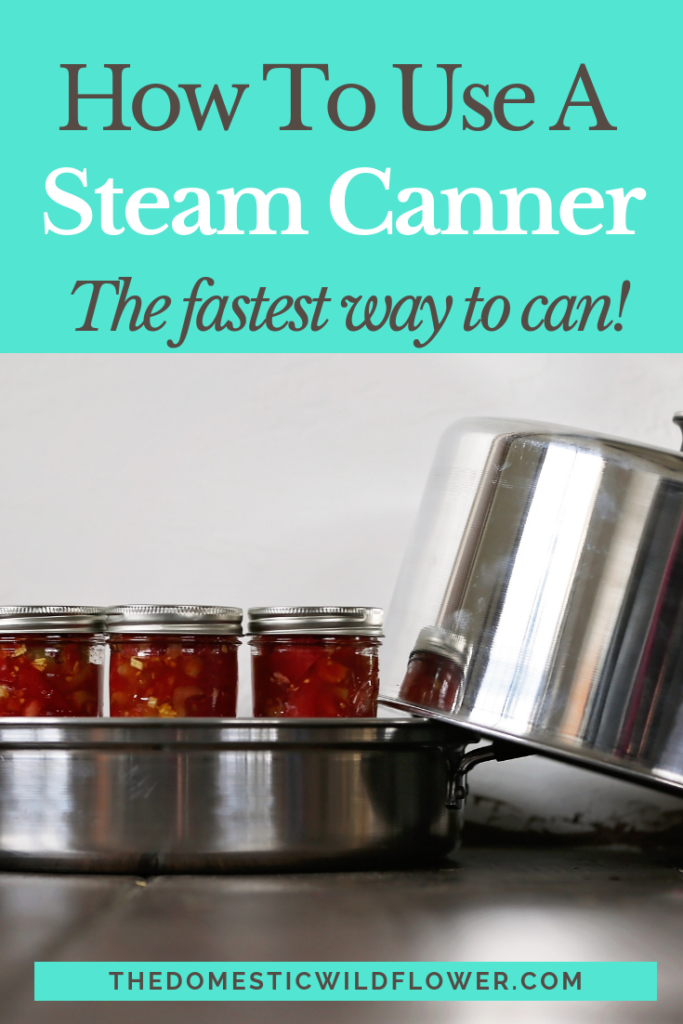
Tomato Jam Recipe | This recipe also has traditional water bath canning instructions and modern steam canning instructions that will save a ton of time! Download the tutorial for free!

SaveSave

Filed Under: Can

How To Use a Steam Canner

June 27, 2019 by Jenny Gomes Leave a Comment

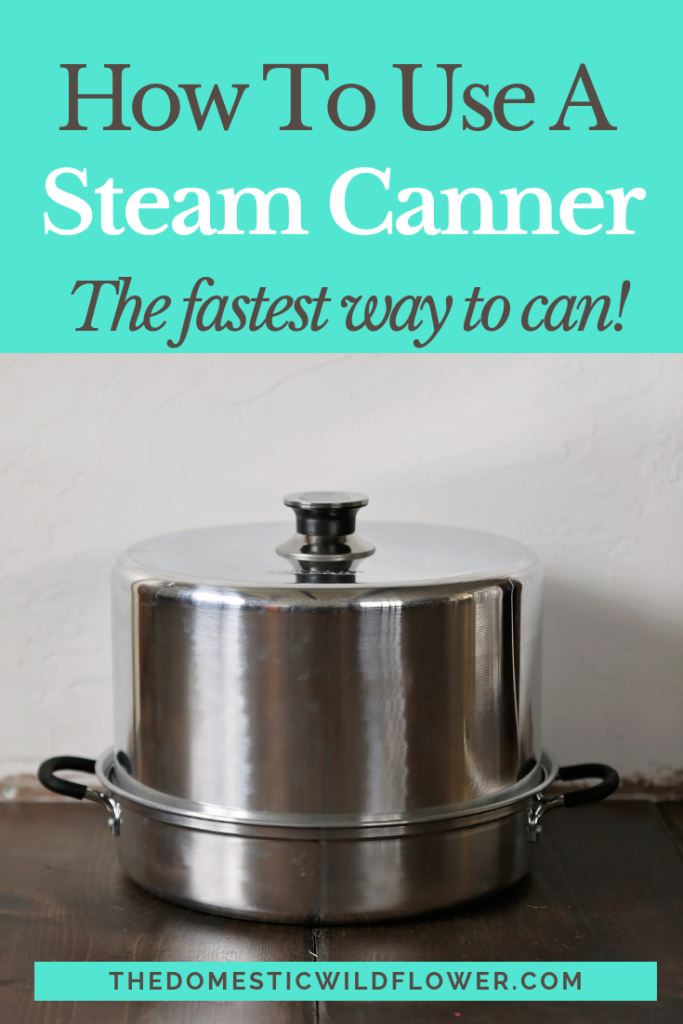
Steam canners are faster than traditional canners and are much easier. They can be used for any water bath canning recipe and save 25 minutes per batch. Learn how to use a steam canner in this post!

How to Use a Steam Canner

This post contains affiliate links.


The process of canning in a steam canner is simpler because you don’t have to wait for the large pot of water to come to a boil.

You can watch the YouTube video version of this post below!

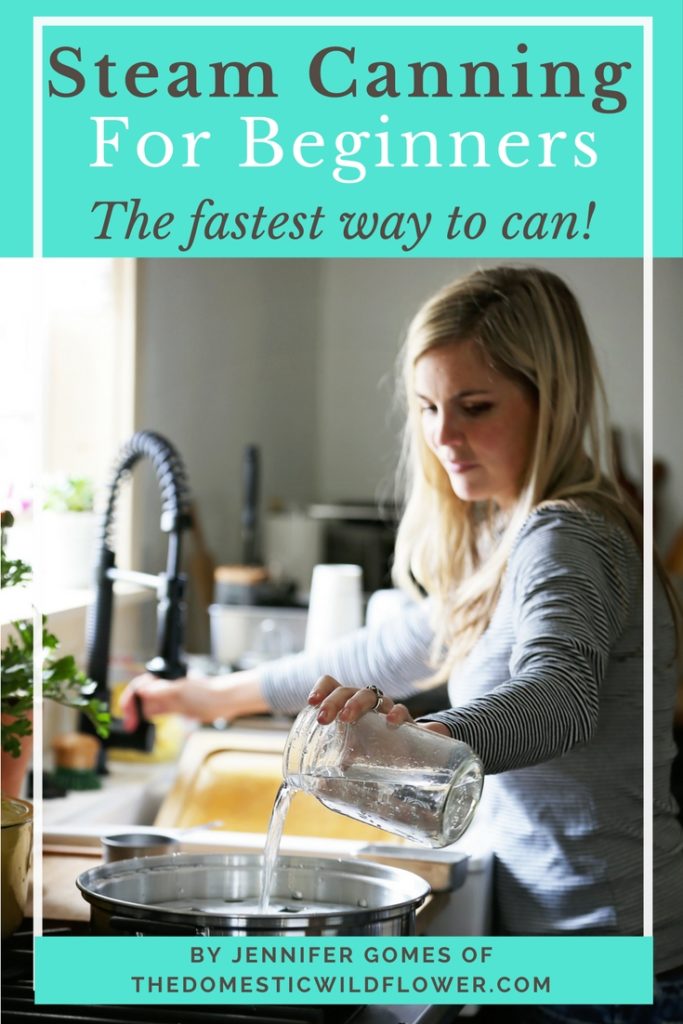
First, fill the steam canner with the required 2 – 2.5 quarts of water (much less than a traditional water bath!) and set it on the stove. Turn to low. Set the jars you’ll be using for that recipe on the rack to warm, with the steam canner lid on top.
Next prepare your preserve according to the recipe. You’ll cook your jam, your salsa, or your applesauce. If the recipe you’re preparing takes a while to cook (more than 20 minutes) you might cook it first, then prepare the steam canner.

Then, one by one, take the warm jars from the steam canner rack and using the funnel, fill the jars as the recipe indicates. Add lids and rings, and set on the steam canner rack again. Repeat until all the jars are full.

Put the lid on the steam canner. Turn the stove to medium high and watch the dial climb to the correct altitude for where you are canning. When you are in the green/GO zone, set your timer for the time indicated in your recipe.

When the time is up, turn the stove off. You have the option of leaving the steam canner jars on the rack indefinitely, OR you can carefully use hot pads and lift the lid AWAY from you, as steam will surely come billowing out, and lift the jars using the jar lifter and place them on a towel covered countertop to cool.

Listen and watch for the lids to make a ping, ding, or click type of noise, and to become firmly concave on the jars. It may take up to 12 hours for the lid to seal and that is perfectly okay. Sometimes the lids seal while they are still in the air, clasped in the jar lifter. That is also okay. Don’t disturb the jars until they are cool and sealed, at least 12 hours later. Label and store in a cool, dark spot.

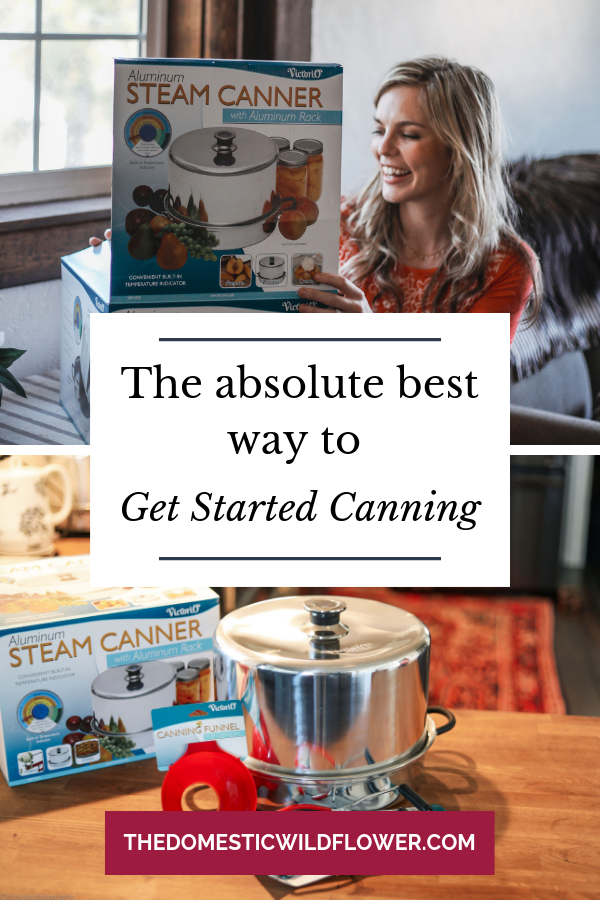
You can read more about why steam canning is the Absolute Best Way to Get Started Canning in this post but if you’re ready to dive in, get your steam canner, funnel, and jar lifter (everything you’d need that you won’t already have in your kitchen HERE for cheaper than on Amazon and with free shipping. It’s an exclusive bundle from my friends at Victorio and it is just for my blog readers! It’s our way of helping you get started the best way.

Steam Canner Bundle

Once you have your steam canner you’ll want to grab the ebook, Steam Canning for Beginners. I explain the answers to your every question – you’ll be canning confidently the fastest way possible!

Steam Canning for Beginners this post explains steam canning for beginners and shares the ebook that will explain step by step how to use the fastest tool in canning!

If you’re not quite ready to grab the ebook, download the free Steam Canning Equipment Checklist and Fact Sheet!

And if you’re wondering more about the differences between water bath canning and steam canning, I have a blog post about that as well. Can you tell I REALLY love steam canners?!

How to Use a Steam Canner

Filed Under: Can

How To Can Vegetables

June 26, 2019 by Jenny Gomes 2 Comments

This post will teach you exactly the how to can vegetables the easiest and best way for a beginner, plus will share the best recipes for canning vegetables with water bath canning and steam canning. Read on for how to can vegetables!

This post contains affiliate links.

Canning vegetables begins by choosing HOW you’ll preserve the vegetables. Will you use a traditional water bath (like grandma probably did) OR will you use the more modern, much faster steam canner? You can learn more about steam canning in this blog post, but in short, steam canning cuts 25 minutes off every batch and is much lighter, safer, and easier than traditional water bath canning. You can use the same recipes as you would with a traditional water bath canning process and they speed the whole process up considerably.

When getting started canning, you might want to jump into my Free Canning Basics Course. I’ll share easy to follow lessons in your inbox to get you started confidently!

Free Canning Basics

If you have wondered about canning, thought maybe you’d like to try it out, but didn’t know how to start, this post, and free canning basics course is for you.

Free Canning Basics Course

You can watch the How To Can Vegetables Blog Post video version below!

If you want to learn more about canning jars, I have a post that explains the Best Canning Jars and simplifies the selection process for you. I have 2 main favorite jars that are the most versatile and one “special” jar for a few types of recipes you might love. Check out The Best Canning Jars post here

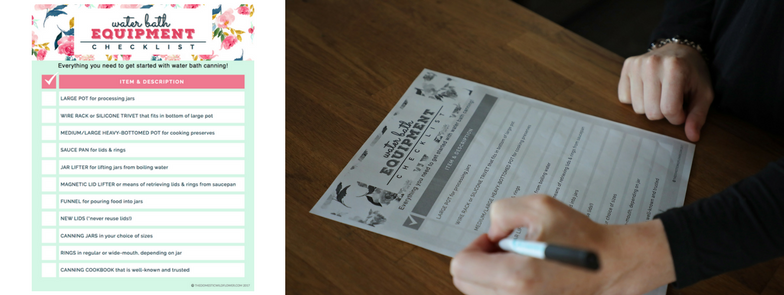
The equipment for canning is something people really stress about but I’ve simplified the list. I’m all about no-frills, no-fuss simplicity.

Download the Free Canning Equipment Checklist

Now that you’ve downloaded the canning equipment checklist, you are ready to dive into the canning process.

The Canning Process for How to Can Vegetables

The idea is that you put food into jars, put the lid on, and put the jars into either a traditional water bath (like a hot tub for your jars) or on the rack of a steam canner (like a sauna for your jars). You can download the free visual guide of where I like to put the preserving pan, the water bath pot, etc, below!

How to Can Vegetables Using a Traditional Water Bath Method

First, you must prepare the big water bath processing pot in which your jars will warm up. Fill it and the jars with hot tap water, turn the stove on high, and bring to a boil.

Prepare the preserving pan. In the preserving pan, you will be cooking the fruit into jam, the tomatoes into sauce, or bringing a brine to a boil.

Then it is time to PROCESS. This is where the action happens. Your food is cooked according to the recipe, and your jars are warm from being in the water bath.

The process begins with you pulling one jar out of the processing pot at a time. Pour the boiling water out, place the hot jar on a towel on the countertop. Fill the hot jar with hot food according to your recipe (your cooked jam, applesauce, etc). Put a lid and ring on to the jar. Return the hot jar (now full of food) into the boiling water bath. Pull your next empty jar from the pot and repeat the process. Here’s what you need to keep in mind as you repeat the process:

  • You may need to lower the heat on the processing pan. As the amount of food decreases (because you are putting it into the jar) the remaining food will boil faster. Keep an eye on the preserves and stir often. You want it hot but not burning or scorching on the bottom.
  • As you fill hot jars with hot food and return them to the processing pot, you will notice the water level rising. Avoid overflowing by pulling a jar from the boiling water and pouring the water from it into the sink.
  • This water level issue is compounded a bit by the vigor of the boil and the amount of water that is lost to steam. There are plenty of times where I have had to dump water in the sink to only have to add a bit more once all the jars are filled with food. The jars need to be covered by a minimum of 1 inch of boiling water in order to process.

Once all the jars are filled with food and submerged in the boiling water bath, bring the pot back up to boil. This is when you may have to add hot water to the pot to cover the jars sufficiently. I have filled a drinking glass with hot tap water or used water from the tea kettle. It isn’t advisable to move the very heavy pot full of boiling water and jars from the stove. Use a vessel to fill it.

Once the water is boiling, set a timer for the time specified in the recipe, be sure to adjust for your elevation. Because of the change in atmospheric pressure the higher you get in altitude, you must add 5 minutes of processing time for every 1000 feet you are canning above sea level. I go through my cookbook with a pencil and change all the processing times so I never have to think about it.

Download the Free Altitude Adjustment Guide below!

If during the canning process the water stops boiling (if you turned the stove down a bit too much, or you lost power) stop the timer, and once the boil is resumed, resume timing.

Once the time required has passed, turn the stove off and use the jar lifter to pull one jar at a time from the boiling water bath and set each jar carefully on a towel covered countertop.

Listen and watch for the lids to make a ping, ding, or click type of noise, and to become firmly concave on the jars. It may take up to 12 hours for the lid to seal and that is perfectly okay. Sometimes the lids seal while they are still in the air, clasped in the jar lifter. That is also okay. Don’t disturb the jars until they are cool and sealed, at least 12 hours later. Label and store in a cool, dark spot.

How To Can Vegetables in a Steam Canner

The process of canning in a steam canner is simpler because you don’t have to wait for the large pot of water to come to a boil.

First, fill the steam canner with the required 2 – 2.5 quarts of water (much less than a traditional water bath!) and set it on the stove. Turn to low. Set the jars you’ll be using for that recipe on the rack to warm, with the steam canner lid on top.
Next prepare your preserve according to the recipe. You’ll cook your jam, your salsa, or your applesauce. If the recipe you’re preparing takes a while to cook (more than 20 minutes) you might cook it first, then prepare the steam canner.

Then, one by one, take the warm jars from the steam canner rack and using the funnel, fill the jars as the recipe indicates. Add lids and rings, and set on the steam canner rack again. Repeat until all the jars are full.

Put the lid on the steam canner. Turn the stove to medium high and watch the dial climb to the correct altitude for where you are canning. When you are in the green/GO zone, set your timer for the time indicated in your recipe.

When the time is up, turn the stove off. You have the option of leaving the steam canner jars on the rack indefinitely, OR you can carefully use hot pads and lift the lid AWAY from you, as steam will surely come billowing out, and lift the jars using the jar lifter and place them on a towel covered countertop to cool.

Listen and watch for the lids to make a ping, ding, or click type of noise, and to become firmly concave on the jars. It may take up to 12 hours for the lid to seal and that is perfectly okay. Sometimes the lids seal while they are still in the air, clasped in the jar lifter. That is also okay. Don’t disturb the jars until they are cool and sealed, at least 12 hours later. Label and store in a cool, dark spot.

The recommended method for canning vegetables

I exclusively can with a steam canner. They are ready to can in about 25 minutes FASTER than a traditional water bath, they are lighter and safer to use than lugging a heavy pot of hot water around the kitchen, and I can start my second (or third or fourth!) batch immediately, while in a water bath, I have to refill the pot with tepid water, and wait for it to come up to a boil again. You can learn more about the differences between water bath canning and steam canning in this post and if you’re ready to dive into steam canning, I have an ebook, Steam Canning for Beginners you’ll love.

Steam Canning for Beginners this post explains steam canning for beginners and shares the ebook that will explain step by step how to use the fastest tool in canning!

Recipes for Canning Vegetables

The following recipes are easy for beginners, delicious, and quick. They all make great additions to the pantry and you’ll be so glad you dove into canning when your shelves are stocked with these nutritious jars.

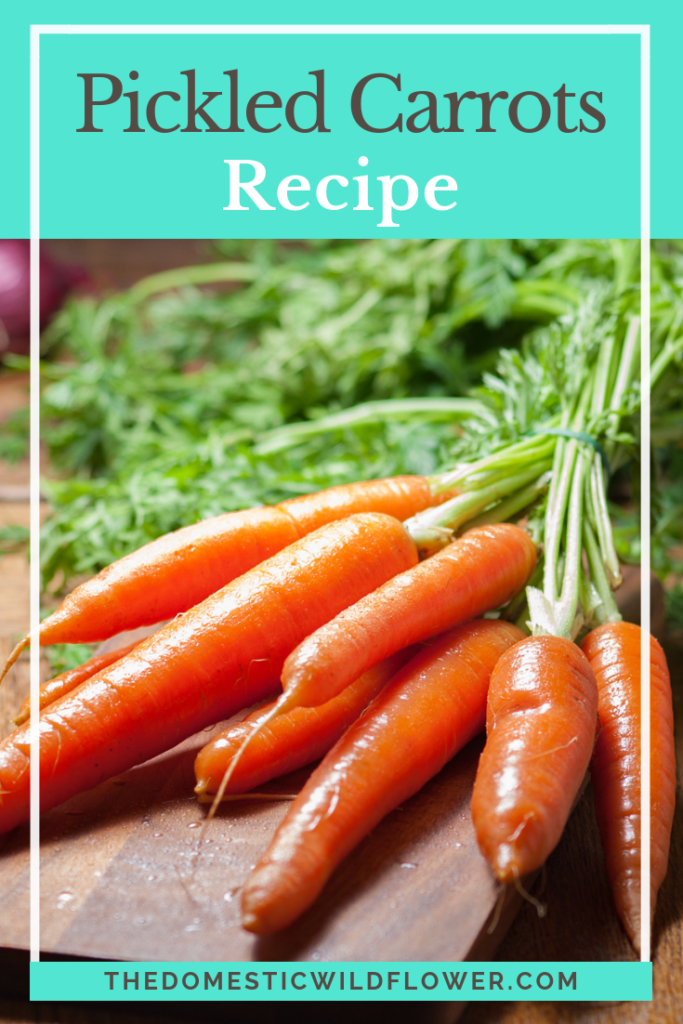
Carrot Pickles

Carrot pickles are one of my favorite pickles because they aren’t cucumbers 🙂 I actually don’t care for cucumbers much, to be honest, which I know is really silly but they just don’t light my fire.

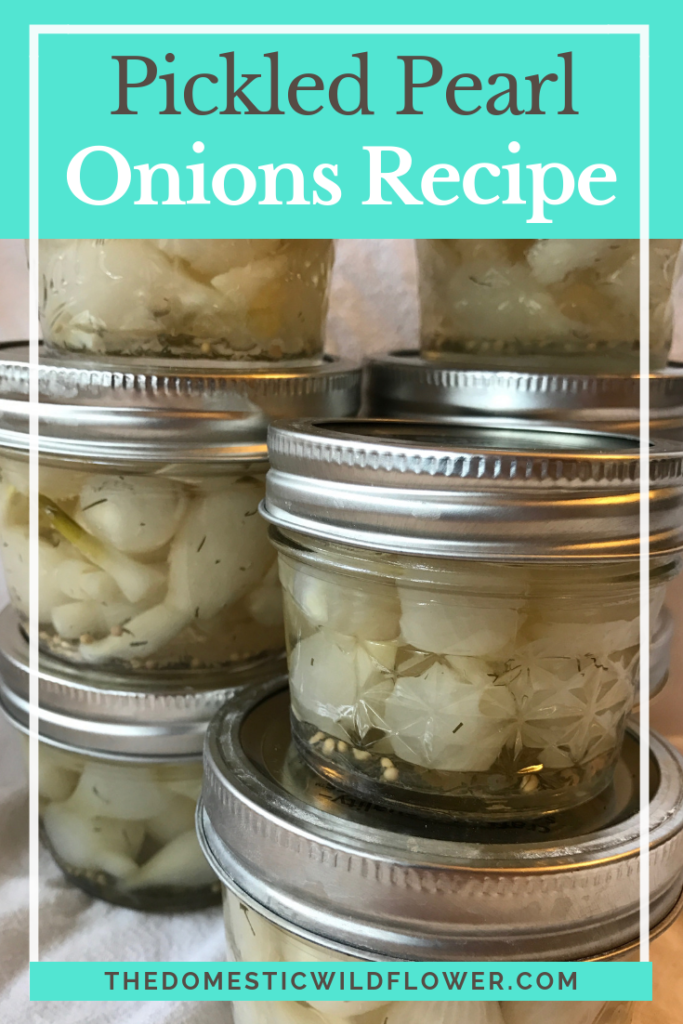
Pickled Pearl Onions

This post will share a recipe for a beautiful, fast preserve that is perfect for use in a steam canner which maximizes it’s time-saving benefits and is also well suited for a water bath canner too! Read on for a savory, quick preserve.

Pickled pearl onions are an ideal recipe for steam canning, so I’ll include instructions for both steam canners and water bath canners.

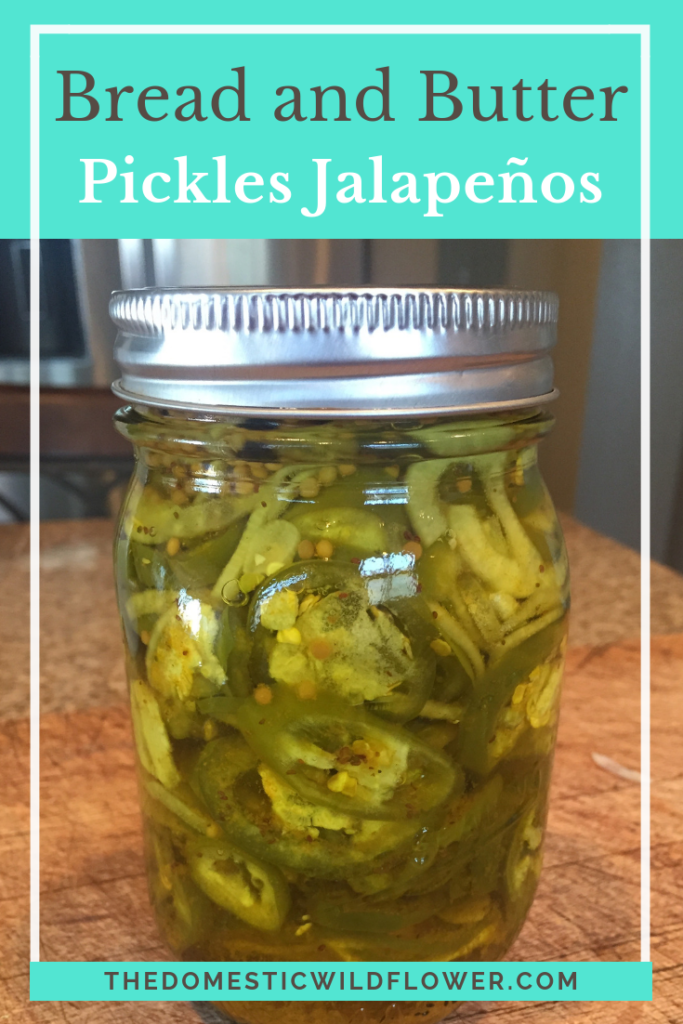
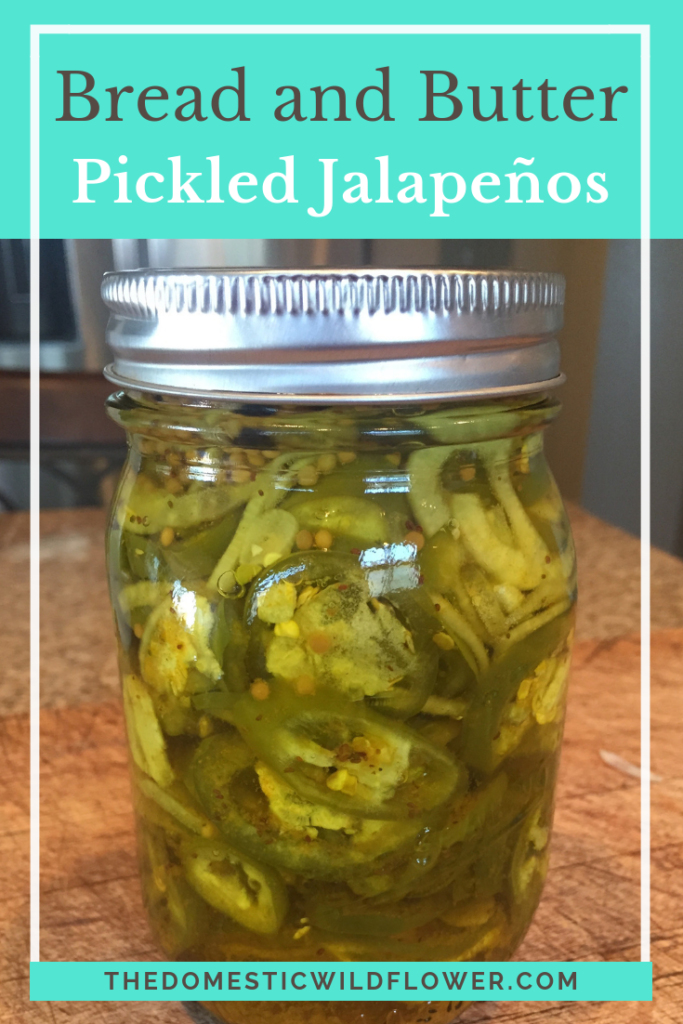
Bread and Butter Pickled Jalapenos

Bread and butter pickled jalapenos are delicious right out of the jar and on sandwiches. Try them and you’ll be lucky to keep any for later!

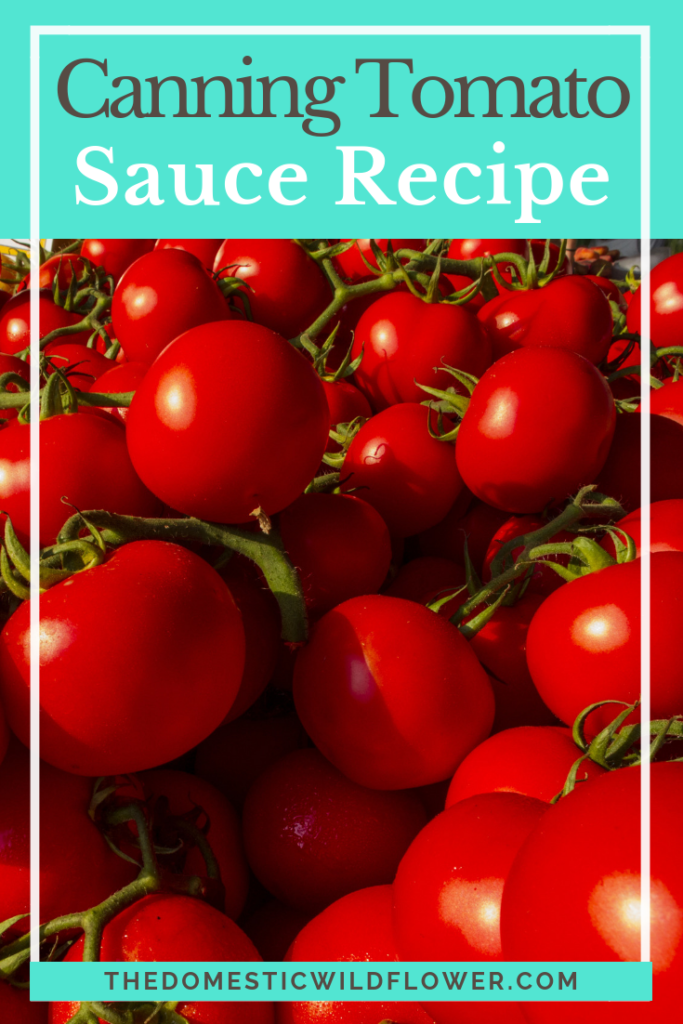
Tomato Sauce

This post will share the recipe and a complete tutorial for canning tomato sauce at home. It is and continues to be one of my most popular posts and I have updated it for you all with additional instructions AND another video to help you even more.

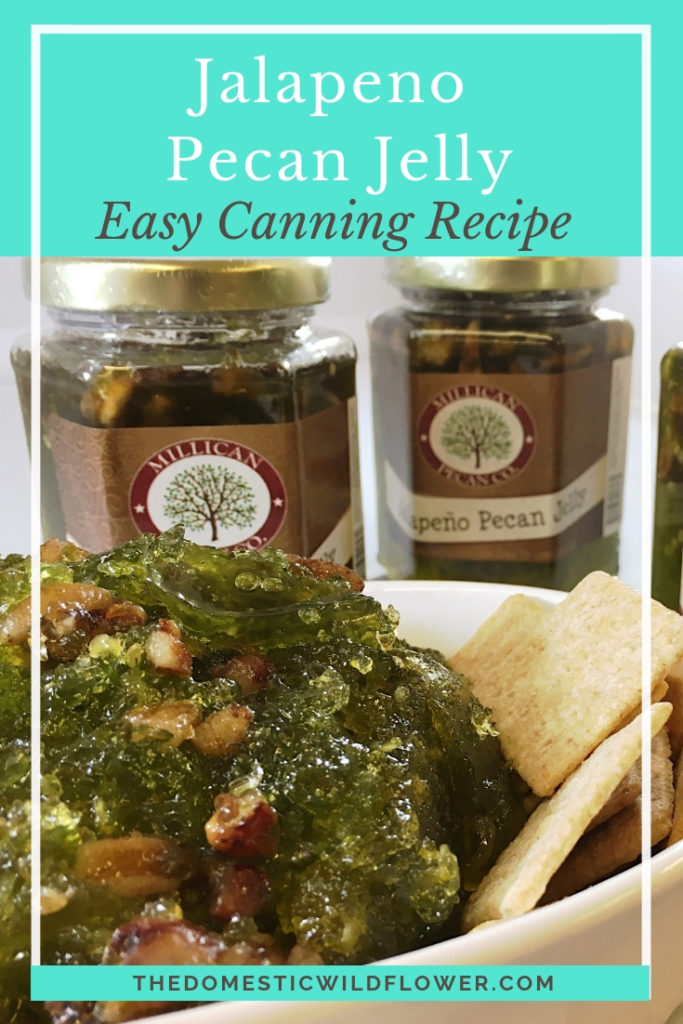
Jalapeño Pecan Jelly

Jalapeno Pecan Jelly Easy Canning Recipe is delicious, spicy and sweet, and quick to make. This recipe is from a 5th generation pecan farmer friend, Kristen, from Texas, and she’s been kind enough to share her family’s jalapeño pecan jelly canning recipe with us all. You won’t believe how FAST this jelly recipe is…it might even be faster than my raspberry jam recipe! Read on for the easy recipe!

How to Make Jalapeño Pecan Jelly Canning Recipe

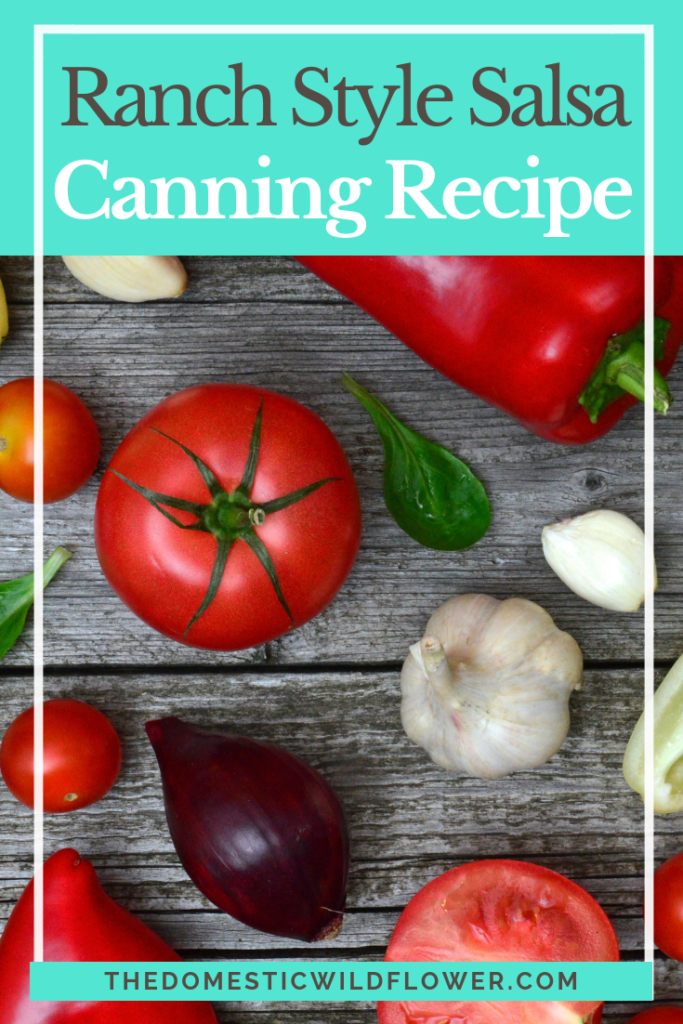
Ranch Style Salsa Recipe

This salsa recipe is ranch-style because the onions, tomatoes, and peppers are roasted either under a broiler or on a grill until charred (blackened). The tomato skins and pepper skins slip right off after being charred, and the flavors are amazing with this added step. Peeling the tomatoes this way avoids dropping them in boiling water (I explain how to peel tomatoes a couple of ways in this tomato sauce post here) and thus saves time and mess.

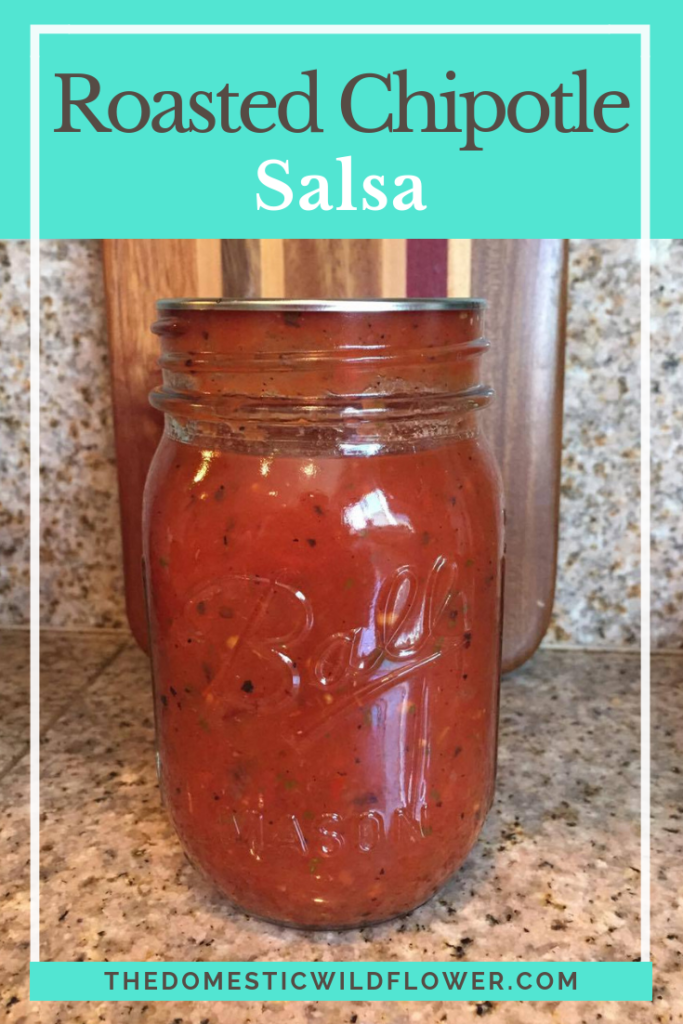
Roasted Chipotle Salsa

For this recipe, we Wildflowers have the distinct pleasure of enjoying another guest post from my friend and fellow canning enthusiast. Kimmy is an experienced canner, a lover of all things spicy, author of the Bread & Butter Pickled Jalapeno recipe, and is an active member in our Grow Like a Wildflower Facebook Group. Kimmy and I will be sharing recipes for years to come, I’m sure. There’s no one I’d rather have to help me educate you in your canning pursuits. Here’s Kimmy!

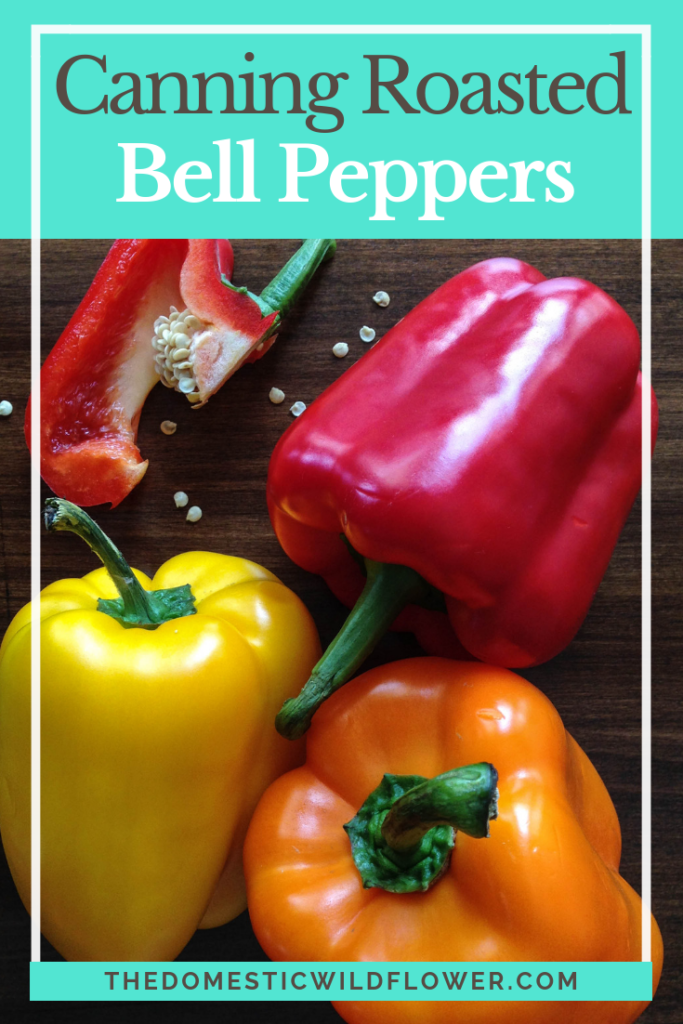
Canning Roasted Bell Peppers

This is a versatile, simple, and easy recipe. Roasted bell peppers are divine on a toasted cheese sandwich, indispensable in Mexican dishes, right at home in Mediterranean meals, and so utterly useful that I run out every year way before canning season returns and I always wish I had made time to can more.

Filed Under: Can

Best Summer Blog Posts

June 25, 2019 by Jenny Gomes 1 Comment

Summertime is fun time and these summer blog posts will take you from homemade crafts to the kitchen, to identifying wildflowers to the right way to cut off shorts, and to making delicious homemade drinks. Read on for the best summer blog posts!

7 Summer Blog Posts from The Domestic Wildflower | Homemade food & craft ideas and recipes to take you through summer!

Free Canning Basics Blog Post

When I started canning, this was the part that caused me the most grief. A good cookbook is a helpful start, but there’s no way for it to SHOW you what happens when. There’s no shame in admitting that, hey, you don’t really cook all that often and having 3 pots going on the stove at once is kind of overwhelming. Really, no shame from this girl. I am here to tell you (and explain, in detail in the course) that canning is WAY LESS COMPLICATED than cooking a big family dinner.

I always say that I’d rather can every single day than cook Thanksgiving dinner once. The basics course teaches you what is supposed to happen when and how to be efficient with your time at the stove.
Free Canning Basics Course

How To Cut Off Shorts

There are a few tricks to making perfect cutoffs that I will share with you here. I hope the next time you wear the knees out of your favorites or score some secondhand jeans that are too short the way I just did, you can spend a few minutes cutting them off the right way to wear all summer long

Pickled Bread and Butter Jalapeños

This post will share a recipe for pickled bread and butter jalapeños and a few clever techniques for keeping your sweet and sour pickles crisp and delicious.

I don’t can a lot of pickles. I also don’t can much that is very spicy, either. As you learn more about canning and develop the set of recipes you enjoy making and your loved ones enjoy eating, you will too find that there are some foods you can over and over and others you don’t end up trying.

Sidewalk Paint

Not only is sidewalk paint an easy, fun, fast, creative, and inexpensive outdoor activity for kids, but it is actually a really pretty medium that is beautiful to play with for kids and grownups alike. Get to mixing, Wildflowers! This recipe will teach you how to make sidewalk paint and will end up in your regular summer rotation in no time.

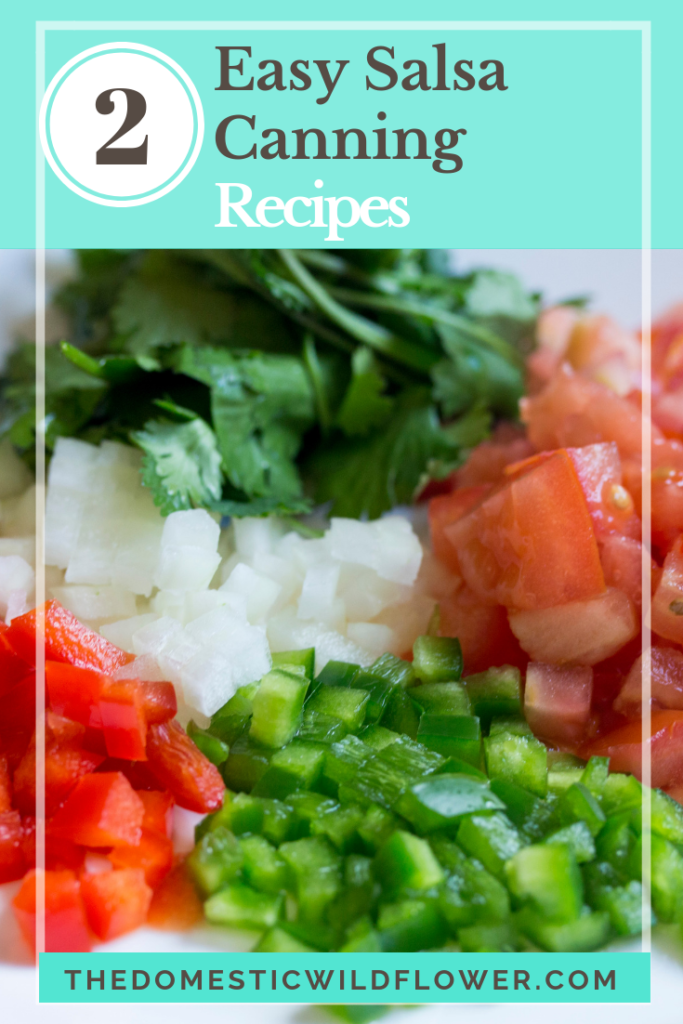
2 Easy Salsa Recipes

Making homemade salsa is a great way to use up all of the extra tomatoes from your garden and store them for winter. Discover how to make these 2 Easy Salsa Canning Recipes for Beginners.

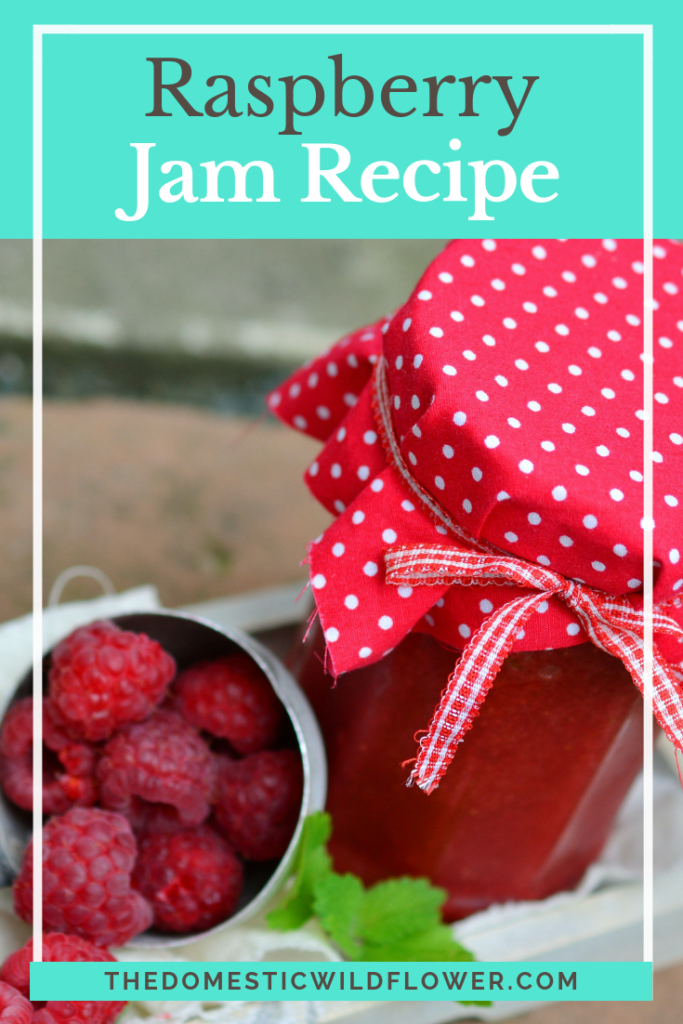
Raspberry Jam recipe

Raspberry jam is one of the fastest preserves a person could make. Canning has a terrible reputation as being time-consuming- this recipe proves that canning can be quick, easy, and is a simple extension of the cooking process. Raspberry jam is a delight to give as gifts, easy to pick at U-pick farms, and delicious preserved in mason jars. 

How to Identify Wildflowers

This post will share some of our favorite resources for identifying wildflowers in your area and includes both helpful apps and books that are sure to educate and inspire.

Tomato Sauce Recipe

Oh, canning tomatoes! Canning tomato sauce is one of the most satisfying tasks a home canner could ask for because of the versatility of tomato sauce. When people start preserving, they often make jam because it is fairly simple and of course delicious but I find the savory preserves, like this tomato sauce, are far more useful. I guess we just don’t make enough toast to feeling like my time making lots of jam would be worth it. Conversely, my family eats a lot of tomato sauce. Last season I canned over 100 pounds of tomatoes, grown in a friend’s garden a few ridges down the road, and only made it to late spring before running out. I am busy working up Romas, 12 pounds at a time, and sharing about it here and on my YouTube Channel and on Periscope. I’d love to have you follow along there if you’re inclined!

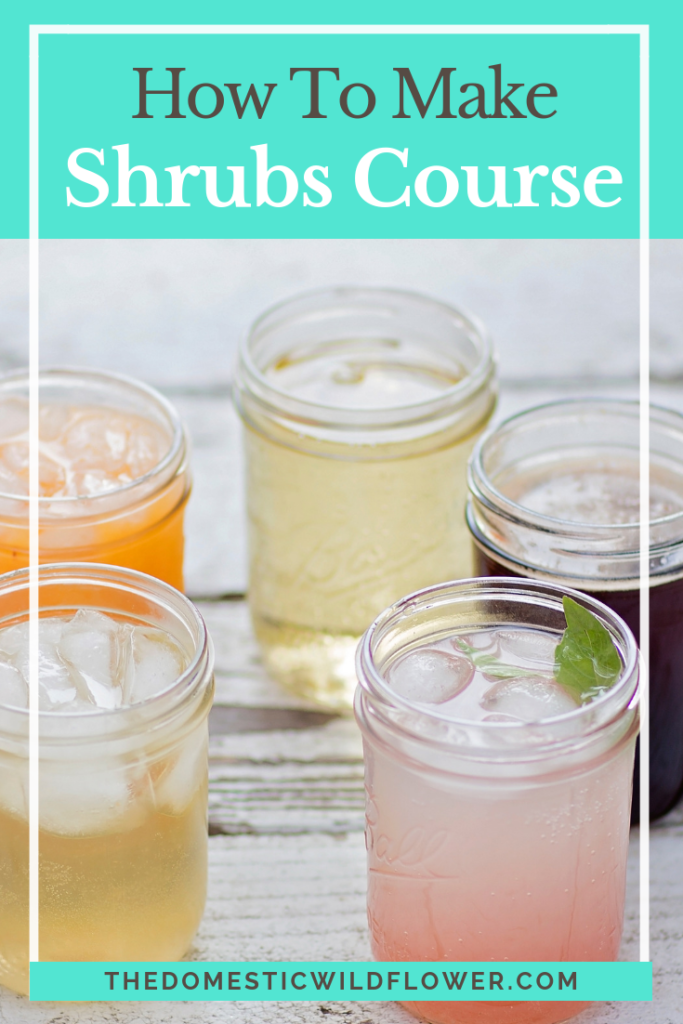
Free Shrub Making Course

Shrubs aren’t just for the garden. Shrubs are a no-cook, easy homemade cocktail or mocktail mixer that’s delicious and fun. This is the new & improved, free, shrubs email course that will help you master the ratio behind these fruit and vinegar syrups.

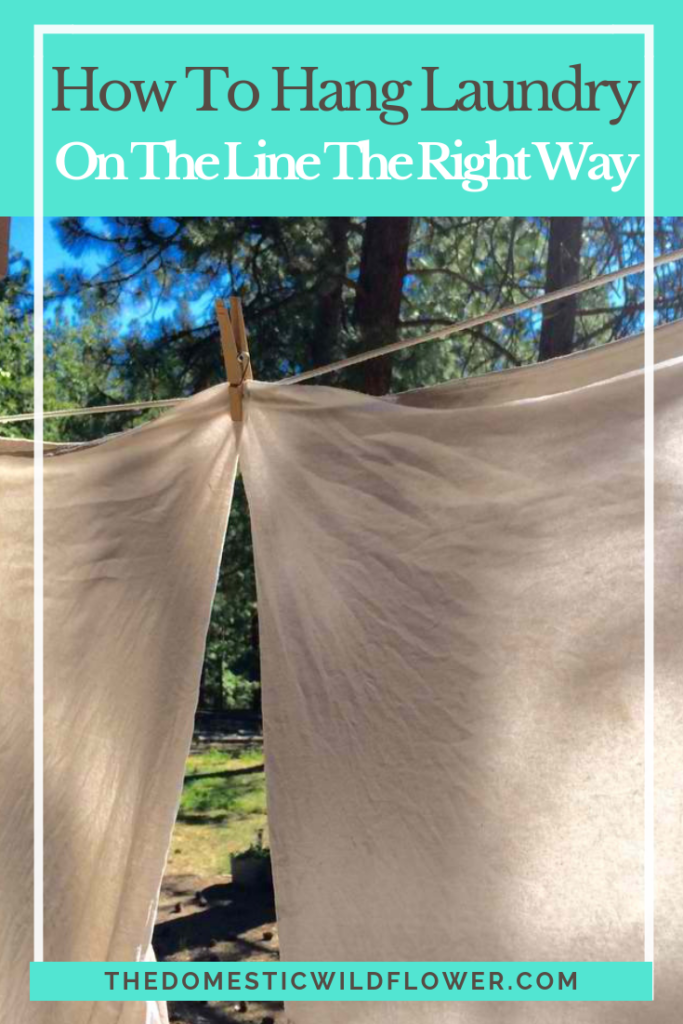
How to Hang Laundry on the Line

Not only is a clothesline full of wet laundry idyllic and romantic, but it is also frugal, sensible, and not much work at all. Hanging your clothes out to dry imparts them with a delicious fragrance that cannot be replicated nor poured from a bottle and it saves on the damage the high heat of a dryer causes (goodbye fried underwear elastic). Whether a washline conjures for you images of the country or of Mediterranean apartments high above the stone streets below, you can employ a few of these techniques to dry your clothes the old fashioned way.

Absolute Best Way to Get Started Canning

If you want to know the absolute best way to get started canning, this post will tell you the fastest, easiest, and best way. Read on for the tools, tips, and tricks from a busy mom who understands what it is like to not have enough hours in the day.

I hope you loved all these summer blog posts! Which are you going to try first?

7 Summer Blog Posts from The Domestic Wildflower | Homemade food & craft ideas and recipes to take you through summer!

Filed Under: Living

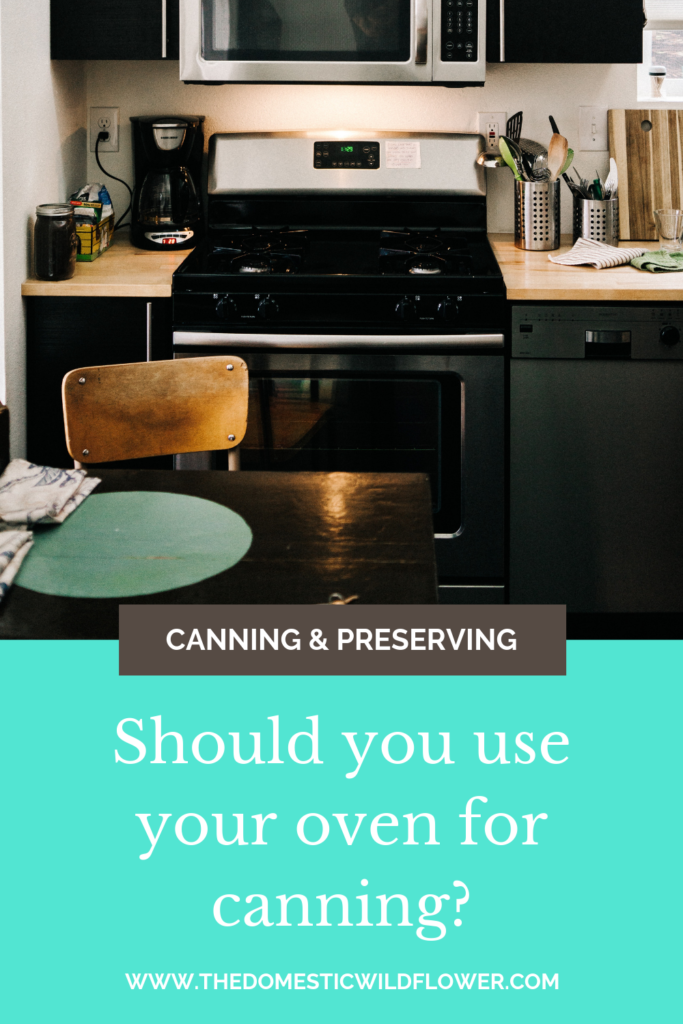
Oven Canning: Should You Try It?

June 13, 2019 by Jenny Gomes Leave a Comment

This post will explain oven canning, and whether or not it’s a safe choice. Read on for the scoop on oven canning!

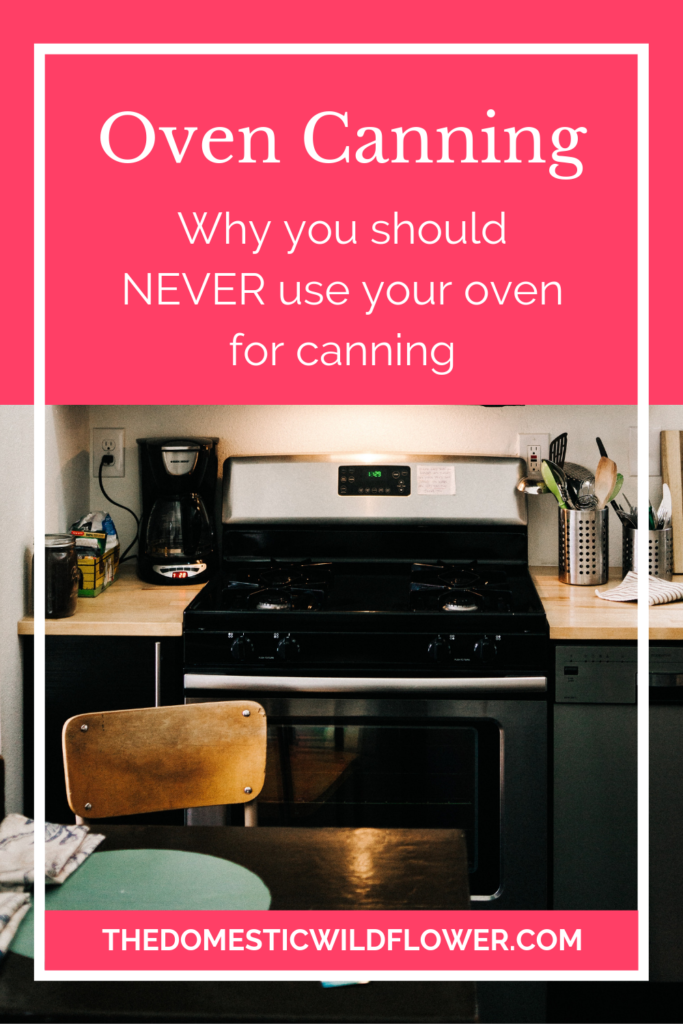
Oven Canning: Why You should never use your oven for canning blog post

This post may contain affiliate links.

Oven canning used to be popular around the turn of the 20th century, where it seemed a handy way to keep the house cooler (before air conditioning, better home insulation, etc) than water bath canning. Some found that their fruit and veggies canned held their shape better, even, when canned in the oven.

I’d imagine that if you’re reading this post you know someone who oven cans, OR you’ve seen those cutesy recipes where the baker is directed in baking mini pies or mini muffins in mason jars the oven. If you can bake in them, why couldn’t you can in them, is the thought.

Oven canning was determined unsafe by the Mass. State College Extension Service in 1940, in a 2 year study. In fact, many studies followed proving the same: Oven Canning is NOT safe.

Well, my Grandma does it and she’s fine…

I’ve never had anything happen to me when I oven can…

It’s hot in an oven, it’s hot in a water bath, so what difference could it make?

These ideas are what can lead to jars full of hot food exploding in the oven, the oven widow exploding, major injury to anyone around, and at the very least, a major mess to clean up.

Why can’t I can in the oven?

Watch the YouTube video version of this post below if you prefer!

Ovens do not heat evenly. The steady heat of a water bath canner or steam canner is even and steady- there’s no fluctuation.

Wet heat is also penetrative in a different way than dry heat. The processing time specified in a recipe is based on the heat penetrating to the core of the food in the jar. While a traditional water bath or steam canner penetrates and heats the food in the middle of the jar, the heat of the oven “roasts” the outside of the jar and the food next to the glass. Think of a time you’ve burned a piece of meat in the oven but the inside still wasn’t cooked. That doesn’t happen in a crockpot, right?

Mason jars are not designed to be baked. They were designed for water bath and steam canning. They were never intended to be roasted.

By 1945 the National Safety Council made the bold claim that oven canning was outright dangerous and actively advised canners against it. They also warn against damage to kitchen appliances and equipment, which I think is a very valid warning as well.

My official recommendation is that oven canning should not be attempted.

That said, I have a friend who oven cans. Her mom does it, so she does it. She’s careful, she uses new jars, etc, but in my mind, her most likely risk is a huge mess and I’m not about to join her.

I personally am tired of cleaning by the end of any given day and cleaning up cooked food mixed with shards of splintered glass from inside the oven sounds like a fate worse than death.

Even if a canner today avoided (somehow…I don’t know how to avoid explosion but let’s say it was avoided) the door of their oven exploding, the risk of a huge mess seems pretty great. The injury possible from an oven canning explosion (so painful and very serious) seems small, but nonetheless a risk indeed, and one I’m not interested in taking.

Oven Canning: Why You should never use your oven for canning blog post

I want canning to be fun, fast, and easy. That’s why I only practice myself and teach others techniques that are USDA approved and sensible for a busy mom and modern family. Explosions in the oven just don’t seem like a busy mom dream come true, right?

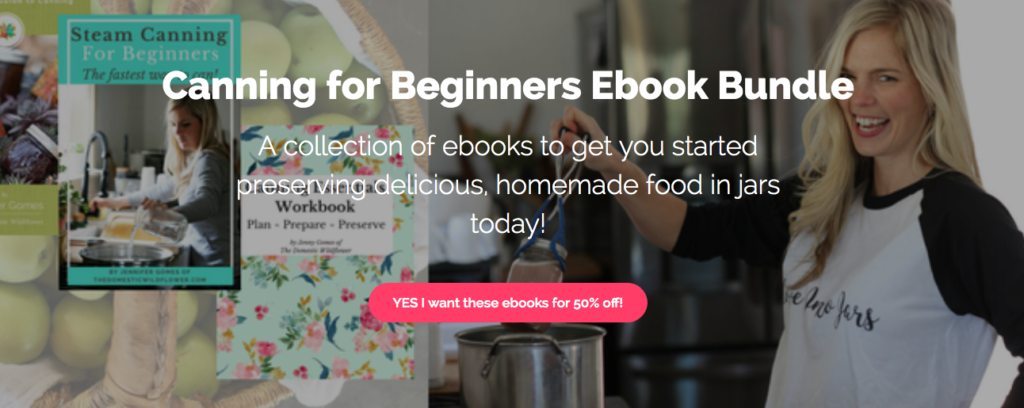
If you’d like to learn more about canning, check out the Canning for Beginners Ebook Bundle. All my ebooks: Steam Canning for Beginners, Canning 101, The Canning Essentials Workbook, and more at over half off in one bundle. You’ll also get 2 recipe ebooks as well!

Get the Canning for Beginners Ebook Bundle here!

Canning for Beginners Ebook Bundle

I promise water bath and steam canning is super fun and safe. If you’re new to canning, sign up for the Free Canning Basics Course where I’ll pop into your inbox with simple lessons to get you started canning right away, the easy way!

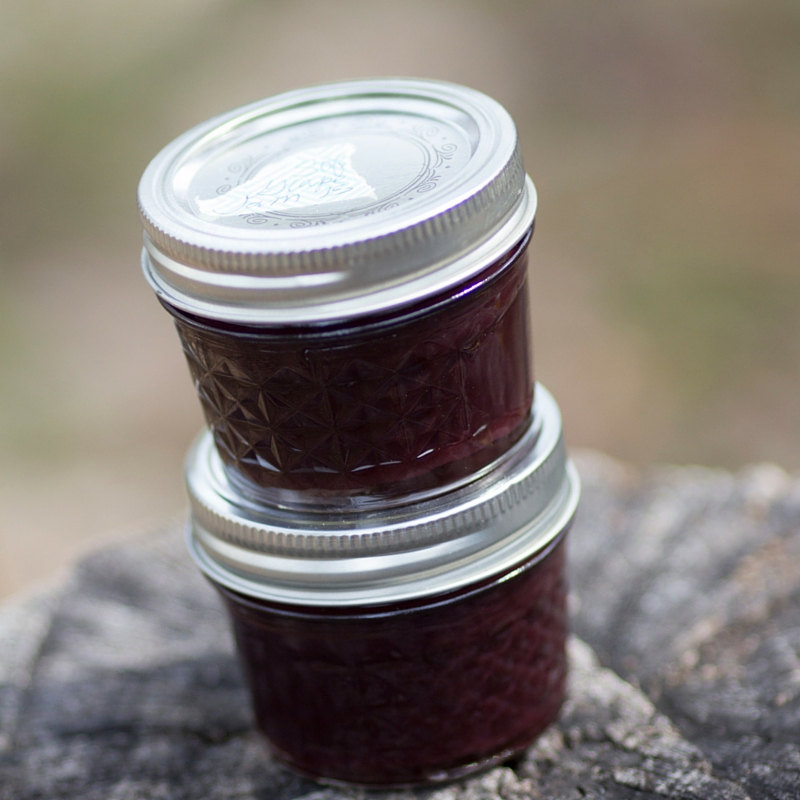
Two jars of jam Tower of canning jars from the Best Canning Jars post

For another myth-busting post, read about why simmering your canning lids is OUT here!

Filed Under: Can

  • « Go to Previous Page
  • Page 1
  • Interim pages omitted …
  • Page 19
  • Page 20
  • Page 21
  • Page 22
  • Page 23
  • Interim pages omitted …
  • Page 66
  • Go to Next Page »

Primary Sidebar

Categories

Follow me here, there, & everywhere!

  • Email
  • Facebook
  • Instagram
  • Pinterest
  • RSS
  • Twitter
  • YouTube

Search

Get The Pressure Canning Cookbook

Get 10 Free Recipes Now!

Best Chicken Coop

Footer

Get Started Pressure Canning

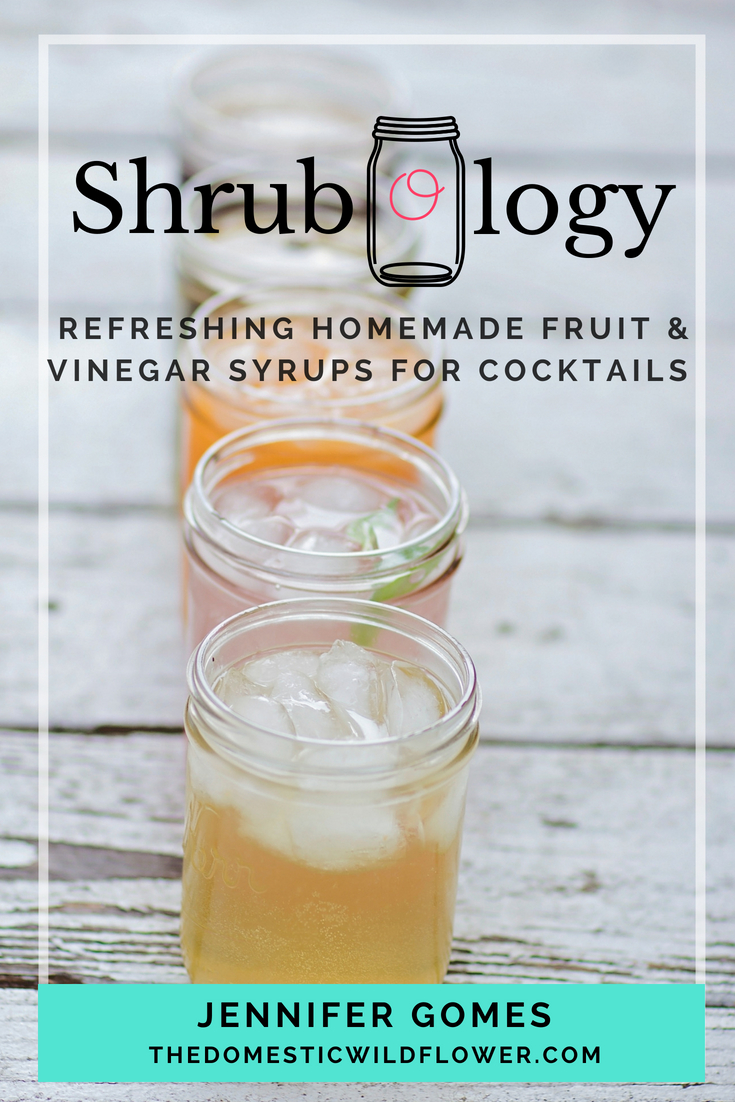
Shrubology Ebook

Shrubology: Refreshing Homemade Fruit and Vinegar Syrups for Cocktails
Make easy, no-cook fruit & vinegar syrups for cocktails & mocktails! This ebook shares crowd pleasing recipes and simple to understand ratios so you can make a shrub on your countertop any time- without a recipe. Dive into these Prohibition Era drinks today!

Copyright

Copyright 2019
The Domestic Wildflower
www.thedomesticwildflower.com.
All content created by Jennifer Gomes unless otherwise noted.

Copyright © 2026 · Lifestyle Pro on Genesis Framework · WordPress · Log in