• Skip to secondary menu
  • Skip to main content
  • Skip to primary sidebar
  • Skip to footer
  • The Pressure Canning Cookbook
  • Blog
    • Subscribe
    • Welcome!
  • Perfectly Preserved Podcast
  • About
    • ADW Manifesto
    • Work With Me
      • Read
  • Shop
    • My Account
    • Cart
    • Checkout

The Domestic Wildflower

Handmade Food & Craft Tutorials for Beginners

  • Courses
    • Free Canning Basics
    • Everything Canning Course
    • Steam Canning Workshop
    • Free Homemade Cocktail Mixers
    • Wildflower Mixology
    • Crochet Basket Workshop
  • Can & Preserve
    • Never Canned?
    • Steam Canner Equipment Bundle
    • Shrubs Course
  • Sew
  • Cook
  • Craft
    • Crochet Step-by-Step Guides
      • Crochet Basket
      • Giant Yarn Throw
      • Thick & Thin Throw
  • Living
    • Creativity Challenge
    • Clean
    • Kids
  • Rentals

Jenny Gomes

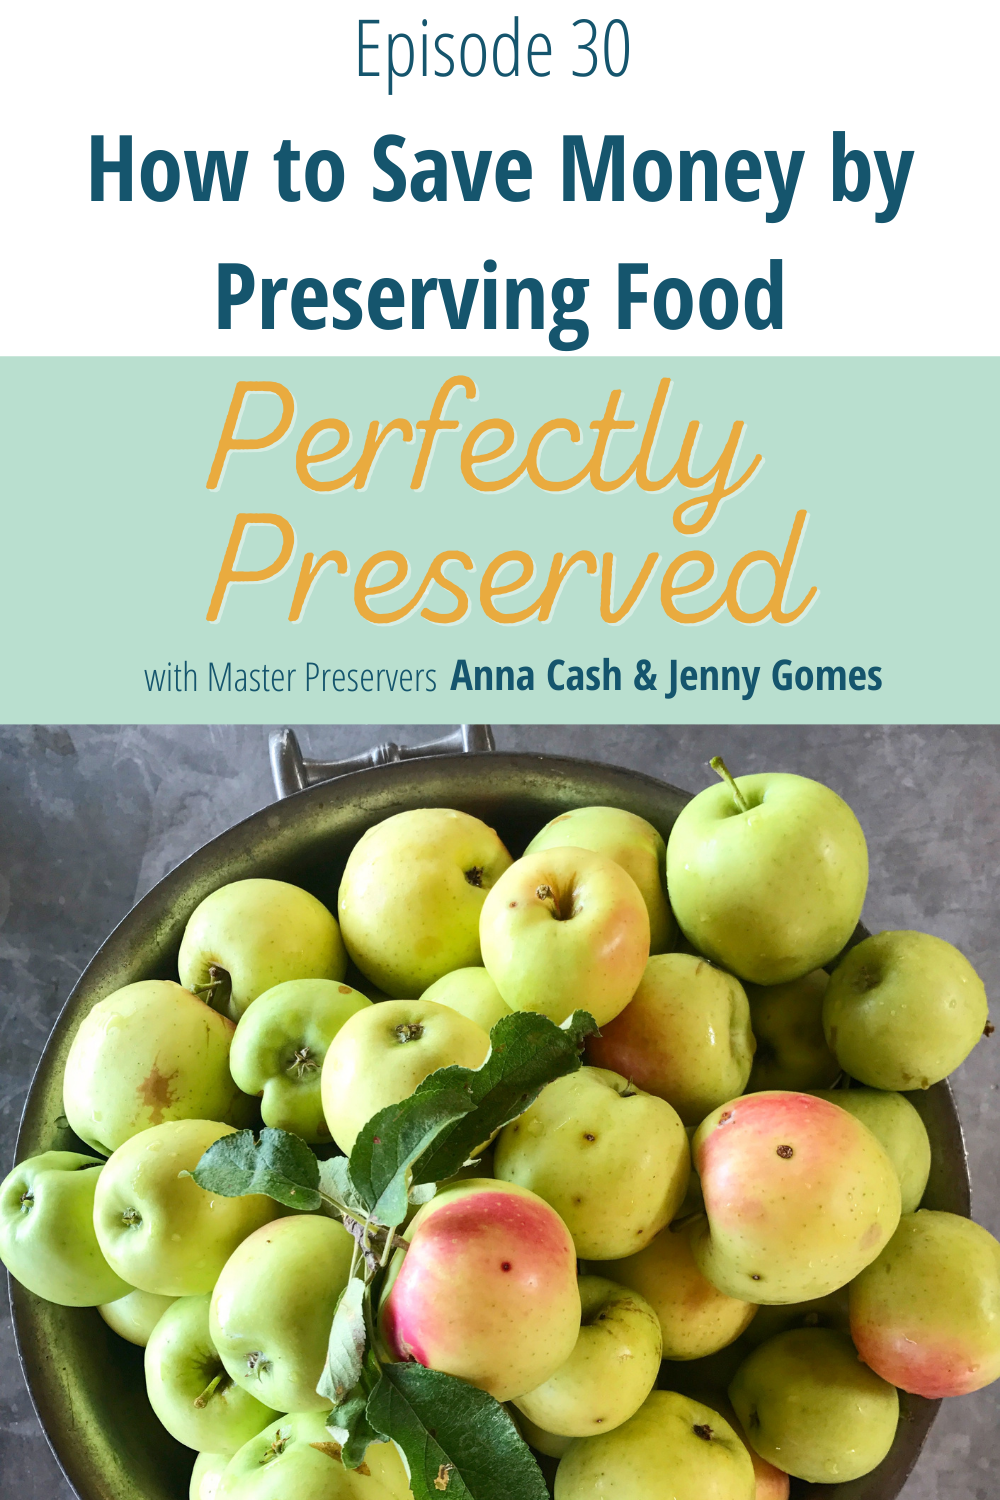
How to Save Money by Preserving Food

March 15, 2023 by Jenny Gomes Leave a Comment

In today’s episode, Anna and I talk all about how to save money by preserving food. 

This episode will explore the ways food preservation saves you money, which methods to employ and how, and how you can start truly eating from your pantry today. We will talk both about making the preservation methods affordable and as well as finding deals on food.

I think our overarching message today will be that canning alone isn’t the best way to save, nor is dehydrating alone, nor is freeze drying. It is the whole idea that food can be preserved safely, purchased at its peak ripeness and cheapest price – that’s what will really make a significant difference in your food budget. 

A super easy first step is to learn to quick pickle. A quick pickle takes just a veggie, vinegar, and a clean container which could be a jar but doesn’t have to be. Produce that you won’t eat fresh can be preserved for more than a month in a mixture of vinegar and salt and it is stored in the fridge. There’s no processing, you can do a single jar or several, but it reduces food waste and makes really crisp pickles. 

Canning on the cheap: don’t skimp on new lids as reused are likely to fail, but get used everything else. Check out our equipment episode for specific details on what you need to start canning but you can thrift everything other than the lids. Alternatively, you could explore using Tattler reusable lids (I’ve not used these) and we just did an episode about Weck jars and those are all glass and reusable as well- more expensive but if you could get a great deal, they’d be great. A water bath canner can be made from any pot you may boil several quarts of water in but you do need a rack on the bottom. I love a silicone trivet for that. 

Pressure canning on the cheap: A pressure canner is an investment and one that you’re not afraid to use, one that’s manageable in size, one that has an effective seal and an accurate dial is critical. Spending $20 on one that you can’t get a seal for or can’t test is a waste. You can get replacement parts from manufacturers, and you can print out the manuals for a pressure canner also from their websites. If you’re going this route I’d lean heavily on your cooperative extension office for checking the gauge and helping affirm that yes, your canner is ready to go. 

We mention this in our pressure canning episode but if you don’t have a cooperative extension that can help near you, I’d call one anywhere and ask your questions. You can have the dial checked at a local tire shop as they can check the pounds per pressure for you.

Or buy a new canner. Consider the size: I got a 16 qt presto and I love it, and it isn’t too giant for me or my tiny kitchen but it doesn’t hold more than 8 quarts. That’s not as many as some of them. They are an investment. If you have a neighbor or friend you trust, you could share it as long as the canner is cared for and not left in a cold car or garage overnight so as to change the effectiveness of the dial.

Dehydrating on the cheap: Dehydrators are fairly expensive new. I’d explore thrifting one (we have an episode on dehydrators) and try if you can to get one that has different temps on the dial. The plastic trays do degrade over time (my mom’s started to crumble after 10+ years) so don’t forget to check that. Or using an oven is a great way to start the process but just be sure you know you’ll be turning the oven on and leaving it on for several hours. I’d never try this in the summer (that would have been a capital crime when I was growing up- turning on the oven in the summer!). Listen to this episode for more on how to dehydrate like a pro!

Freezing: Because a freezer and the electricity are expensive to begin with and have an ongoing cost, I’d reserve the freezer space you have for things that can’t be safely canned or preserved in another method you’re comfortable with. That includes butter (no other excellent way to preserve), meat because of it’s bulk and the fact that it often comes to you frozen, this is a good way to preserve meat), and I’d use the freezer for saving/meal planning/leftover saving just as Elisa of Meal Planning Blueprints described in our Freezing episode. I personally use a large chest freezer which is absolutely an expense to keep it cold but because I have it, I am sure to use it! I freeze a lot of things including flour when I see it on sale- this just keeps bugs out and its a big space to store it. 

Freeze drying: this is by far the most expensive method to start but it has the greatest capabilities for preserving food truly indefinitely with almost 100% nutrient retention. They take up space, they take electricity, and they take a bit to learn but they are THE way to preserve almost anything other than very very high fat foods like butter. It’s been around a long time, it is the way that MREs are made. Freeze dried food should be stored in black/opaque tubs in mylar bags with moisture absorbers (not just in a jar on the shelf) and then you have to have space to store all this food but this is the penultimate way people prep. Freeze dryers are the size of a washing machine and currently they don’t hold a ton of food. Stay tuned for an episode with Harvest Right to learn more about them! 

Means of getting deals: foraging (check upcoming episode about that) or otherwise free food. This is a great method and there’s more resources than you’d think like facebook groups. 

Sales: When you find food on a great deal, then of course you have to think about which method you’d use to preserve it and if you have the space to store it once it is preserved. Think about if your family will truly eat it.

I’ve been pressure canning meals with meat and beans because they are filling; beans are cheap (used to be cheaper of course but they are still very affordable), dry beans are shelf stable when you buy them so you can soak and cook with the amount you need. They are sort of out of style but they are a cheap way to make a meal.

I hope you loved this episode all about how to save money by preserving foods! Please share it with a friend if you loved it and leave us a rating and review!
Filed Under: Podcast

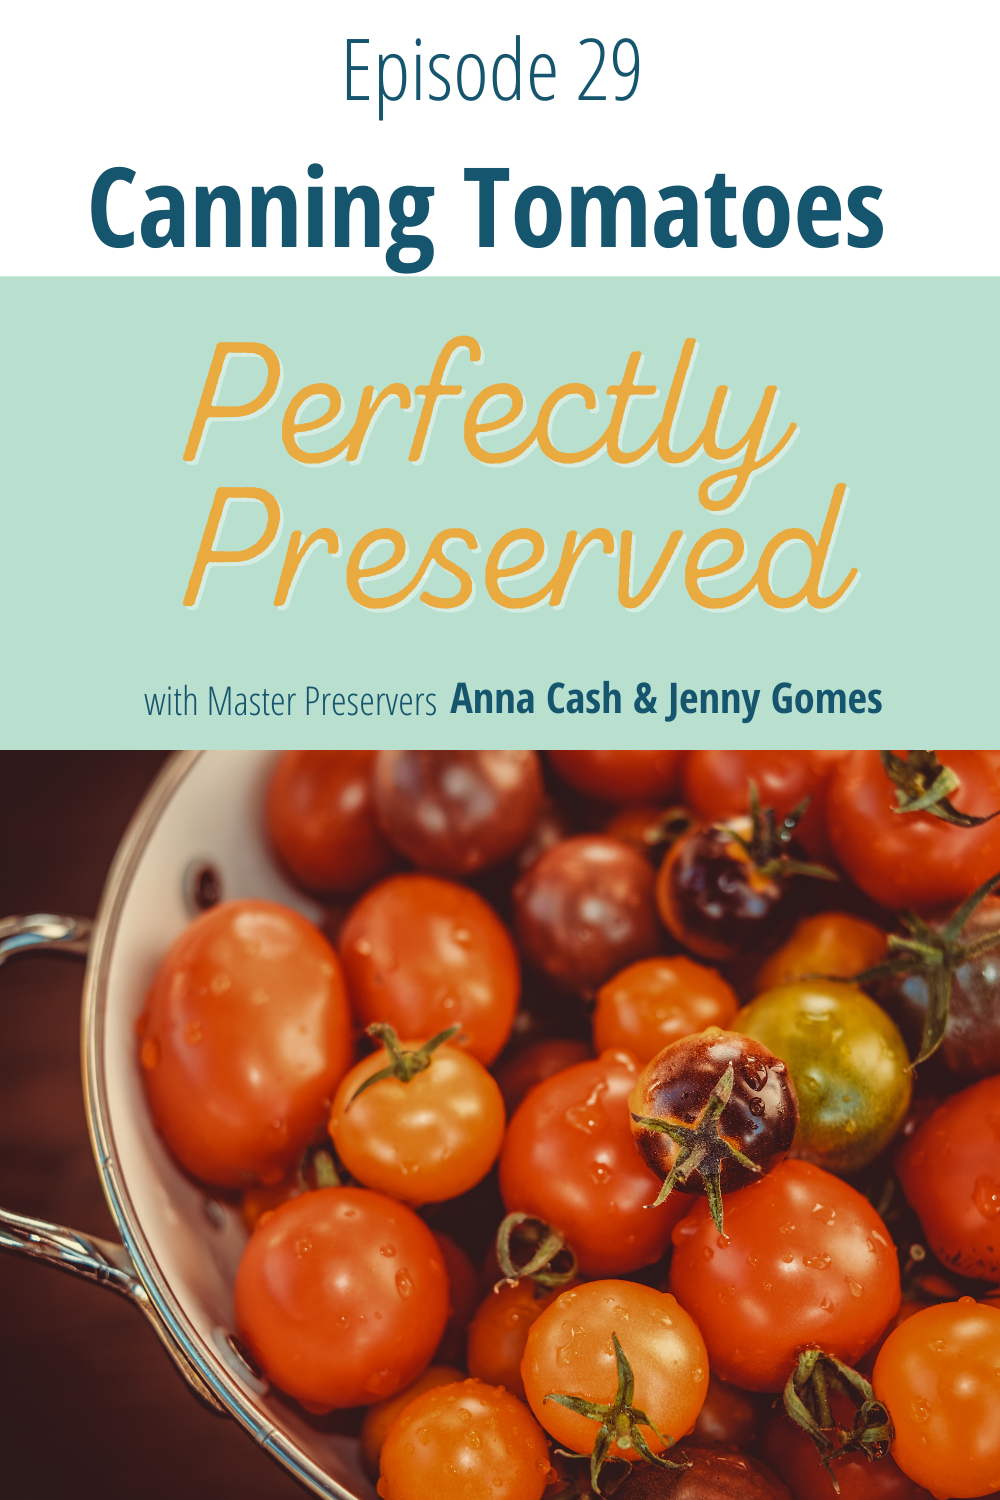
Perfectly Preserved Podcast Episode 29 How to Can Tomatoes

March 8, 2023 by Jenny Gomes Leave a Comment

This post contains affiliate links.

Tomatoes USED to be much higher in acid. No tomatoes available today, even the ones you grow yourself, even organic, even heirloom, simply aren’t as high in acid as they used to be 100, or even 50 years ago. The magic acid value in canning is 4.6 and tomatoes are right around that number. That means ALL tomato recipes need the addition of an acidifying ingredient to bring that acid value up (and number down). Download the Acid and Canning chart for free here! 

Acidifying ingredients include: lemon juice (must be store bought). Listen to our episode about Acid and Canning to learn more about why.

Citric Acid – easy, has a taste but not one that can’t be hidden, add to jars before or after filling, or add to batch

Vinegar- has a strong taste, which isn’t always a bad thing, but you should always use store bought 

Salsas: because they are canned, they aren’t going to be that fresh salsa you might want from a Mexican restaurant- they also can’t be changed dramatically as that will change the acid level- alliums (garlic onions) are low acid, as are peppers, and that’s what people want a LOT of- stick with a tested recipe. 

Ketchup- I made once in the crockpot and it was truly a lot more like a barbeque sauce but still very good.

Tomato sauce- if there’s meat or broth, it must be pressure canned. I add essential oil (oregano rosemary) for flavor punch, you CAN skip peeling (I use a blender to blitz skins and haven’t had any negative taste). Use my recipe here!

If it is a water bath canning recipe, don’t be tempted to add more garlic and onions as that changes the acid level. 

Enchilada sauce/pizza sauce/etc- great choices for pantry, same rules apply- don’t overdo garlic and onions, use essential oils for flavor boost.

Filed Under: Podcast

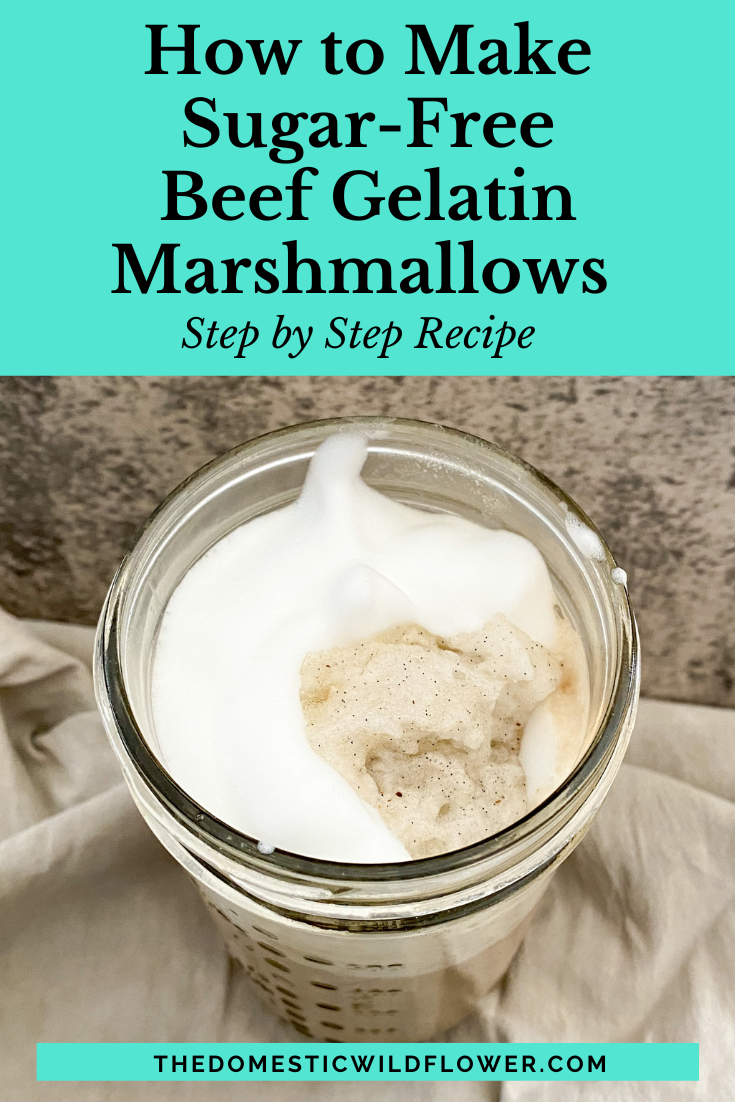
How to Make Sugar Free Beef Gelatin Marshmallows

March 3, 2023 by Jenny Gomes Leave a Comment

This post contains affiliate links.

This post will share how to whip up your own no sugar, monkfruit sweetened beef gelatin marshmallows. I make this big batch every few weeks and store them in the fridge so I always have one handy for my morning coffee and afternoon chai. It is a great way to add in gut-healthy beef gelatin to your diet and have your coffee sweetener in one white, fluffy package.

The monkfruit makes for marshmallow that has less volume than a standard sugar marshmallow, and they aren’t bright-white. 

The addition of vanilla paste is optional but gives a powerful flavor oomph. 

A few drops of optional peppermint cinnamon essential oil give the marshmallows a ton of flavor as well. 

The gelatin starts to set pretty quickly so you’ll want to be sure you have all ingredients assembled and measured before you add the gelatin to the water. 

Combine 2 cups lakanto monkfruit sweetener with 1 cup water, bring to a boil for 10 minutes, whisking often. When this comes to a boil, combine in a mixer:

2 cups water

6 tablespoons beef gelatin

1 optional teaspoon vanilla paste

This will give the gelatin time to absorb the water. Turn the mixer on with a whisk attachment on lowest setting if the gelatin starts to look globby or set. 

Boil the sweetener mixture for 10 minutes. Pour the mixture into the gelatin mixture slowly. Add one teaspoon vanilla bean paste and/or a few drops of high quality cinnamon or peppermint extract if desired.Turn the mixer on high and whisk steadily until mixture is white and fluffy, about 15-18 minutes. I put a towel over the mixer to keep the splatter contained. 

While the mixer is going, it will feel like nothing is happening or that it isn’t working. It takes many minutes for them to begin to fluff up. Regular sugar marshmallows really puff up dramatically and these puff significantly but not to the degree that real sugar ones do. You can make this recipe in exactly the same way but replace the monk fruit with real sugar and it works out the same but with greater volume and brighter white.  

Once the mixture is white and fluffy and you’ve mixed for over 10 minutes at least, it is done. 

Pour the mixture onto a wax-paper covered baking sheet and use a spatula to spread the cloud-like mixture somewhat evenly over the sheet. Cover the mixture with another sheet of wax paper, pressing the edges to seal. Allow mixture to set for several hours or overnight. 

Remove the top sheet of wax paper and cut marshmallows with a sharp knife. Place cubes of marshmallow into a container to be stored in the fridge. These keep for 3+ weeks. 

Filed Under: Cook

Perfectly Preserved Podcast Episode 28 How to Can Cucumber Pickles

March 1, 2023 by Jenny Gomes Leave a Comment

Start with varieties meant for pickles as they are important for pickling quality pickles..

A brine is at least 50% vinegar, 50% water, and usually salt. 

Use good quality vinegar. 

Pickling salt is free of additives that make a cloudy brine. While it is best to have a clear brine, an iodized salt does not pose a risk to safe canning. 

Additives for crispness: alum is used as are grape leaves and Pickle Crisp type additives are made of calcium chloride . 

Processing times – refer to this link as it is so useful! https://extension.psu.edu/lets-preserve-quick-process-pickles

Pasteurized versus canned, as well as steam canning may give crisper pickles. 

Finally, fermentation can give the very best pickle of all so check out our episode about fermentation for more or check out the excellent book Fermenting Vegetables by Kirstin Shockey.

Filed Under: Podcast

Perfectly Preserved Podcast Episode 27 How to Safely Alter Canning Recipes

February 22, 2023 by Jenny Gomes Leave a Comment

First, you can alter the amount- cutting in half makes everything cook faster and there’s no shame in small batch canning- a few jars adds up! Doubling is popular but here’s some tips: Doubling a batch of jam leads to longer cook times and that can make your pectin cook off. Double the prep work (cut twice the strawberries, peel twice the apples, and cook in separate batches. 

You can alter flavor with spice: Dried spices and herbs can give flavor without changing the pH significantly or at all. Try peppercorns, bay leaf, clove (ground or whole) juniper berries (start with just a few in a brine), 

Use essential oils- 1-3 drops of oregano in tomato sauce packs a huge punch much faster than chopping a ton of fresh herbs that won’t have great quality after canning anyway. A drop of cinnamon goes a long way in applesauce, etc. Rosemary, black pepper, lime (so useful in salsa), lemon, grapefruit, basil, etc. 

You can add salt or sugar without changing pH or safety, but remember that both are preservatives and sugar in particular can change the texture of a preserve. 

Adding alliums or other low acid flavors (garlic, onions, leeks, peppers (spicy or mild) is problematic because those ingredients LOWER the pH level. For safe canning, use the amounts specified and if you are cutting the recipe in half or doubling, double check your math and make sure you have the ratios correct. 

Ideas for spicing up recipes: essential oils like we said, pairing a spice with a sweet (refer to our canning for charcuterie episode for more ideas) but try jalapeno (Anna, how much for a jam recipe?) with high acid fruit (raspberry, peach, pineapple, etc), dried pepper for kick (link the one from the charcuterie episode) to taste, food coloring doesn’t change taste or pH but can enhance the wow factor (https://suncorefoods.com/collections/superjuice-powders) for safe coloring rather than artificial coloring.

When making safe recipe substitutions, check out the Acid and Canning chart. You can swap out the same volume of similarly acid fruit but the result may be different. Raspberries for example have an acid value of around a 3 but they have a lot of natural pectin. You could safely swap them out for another fruit with a similar level, but know you’ll likely not end up with a preserve that is naturally as stiff or set. 

If you want to change a recipe and add a low acid ingredient, you need to find a similar recipe that’s been tested for a pressure canner. You can listen to our episode all about using a pressure canner for more about them but they get hot enough (240 degrees) to kill any spoiler present in any acid level. They aren’t difficult to use and they allow for an even greater variety of ingredients to be preserved. 

How to know if you SHOULD alter a recipe: If you have an old recipe, look up other similar recipes (raspberry jam + cooperative extension) is a surefire search path to find a tested recipe. One alteration many old recipes need is for old tomato recipes- they often need the addition of an acidifying ingredient. If your old tomato recipe doesn’t have citric acid, lemon juice, or vinegar at all, that’s a definite red flag that you need to alter the recipe and/or find a similar but different recipe that has an acidifying ingredient. 

You may also need to alter the processing time or method of an old recipe. It is recommended that you add 5 minutes for every 1000 feet elevation, and that you always use either a water bath, steam canner, or pressure canner to process jars. Refer to our episode all about Canning Mistakes for more information about unsafe canning methods but know that if your recipe encourages you to use open kettle, paraffin wax, or the oven, you need a more up to date recipe. 

How to Safely Alter a Canning Recipe Episode 27 of the Perfectly Preserved Podcast

Filed Under: Podcast

  • « Go to Previous Page
  • Page 1
  • Interim pages omitted …
  • Page 6
  • Page 7
  • Page 8
  • Page 9
  • Page 10
  • Interim pages omitted …
  • Page 66
  • Go to Next Page »

Primary Sidebar

Categories

Follow me here, there, & everywhere!

  • Email
  • Facebook
  • Instagram
  • Pinterest
  • RSS
  • Twitter
  • YouTube

Search

Get The Pressure Canning Cookbook

Get 10 Free Recipes Now!

Best Chicken Coop

Footer

Get Started Pressure Canning

Shrubology Ebook

Shrubology: Refreshing Homemade Fruit and Vinegar Syrups for Cocktails
Make easy, no-cook fruit & vinegar syrups for cocktails & mocktails! This ebook shares crowd pleasing recipes and simple to understand ratios so you can make a shrub on your countertop any time- without a recipe. Dive into these Prohibition Era drinks today!

Copyright

Copyright 2019
The Domestic Wildflower
www.thedomesticwildflower.com.
All content created by Jennifer Gomes unless otherwise noted.

Copyright © 2026 · Lifestyle Pro on Genesis Framework · WordPress · Log in