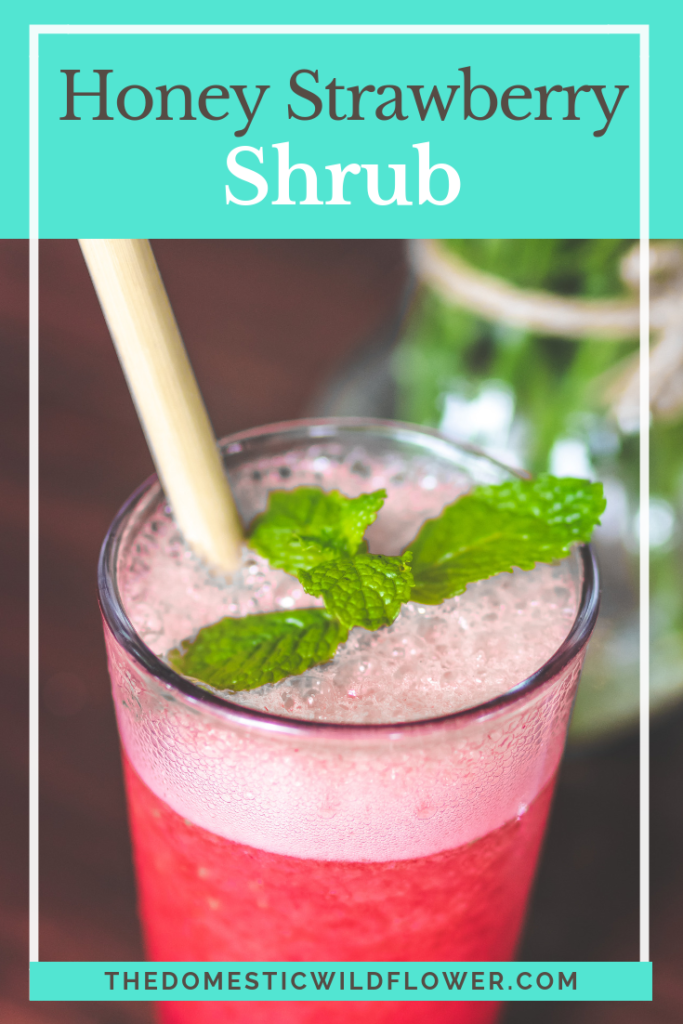
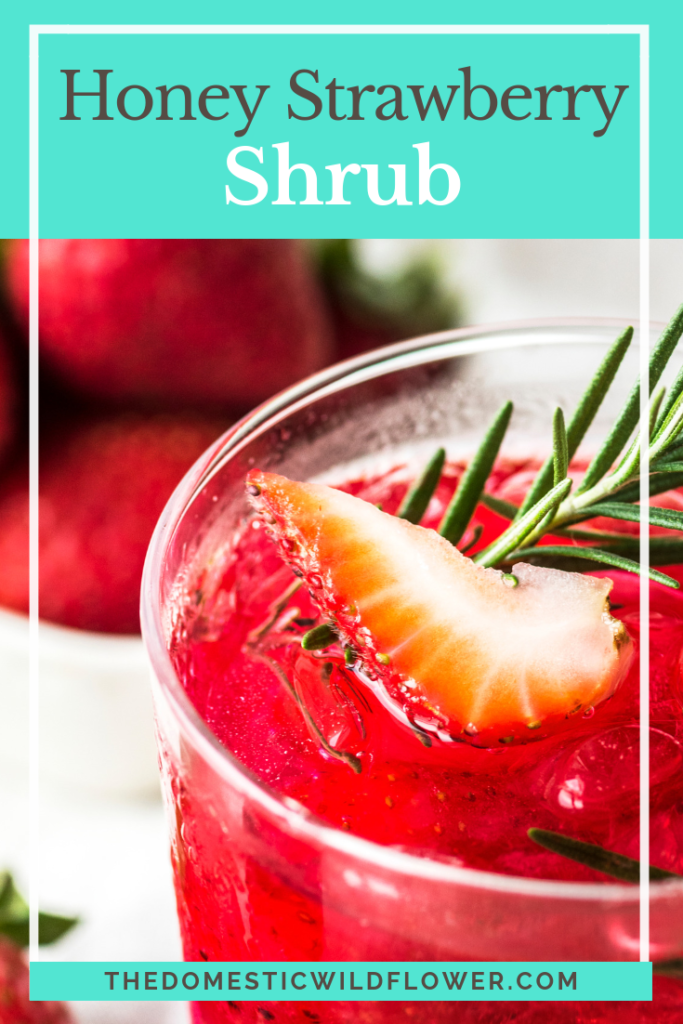
 Honeyed Strawberry Shrub
A shrub is one of the simplest types of preserve. I have fallen in love with them and I want you to come along with me. There’s no hot water bath, no fermentation bubbles (though those would be exciting!) and the only real virtue required is patience. It takes about a week on the countertop for this beginner-friendly preserve but the results are so worth it. Shrubs are an excellent addition to water (and really, who is drinking enough? Not me…) and are sublime when added to a cocktail.
You will need:
2 cups chopped strawberries (I tossed in a slice of pineapple because I had it on hand but that is not necessary)
1 ½ cups honey
2 cups apple cider vinegar, good quality
Combine chopped strawberries with honey in a large jar. I used a half gallon like these below.
This post may contain affiliate links. All opinions are my own.

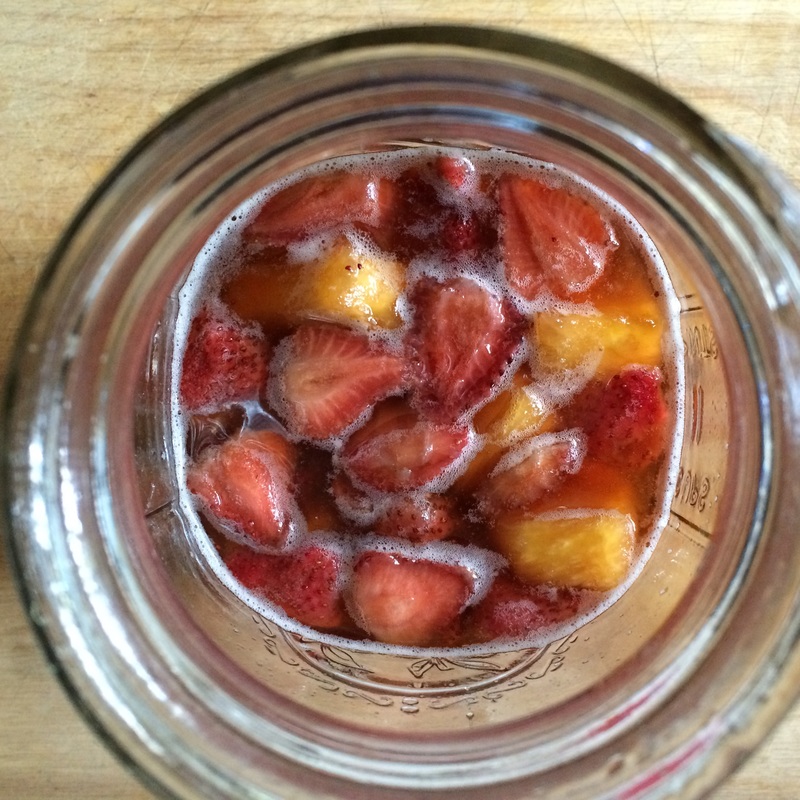
Let sit overnight. Stir with a long wooden spoon thoroughly, being mindful of the heavy honey hanging out at the bottom of the jar. You want the fruit and honey well incorporated. Add the vinegar. Let sit, with the lid on, on the countertop for about a week.
This particular shrub needs to be stirred more often than the others I have tried because it takes a bit more to dissolve and incorporate the honey. Stir daily if you can.
Strain and decant into a clean jar. Store in the refrigerator.
Serve over ice with:
1 part shrub and 3+ parts sparkling water
OR
1 part shrub, 1 part tequila, 3+ parts sparkling water
If you want to learn even more about shrubs, sign up for my free email course on how to make shrubs! You’ll learn how to turn nearly any fruit into a sweet-tart syrup!