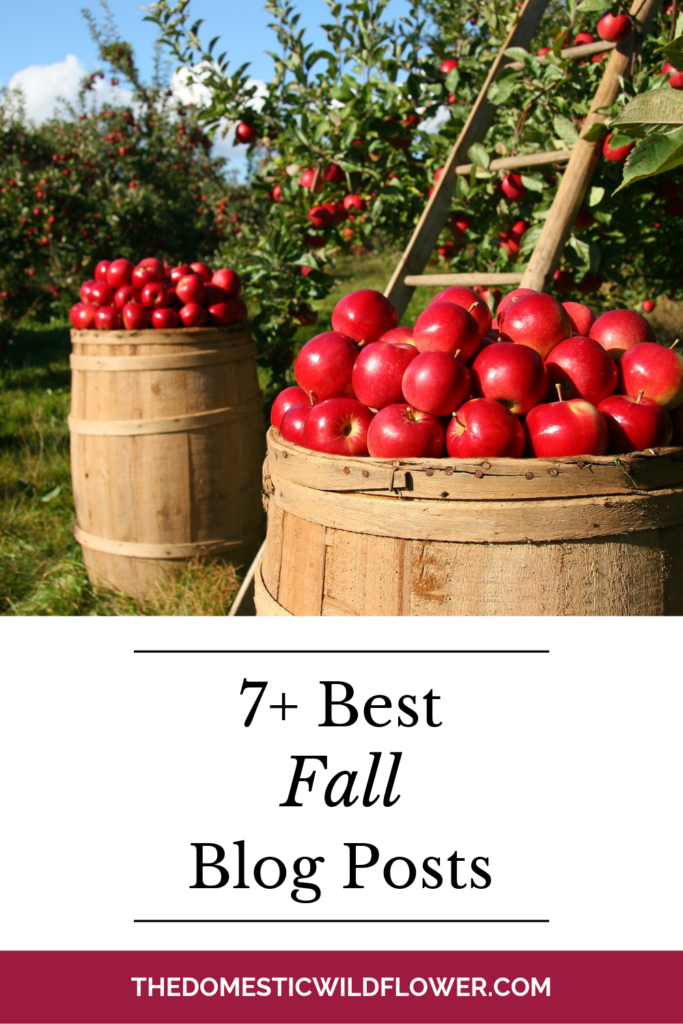
Fall is such a fun season, and I have a ton of wonderful recipes, tutorials, and projects to take you all the way to winter. Enjoy these best Fall Blog Posts!

This post contains affiliate links.
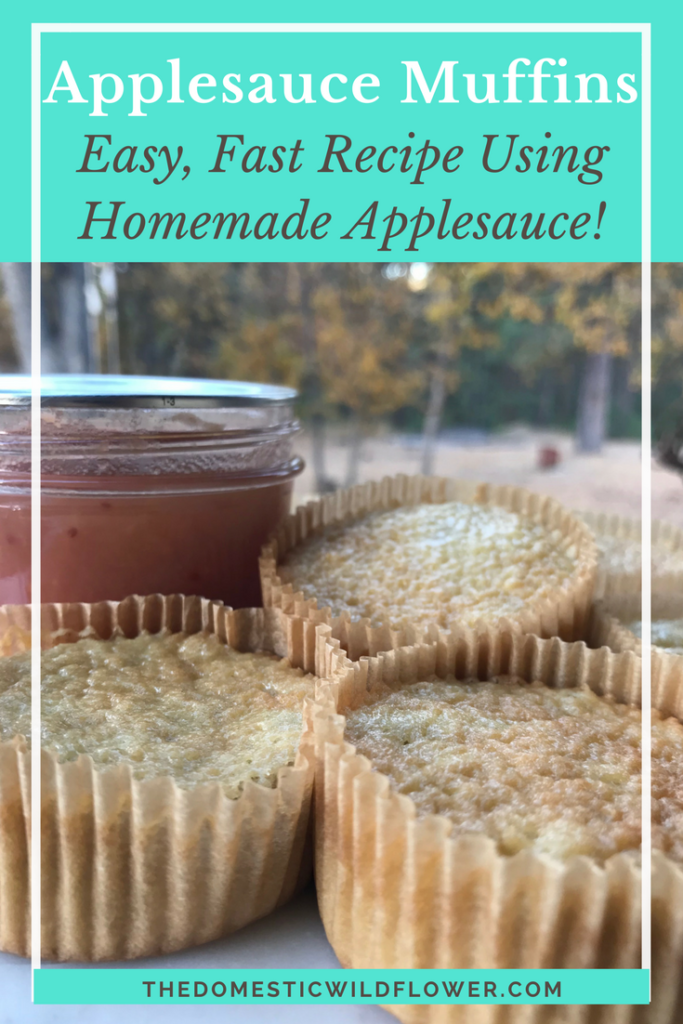
Applesauce Muffins
This recipe for applesauce muffins is is a great way to use a healthy ½ cup of your homemade applesauce (or store-bought if you haven’t learned how to make it from me yet!) into a portable snack.
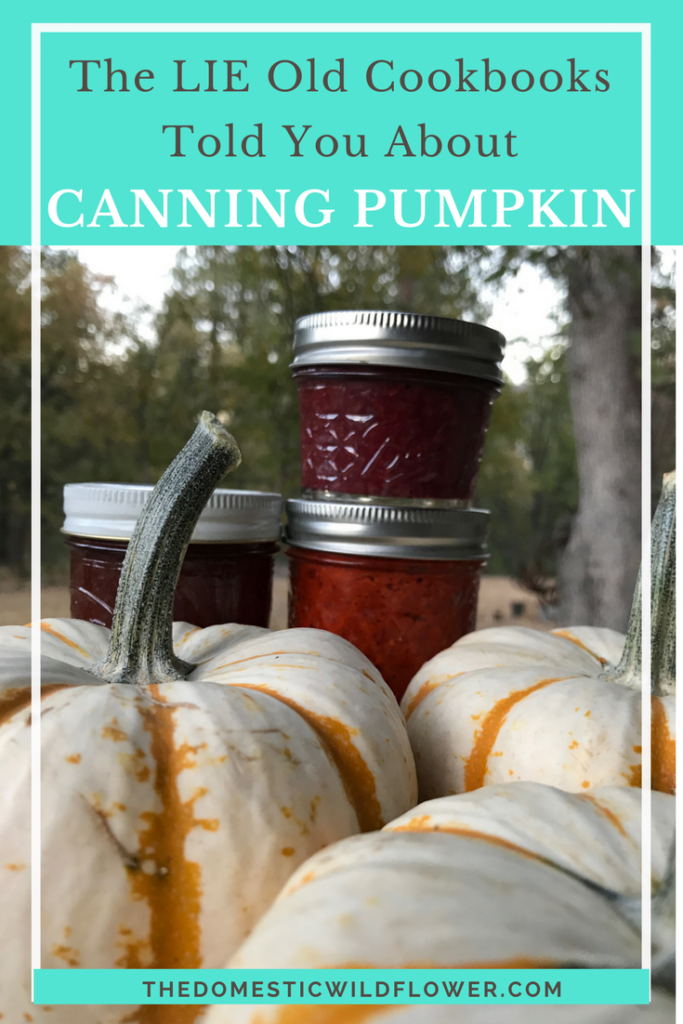
Canning Pumpkin
I’m a big fan of doing things at home, making food for yourself, and generally believe homemade is best. There are a few situations where you cannot make something at home and one of those is canned pumpkin puree.
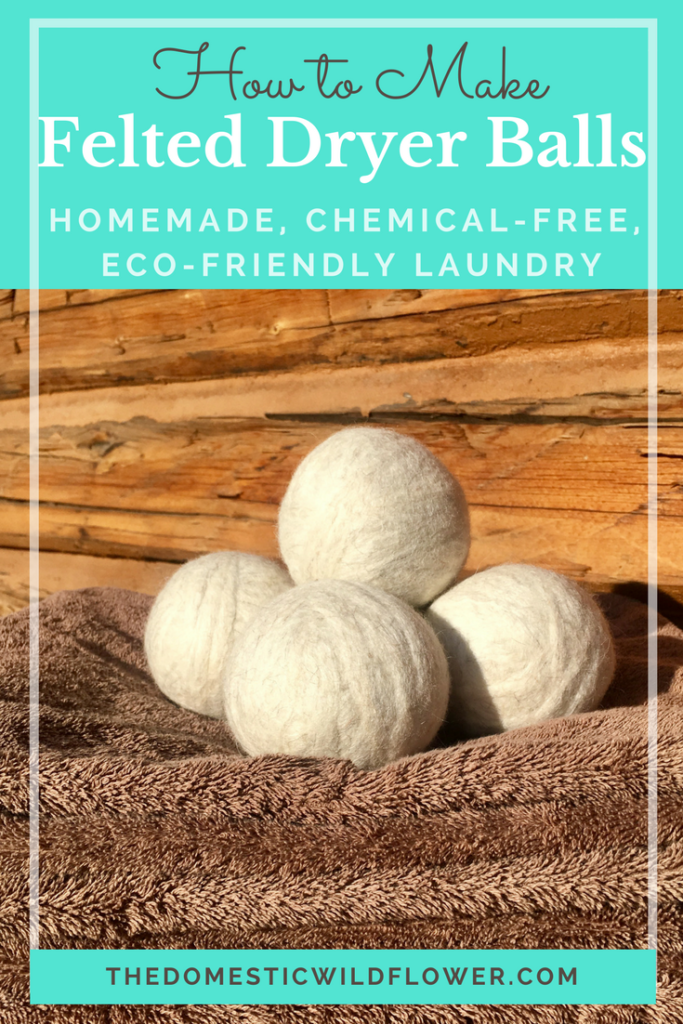
Felted Wool Dryer Balls
This post, featuring a guest post from my friend Amika will teach you how to make felted wool dryer balls at home and have you fighting static, wrinkles, and toxic dryer sheets like a superhero. Read on for the full felted dryer ball tutorial!
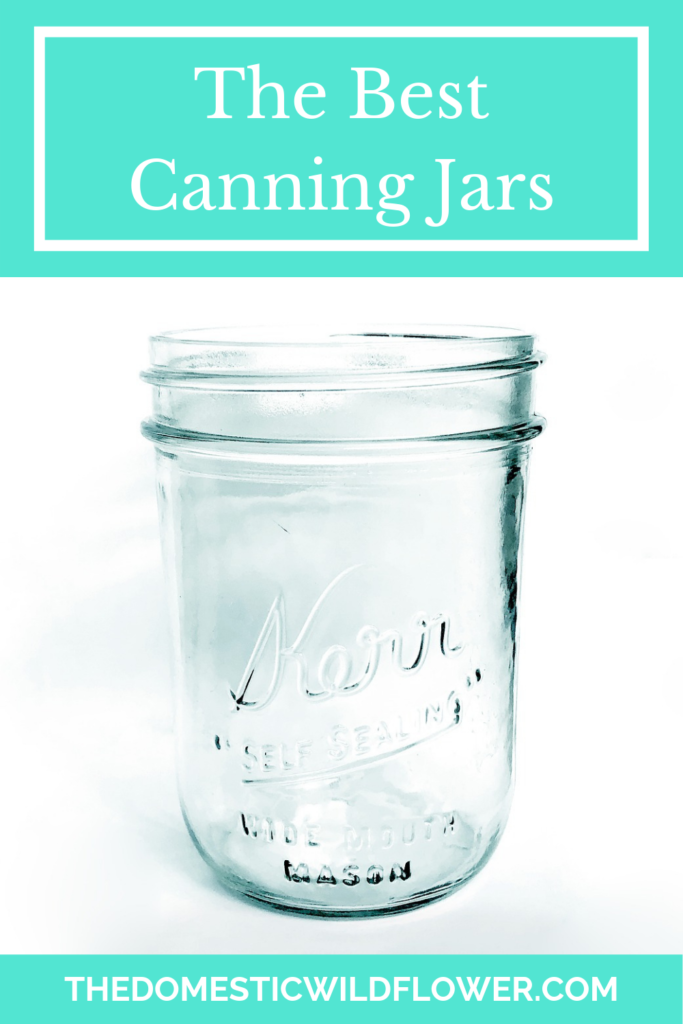
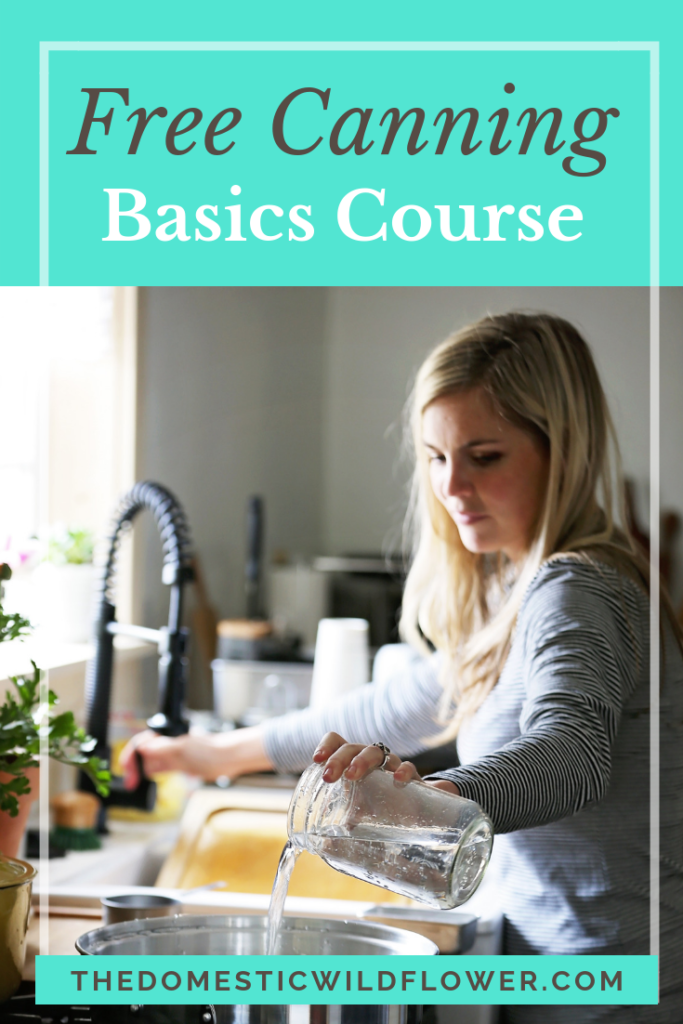
Free Canning Basics Course
When I started canning, this was the part that caused me the most grief. A good cookbook is a helpful start, but there’s no way for it to SHOW you what happens when. There’s no shame in admitting that, hey, you don’t really cook all that often and having 3 pots going on the stove at once is kind of overwhelming. I am here to tell you (and explain, in detail in the course) that canning is WAY LESS COMPLICATED than cooking a big family dinner.
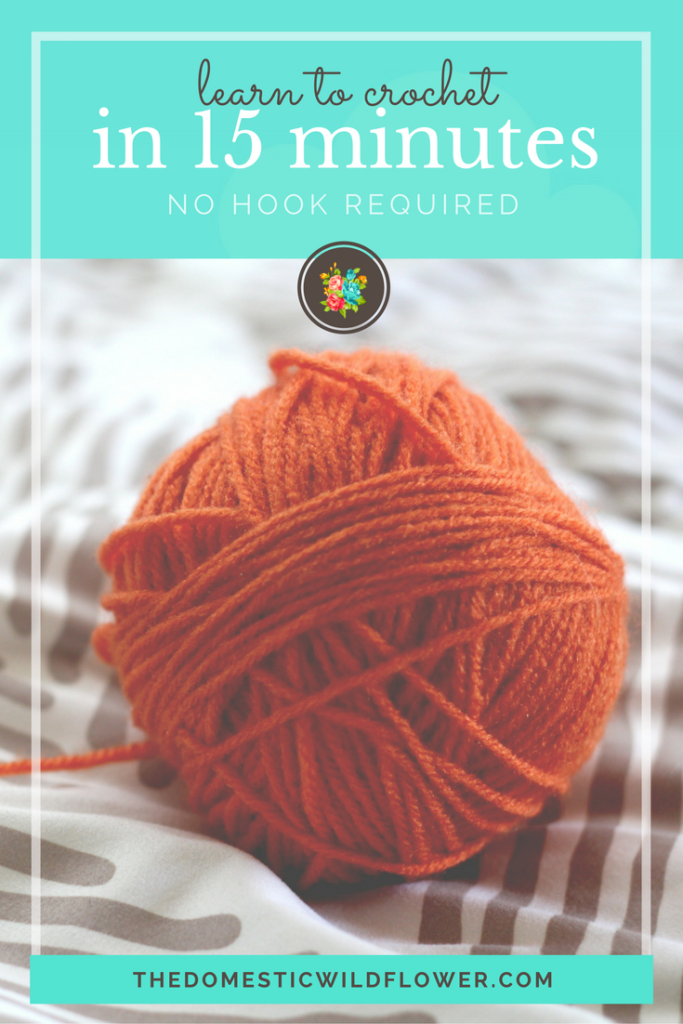
How To Crochet in 15 Minutes
This post will show you how to crochet in 15 minutes. It will demonstrate how to make a slip knot, how to chain, and how to crochet a versatile, simple stitch. The best part? You don’t even need a hook. Read on for the tutorial, beginner, and you’ll be crocheting in no time!
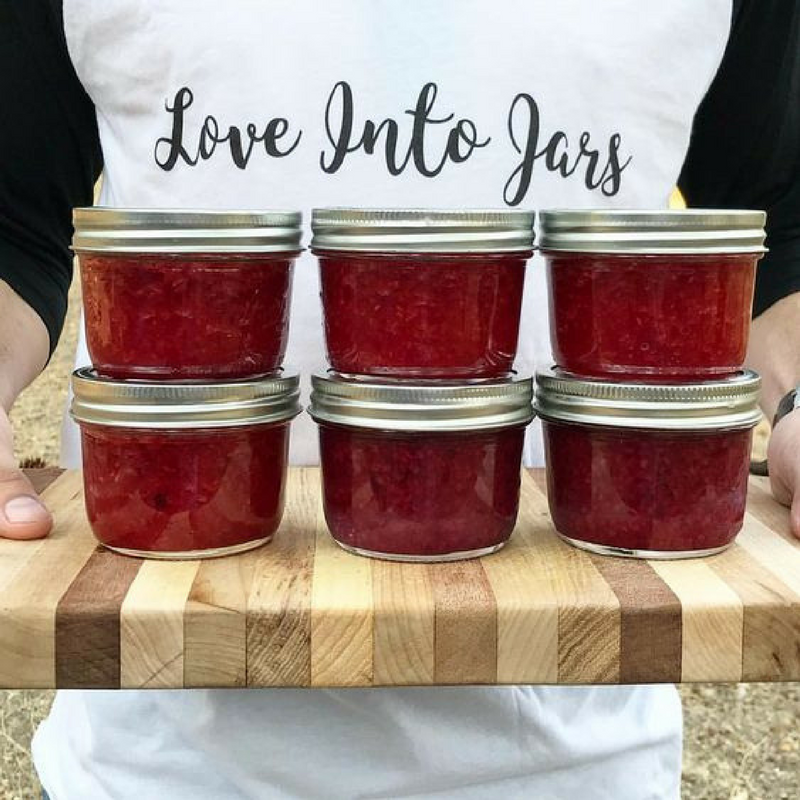
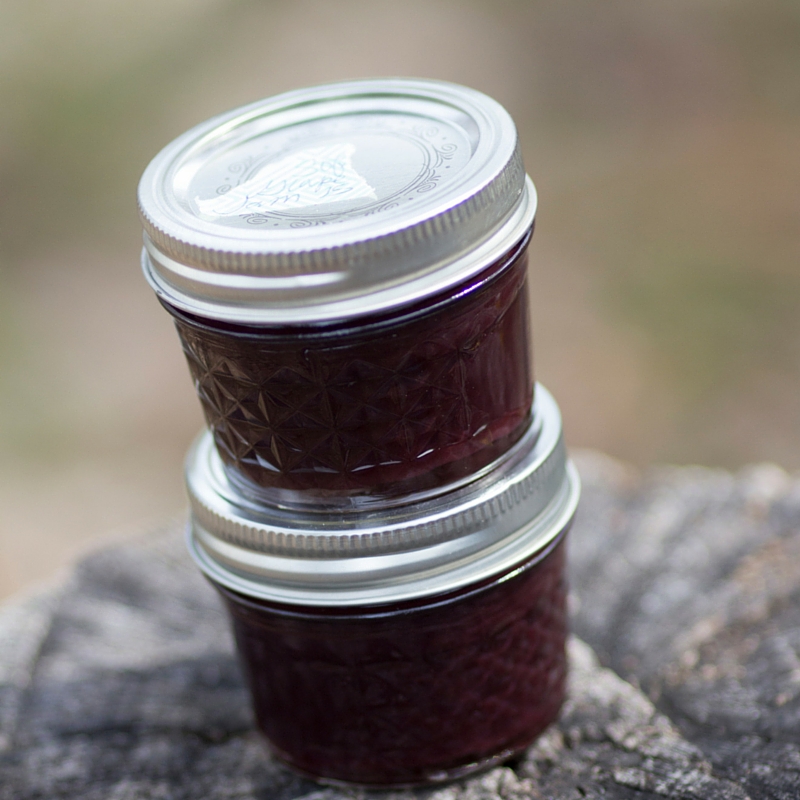
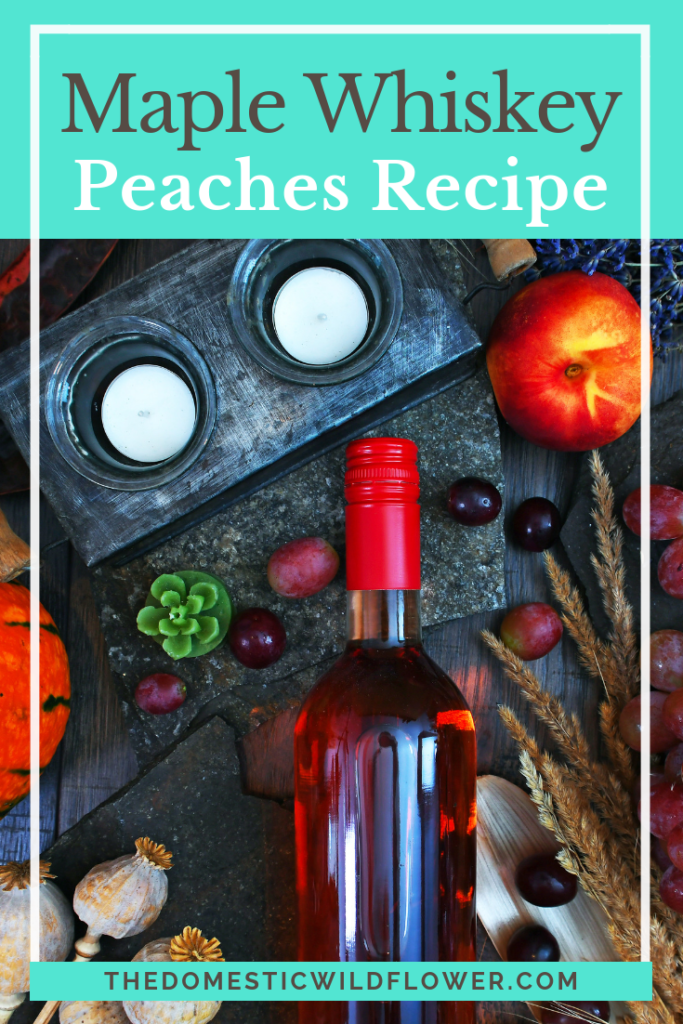
Maple Whiskey Peaches
This post will show you step by step how to can peaches in vanilla syrup with a splash of whiskey. The resulting preserve can be eaten out of the jar plain, are perfect on top of a cheesecake, waffles, or ice cream, or are a flavorful alternative to plain ol’ peaches in a pie or crisp. Read on for the tutorial!
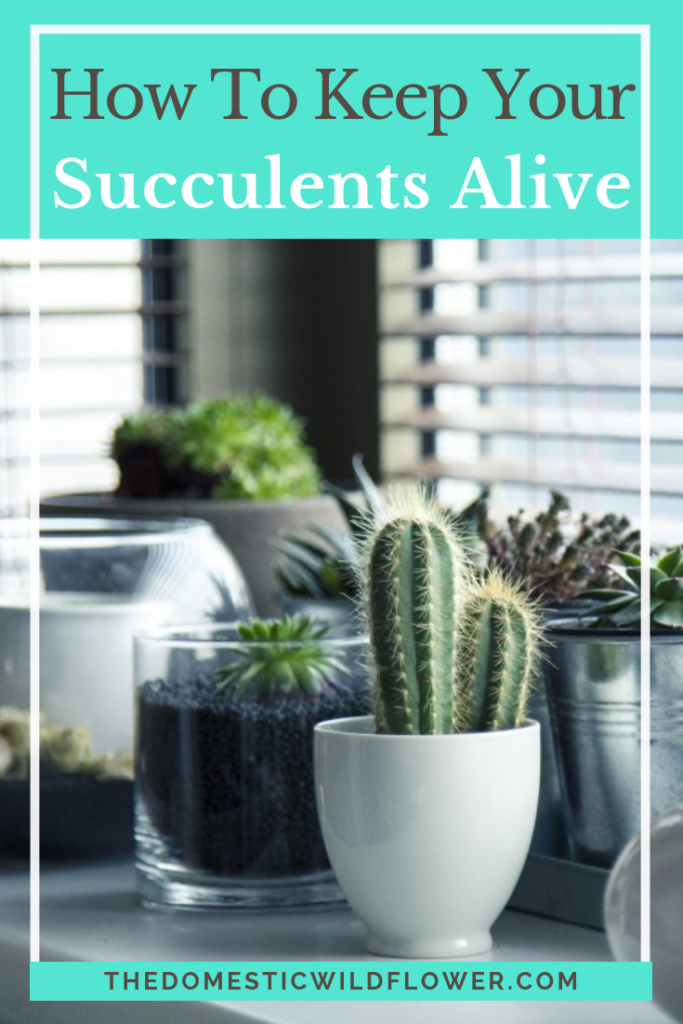
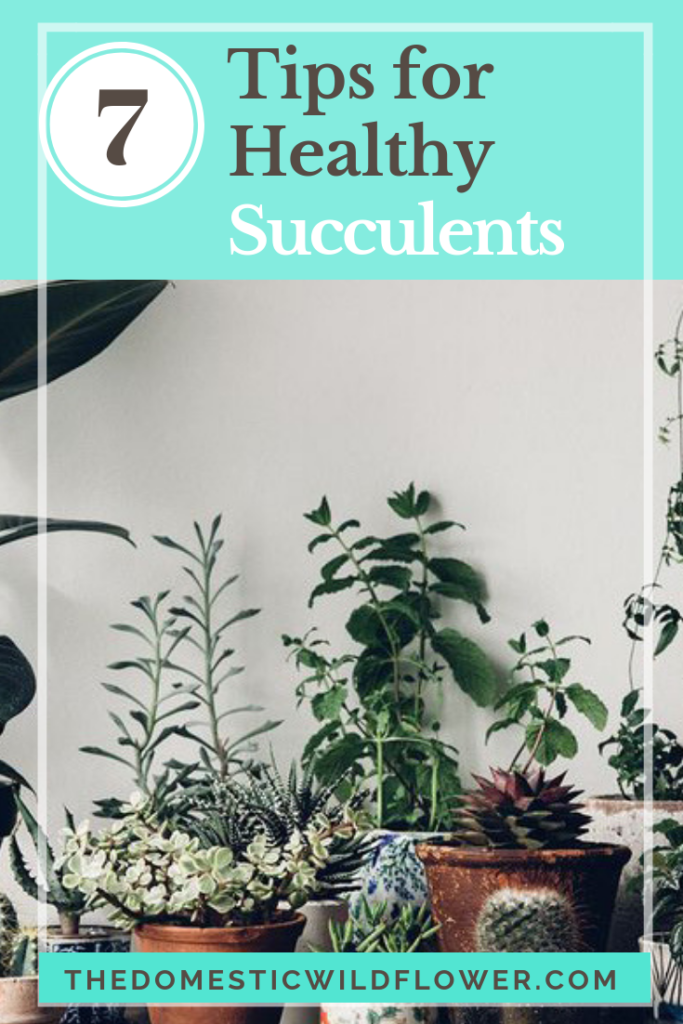
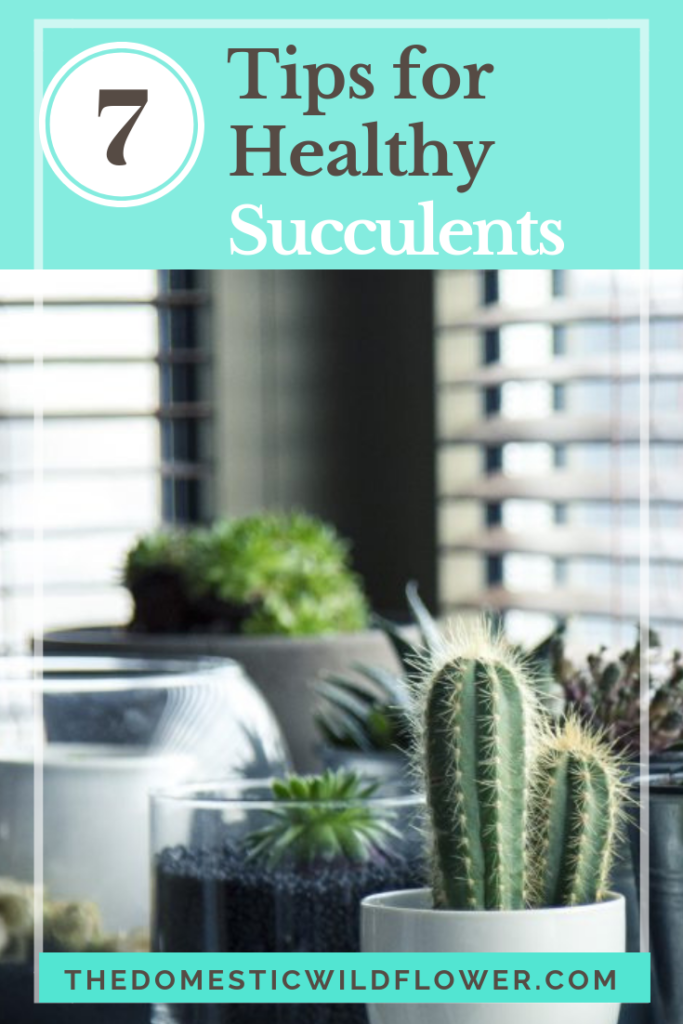
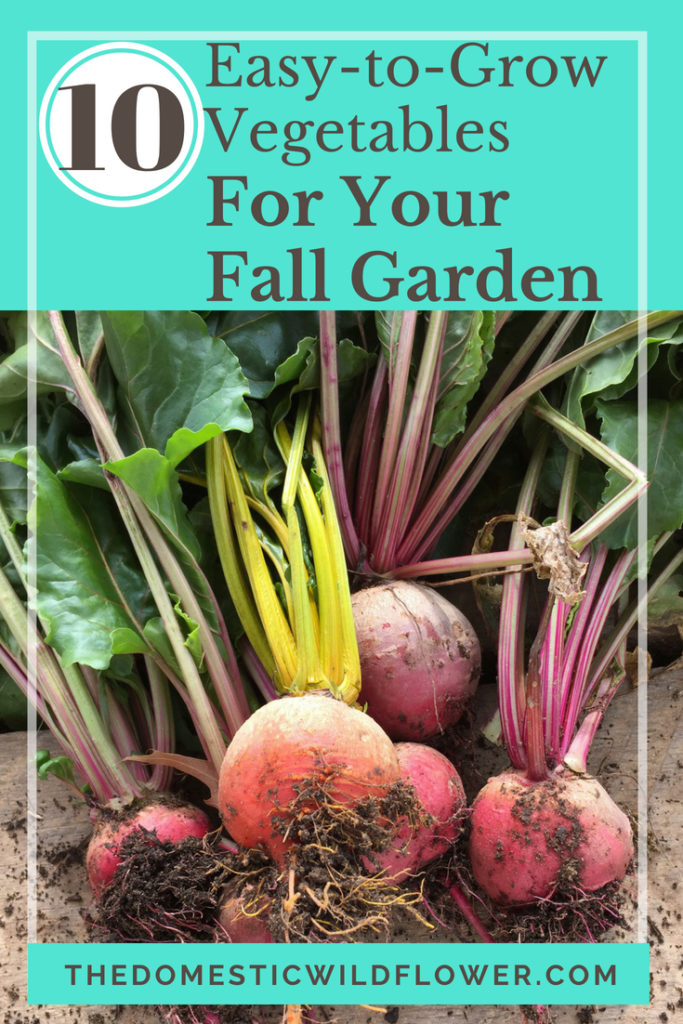
10 Easy to Grow Vegetables in Your Fall Garden
10 Easy to Grow Vegetables for your Fall Garden is a post that will help you decide what to plant for the easiest, best yield for a successful Fall garden. Read on for the list and for some helpful resources perfect for beginners!
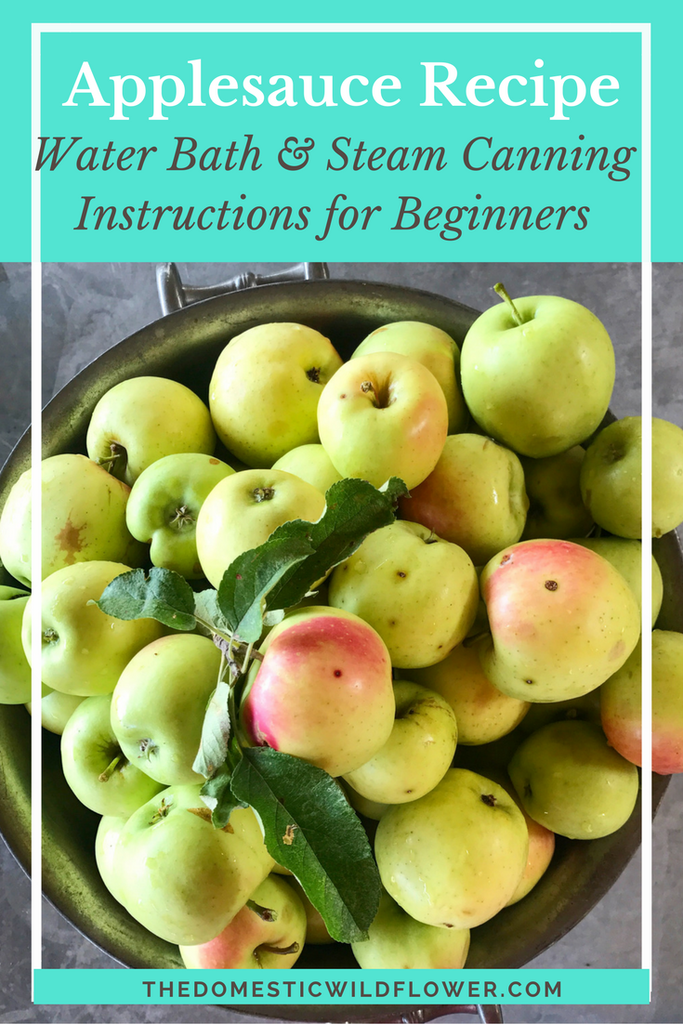
Applesauce Canning Recipe
This post will share an easy homemade applesauce recipe that you can preserve in jars with the traditional water bath instructions OR the steam canning directions. I’ll also share my favorite jars for lunch box size portions of this healthy snack!
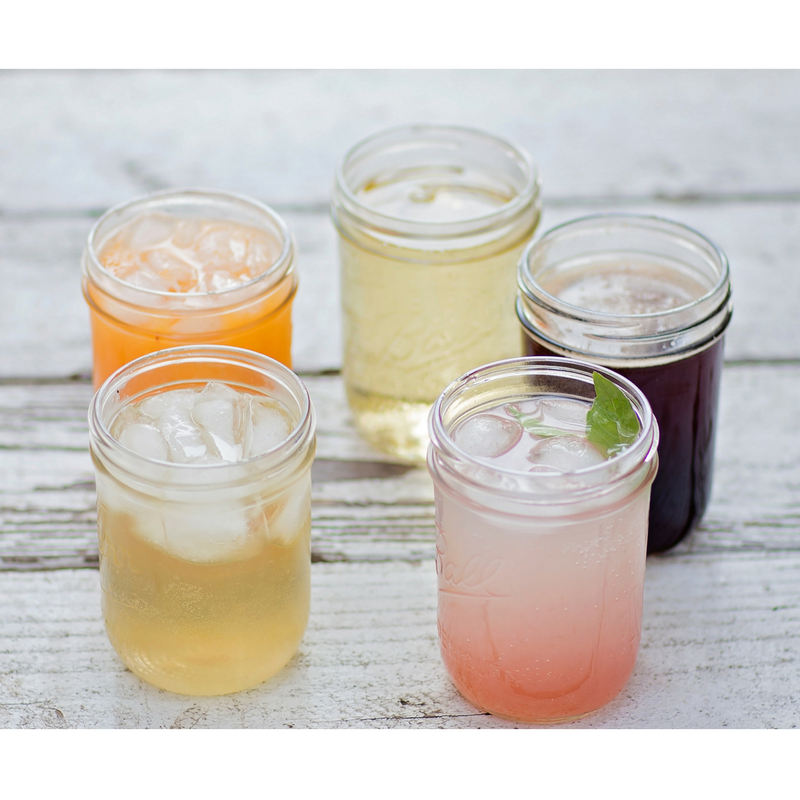
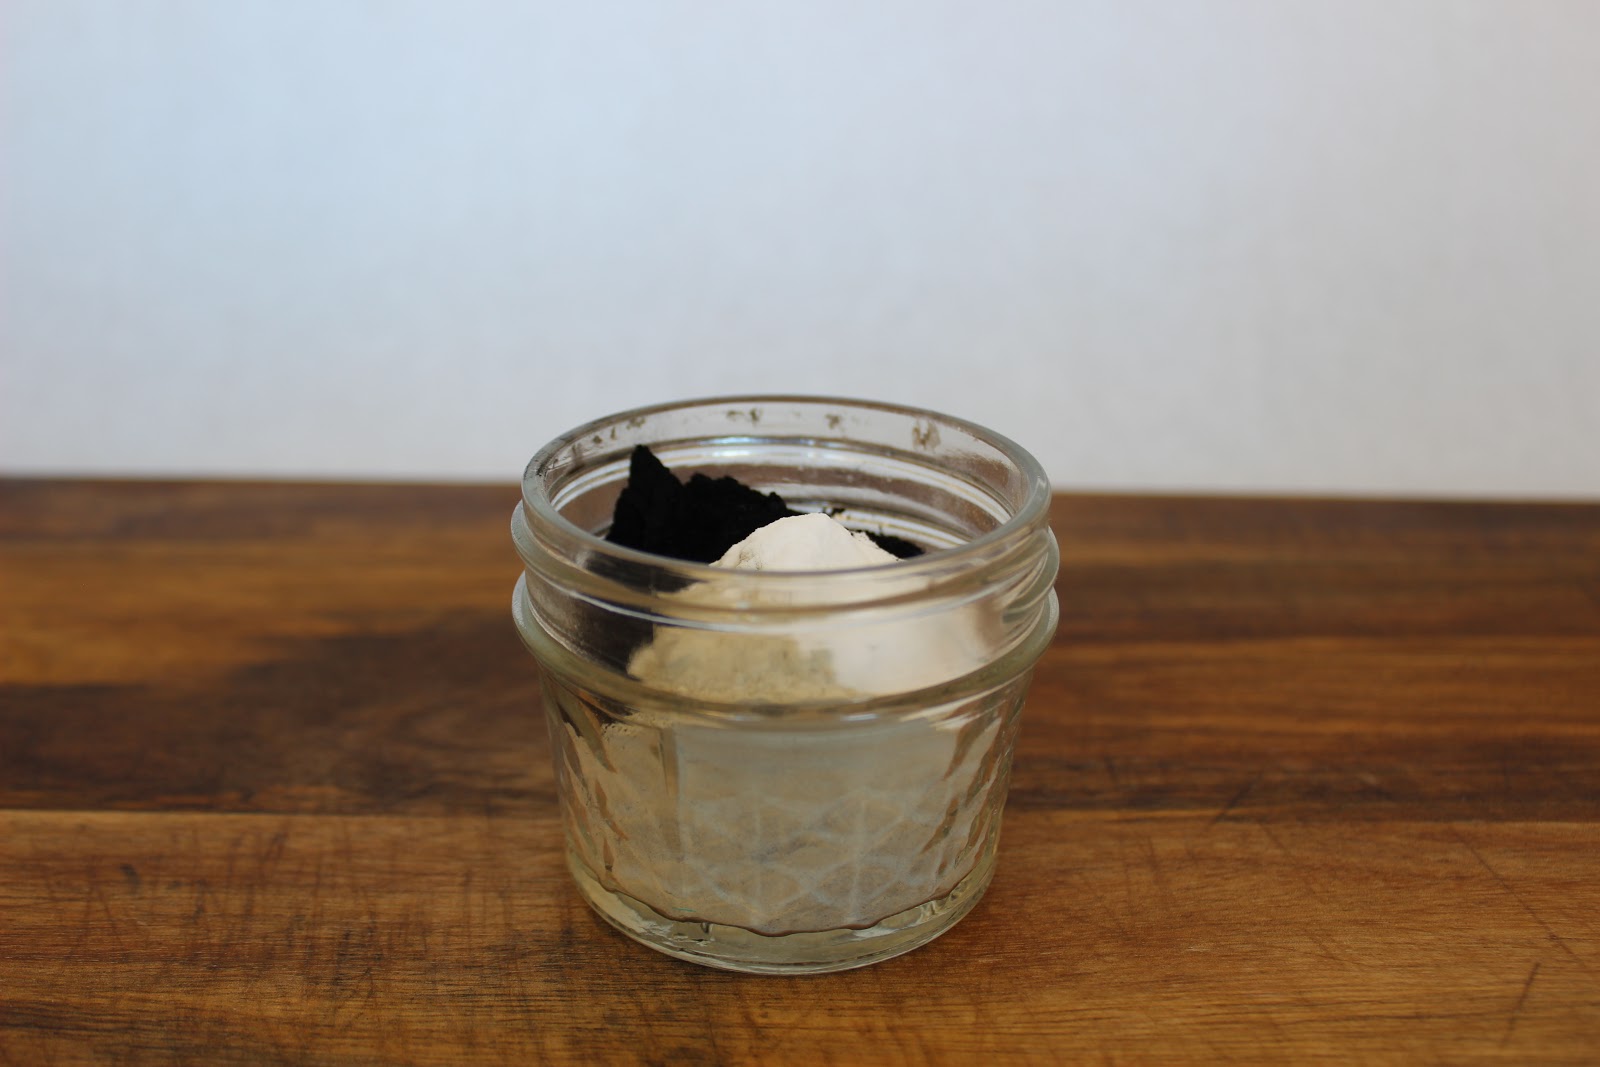
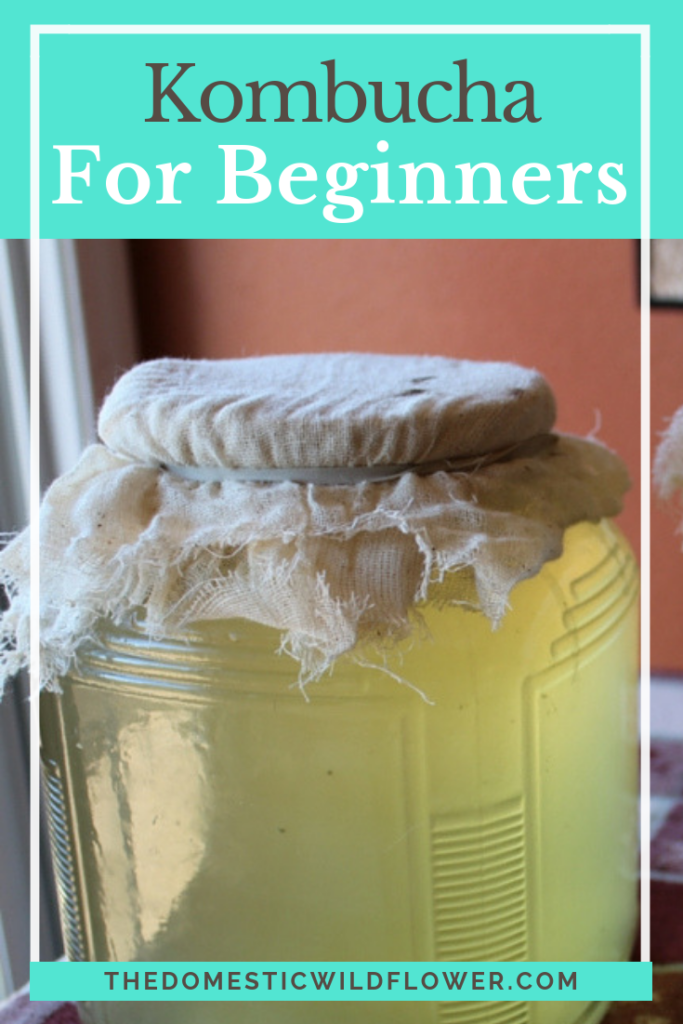
Kombucha for Beginners: 7 Easy Steps
This tutorial will explain how to make kombucha, what the heck a scoby is, and how to get yeasty now!
Learn How To Sew
This post will share my best recommendations for learning how to sew with the best expert advice I can round up for my readers. Sewing saves money, is creative, fun, and is much easier than people think. Learn how to sew below!

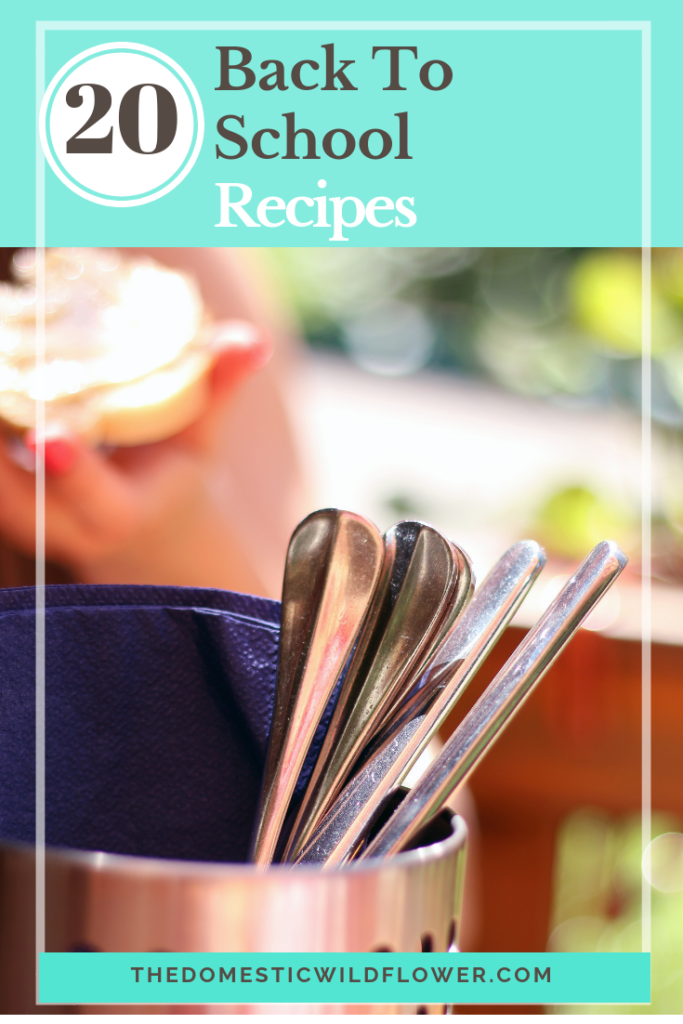
20 Back to School Recipes
Back to school time means packing lunches, after school snacks, eating on the go, and getting back into the routine. This collection of recipes is perfect for back to school!
There you have it, my Best Fall Blog Posts! Which will you try first?